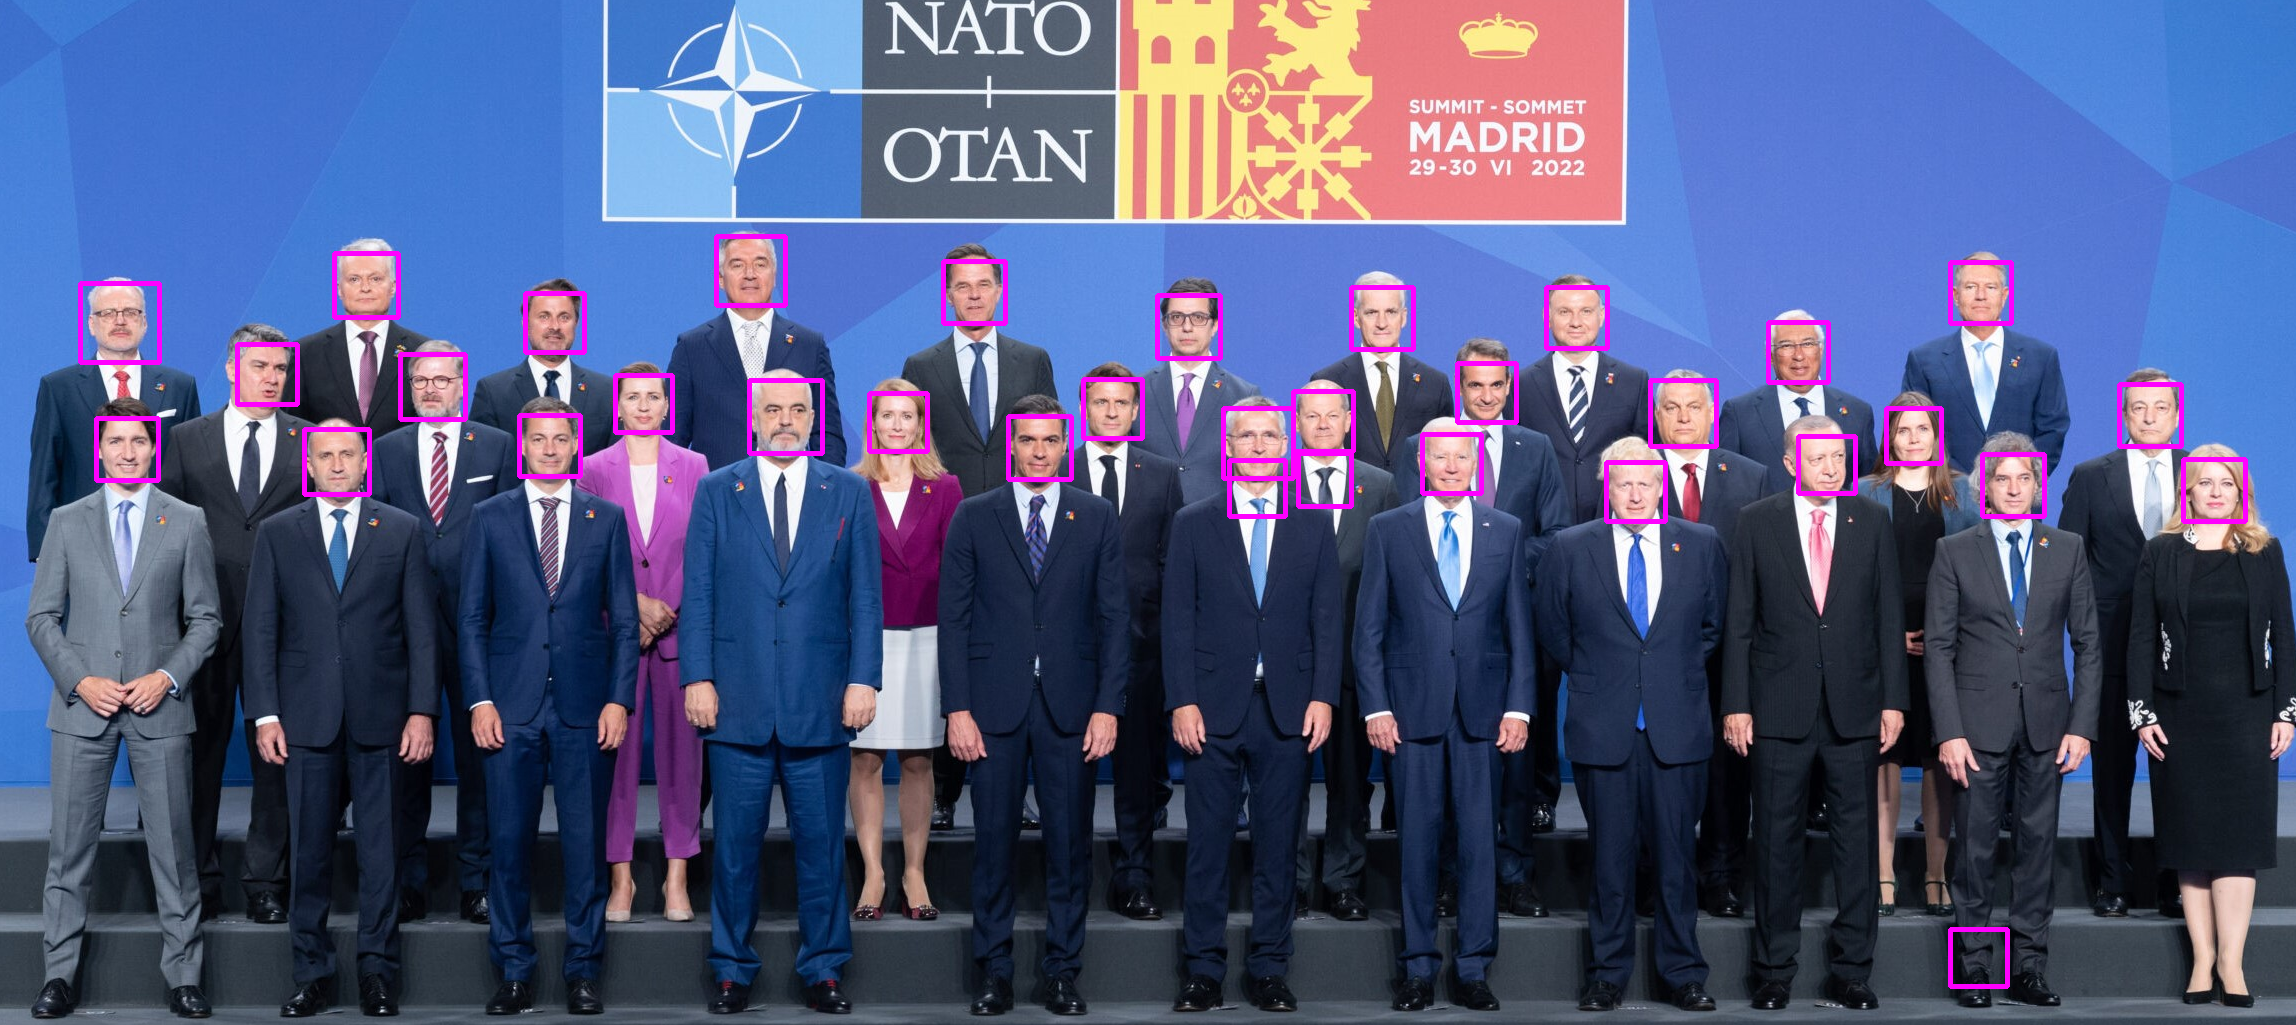
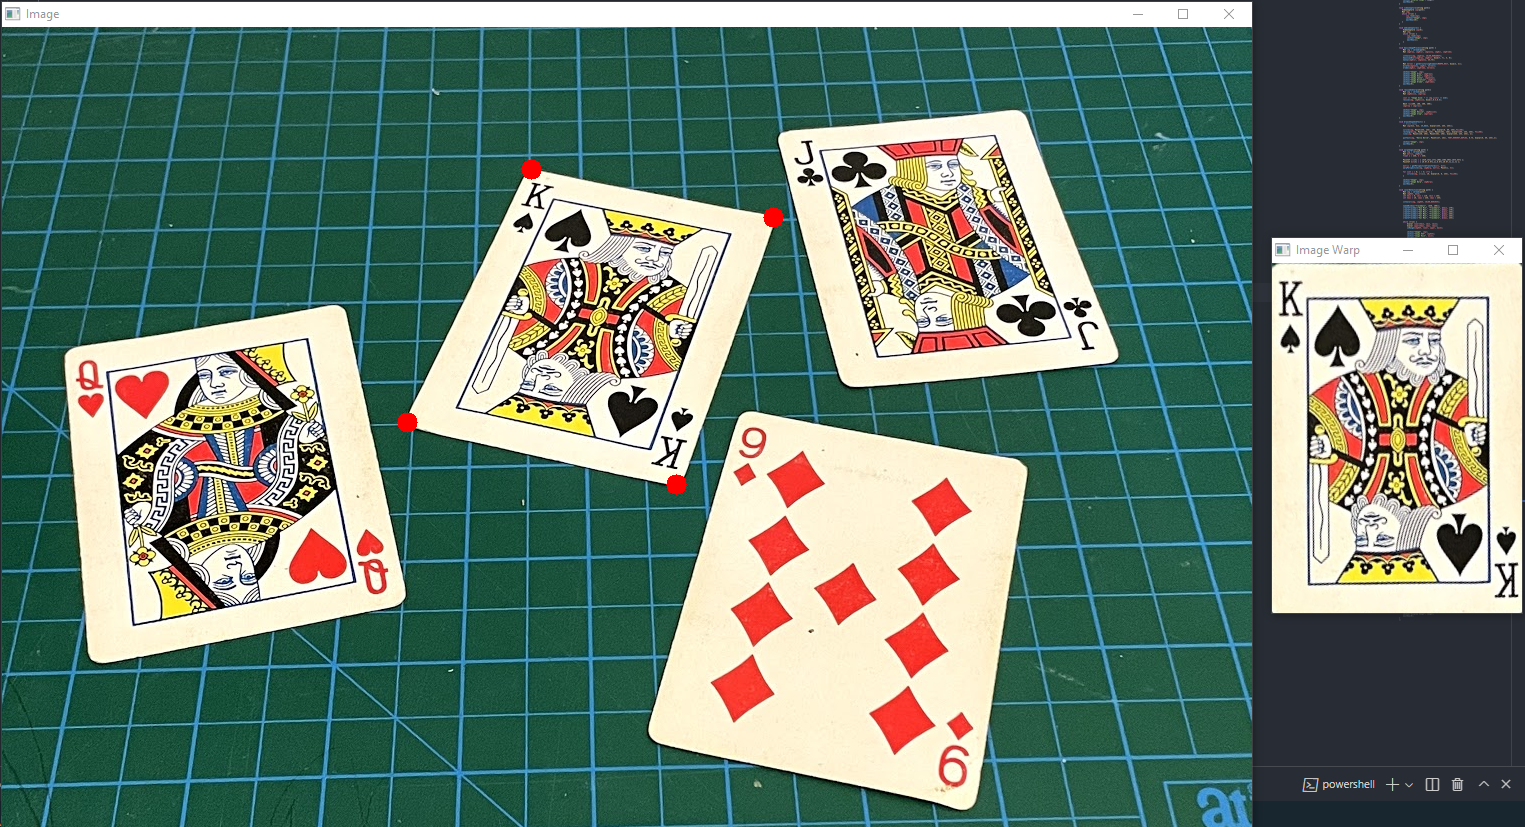
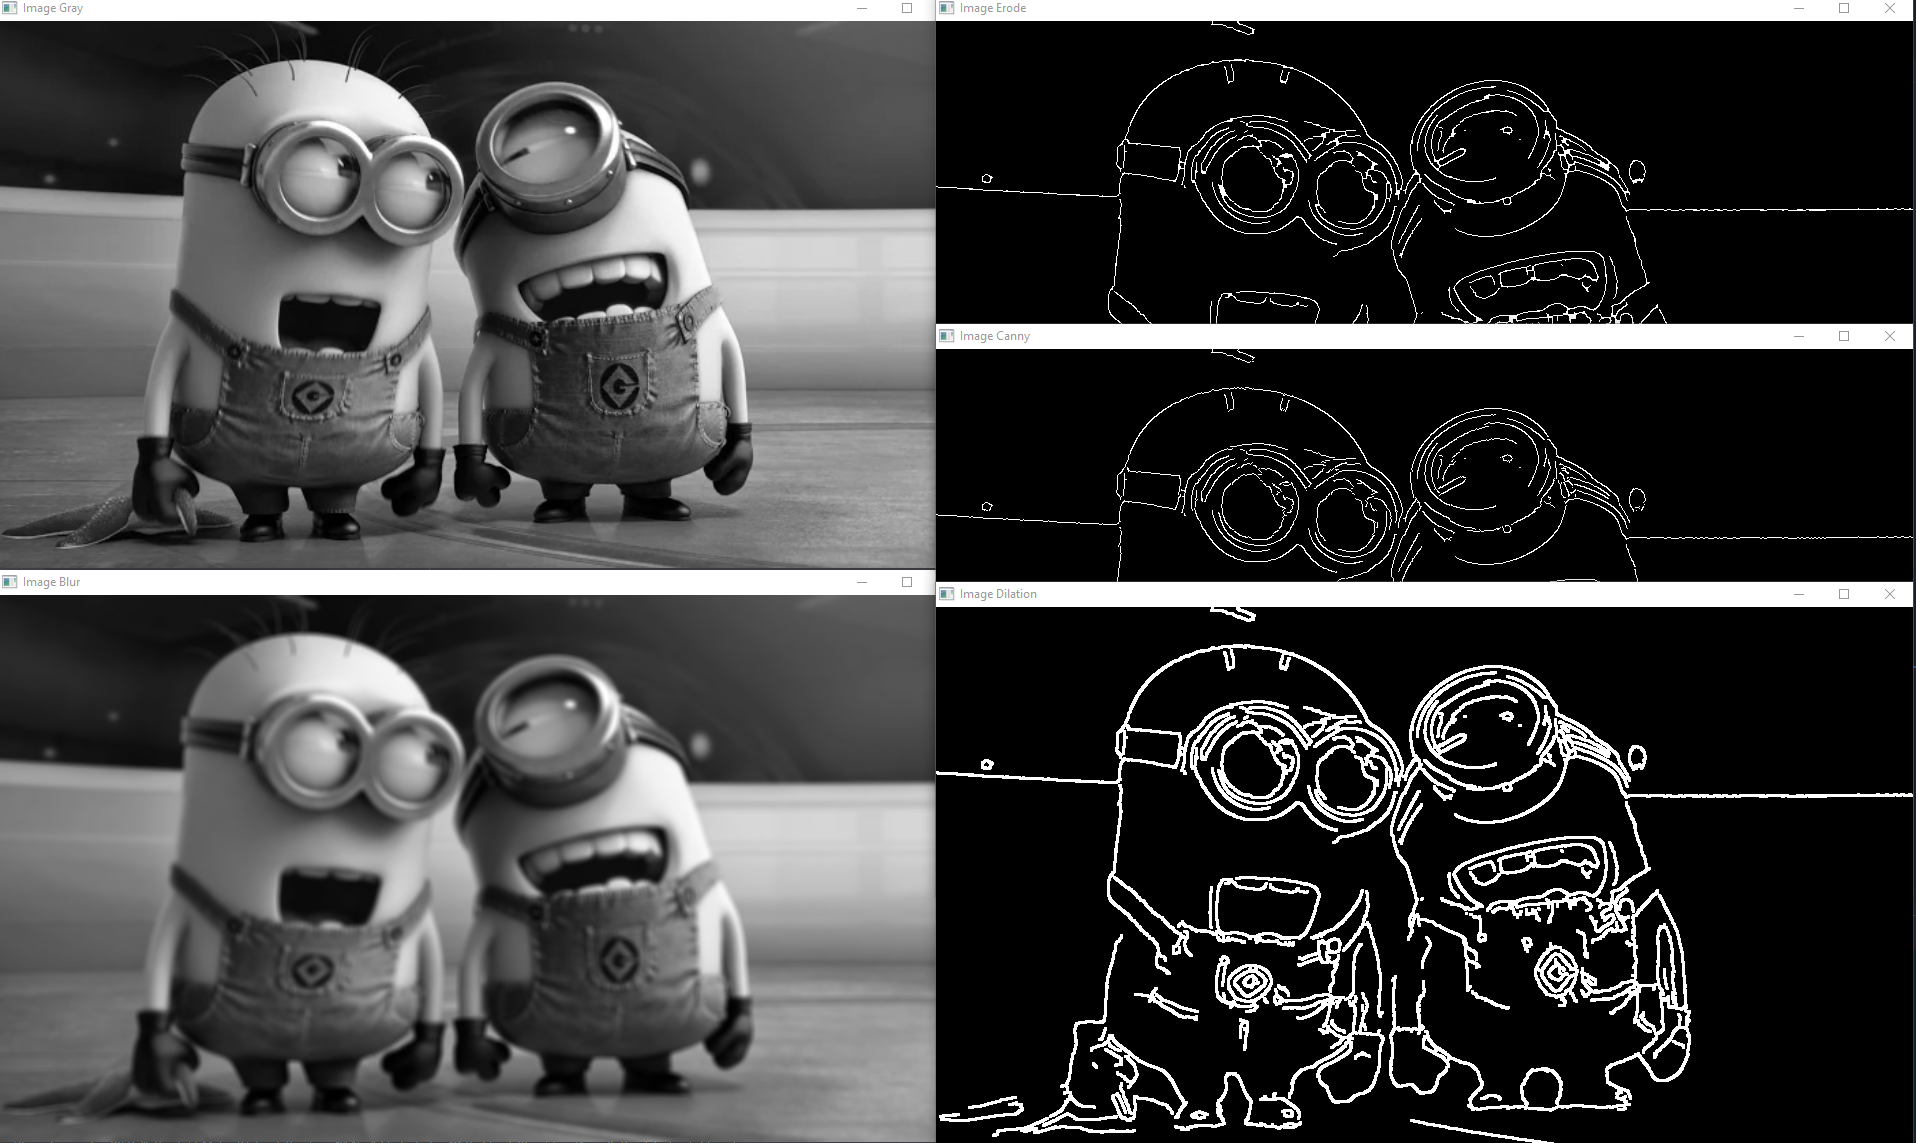
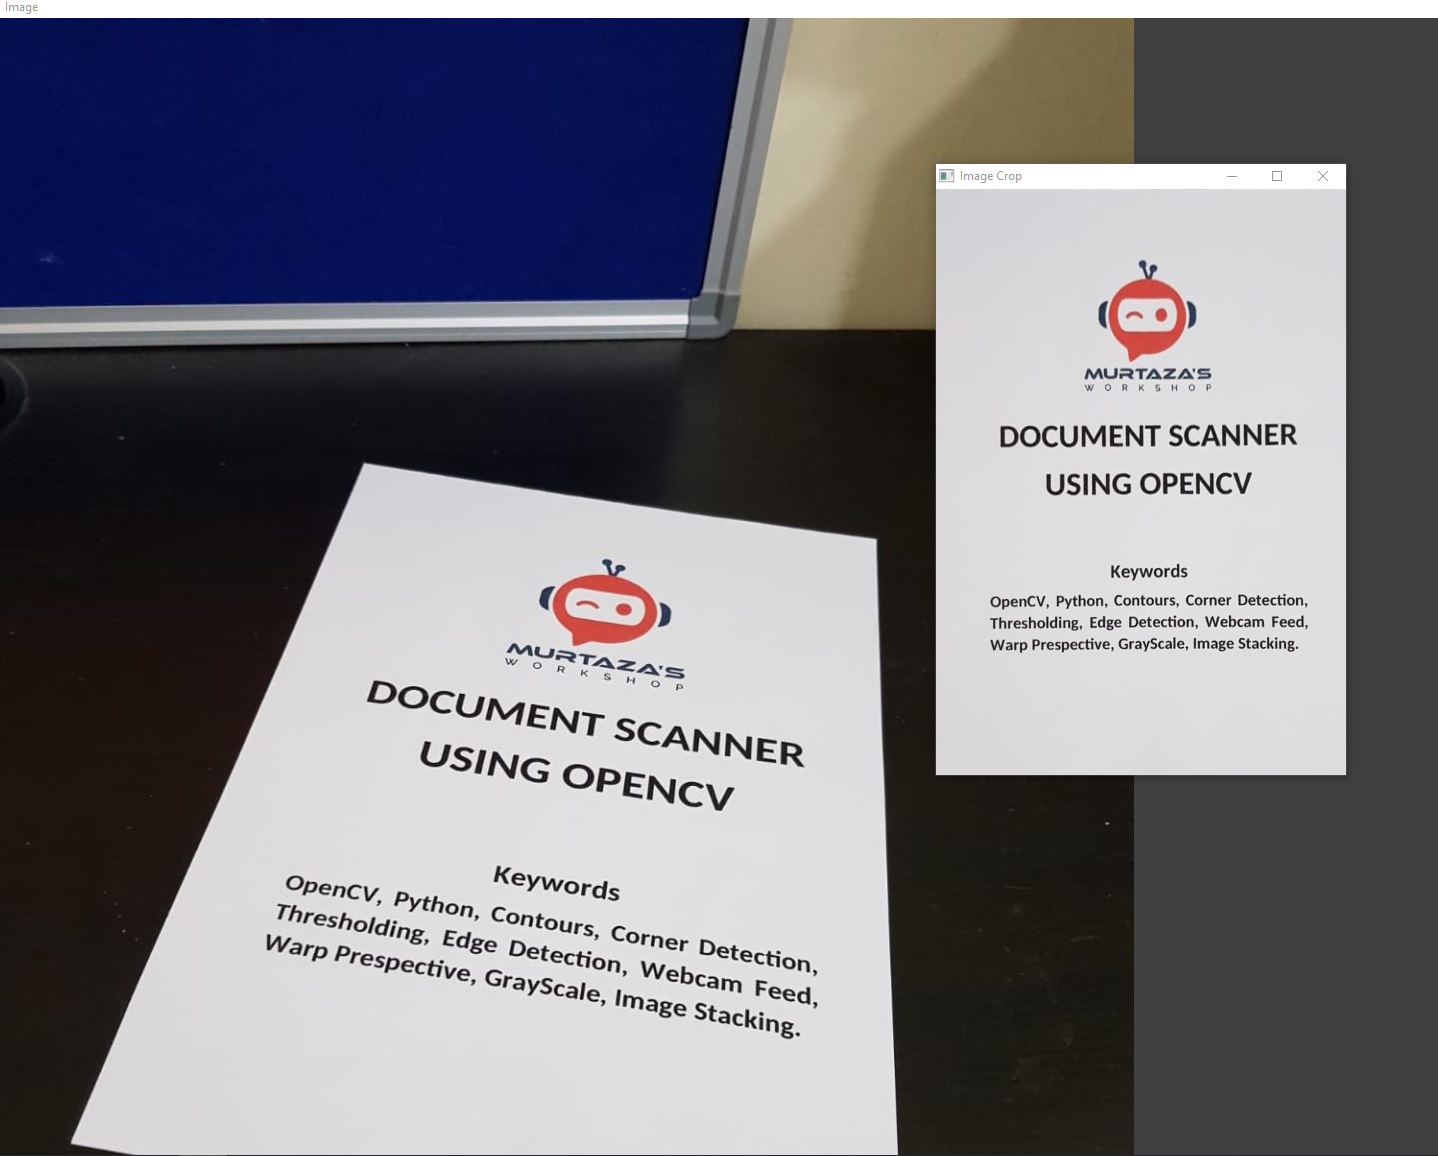
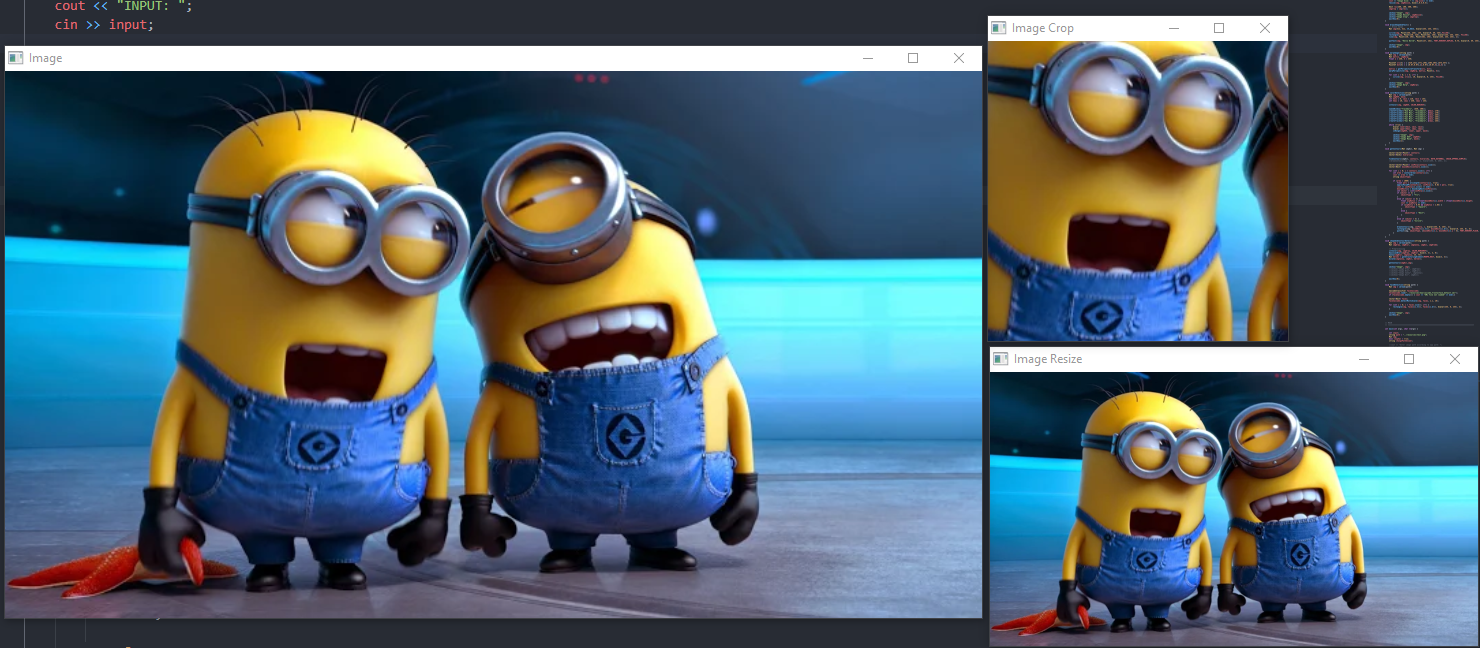
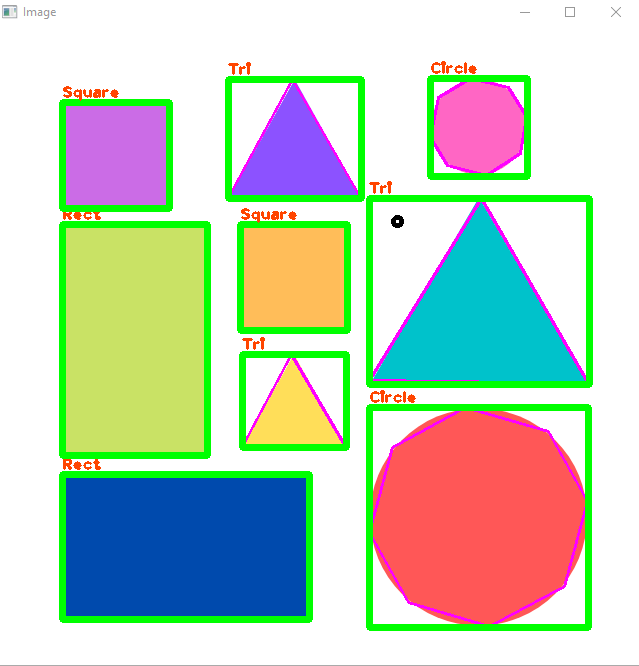
- DEVELOPMENT STILL CONTINUES
- Linux and Windows used during development
-
Install minimal prerequisites
sudo apt update && sudo apt install -y cmake g++ wget unzip -
Download and unpack sources
wget -O opencv.zip https://github.com/opencv/opencv/archive/4.x.zip wget -O opencv_contrib.zip https://github.com/opencv/opencv_contrib/archive/4.x.zip unzip opencv.zip unzip opencv_contrib.zip -
Create build directory and switch into it
mkdir -p build && cd build -
Configure
cmake -DOPENCV_EXTRA_MODULES_PATH=../opencv_contrib-4.x/modules ../opencv-4.x -
Build
cmake --build . -
MAKE Build Files
make -j4 -
Save To OS
sudo make install -
Copy Libraries
cp -r /usr/local/include/opencv4/opencv2 /usr/include/c++/10
-
sudo apt-get install libopencv-* -
sudo apt-get install python-dev python3-dev libqt4-dev libgphoto2-dev python3-numpy python-numpy libv4l-dev libv4l2rds0 libgtk-3-dev libgstreamer-plugins-base1.0-dev libgst-dev cmake-qt-gui build-essential cmake git libgtk2.0-dev pkg-config libavcodec-dev libswscale-dev libtbb2 libtbb-dev libjpeg-dev libpng-dev libtiff-dev libjasper-dev libdc1394-22-dev libgstreamer-vaapi1.0-dev libavformat-dev libavformat-ffmpeg-dev -y
mkdir build && cd build
cmake ..
cmake --build .
./ImageProcessing <IMAGE_PATH>/<image_name>
- CMake https://cmake.org/download/
- MinGW https://github.com/niXman/mingw-builds-binaries/releases (choose posix version. thread choosing should be posix)
- OpenCV (Normal) https://opencv.org/releases/
- OpenCV (Built By MinGW) https://github.com/huihut/OpenCV-MinGW-Build
- Download and extract official OpenCV
- Download opencv_mingw_build
- Go To -> opencv_mingw_build/x64 (you should see mingw file)
- Copy mingw file to official OpenCV directory -> official_opencv/build/x64
- Last of all opencv/build/include/opencv2 file can be copy to mingw include dir
Add these values to PATH
    C:\<path>\CMake\bin
    C:\<path>\mingw64\bin
    C:\<path>\official_opencv\build\x64\mingw\bin
   mkdir build && cd build
   cmake .. -G "MinGW Makefiles"
   cmake --build .
./ImageProcessing <IMAGE_PATH>
If you use windows, this config can be helpful
If libraries has warning underline, IDE can't see library than you can change include and compiler directory.
-
Mouse should be on the warning underline and select quick fix automaticly c_cpp_properties.json file create and then change like this example:
-
Add These Lines
{ "configurations": [ { "name": "Win32", "includePath": [ "${workspaceFolder}/**", "C:\\mingw64\\x86_64-w64-mingw32\\include" ], "defines": [ "_DEBUG", "UNICODE", "_UNICODE" ], "windowsSdkVersion": "10.0.22000.0", "compilerPath": "C:\\mingw64\\bin\\gcc.exe", "cStandard": "gnu17", "cppStandard": "gnu++17", "intelliSenseMode": "windows-gcc-x64" } ], "version": 4 } -
You can maually create config file under this line:
<workspace_dir>/.vscode/c_cpp_properties.json
-
Murtaza Workshops
  www.computervision.zone
  www.youtube.com/@murtazasworkshop
  https://www.youtube.com/watch?v=2FYm3GOonhk
Resource's and codes taken from Murtaza.
