This is the second project of the Machine Learning Engineer Nanodegree with Microsoft Azure from Udacity.
In this project, an AutoML run was performed on a bank marketing dataset from the Azure ML Studio, which aimed to predict whether contacted customers would subscribe to the bank product offered.
The best model found was deployed from the Azure ML Studio and consumed by using its REST API endpoint using key as authentication.
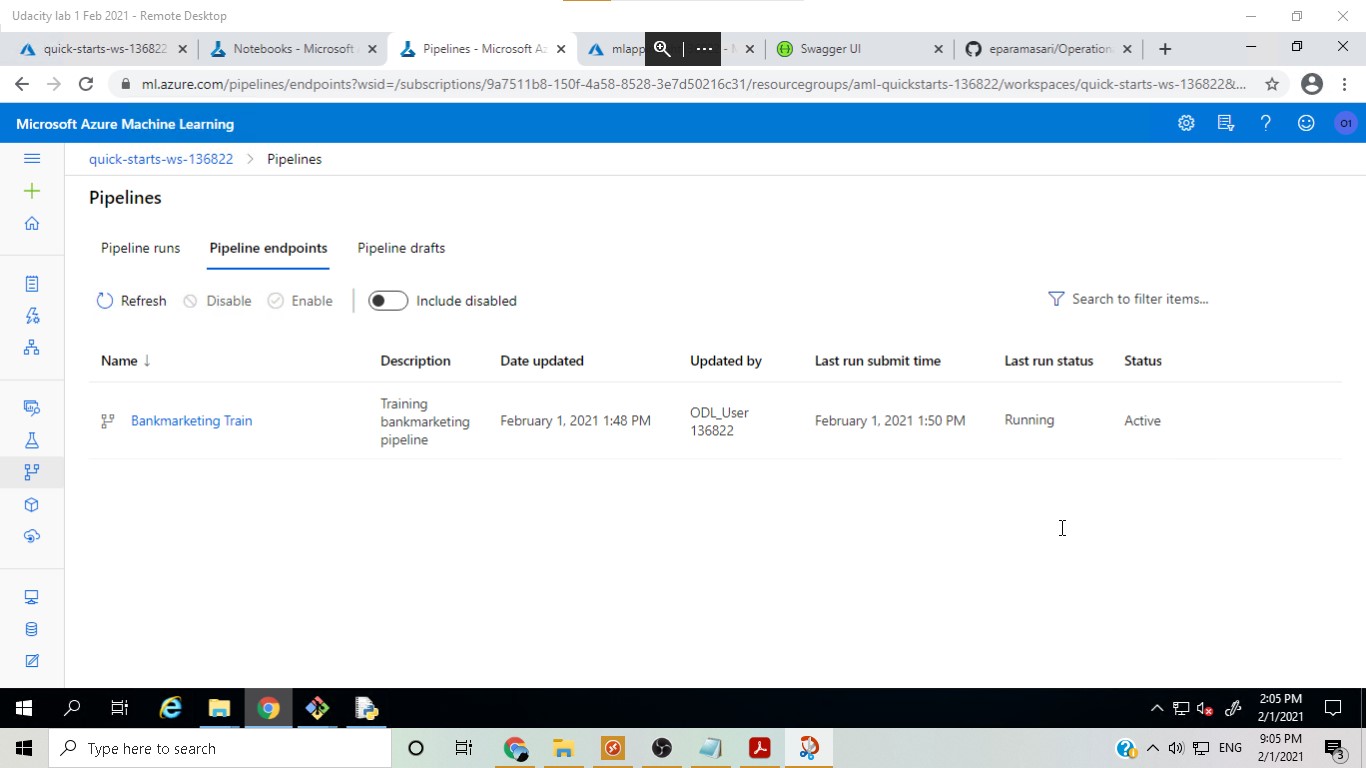
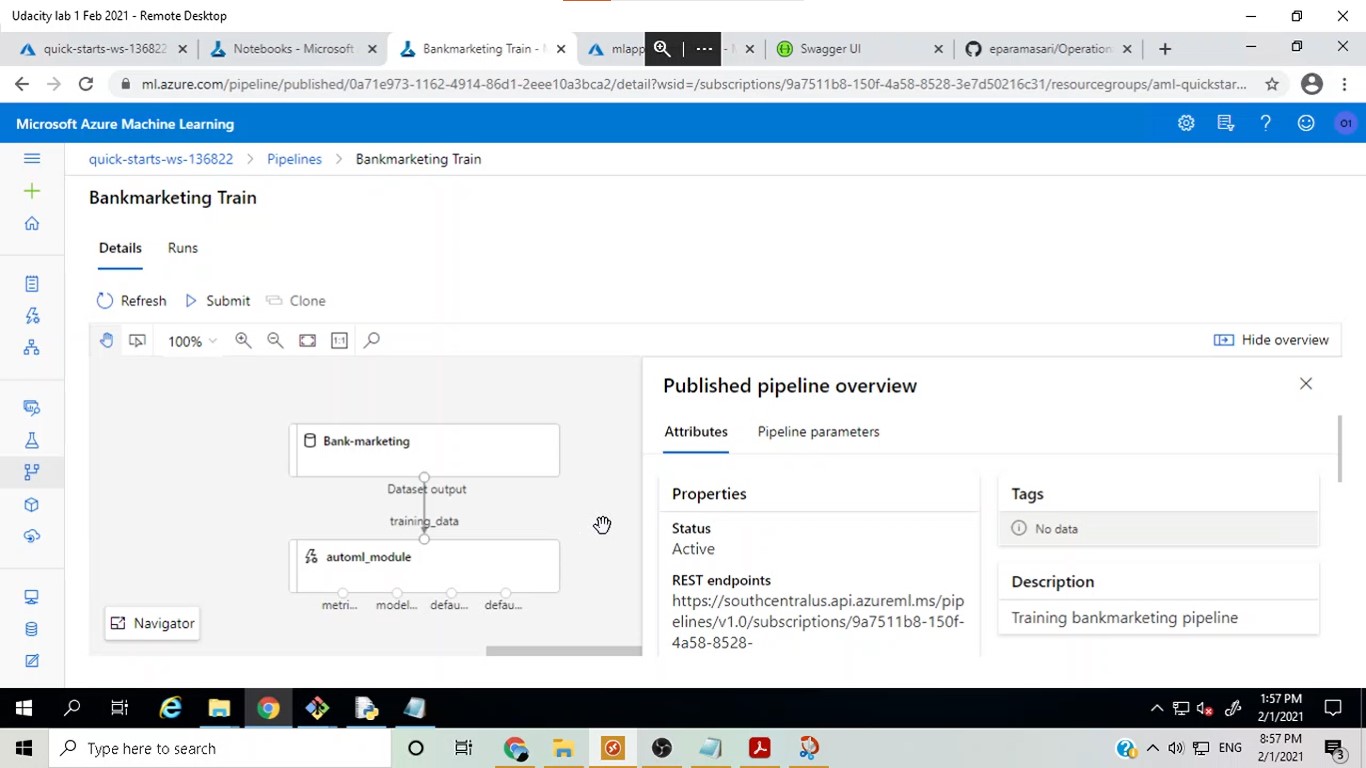
A pipeline was then created and published in the same experiment by using the Azure ML Python SDK. The pipeline will make it easier to share the workflow and rerun the experiment in the future.
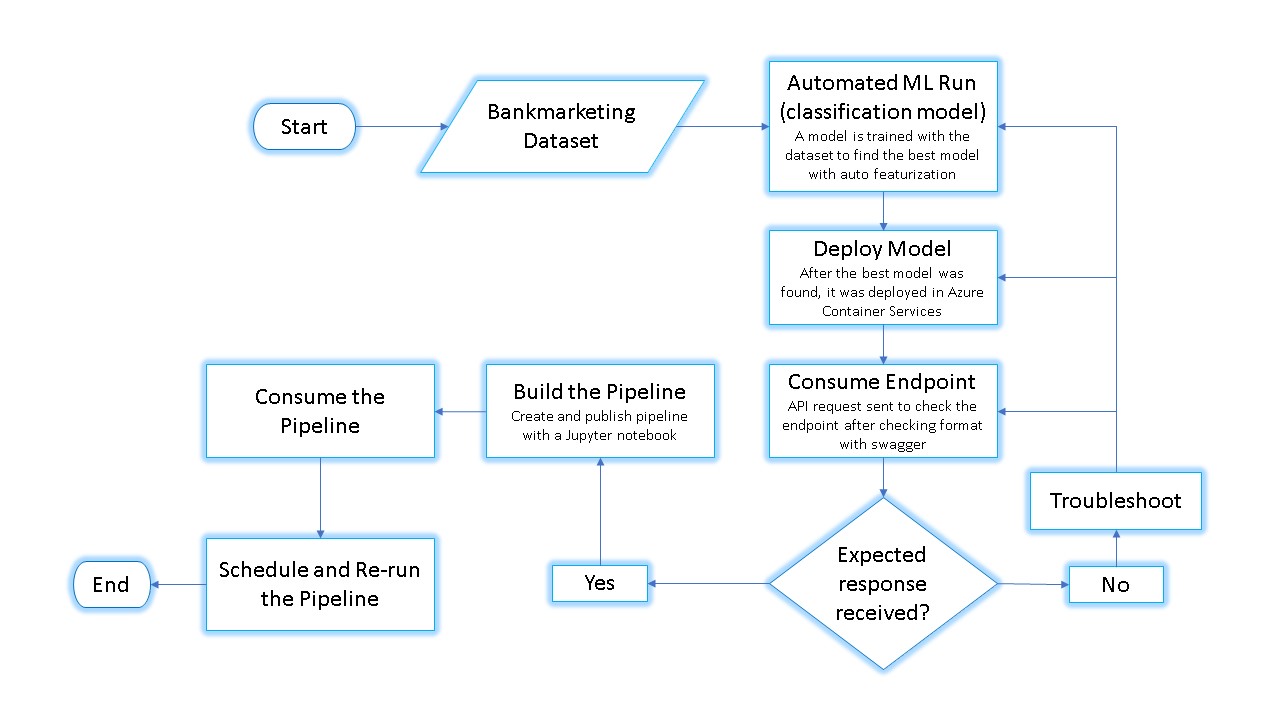
Here is an architectural diagram of the project:
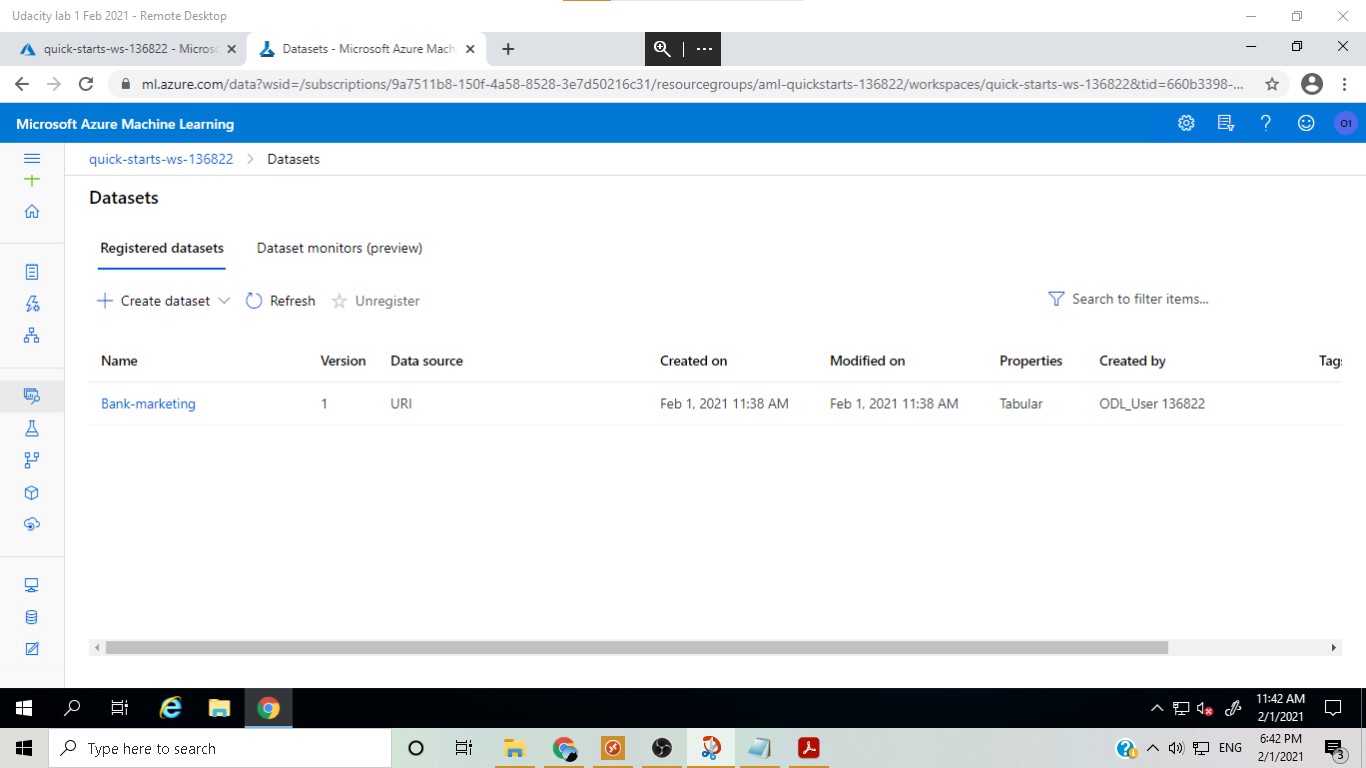
In this step, the bank marketing dataset was uploaded.
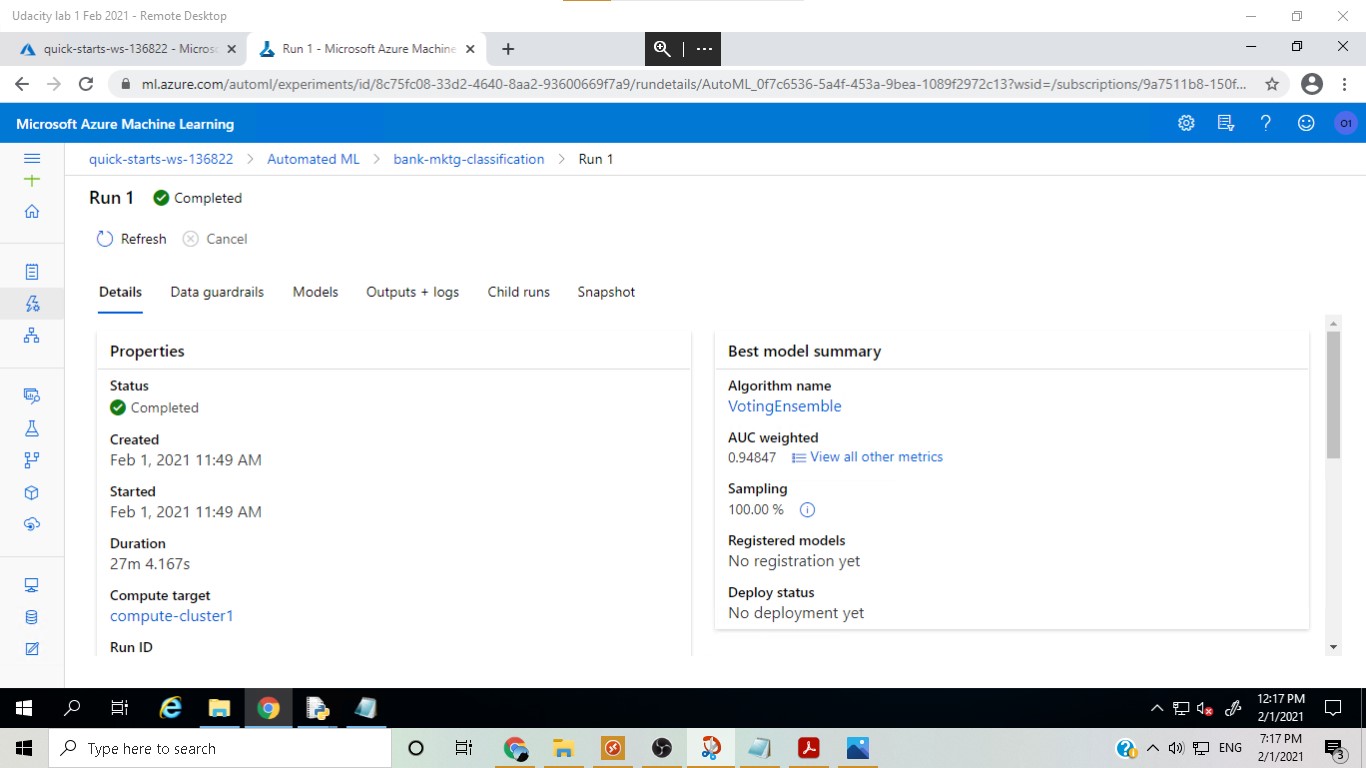
In this step, an Automated ML run was performed as a classification task with auto featurization and AUC Weighted as the primary metric to be optimized
The best model was found to be Voting Ensemble, which is a very robust model as it actually takes into account the different 'votes' about the label that all the different models predict from the dataset.
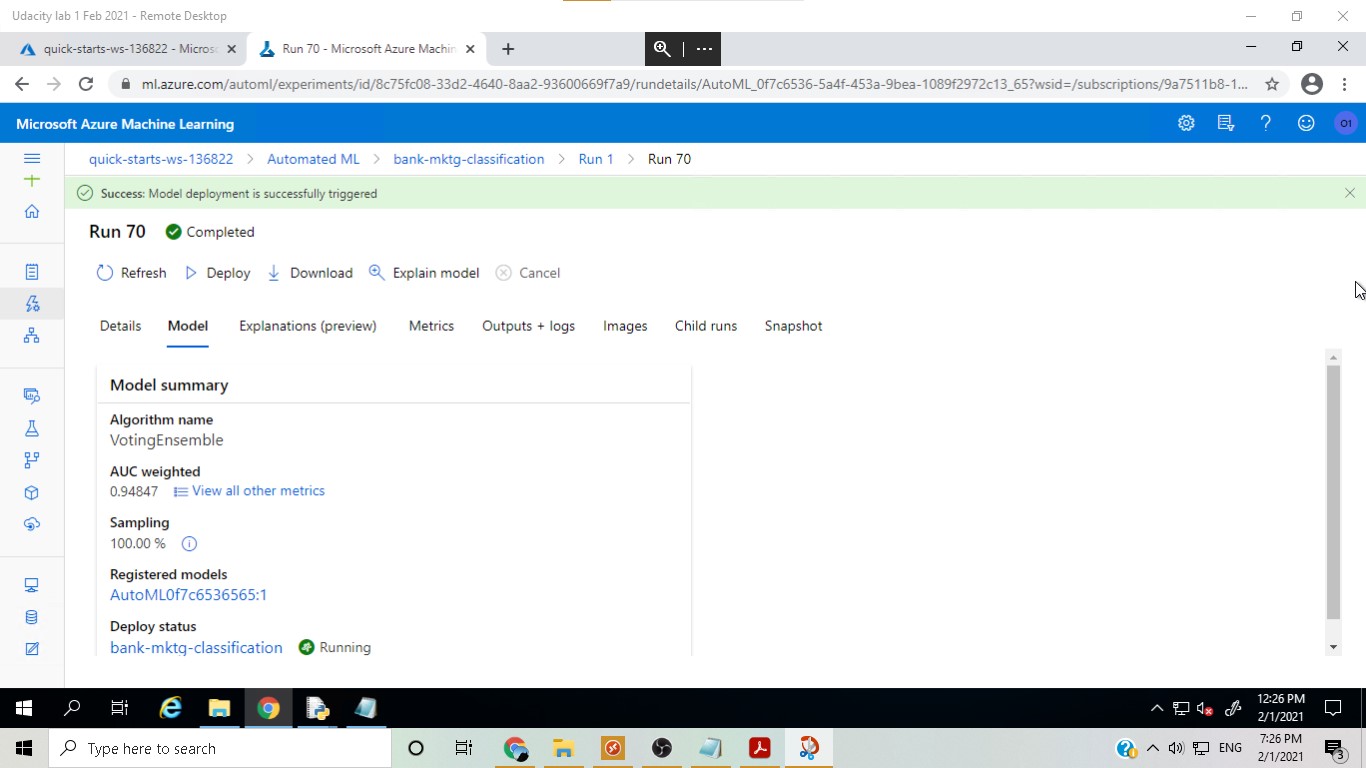
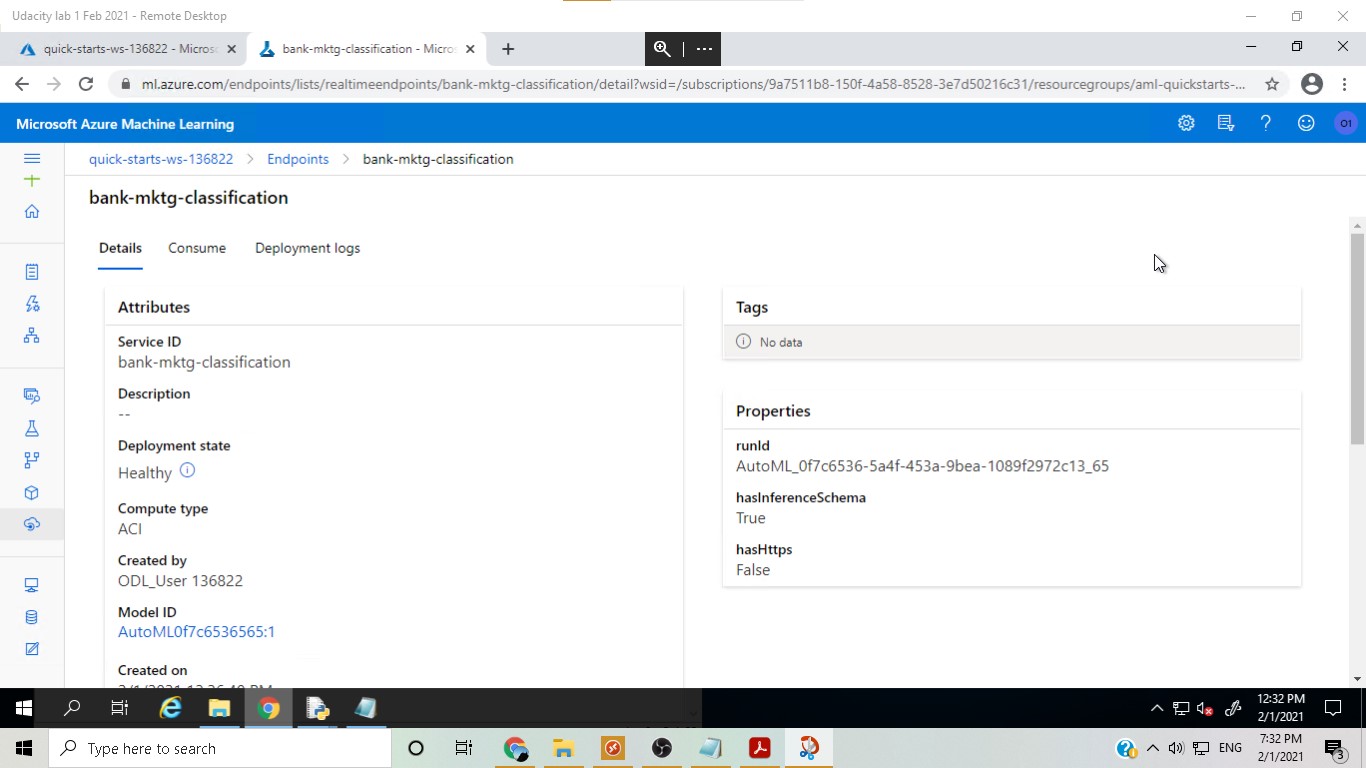
In this step, the best model from the AutoML run, Voting Ensemble, was deployed using Azure Container Instance.
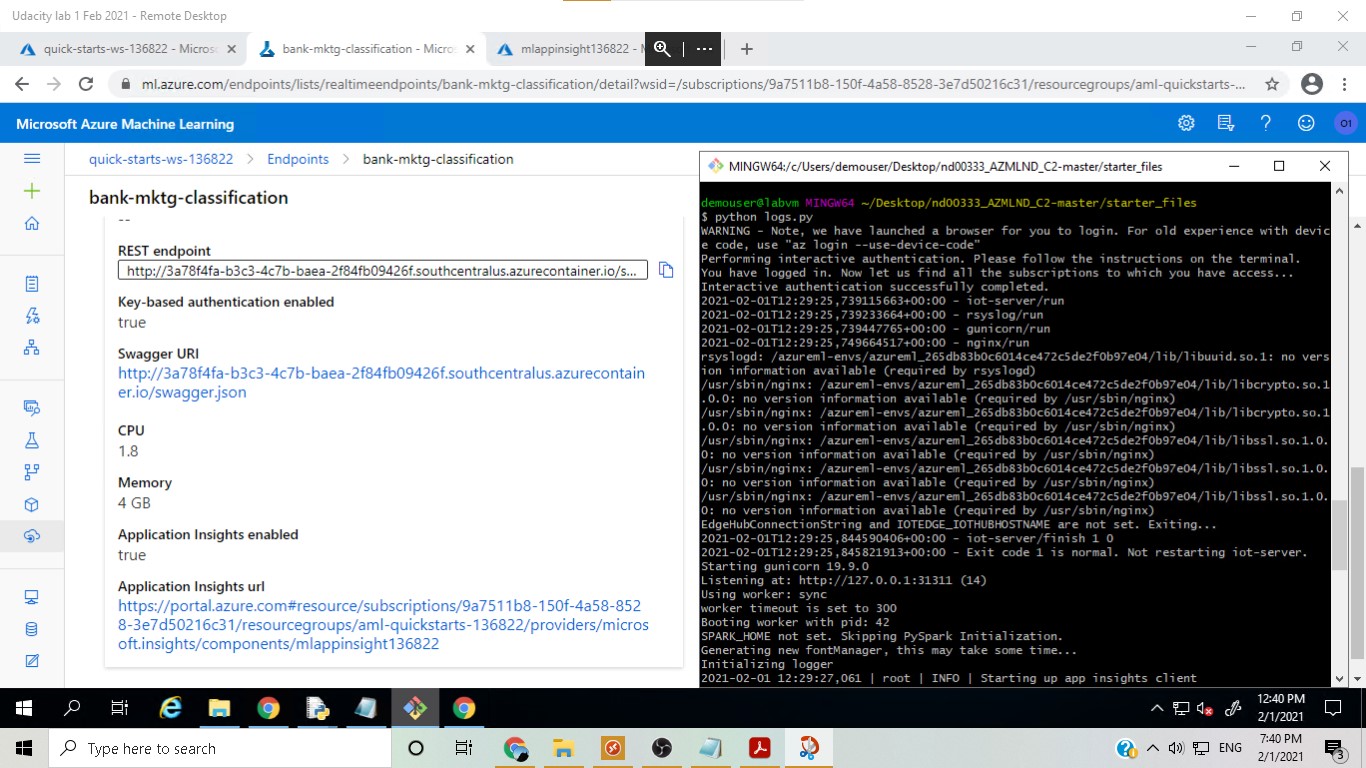
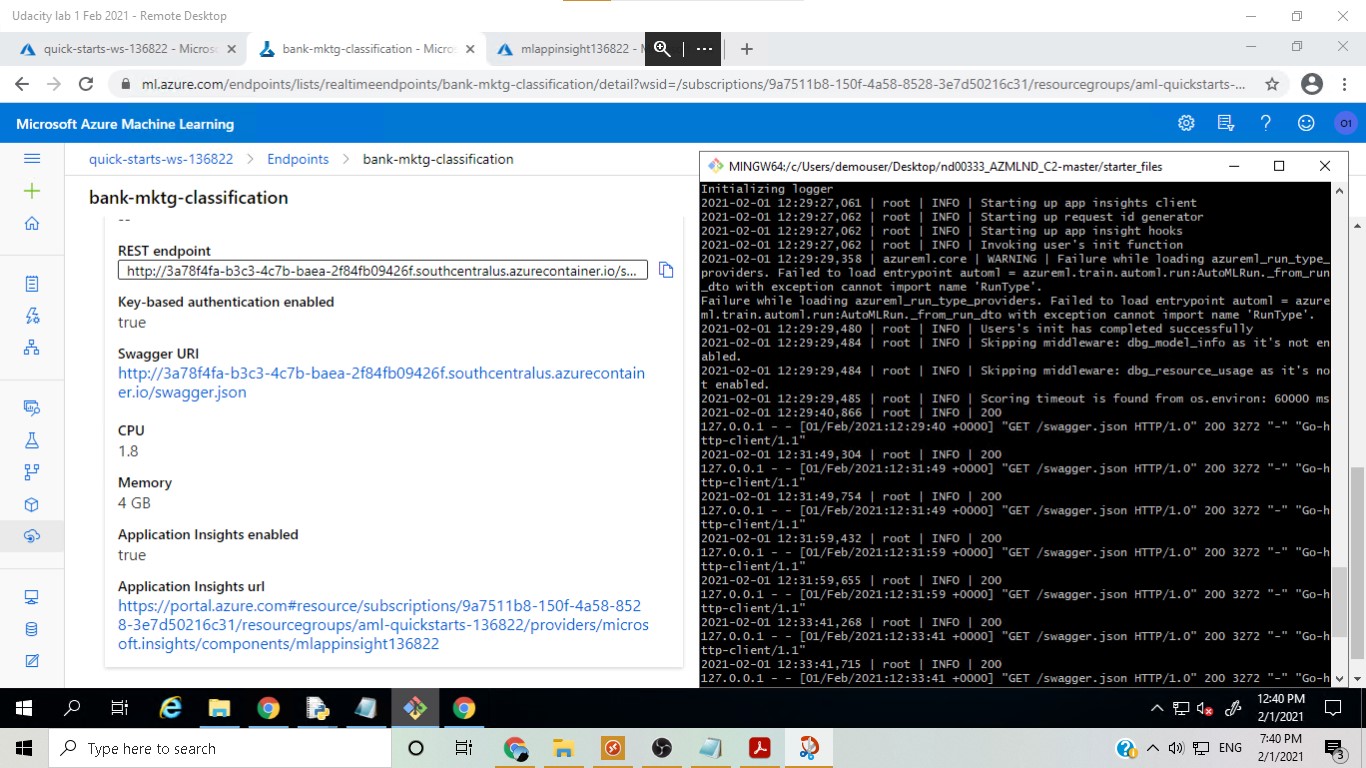
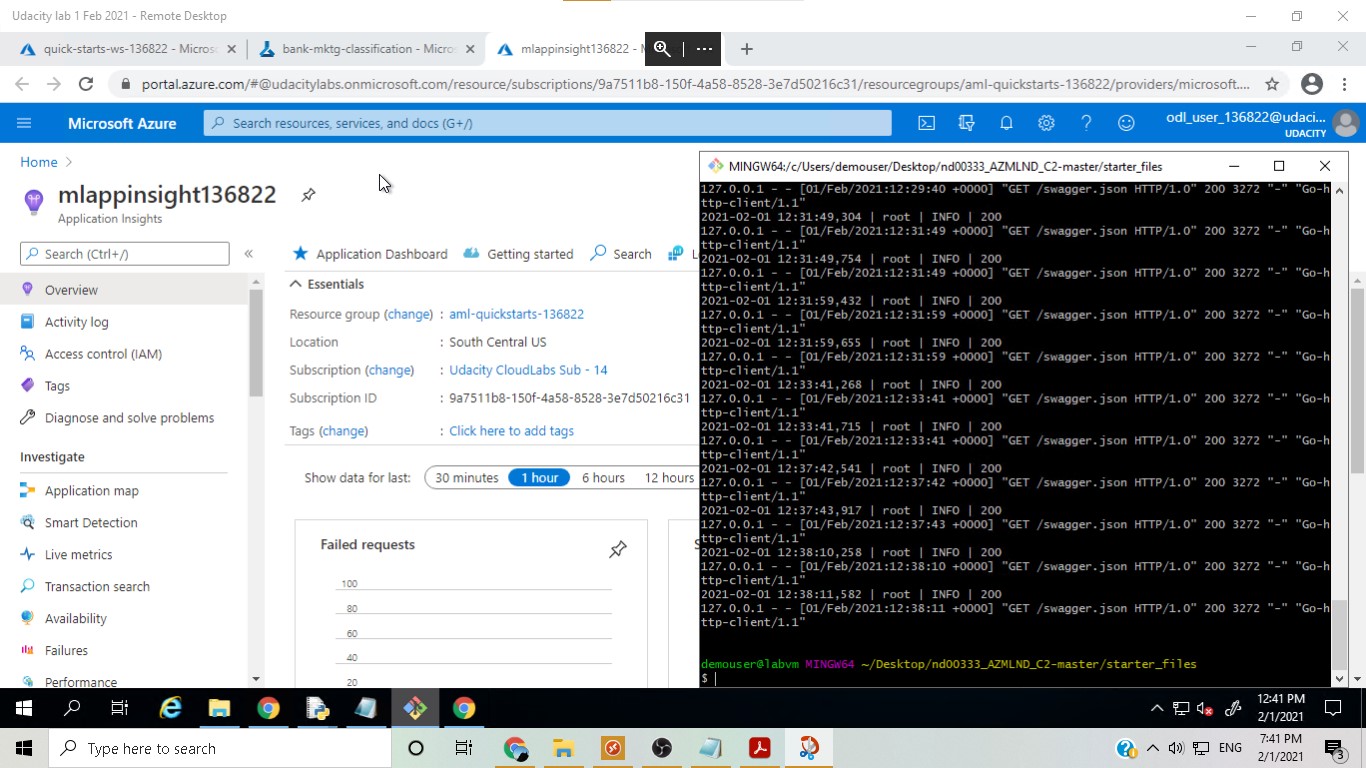
In this step, logging was enabled with a Python script and the Application Insights page could be used to monitor the app.
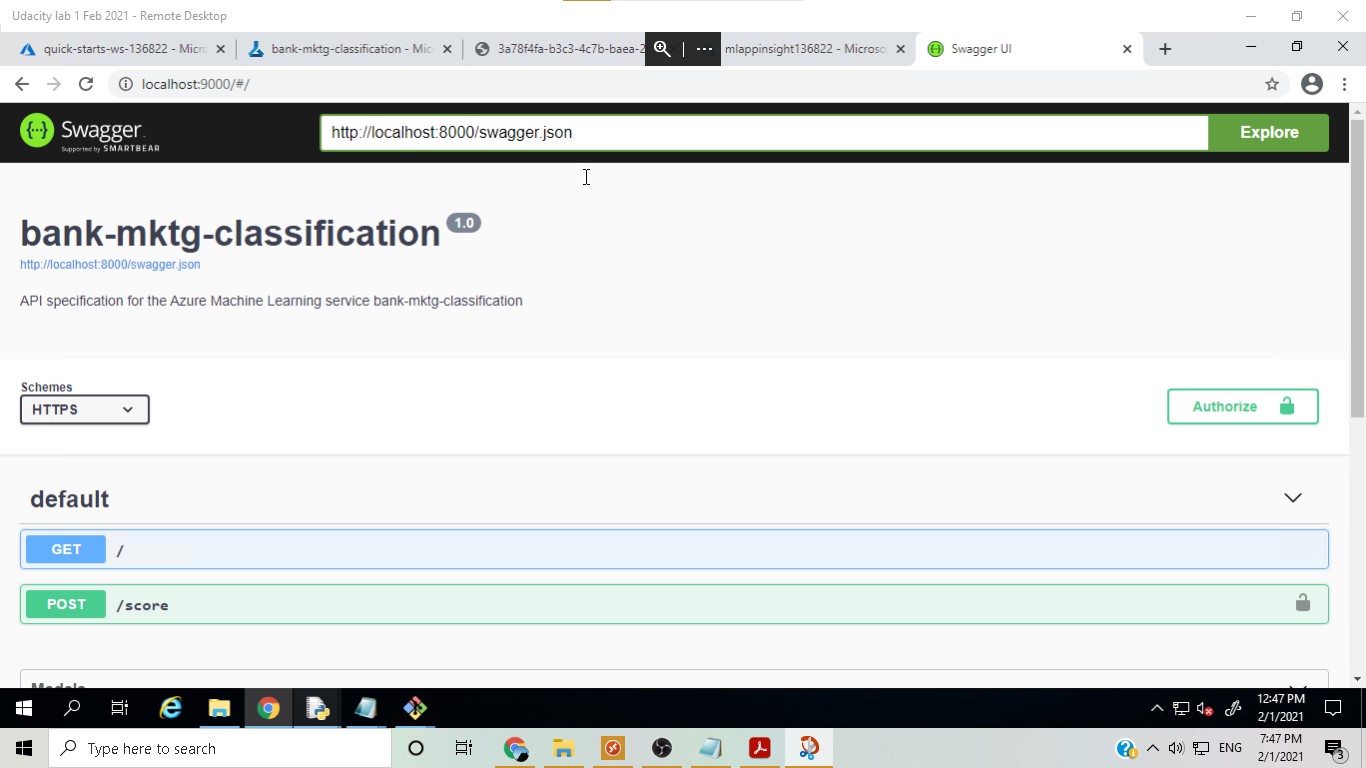
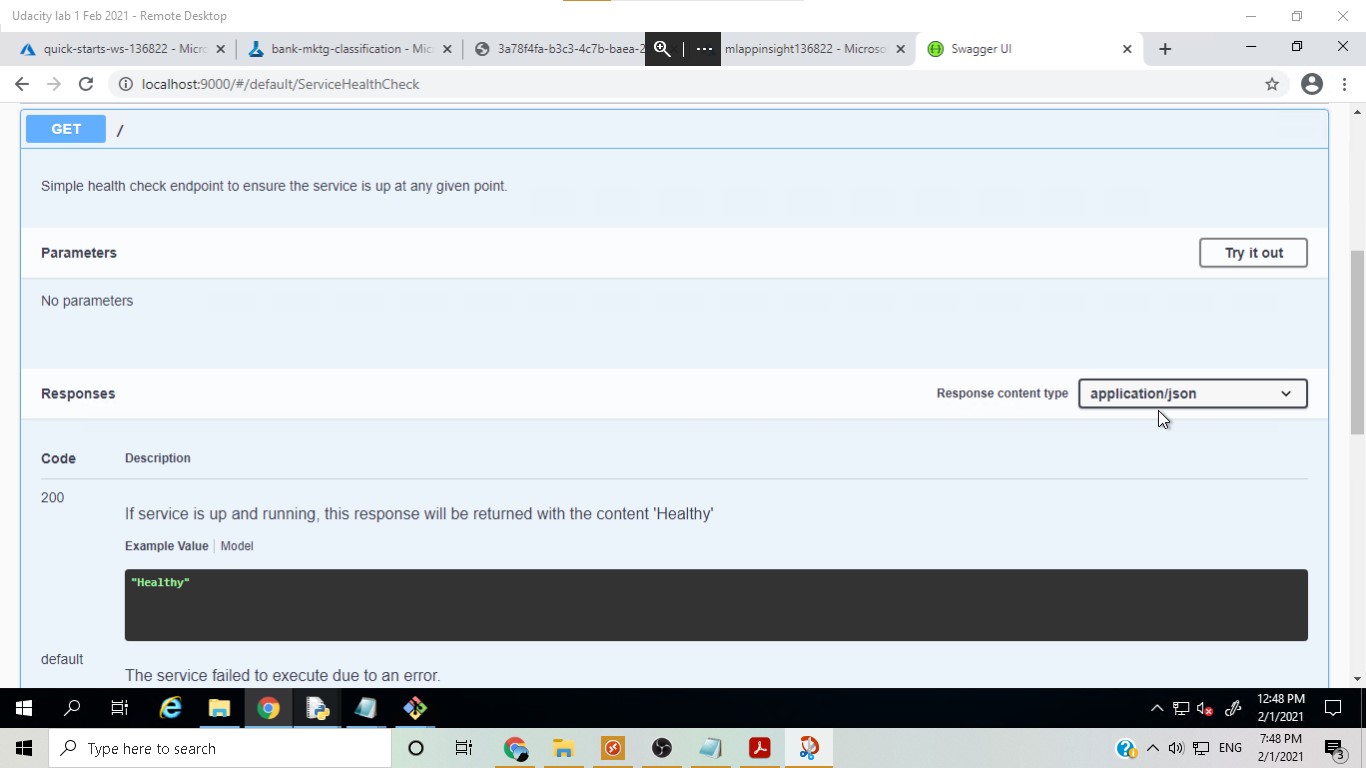
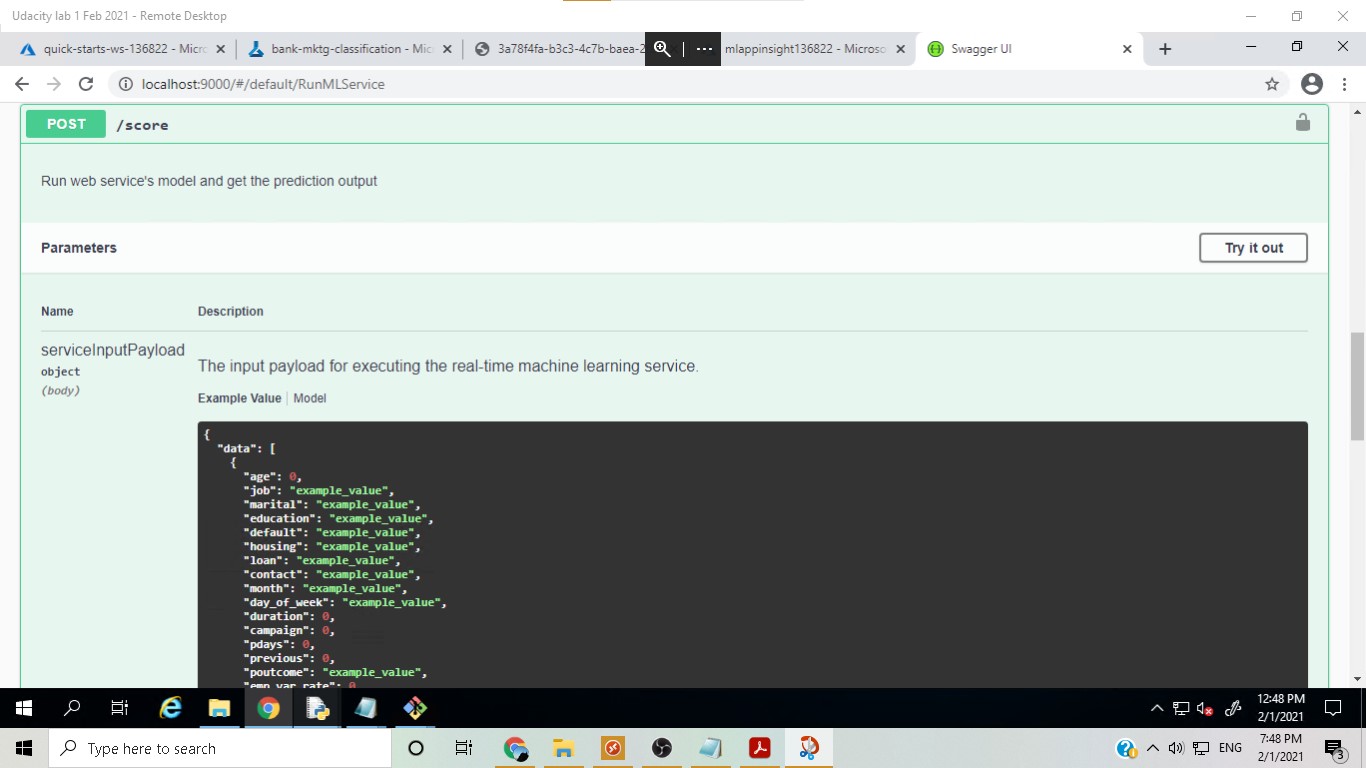
In this step, swagger ui was used to see the input required for an API request in order to obtain predictions from the deployed model. Two modes of API requests were seen, i.e. GET and POST.
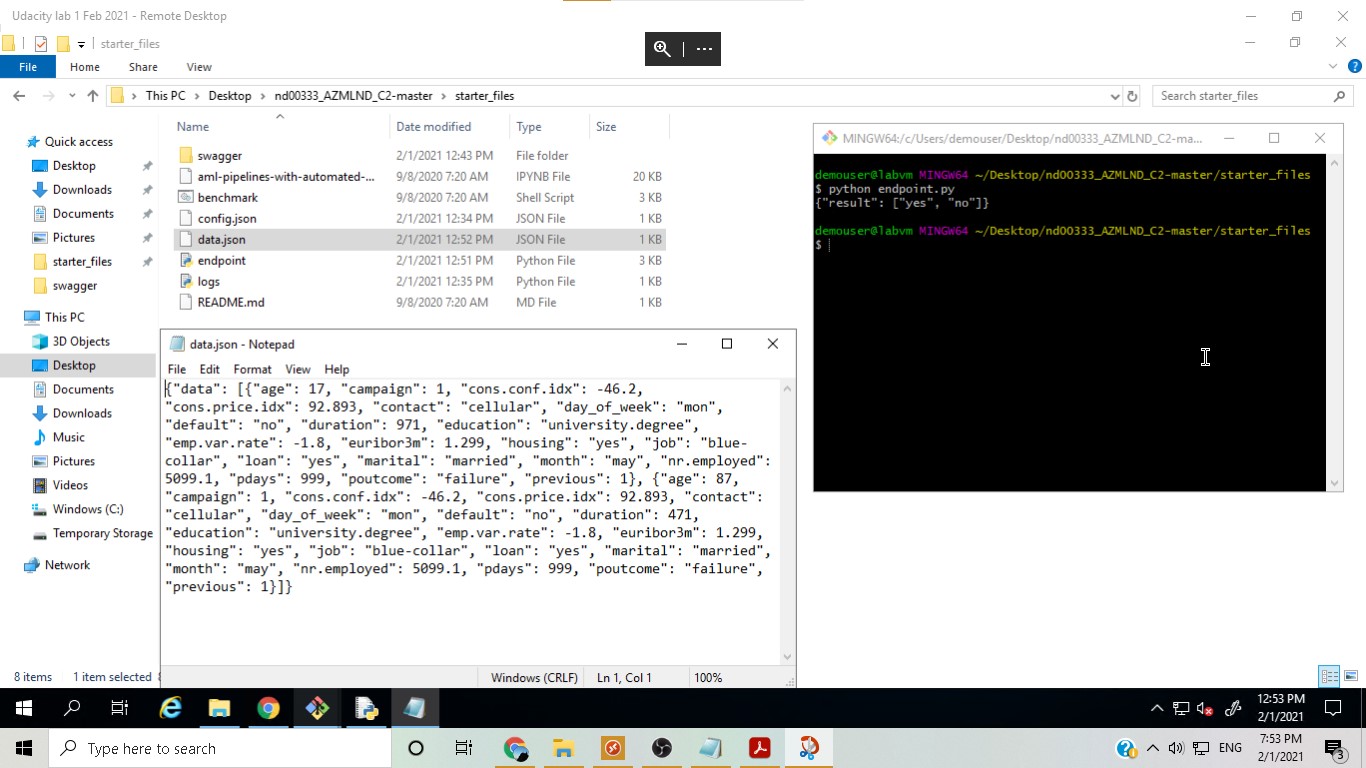
After finding out the json structure of the input, in this step a Python script was run to get the prediction from the endpoint by sending the new data in the required input structure.
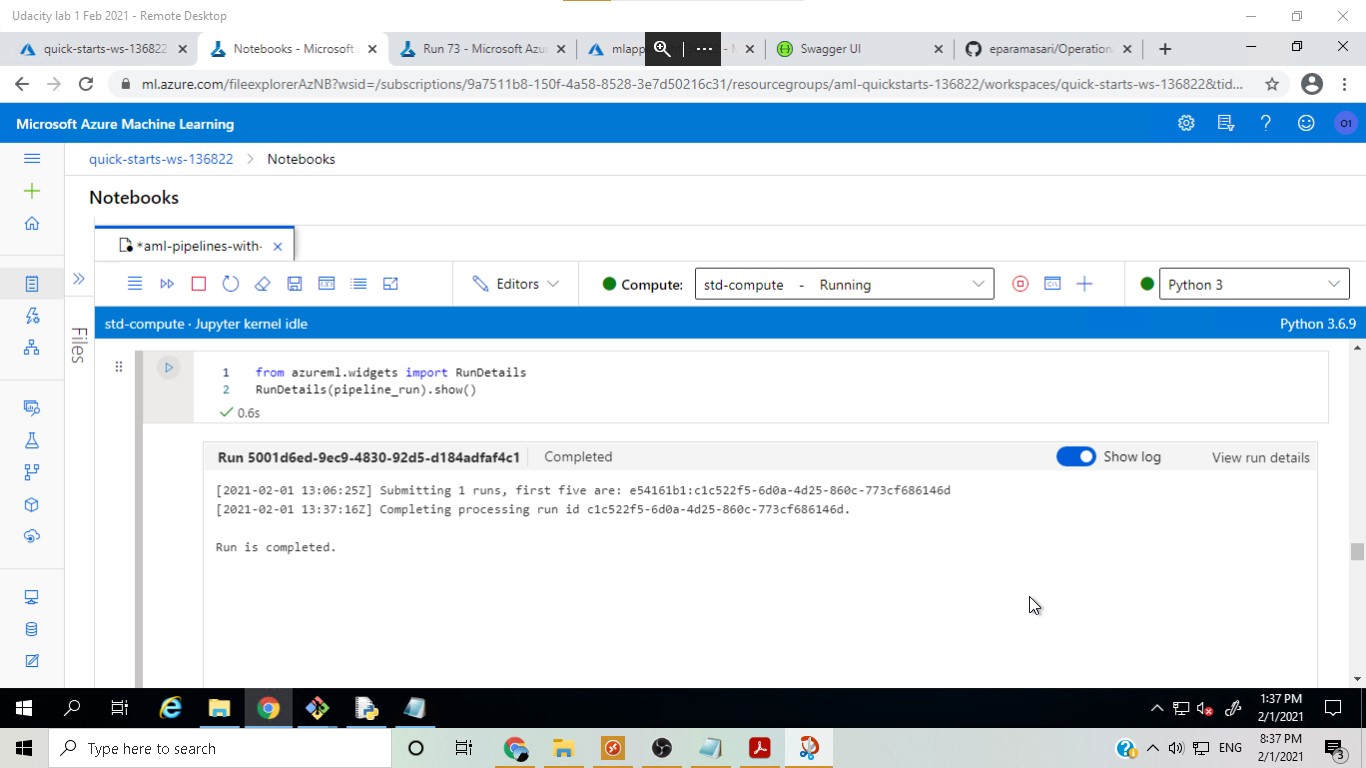
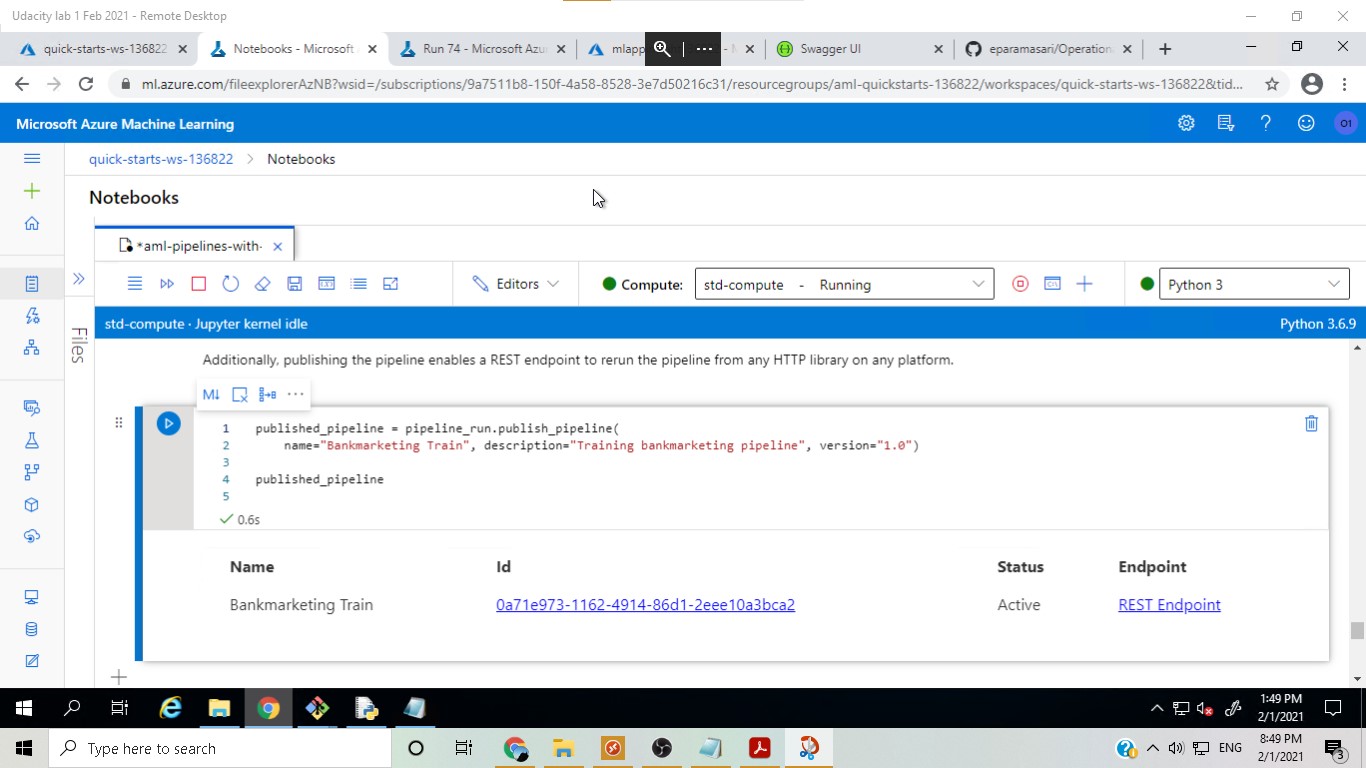
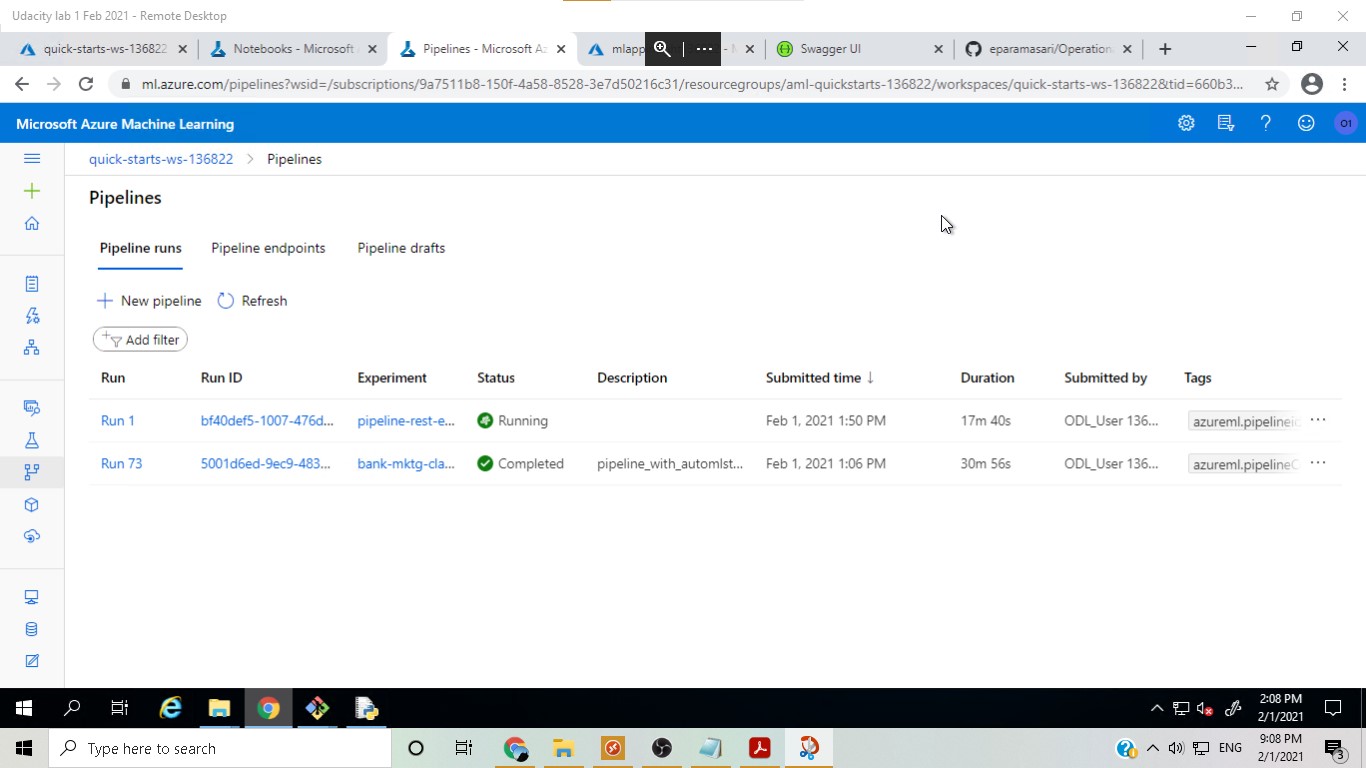
After the model was deployed, a pipeline was created and publish to ease duplicating the project flow. Another run was scheduled and eventually re-run.
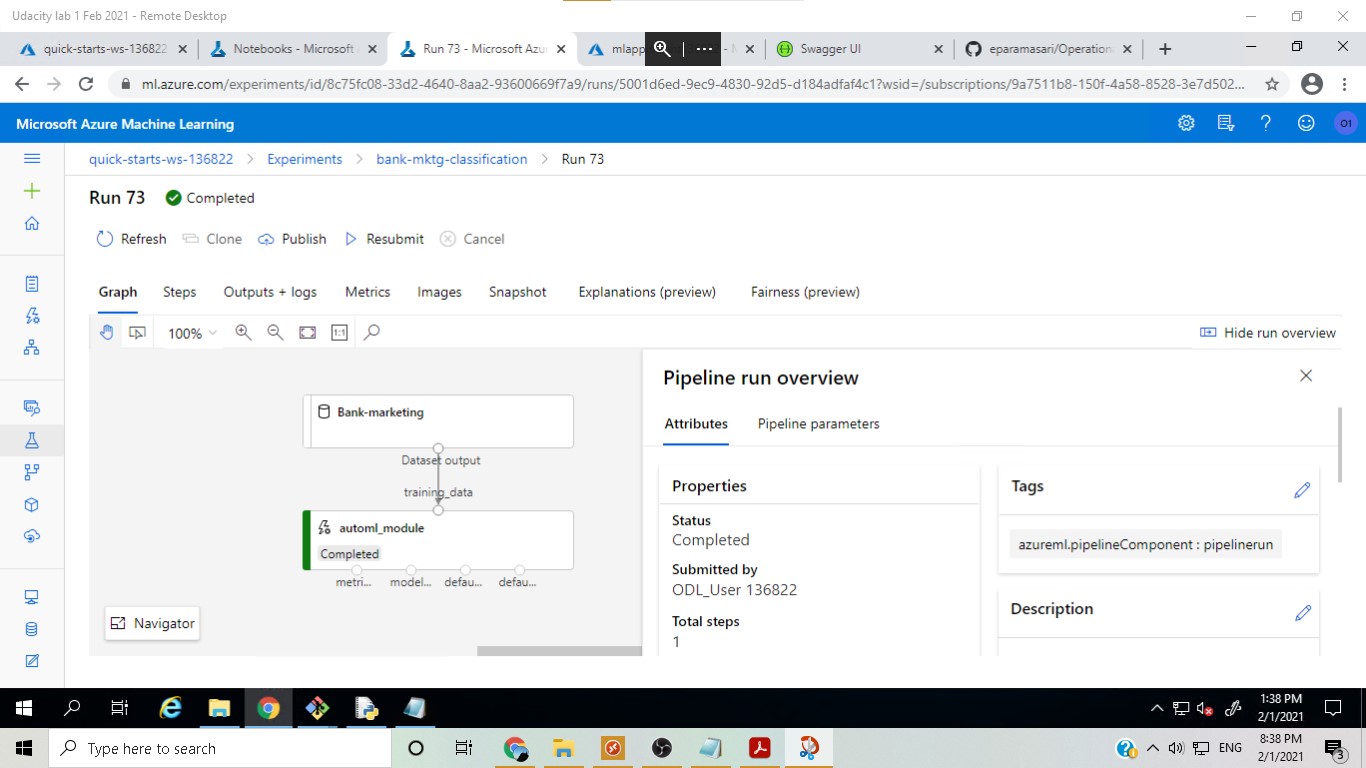
Completed pipeline run:
The Bank marketing dataset with the AutoML module:
Published pipeline overview:
Below is a link to a screen recording of the project in action.
-
Accuracy can be used as the primary metric in the AutoML run to compare the results with the latest run which used AUC Weighted.
-
Data cleaning could be performed prior to running AutoML to increase accuracy.
-
Deep Learning capability in AutoML could be used and the results then be compared to that without Deep Learning.
-
A benchmark could be added to similar projects to serve as a monitoring baseline.
