Flask Dashboard - Datta Able
Admin Dashboard generated by the AppSeed platform in Flask Framework on top of Datta Able (free version), a modern Bootstrap 4 dashboard template. The Flask codebase is provided with authentication, database, ORM and deployment scripts.
Flask Dashboard Features
- Reference Codebase - Flask Dashboard Boilerplate
- DBMS: SQLite, PostgreSQL (production)
- DB Tools: SQLAlchemy ORM, Alembic (schema migrations)
- Modular design with Blueprints
- Session-Based authentication (via flask_login), Forms validation
- Deployment scripts: Docker, Gunicorn/Nginx, HEROKU
- Support via Github (issues tracker) and Discord.
Links
- Flask Dashboard Datta Able - the product page
- Flask Dashboard Datta Able - Demo - Default login credentials ** test / pass **
- Flask Dashboard Datta Able - Docs - Product documentation
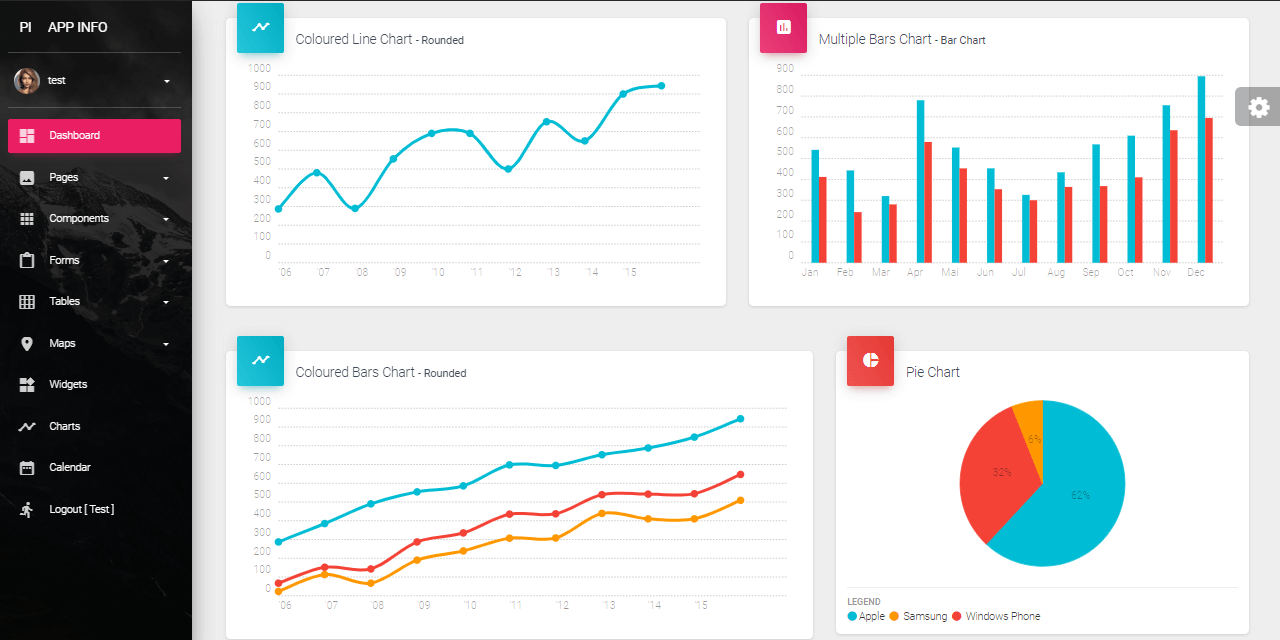
Datta Able
Datta Able Bootstrap Lite is the most stylised Bootstrap 4 Lite Admin Template, around all other Lite/Free admin templates in the market. It comes with high feature-rich pages and components with fully developer-centric code. Before developing Datta Able our key points were performance and design. While developing we have gone through various testing & code optimization process, for making this performance and design-centric backend application.
Comes with error/bug-free, well structured, well-commented code and regularly with all latest updated code. Which saves your a large amount of developing backend application time and it is fully customizable.
- Datta Able - product page
- Datta Able Demo - LIVE Deploy
Want more? Go PRO!
PRO versions include Premium UI Kits, Lifetime updates and 24/7 LIVE Support (via Discord)
| Flask Dashboard Material PRO | Flask Dashboard Black PRO | Flask Dashboard Argon PRO |
|---|---|---|
 |
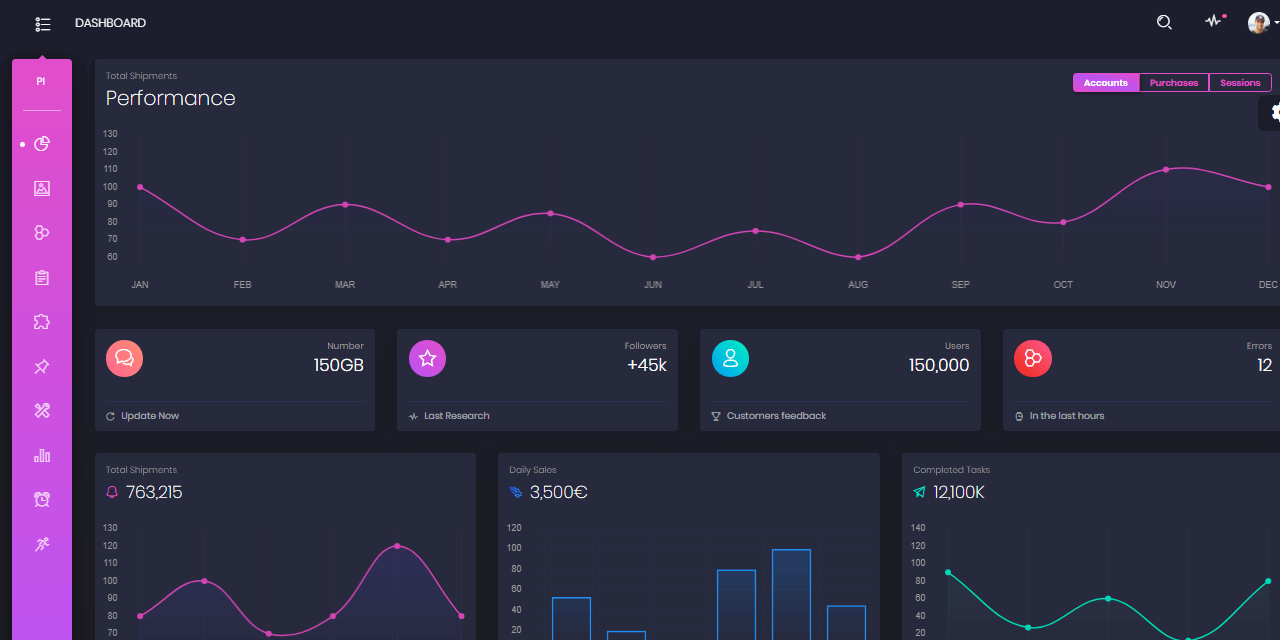 |
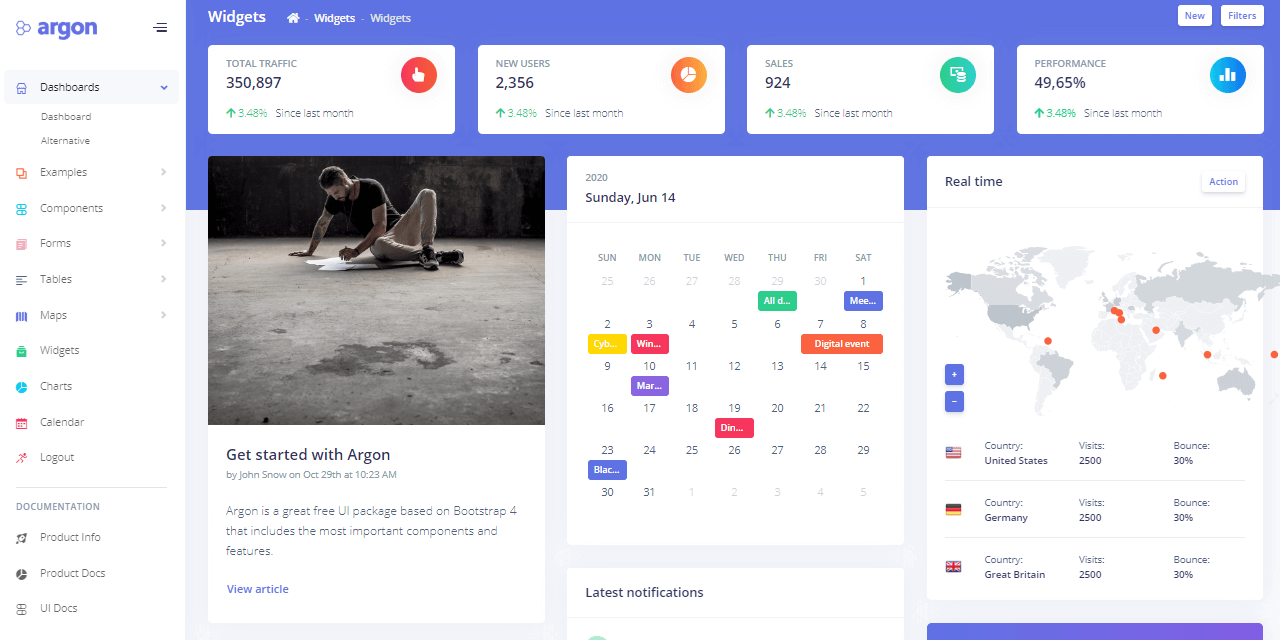 |

How to use it
$ # Get the code
$ git clone https://github.com/app-generator/flask-dashboard-dattaable.git
$ cd flask-dashboard-dattaable
$
$ # Virtualenv modules installation (Unix based systems)
$ virtualenv env
$ source env/bin/activate
$
$ # Virtualenv modules installation (Windows based systems)
$ # virtualenv env
$ # .\env\Scripts\activate
$
$ # Install modules - SQLite Database
$ pip3 install -r requirements.txt
$
$ # OR with PostgreSQL connector
$ # pip install -r requirements-pgsql.txt
$
$ # Set the FLASK_APP environment variable
$ (Unix/Mac) export FLASK_APP=run.py
$ (Windows) set FLASK_APP=run.py
$ (Powershell) $env:FLASK_APP = ".\run.py"
$
$ # Set up the DEBUG environment
$ # (Unix/Mac) export FLASK_ENV=development
$ # (Windows) set FLASK_ENV=development
$ # (Powershell) $env:FLASK_ENV = "development"
$
$ # Start the application (development mode)
$ # --host=0.0.0.0 - expose the app on all network interfaces (default 127.0.0.1)
$ # --port=5000    - specify the app port (default 5000)
$ flask run --host=0.0.0.0 --port=5000
$
$ # Access the dashboard in browser: http://127.0.0.1:5000/
Note: To use the app, please access the registration page and create a new user. After authentication, the app will unlock the private pages.
Code-base structure
The project is coded using blueprints, app factory pattern, dual configuration profile (development and production) and an intuitive structure presented bellow:
Simplified version
< PROJECT ROOT >
   |
   |-- app/                      # Implements app logic
   |    |-- base/                # Base Blueprint - handles the authentication
   |    |-- home/                # Home Blueprint - serve UI Kit pages
   |    |
   |   __init__.py               # Initialize the app
   |
   |-- requirements.txt          # Development modules - SQLite storage
   |-- requirements-mysql.txt    # Production modules  - Mysql DMBS
   |-- requirements-pqsql.txt    # Production modules  - PostgreSql DMBS
   |
   |-- .env                      # Inject Configuration via Environment
   |-- config.py                 # Set up the app
   |-- run.py                    # Start the app - WSGI gateway
   |
   |-- ************************************************************************
The bootstrap flow
run.pyloads the.envfile- Initialize the app using the specified profile: Debug or Production
- If env.DEBUG is set to True the SQLite storage is used
- If env.DEBUG is set to False the specified DB driver is used (MySql, PostgreSQL)
- Call the app factory method
create_appdefined in app/init.py - Redirect the guest users to Login page
- Unlock the pages served by home blueprint for authenticated users
App / Base Blueprint
The Base blueprint handles the authentication (routes and forms) and assets management. The structure is presented below:
< PROJECT ROOT >
   |
   |-- app/
   |    |-- home/                                # Home Blueprint - serve app pages (private area)
   |    |-- base/                                # Base Blueprint - handles the authentication
   |         |-- static/
   |         |    |-- <css, JS, images>          # CSS files, Javascripts files
   |         |
   |         |-- templates/                      # Templates used to render pages
   |              |
   |              |-- includes/                  #
   |              |    |-- navigation.html       # Top menu component
   |              |    |-- sidebar.html          # Sidebar component
   |              |    |-- footer.html           # App Footer
   |              |    |-- scripts.html          # Scripts common to all pages
   |              |
   |              |-- layouts/                   # Master pages
   |              |    |-- base-fullscreen.html  # Used by Authentication pages
   |              |    |-- base.html             # Used by common pages
   |              |
   |              |-- accounts/                  # Authentication pages
   |                   |-- login.html            # Login page
   |                   |-- register.html         # Registration page
   |
   |-- requirements.txt                          # Development modules - SQLite storage
   |-- requirements-mysql.txt                    # Production modules  - Mysql DMBS
   |-- requirements-pqsql.txt                    # Production modules  - PostgreSql DMBS
   |
   |-- .env                                      # Inject Configuration via Environment
   |-- config.py                                 # Set up the app
   |-- run.py                                    # Start the app - WSGI gateway
   |
   |-- ************************************************************************
App / Home Blueprint
The Home blueprint handles UI Kit pages for authenticated users. This is the private zone of the app - the structure is presented below:
< PROJECT ROOT >
   |
   |-- app/
   |    |-- base/                     # Base Blueprint - handles the authentication
   |    |-- home/                     # Home Blueprint - serve app pages (private area)
   |         |
   |         |-- templates/           # UI Kit Pages
   |              |
   |              |-- index.html      # Default page
   |              |-- page-404.html   # Error 404 page
   |              |-- page-500.html   # Error 500 page
   |              |-- page-403.html   # Error 403 page
   |              |-- *.html          # All other HTML pages
   |
   |-- requirements.txt               # Development modules - SQLite storage
   |-- requirements-mysql.txt         # Production modules  - Mysql DMBS
   |-- requirements-pqsql.txt         # Production modules  - PostgreSql DMBS
   |
   |-- .env                           # Inject Configuration via Environment
   |-- config.py                      # Set up the app
   |-- run.py                         # Start the app - WSGI gateway
   |
   |-- ************************************************************************
Deployment
The app is provided with a basic configuration to be executed in Docker, Gunicorn, and Waitress.
Docker execution
The application can be easily executed in a docker container. The steps:
Get the code
$ git clone https://github.com/app-generator/flask-dashboard-dattaable.git
$ cd flask-dashboard-dattaable
Start the app in Docker
$ sudo docker-compose pull && sudo docker-compose build && sudo docker-compose up -dVisit http://localhost:5005 in your browser. The app should be up & running.
Gunicorn
Gunicorn 'Green Unicorn' is a Python WSGI HTTP Server for UNIX.
Install using pip
$ pip install gunicornStart the app using gunicorn binary
$ gunicorn --bind 0.0.0.0:8001 run:app
Serving on http://localhost:8001
Visit http://localhost:8001 in your browser. The app should be up & running.
Waitress
Waitress (Gunicorn equivalent for Windows) is meant to be a production-quality pure-Python WSGI server with very acceptable performance. It has no dependencies except ones that live in the Python standard library.
Install using pip
$ pip install waitressStart the app using waitress-serve
$ waitress-serve --port=8001 run:app
Serving on http://localhost:8001
Visit http://localhost:8001 in your browser. The app should be up & running.
Credits & Links
- Flask Framework - The official website
- Boilerplate Code - Index provided by AppSeed
- Boilerplate Code - Index published on Github
Flask Dashboard Datta Able - Provided by AppSeed Web App Generator.