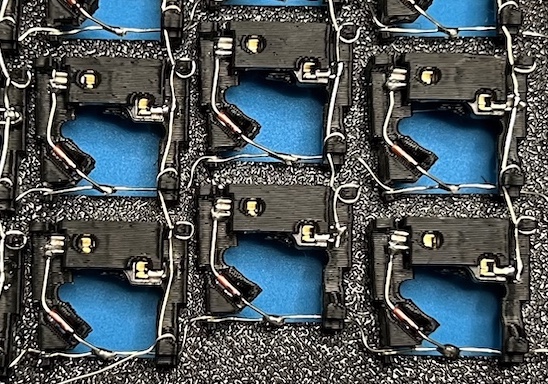
Klavgen is a handwired keyboard generator written in Python, on top of CadQuery. It produces keyboards (like on the left) and optionally makes handwiring easy and organized via switch holders (on the right):
Note: Klavgen is heavily work-in-progress and lots of stuff may not be working. If you experience issues, please submit a Github issue.
Klavgen benefits:
- Generates the full keyboard, including plate, bottom, palm rests and holders for the controller and TRRS/USBC jack
- All models are optimized for home FDM printing with no supports
- Produces slim keyboards: only 11 mm high in the default configuration
- Support Kailh hotswap sockets, with support for MX switches (and very early experimental support for Choc)
- Makes it easy to solder things, and requires no glue whatsoever
- Uses uninsulated wires, thus no tedious wire stripping
- Makes it easy to reposition the keys after making the keyboard
- Produces a sturdy build that doesn't flex when typed on
The last 5 benefits are achieved by optionally using switch holders (MX/Choc) that organize the wires, hold the Kailh sockets and diodes, support the switches, enable soldering everything in place, and allow moving keys later (they even have wire slack so that you can space keys further apart).
Klavgen can also skip the usage of switch holders to generate just a case with normal switch holes.
Note: Choc support is very early and not well tested.
Limitations:
- Configuring a keyboard requires code, it's not as easy as YAML
- Docs are scarce (as you'll see below)
- Jun 7, 2022: Add support for not using switch holders, therefore generating simple switch holes
- May 20, 2022: Add experimental support for Choc switches; refactor switch holder generation
- May 10, 2022: Improve generation from KLE (http://www.keyboard-layout-editor.com/) (thanks @Tructruc) and support case
geometry via the new
case_extrasparameter - Apr 25, 2022: Add example STLs and improce docs
- Mar 31, 2022: Initial check-in
See the example_stls directory for example STL outputs. These were generated by
example.py, see more about that below.
| Component | STL file (for MX build) | Preview |
|---|---|---|
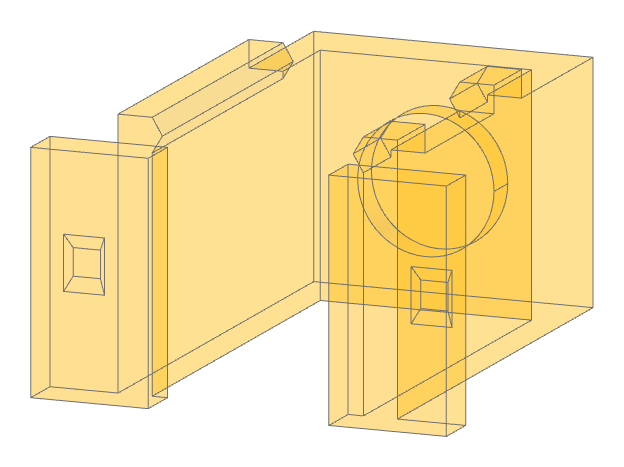
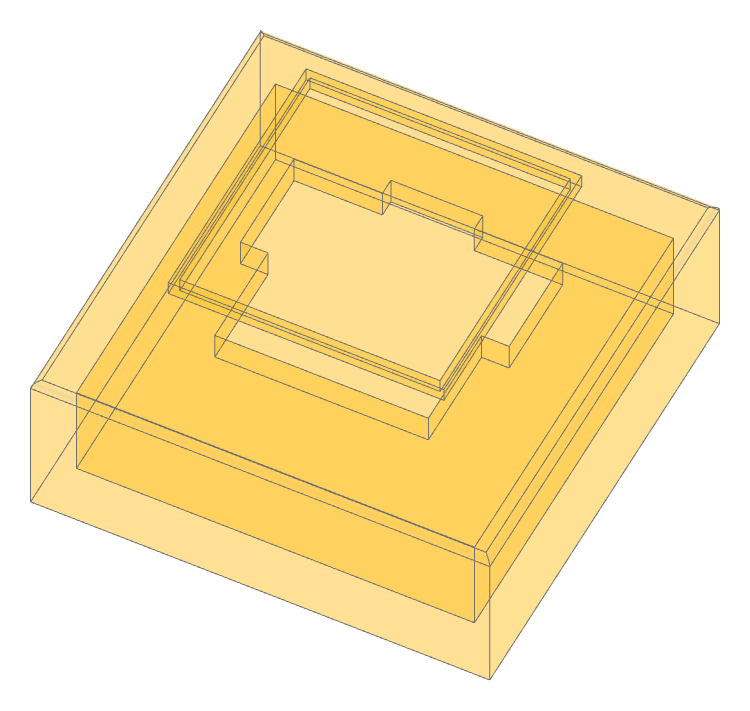
| Bottom | keyboard_bottom.stl |
|
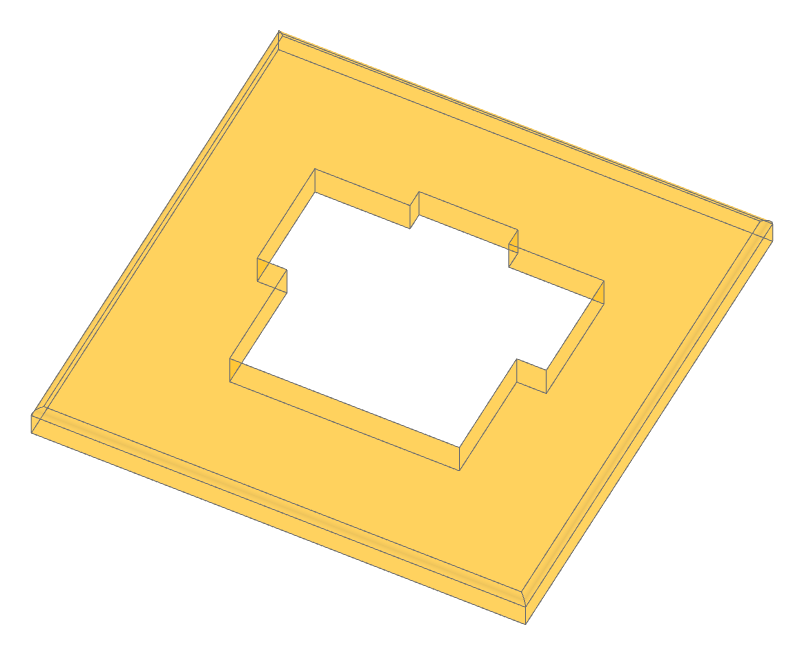
| Top plate: flat with simple holes so that it can be made with a laser cutter or a CNC machine | keyboard_top.stl |
|
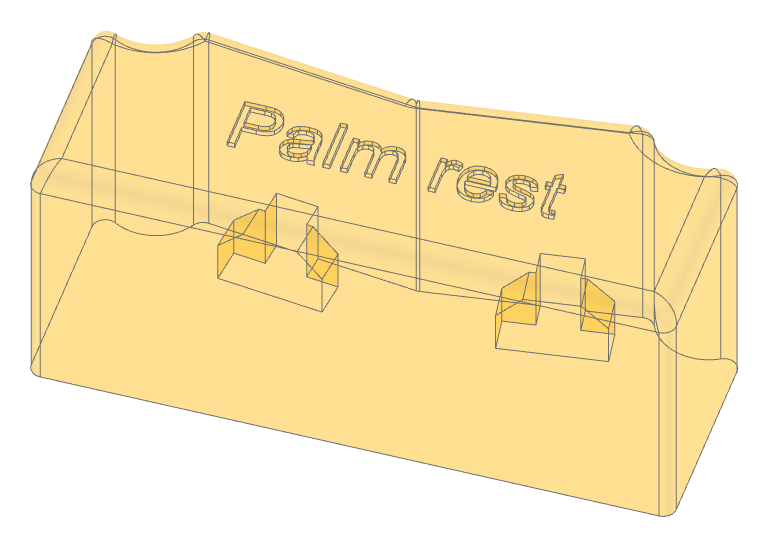
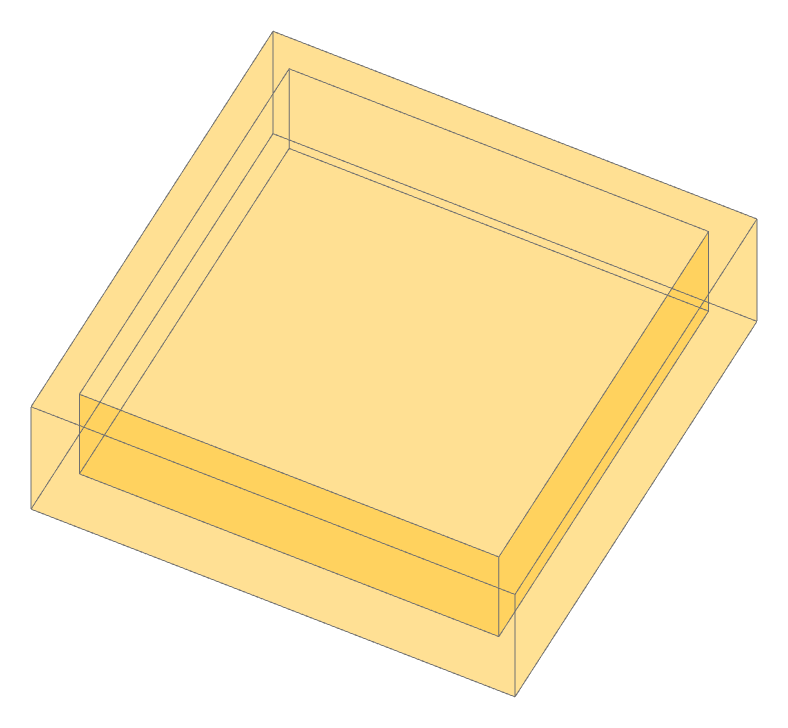
| Palm rest: attaches to the bottom via connectors (can also be fused with the bottom, see below) | palm_rest.stl |
|
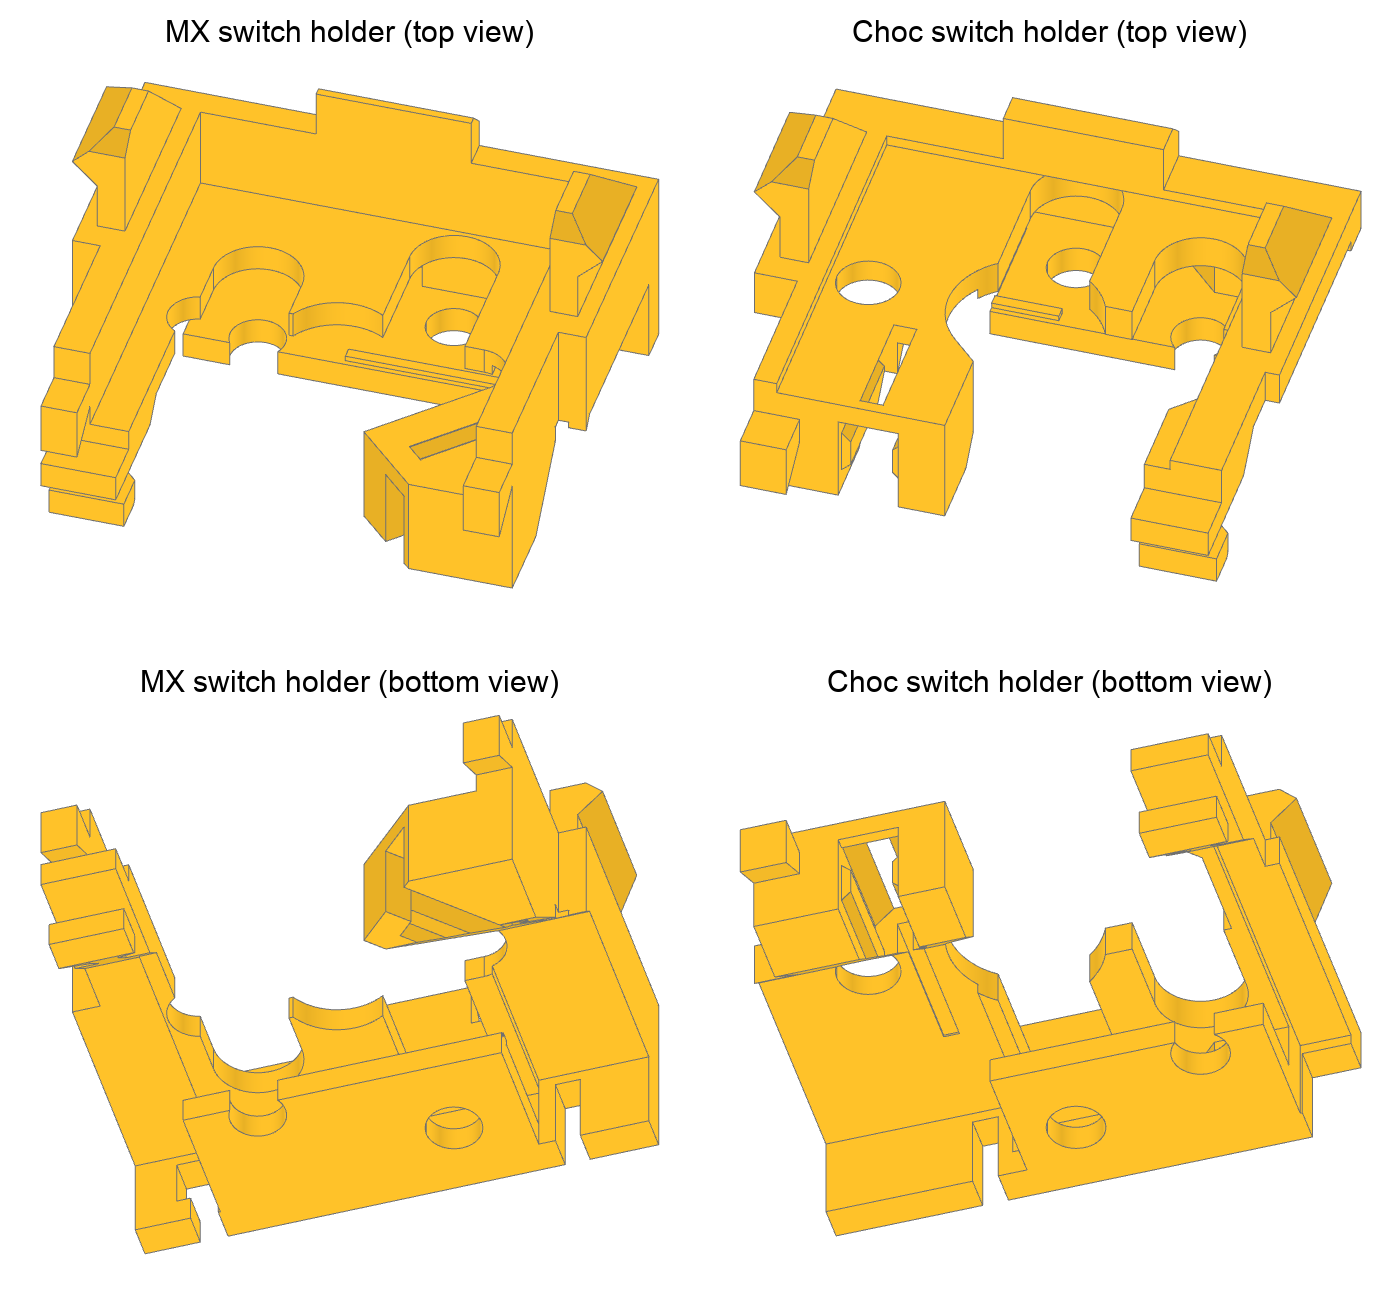
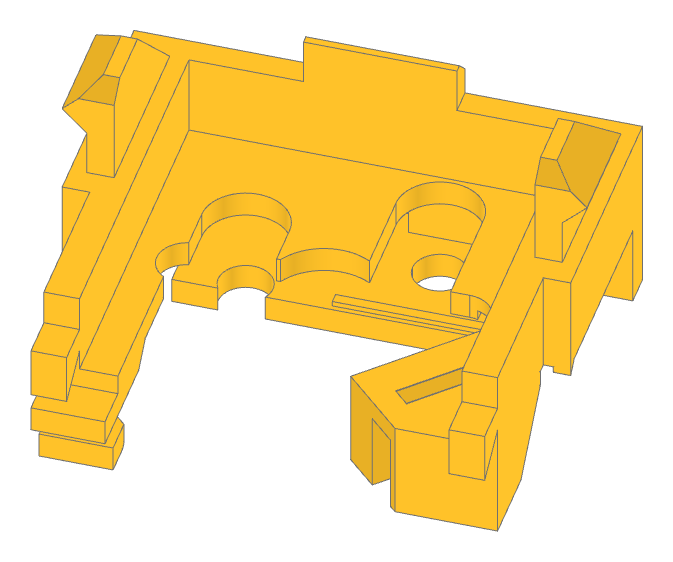
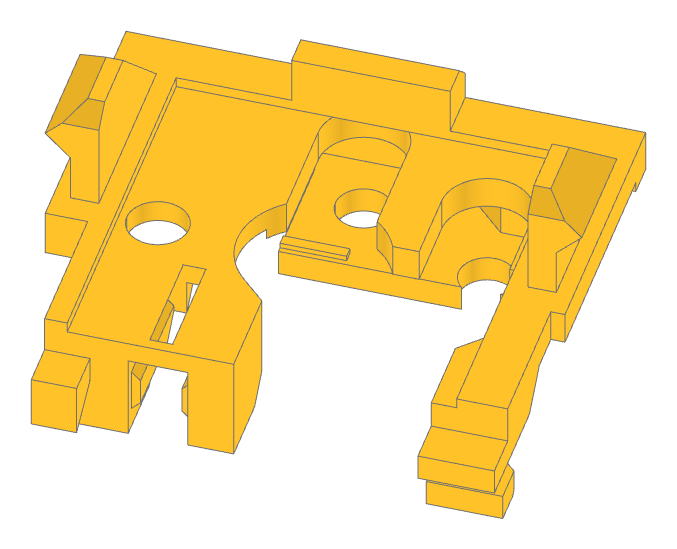
| Switch holder: Holds the Kailh hotswap socket (MX or Choc) and allows you to solder the diode, column and row wires in-place. These should be printed in ABS since the soldering iron will be close. | switch_holder.stl |
|
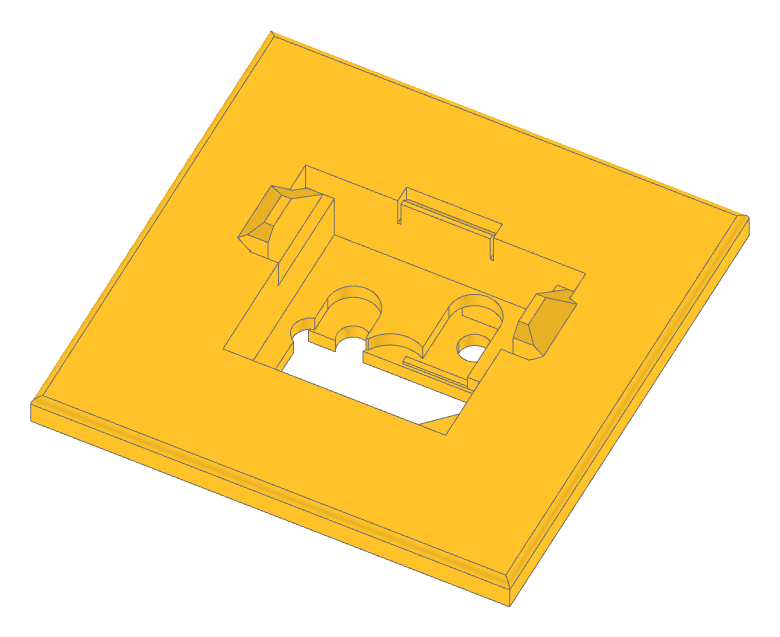
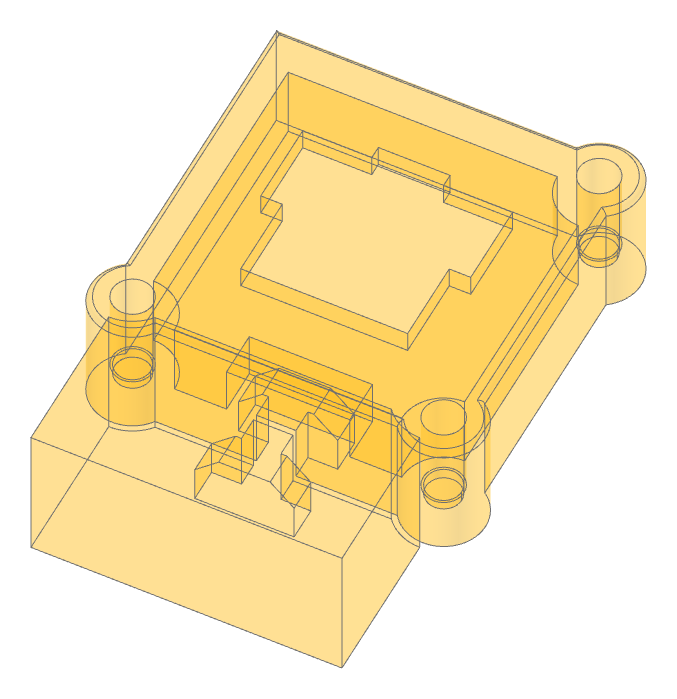
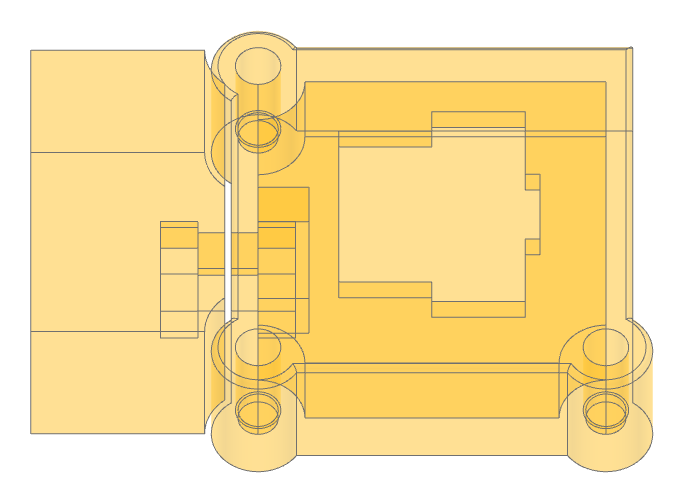
| Pro Micro controller holder: holds the Arduino Pro Micro | controller_holder.stl |
|
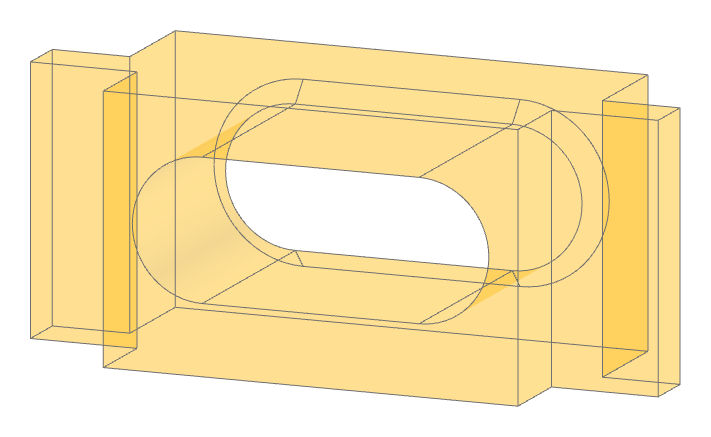
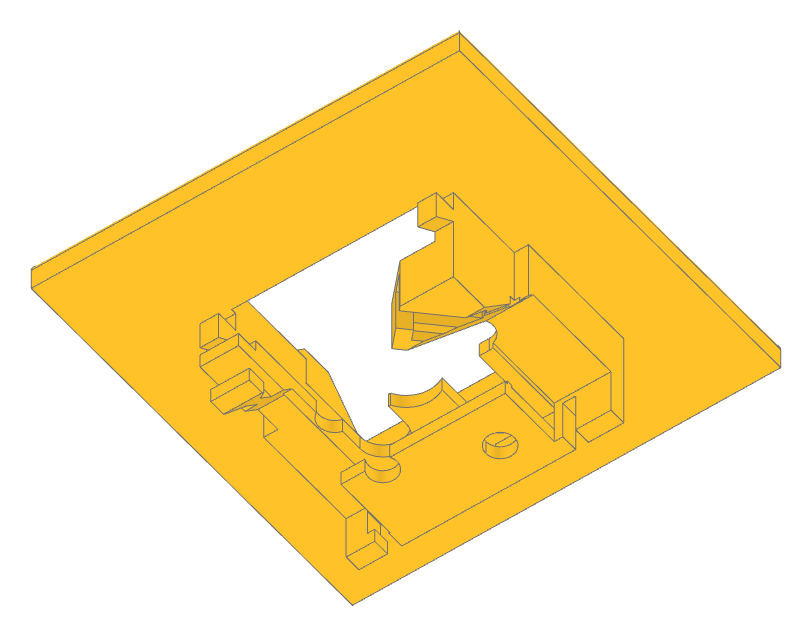
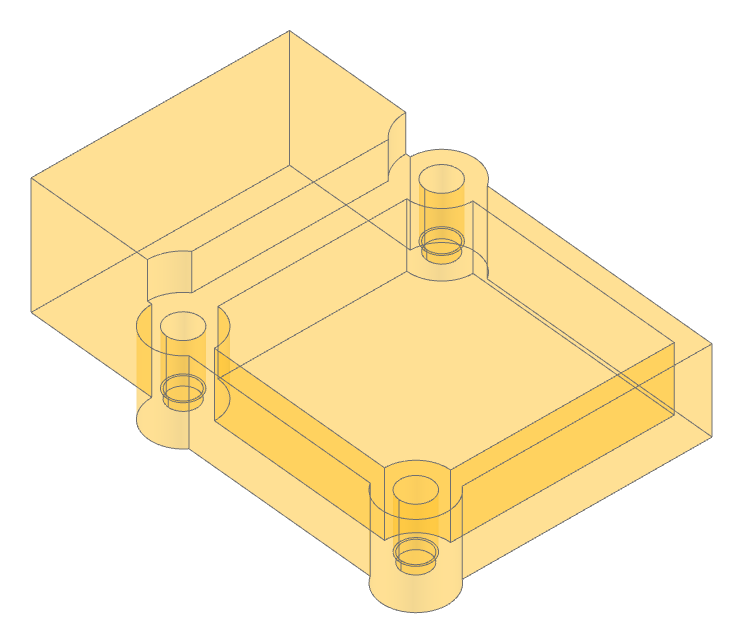
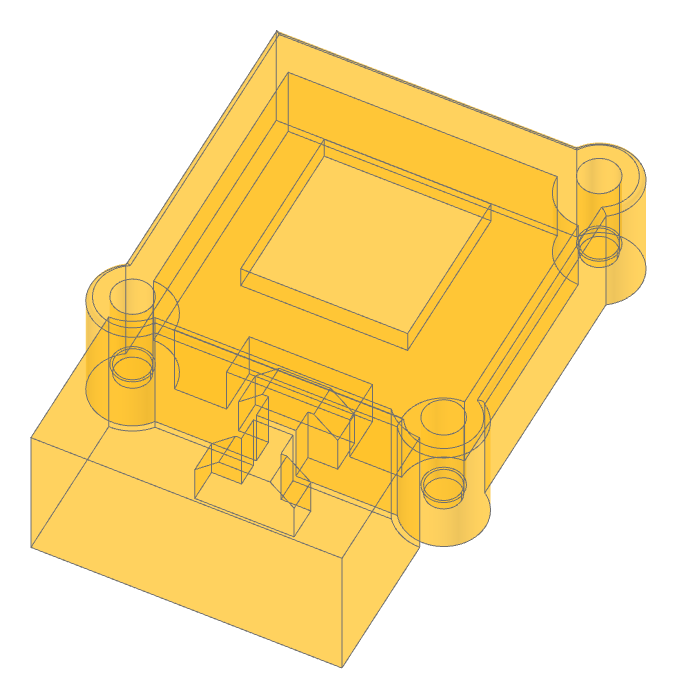
| TRRS jack holder: holds the TRRS jack (if not using USBC) | trrs_jack_holder.stl |
|
| USBC jack holder: holds the USBC jack (if not using TRRS) | usbc_jack_holder.stl |
|
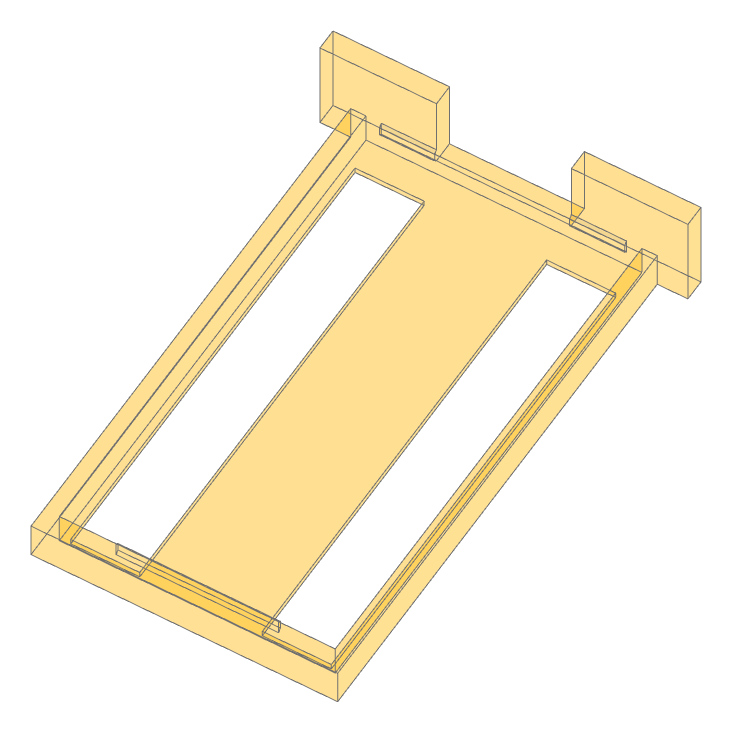
| Connector: connects the palm rest to the bottom | connector.stl |
Klavyl is my personal keyboard, a modification to Redox. It uses most of Klavgen's capabilities, including screw holes, manually defined case outlines, Pro Micro and USBC jack cutouts and holders, and palm rests. Check out the repo for the full config.
Install Miniconda and create an environment for CadQuery, following the official instructions.
Get familiar with either of CadQuery's UIs: CQ-editor or jupyter-cadquery (which I prefer).
Ensure that you know how to view objects returned from code, using show_object() in CQ-editor or show() in Jupyter
Lab (from jupyter_cadquery.cadquery).
Klavgen is not yet packaged, so you need to download and use it locally within a project (clone or download and extract the ZIP file; example assumes cloning).
git clone git@github.com:klavgen/klavgen.git
Start your project in the klavgen repo directory. This is where you'll have to write your scripts for now, since you
need to import the klavgen package (which is in a sub-dir):
CadQuery is very finicky when it comes to filleting (the fillet() command), and sometimes when it comes to shelling
(the shell() command). Klavgen tries to provide helpful error messages when CadQuery fails, please follow them. In
general, it is highly recommended to always provide the case_extras parameter or use a Patch object to define the
outline of your case to ensure there are no small features or holes that can trip filleting or shelling.
If rendering fails in a shell, you should try render_case() with debug=True, which skips the shell step.
The 2 most important fillet settings, CaseConfig.side_fillet and CaseConfig.palm_rests_top_fillet are disabled by
default, which makes default keyboards ugly.
These are the main gotchas:
- Shelling fails because your case is not continuous (e.g. the thumb cluster doesn't connect to the main body), has very sharp corners, or has small features.
- Filleting fails because the object has features smaller than the fillet size.
- Filleting succeeds but produces an invalid shape that later on causes errors when operated on (e.g. via a
.cut()).
Note that all the show() commands below are meant to illustrate the use in Jupyter Lab. If you use CQ-editor, the
commands may differ.
Run the following code to generate a single-key keyboard
(example_1__single_key_render.py):
from klavgen import *

keys = [Key(x=0, y=0)]

case_result = render_case(keys=keys)
The render_case() method is the method you'll use most often while designing the keyboard. It returns a fairly complex
RenderCaseResult object which tracks the full progress of the keyboard construction to help you in fixing issues.
Note: You can pass in a RenderCaseResult object as the result parameter. Then, render_case() will save
intermediate objects to the passed-in variable while rendering is taking place, allowing you to observe what happened if
rendering raises an exception.
Here, we'll only focus on these 3 keys part in the result object:
case_result.topis the top plate (show(case_result.top))
case_result.bottomis the case bottom (show(case_result.bottom))
case_result.debugshows keycap and holder outlines, helping you debug designs. This part should not be saved or used. By default, the outlines use the keycap width and depth from the configuration, but you can also pass inkeycap_widthandkeycap_depthparameters toKey()to adjust these per key.
Rendering all 3 shows you the bottom, top and the debug outline in the air
((show(case_result.top, case_result.bottom, case_result.debug)):
You can now export the dummy "keyboard" you created, via the render_and_save_keyboard() method, which takes the same
parameters as render_case() (see full code in example_2__single_key_save.py):
from klavgen import *

keys = [Key(x=0, y=0)]

keyboard_result = render_and_save_keyboard(keys=keys)
You should see a series of .stl files in your working directly. The files depend on the features your keyboard uses.
For now, you will only see the top plate, the case bottom, and the switch holder. For a complete keyboard, you may also
see the controller holder, the TRRS jack holder, palm rest(s), and the palm rests connector.
The render_and_save_keyboard() method renders the case (and takes the same parameters as render_case()) and then
saves all relevant components to .stl files. It returns an object of type RenderKeyboardResult. In the current
example, that object contains only the .case_result, .top, .bottom, and .switch_holder items. See below for the
full list of members.
By default, Klavgen generates keyboards for MX switches, where switch_holder.stl looks like this:
This is what the switch holder looks like when put in place:
See below on how to make your keyboard use Kailh Choc switches.
This is a more complex "keyboard", with screw holes and a palm rest
(example_3__screw_holes_and_palm_rest.py:
from klavgen import *

config = Config()

keys = [Key(x=0, y=0)]

screw_holes = [
    ScrewHole(x=13, y=13),
    ScrewHole(x=13, y=-13),
    ScrewHole(x=-13, y=-13),
]

palm_rests = [
    PalmRest(
        points=[(13, -5), (13, -30), (-13, -30), (-13, -5)],
        height=config.case_config.case_base_height + 2,
        connector_locations_x=[0],
    ),
]

case_result = render_case(keys=keys, palm_rests=palm_rests, screw_holes=screw_holes, config=config)
This time, besides the case_result.top and case_result.bottom objects, you can also check out the
case_result.palm_rests[0] one to see the palm rest.
This is the result (show(result.top, result.bottom, result.palm_rests[0])):
Note that the palm rest is detachable.
You can make the palm rest a part of the bottom by changing the config (see full code in
example_3__screw_holes_and_palm_rest_non_detachable.py):
config = Config(case_config=CaseConfig(detachable_palm_rests=False))
Now the case_result.palm_rests object is None so don't try to view it. Instead, just check out the case bottom
(show(result.bottom)):
If you do not want to use switch holders, you can disable them (see full code in
example_3__screw_holes_and_palm_rest_no_holder.py):
config = Config(case_config=CaseConfig(use_switch_holders=False))
Now the plate only has a square hole (show(result.top, result.bottom, result.palm_rests[0])):
Note: Choc support is very experimental, not well tested and generally buggy!
Let's change the config of the previous example to use Choc switches. This will change the size of the plate holes and
will produce Choc switch holders (see full code in
example_4__screw_holes_and_palm_rest_choc.py):
config = Config(case_config=CaseConfig(switch_type=SwitchType.CHOC))
The output switch_holder.stl file now looks like this:
Let's build a dummy keyboard using all of Klavgen's features
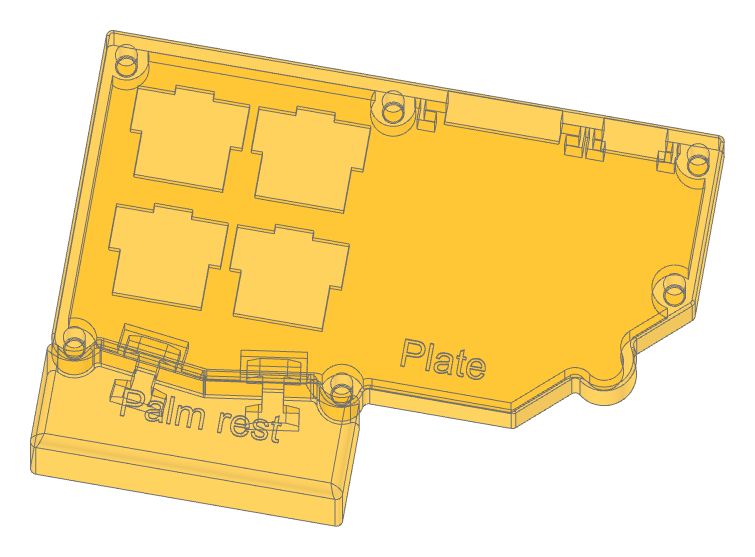
(example_5__all_features.py):
import cadquery as cq

from klavgen import *

config = Config(case_config=CaseConfig(side_fillet=1, palm_rests_top_fillet=2))

keys = [  # By columns from bottom left
    Key(x=0, y=0),
    Key(x=0, y=19),
    Key(x=19, y=0),
    Key(x=19, y=19),
]

controller = Controller(x=47.5, y=34)

trrs_jack = TrrsJack(x=68, y=34)

screw_holes = [  # Clockwise from top left
    ScrewHole(x=-11.4, y=30.4),
    ScrewHole(x=30.5, y=30.4),
    ScrewHole(x=78.4, y=30.4),
    ScrewHole(x=78.4, y=9.5),
    ScrewHole(x=30.5, y=-15),
    ScrewHole(x=-11.5, y=-15),
]

patches = [
    Patch(
        points=[
            (-15, 34),
            (82, 34),
            (82, 7),
            (57.5, -15),
            (30.5, -15),
            (9.5, -18),
            (-15, -15),
        ],
        height=config.case_config.case_base_height,
    )
]

cuts = [
    Cut(
        points=[(57.5, -15), (82, 7), (82, -15)],
        height=config.case_config.case_base_height,
    )
]

case_extras = [
    (
        cq.Workplane("XY")
        .workplane(offset=-config.case_config.case_base_height)
        .center(69.75, -4)
        .circle(5)
        .extrude(config.case_config.case_base_height)
    )
]

palm_rests = [
    PalmRest(
        points=[(-15, 0), (34, 0), (34, -35), (-15, -35)],
        height=config.case_config.case_base_height + 10,
        connector_locations_x=[0, 20],
    ),
]

texts = [
    Text(x=45, y=-8.5, text="Plate", font_size=6, extrude=0.4),
    Text(x=10, y=-26, z=10, text="Palm rest", font_size=6, extrude=0.4),
]

keyboard_result = render_and_save_keyboard(
    keys=keys,
    screw_holes=screw_holes,
    controller=controller,
    trrs_jack=trrs_jack,
    patches=patches,
    cuts=cuts,
    case_extras=case_extras,
    palm_rests=palm_rests,
    texts=texts,
    debug=False,
    config=config,
)

print("Done")
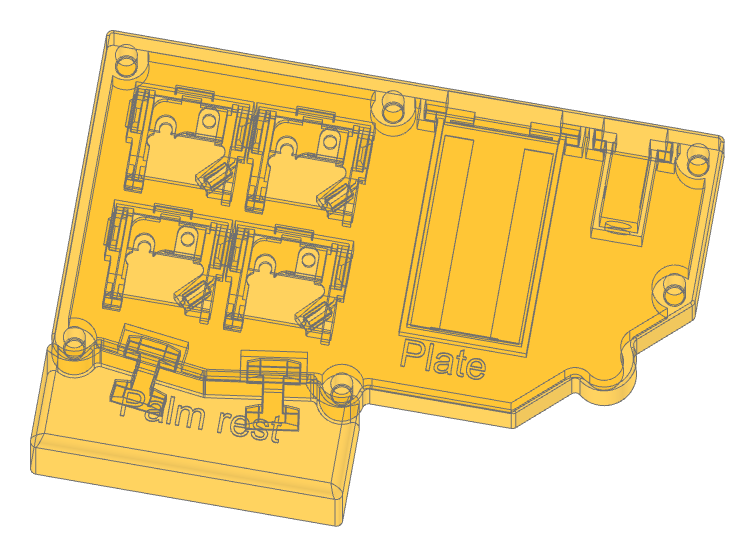
This is the result (show(keyboard_result.top, keyboard_result.bottom, keyboard_result.palm_rests[0])):
You can build a keyboard from a Keyboard Layout Editor layout. Do the following:
-
Ensure the layout is contiguous. If it's a split keyboard, manually remove all the keys from one of the splits before exporting.
-
Go to the "Raw Data" tab and click "Download JSON" on the bottom right.
-
Run code like the following to generate the list of keys:
from klavgen import *

keys = generate_keys_from_kle_json("<path to downloaded json file>")
By default, keys are spaced 19.05mm apart. You can adjust this by passing the step_size parameter.
You can then use the standard render_case() or render_and_save_keyboard() methods to render the keyboard (see
above).
CaseConfig.switch_typeallows you to set the type of switches (SwithType.MXorSwithType.CHOC)CaseConfig.use_switch_holdersdetermines whether the keyboard will use switch holders (affects the cutouts and whether a switch holder is returned when rendering the keyboard).CaseConfig.detachable_palm_restsallows you to set whether palm rests should be detachable, or part of the case bottom.CaseConfig.side_filletsets a fillet on the case vertical edges. You should likely always use it in the final product, but it's very prone to failure, see warning above.CaseConfig.palm_rests_top_filletsets a fillet on the palm rest top edges. You should likely always use it the final product if you have palm rests (so they don't dig in your hands), but it's very prone to failure, see warning above.ScrewHoleConfig.screw_insert_hole_widthsets the size of the hole for screws and defaults to a value suitable for melting inserts. If you don't use inserts, you should lower the value.KeyConfig.case_tile_margin,ControllerConfig.case_tile_margin,TrrsJackConfig.case_tile_margin, andUSBCJackConfig.case_tile_marginis the size of the case generated around keys, controller holders, and TRRS/USBC jack holders. If you usecase_extrasor aPatchobject to define your case outlines, you can freely lower these.MXSwitchHolderConfig.switch_hole_toleranceandChocSwitchHolderConfig.switch_hole_tolerancesets (in mm) how much smaller the switch holes should be made to account for imperfections in 3D printing. Defaults to 0.05.
When render_standard_components is set to True in a call to render_case, all holders (switch, controller,
TRRS/USBC jack) and palm rest connectors are returned in the .standard_components object. These help you see what the
final keyboard will look like.
This is what example.py looks like with standard components added
(show(keyboard_result.top, keybaord_result.bottom, keyboard_result.palm_rests[0], keyboard_result.case_result.standard_components)):
This object contains the individual steps when constructing the case. They key outputs are 3:
case_result.topis the top platecase_result.bottomis the case bottomcase_result.palm_restsis a list of palm rest objectscase_result.standard_componentsis a rendering of all holders (switch, controller, TRRS/USBC jack) and palm rest connectors (see above).
Additionally, there are many intermediate objects that are useful for troubleshooting and auditing when something is not going right.
This object contains the final keyboard components:
keyboard_result.case_resultis theRenderCaseResultreturned from the innerrender_case()method. Always present.keyboard_result.topis the top plate (same ascase_results.top). Always present.keyboard_result.bottomis the case bottom (same ascase_results.bottom). Always present.keyboard_result.switch_holderis the switch holder. Present if switch holders are used (CaseConfig.use_switch_holders).keyboard_result.connectoris the palm rests to case bottom connector. Present only if palm rests are defined andCaseConfig.detachable_palm_restsisTrue.keyboard_result.controller_holderis the controller holder. Present only if a controller is defined.keyboard_result.trrs_jack_holderis the TRRS jack holder. Present only if a TRRS jack is defined.keyboard_result.usbc_jack_holderis the USBC jack holder. Present only if a USBC jack is defined.keyboard_result.palm_restsis a list of palm rest objects (same ascase_results.palm_rests). Present only if at least one palm rest is defined.

