e1th4nUwU / AzurePractice5-ConnectingInsideVirtualNetwork

In this repository, you will find a guide on how to connect two virtual machines inside the same Virtual Network using the Microsoft Azure Portal.

Geek Repo:Geek Repo

Github PK Tool:Github PK Tool

Connecting two VMs using a Virtual Network via the Azure Portal

VirtualNetworkLogo


Requirements

  • Microsoft Azure Account ( with funds or credits )
  • Microsoft Azure Suscription
  • A web browser
  • Access to internet

Instructions

1. Login to the Azure Portal.

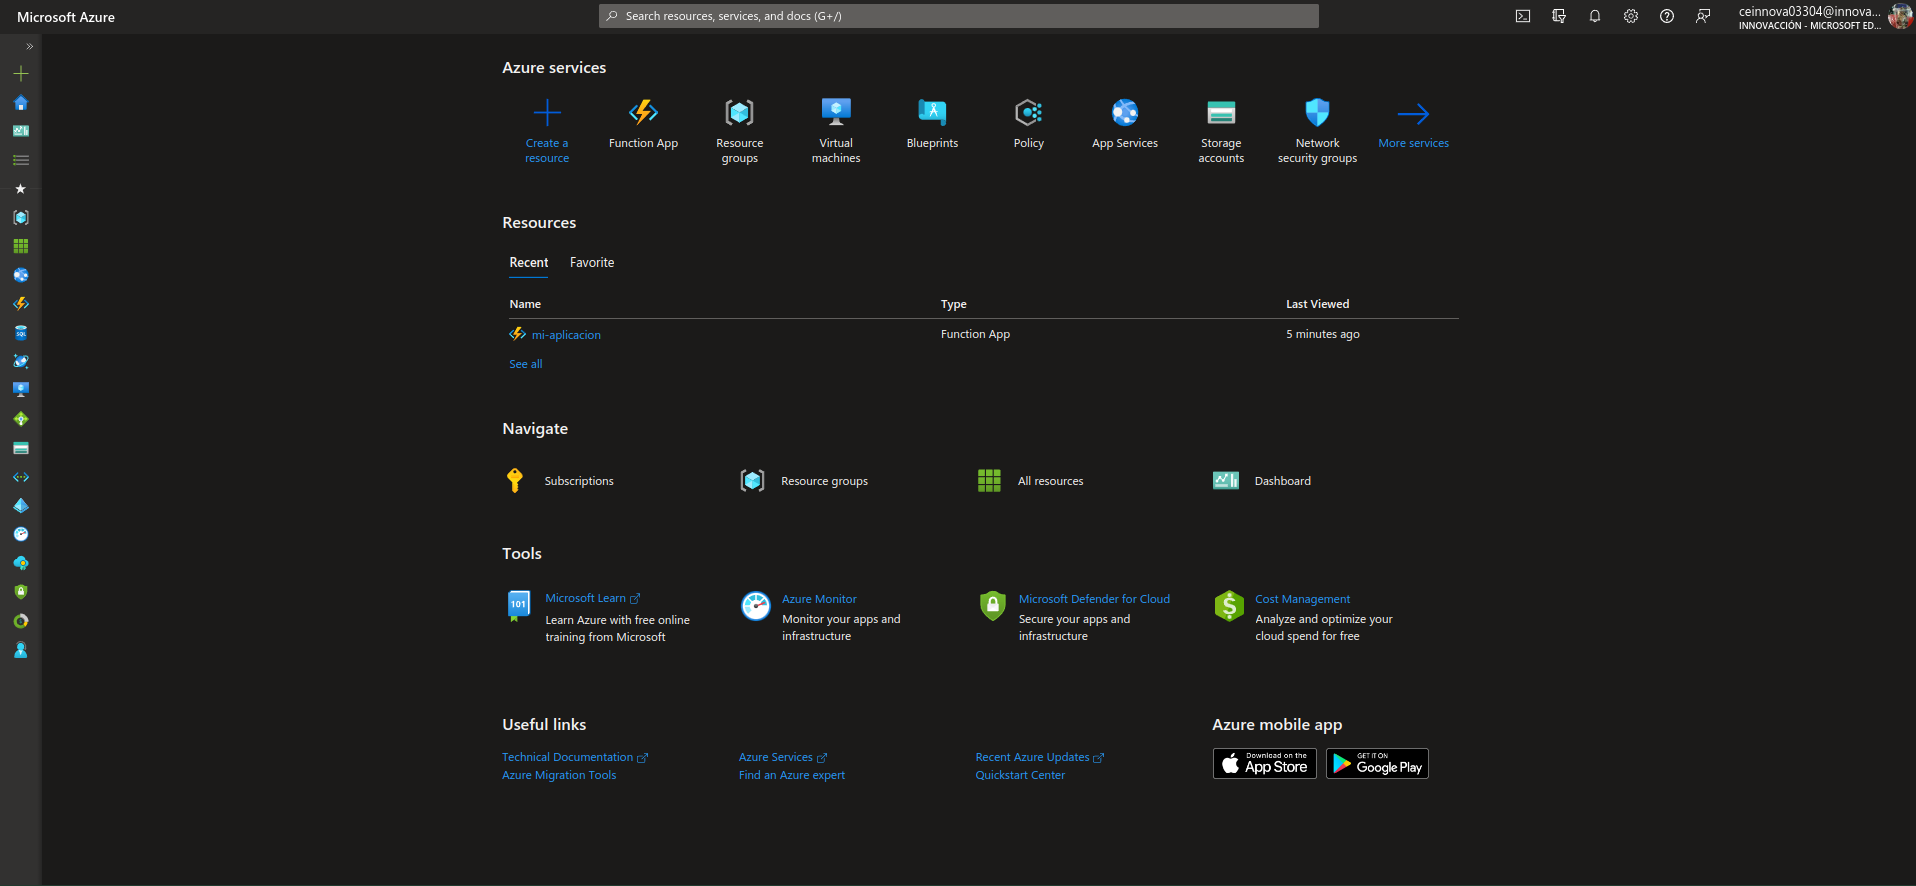
2. Once you're on the portal's home page, you will see something like this:

PortalImage

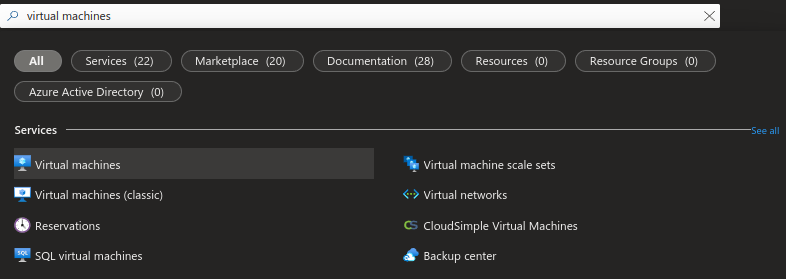
3. Inside the search bar (located at the top), look for virtual machines and click on it.

Searchbar

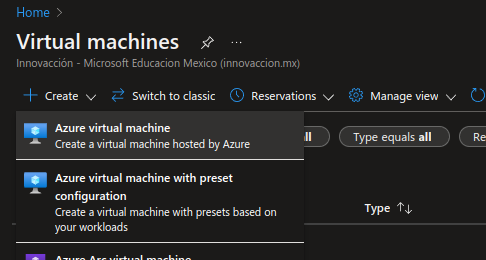
4. Click on Create and then Azure virtual machine.

CreateVMButton

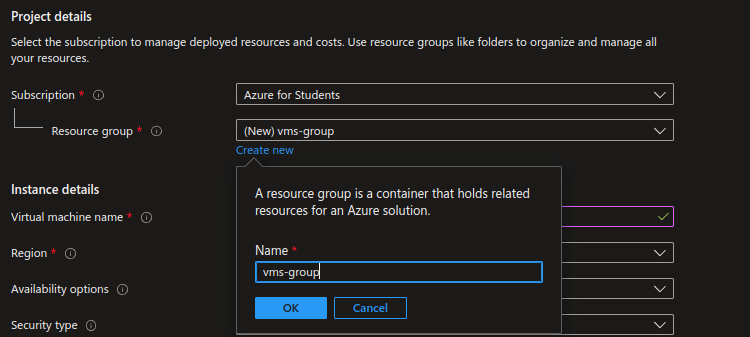
5. First, you'll need to select or create a resource group. I will be creating one be by clicking Create new

ResourceDetails

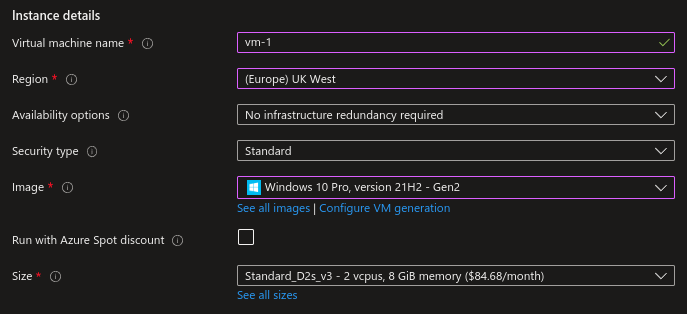
6. Now, you have to configure the first virtual machine's details: name, region, operating system (image) and size are mandatory, the rest are optional.

FirstVMConfig

7. You will also need to configure the administrator account for this VM; just give it a name and a password.

VM1AdminDetails

8. If you chose Windows as your OS, confirm that you have the licensing to use it by checking the box at the bottom of the basics tab.

LicensingVM1

9. Go to the Networking tab (ths menu is available at the top side of the page).

Tabs

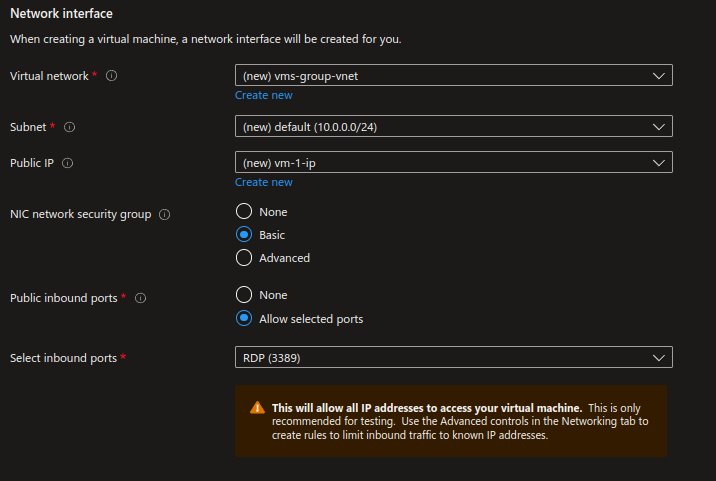
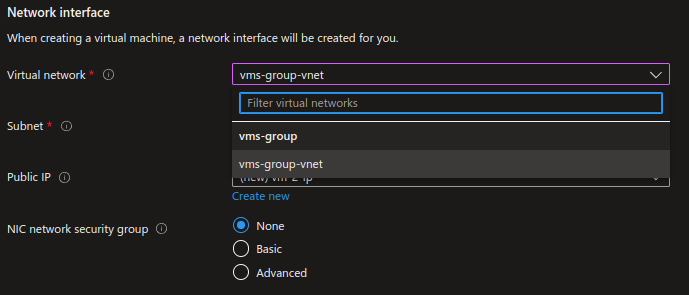
10. Check that every option inside the network interface configuration is similar to the one below.

NetworkInterface

10. You can configure the rest of the VM's details if you want. When you're ready click Review + create.

ReviewAndCreate

11. If validation passed, click Create.

CreateButton

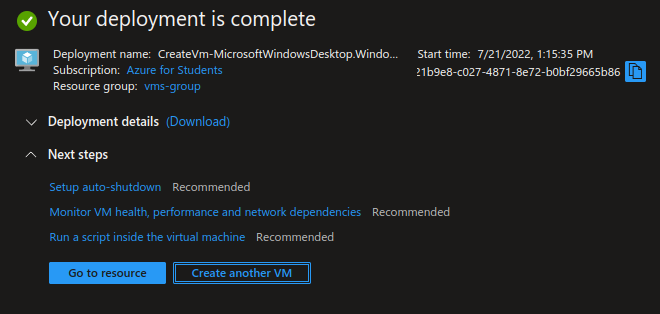
12. Deployment will begin. Please wait until it's over.

ImplementationInProgress

13. Once deployment has been completed, click on Create another VM.

CreateAnotherVM

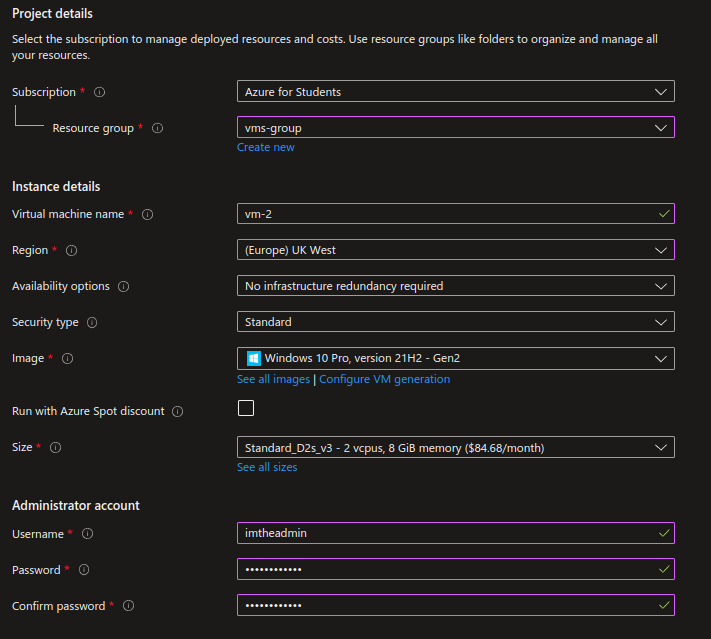
14. Now, configure the other VM's details.

SecondVMConfig

15. Go to the Networking tab and make sure you have the same virtual network and disable the network security group. Then review and create it.

VM2Networking

16. Wait for deployment to complete.

DeploymentProgress

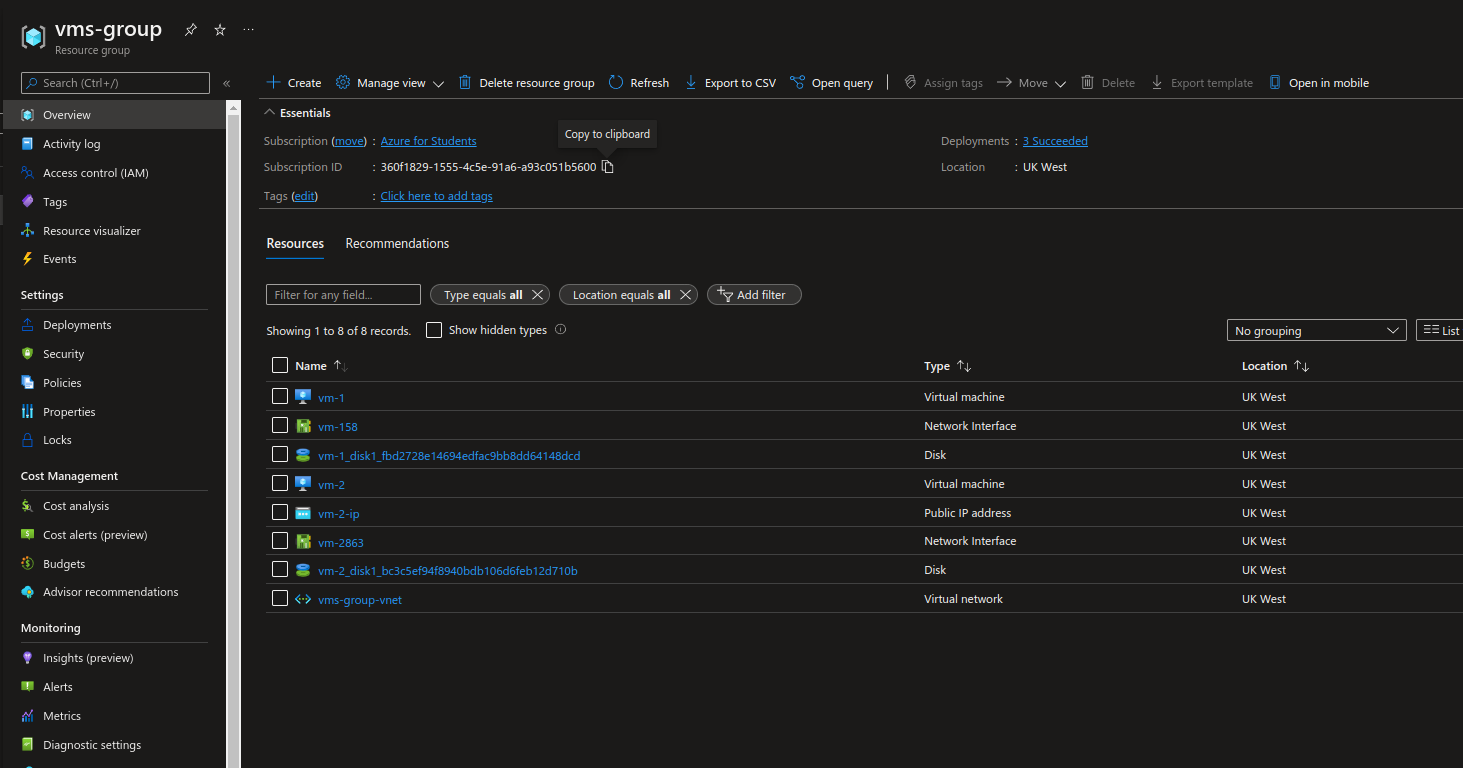
17. Once deployment has completed, go ot your resource group.

ResourceGroup

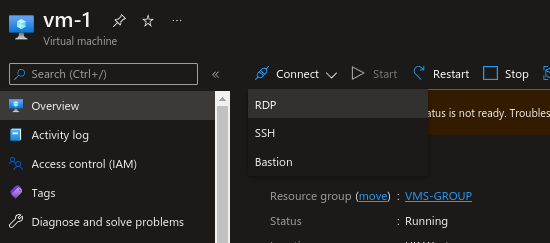
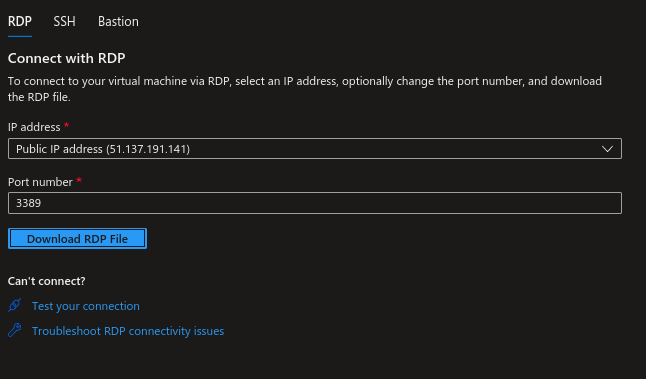
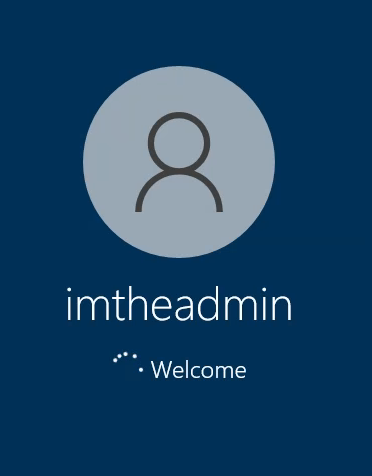
18. Click inside one of your VMs and connect to it using your favorite RDP connection app (like Windows Remote Desktop).

ConnectToVM1 RDPDownload ConnectingToVM

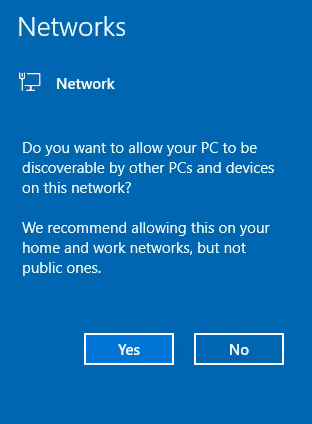
19. If this appears inside your VM's desktop, click yes.

AllowOtherDevices

20. Inside your VM, open Powershell as administrator inside your VM by clicking on the windows icon on the bottom left of the VM's screen and typing powershell and then clicking Run as administrator.

OpenCMD

21. Type ipconfig and press enter. This will give you your VM's IP.

ipconfig

22. Go back the Azure Portal using your main PC, then, go back your resource group and click on your virtual network.

VirtualNetwork

23. On the left side, click on Connected devices, you will see both of your VMs. Identify which one you did not connect to using the IP addresses.

ConnectedDevices

24. Inside your VM, type mstsc /v:(your other VM's ip) to connect to it.

mstsc

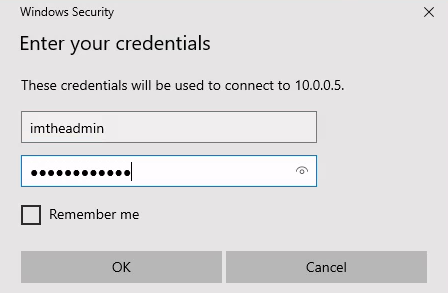
25. Insert your other VM's credentials, then ok, then yes .

OtherVM'sCredentials

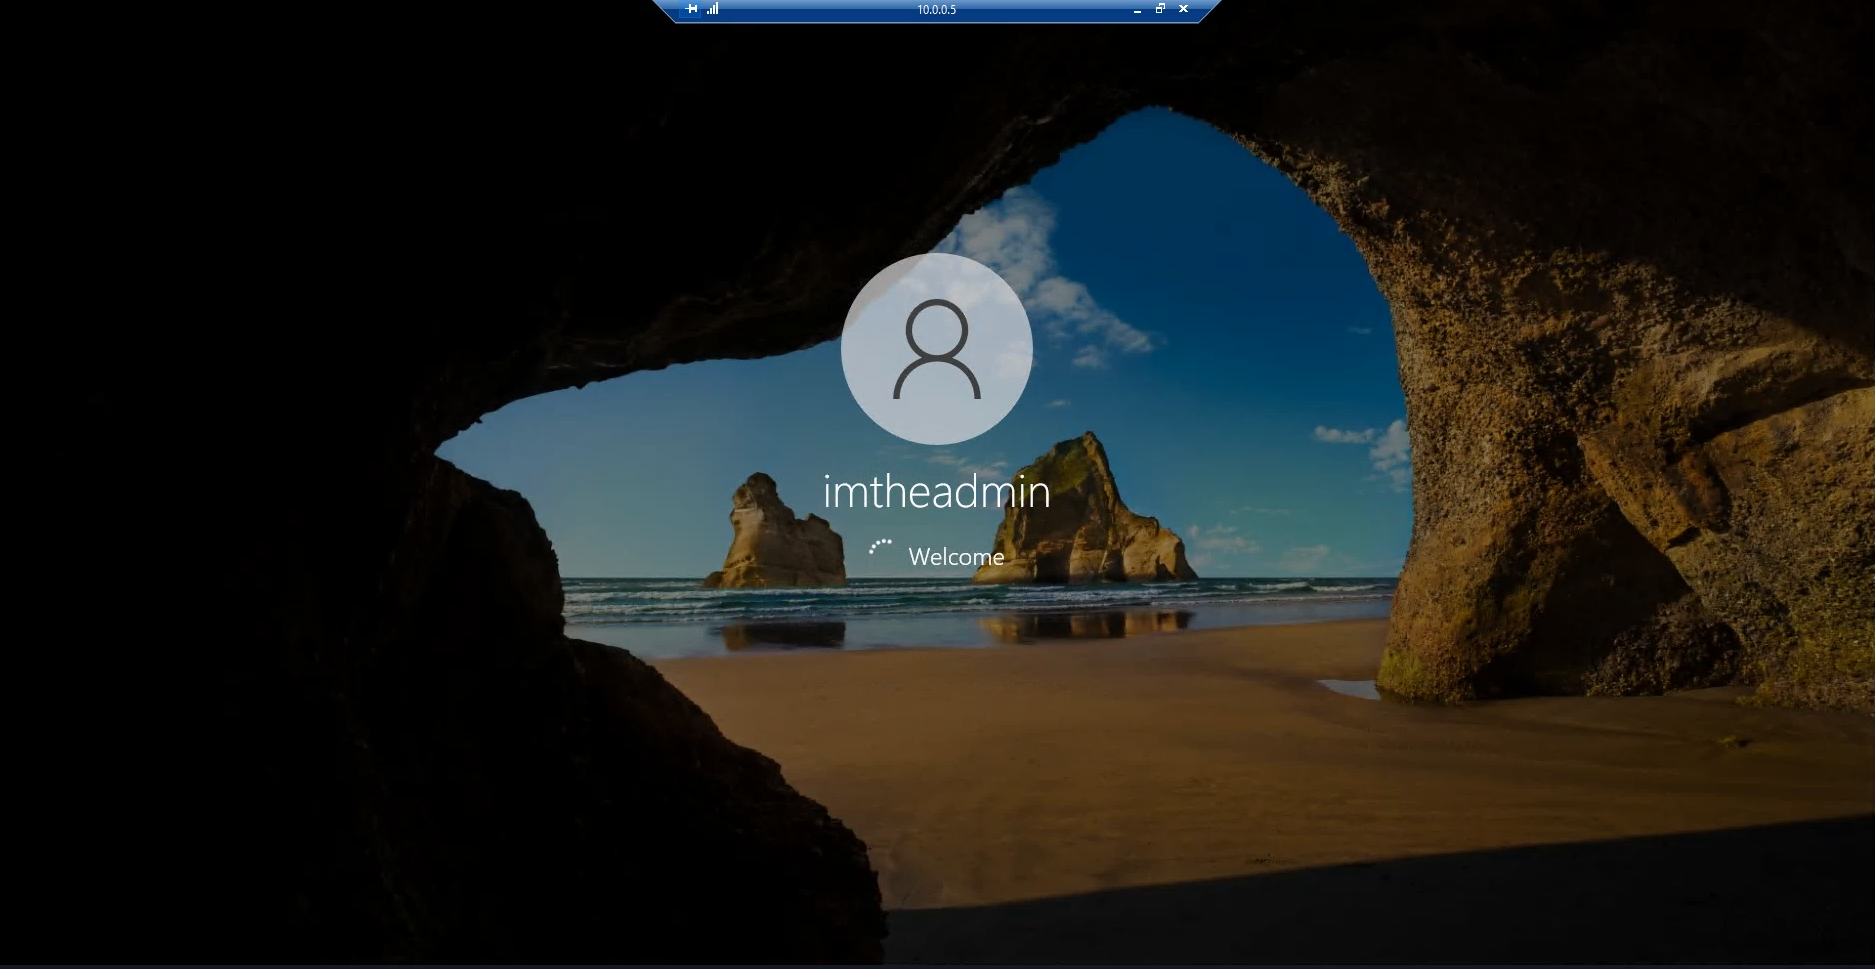
26. You will now be using a remote VM inside a remote VM, congratulations!

RemoteRemoteVM


Congratulations ! You've just connected two VMs inside a virtual network !

Don't forget to delete or pause all of your resources! If you don't, it will be very expensive.

About

In this repository, you will find a guide on how to connect two virtual machines inside the same Virtual Network using the Microsoft Azure Portal.