# Tutorials for AWS services
We have covered the most popular AWS Services:
- AWS Elastic Cloud Compute (EC2)
- AWS Simple Storage Solution (S3() Static Website Hosting
- Amazon Relational Database System (RDS)
Documenting/sharing how I get an EC2 instance up and running.
This whole process takes about 20 mins including creating an AWS account. (I recommend creating a new email address and brand new amazon account to take full advantage of AWS "free tier" so you don't pay while you play!)
As always, if you have questions, raise an issue! :sparkles:
If you don't already have an Amazon Web Services (AWS) account you will need to register for one: http://aws.amazon.com and click the Sign Up button.
Note: Signup will ask you for credit card details, don't worry you won't be charged anything if you stay within the http://aws.amazon.com/free/ (this includes a Free Micro Instance)
Once you have registered for AWS, login via: http://aws.amazon.com/console/ You will see all the AWS services available to you.
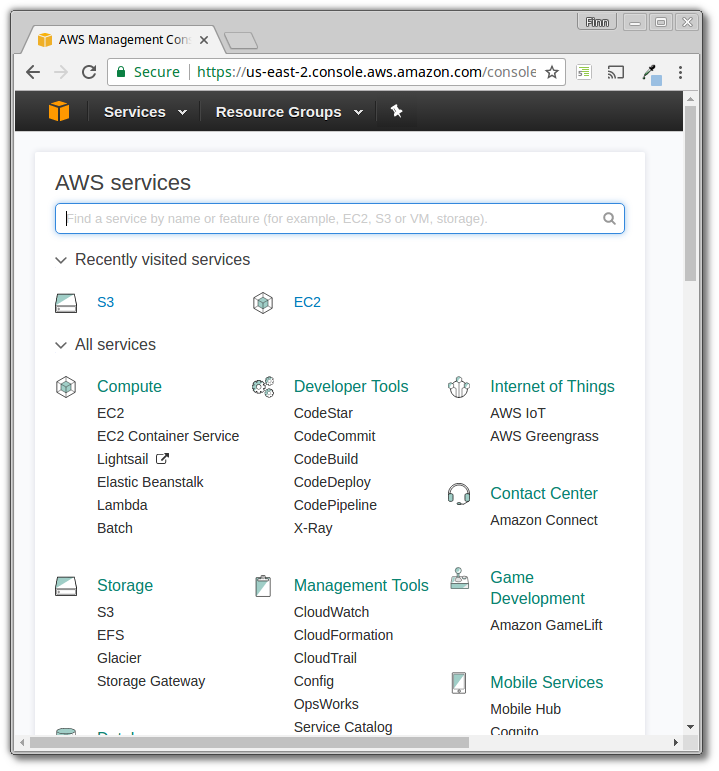
Click on EC2 (Elastic Cloud Compute)
To access your EC2 instance via the command line you will need to let AWS know what key you want to use to access it.

If you don't have any knowledge of SSH or public/private keys, don't worry, its pretty simple.
Follow this tutorial: http://docs.aws.amazon.com/AWSEC2/latest/UserGuide/ec2-key-pairs.html
In the left column/menu click on Security Groups and confirm your default security profile allows inbound traffic on TCP Port 22 (SSH) and 80 (http) (by default these ports aren't open, you need to add them)

I only added ports 22 and 80 for this simple setup,

but to run other node.js processes on your server e.g. for MongoExpress or RedisAdmin you need to open these here in the Security Group/Profile.
Setting up an ec2 can be daunting the first time. Don't worry, the defaults are sensible and if you get stuck there is always help available! :-)
e.g: http://docs.aws.amazon.com/AWSEC2/latest/UserGuide/EC2_GetStarted.html
Click Instances in the left column/menu and then click Launch Instance:

Select an Amamzon Machine Image (AMI) from the list of available AMIs:

I recommend choosing a bare-bones Ubuntu Image for two reasons:
- You don't get any LAMP Cruft bundled in
- Ubuntu is a very beginner friendly Linux distro and has the most (answered) FAQ questions if you get stuck!
Keep the default Micro instance.

Select the Default Security Group (the one we edited above):

Go over everything one last time and click Launch

After launch you will be prompted to select a key.
Select the Key you imported earlier (so you can access the instance from SSH):


Make sure that your instance is selected and click connect. Copy the example
command from the dialogue, replacing "<YOUR-KEY-NAME>.pem" with the full path
to your key:

Mercifully you no longer need to compile node.js from source (the good old days ;-) Now there is a great package that allows you to install any version of Node with just a few commands:
Install NVM:
curl -o- https://raw.githubusercontent.com/creationix/nvm/v0.33.2/install.sh | bash
Install the latest version of Node:
nvm install node
Once that's installed update NPM:
npm i -g npm
When installed with NVM Node doesn't have access to port 80 (ports under 1024 need root access). To fix this we'll need to redirect all traffic going to port 80 to 3000:
sudo iptables -t nat -I PREROUTING -p tcp --dport 80 -j REDIRECT --to-port 3000
nano app.js
This will bring up nano which is a simple in terminal text editor!
paste in a simple http app:
var http = require('http');
var port = 3000;

var server = http.createServer(function (request, response) {
  response.writeHead(200, {"Content-Type": "text/plain"});
  response.end("Node.js HTTP Server Running on Amazon EC2!\n");
}).listen(port);

console.log("Node HTTP Server running on "+port);
On linux this will be done with shift + ctrl + v, on mac it will be with cmd + v.
Once you've pasted this in you can exit by pressing ctrl + x, you will be
prompted to save the file.
Type y to say yes to saving your changes, and then nano will allow you to edit
the name of the file you write out to.
Leave the file name as is and press enter.
Then, start the app:
node app
Now visit the IP address corresponding to your instance:
mine was: http://54.229.220.192
![node server running]
Note: your IP address will be different
You can get it by going to your AWS console page, going to your EC2 instances and looking at the "IPv4 Public IP" section of the instance we just created.

If you get the error: Write failed: Broken pipe you need to keep the connection to the server alive. To resolve this, open your ssh config file:
nano ~/.ssh/config
and add the following lines:
ServerAliveInterval 120
TCPKeepAlive yes
An S3 bucket can be used to host a static website.
- Start by creating a new S3 bucket in the AWS S3 console.

-
Select the 'Properties' tab. Click 'Static web hosting' and in the Index Document box add the name of the html file that will be your home page.

Click Save. Note down the endpoint for your website. It will be of the form :
http://[bucket-name].s3-website-[region].amazonaws.com -
Select the permissions tab. We need to add a bucket policy that make the bucket content public so the website endpoint can show the website files.

Click 'Add Bucket Policy' and paste in the following policy:
{
  "Version":"2012-10-17",
  "Statement":[{
	"Sid":"PublicReadForGetBucketObjects",
        "Effect":"Allow",
	  "Principal": "*",
      "Action":["s3:GetObject"],
      "Resource":["arn:aws:s3:::example-bucket/*"
      ]
    }
  ]
}
Replace 'example-bucket' with the name of your bucket.
-
Upload the index document and other files for your website.

-
Test the website by entering the website URL in the browser!
The uploading of files can be incorporated into your continuous integration process. NB the names of the files need to be versioned to prevent the cached version being displayed after an update.
This guide will show you how to set up a Postgresql instance on AWS RDS, either standard, or Aurora, but should mostly apply to all the engines available on RDS.
Go to Services > RDS. If you haven't used RDS yet, click on Get Started, if you have, scroll down to the Create Instance box and select Launch a DB Instance.
Note that the region displayed in the top right of your screen is the region your database will be located in. If you need to comply with the EU's GDPR, make sure your region is set to one in the EU: https://aws.amazon.com/compliance/eu-data-protection/

Select Postgresql and click Next. When asked to choose your use case, for now select Dev/Test. This will populate the defaults for the next section with those eligible for the free tier, but you can upgrade them if you wish. (Note, Aurora does not have a free tier).
At the next step, if you're just getting started with RDS, check the box that says Only enable options eligible for RDS Free Usage Tier. This will select an instance class of db.t2.micro, with allocated storage of 20GB. These can easily be updated later if you need to.

In Settings, choose a name for your instance, a master username and password. These are what you'll use to connect to the database.
On the next screen, Configure advanced settings, if the server you need to connect with the database is also hosted on AWS, select the VPC your server is running in. If your server is hosted elsewhere, you can leave the VPC as the default, and change Public Accessibility to Yes.
To initialise your instance with a database, provide the desired name on the database to create in the Database options section. You can then set your encryption, backup, monitoring and maintenance settings to your preference and create your instance by clicking Launch DB Instance, and in a few minutes your database instance will be ready to use.
To connect to your database from a server outside of the VPC it's in, you'll need to edit the security group linked to the instance. To find the security group, look at the Connect box on the instance details.

Once you know the security group, go to Services > EC2, and select Security Groups from the Network & Security section on the sidebar. Then select the security group and the Inbound tab. Add an Inbound rule of type PostgreSQL, protocol TCP, port 5432 (or the port your database is using if you changed the default) and Source of the IP address your server is on, or 0.0.0.0/0 to allow inbound access from anywhere (the correct credentials will still be required to connect).
If you're migrating your data from heroku postgres, you should first set your heroku app to maintenance mode, to ensure no data is added and subsequently lost while you're migrating.
Once the app is in maintenance mode, create a backup of your data by going to your Postgres add on on heroku, then selecting Durability and Capture Backup.
Once the backup is complete, you'll need to access heroku on the command line: https://devcenter.heroku.com/categories/command-line.
Run the command heroku pg:backups:download -o {app-name}.dump -a {app-name} where app-name is the name of your heroku app. This will download the backup you've just created.
Then to import the data into your new AWS RDS database run:
pg_restore -v -h {rds-endpoint} -U {username} -d {database-name} {app-name}.dump
and enter the instance master user's password when prompted. The RDS endpoint can be found by selecting your instance on the RDS dashboard and scrolling down to the Connect box (as shown in the section above).
Your data should now have been migrated to RDS, the only thing left to do is switch the databases over. If you're using the DATABASE_URL config variable on Heroku, you need to detach your current database before you can change it.
Unfortunately, detaching the database destroys it and everything in it. To avoid this, you can first by first running the command:
heroku addons:attach {database-addon-name} --as backup_db -a {app-name}.
To find your database addon name, run heroku addons on your command line; The database name is in brackets after heroku-postgresql. (Here, it's postgresql-metric-95269.)

Once this is done, run heroku addons:detach DATABASE -a {app-name}, then add your new url: heroku config:set DATABASE_URL=postgres://{username}:{password}@{aws-rds-host}:5432/{dbname}.
If you're using other environment variables for your database connection (for example PGHOST, PGUSER etc.), make sure to update those too.
- Install Node.js on Ubuntu: https://github.com/joyent/node/wiki/Installing-Node.js-via-package-manager#ubuntu-mint
- SSH Keep Alive: http://stackoverflow.com/questions/13228425/write-failed-broken-pipe
- More detail: http://unix.stackexchange.com/questions/34004/how-does-tcp-keepalive-work-in-ssh
- Simple Node Server: http://howtonode.org/hello-node
- EC2 Guide: http://aws.amazon.com/documentation/ec2/
- S3: Setting up a static website: http://docs.aws.amazon.com/AmazonS3/latest/dev/HostingWebsiteOnS3Setup.html