OpenAPI extension for Visual Studio Code
This Visual Studio Code (VS Code) extension adds rich support for the OpenAPI Specification (OAS) (formerly known as Swagger Specification) in JSON or YAML format. The features include, for example, SwaggerUI and ReDoc preview, IntelliSense, linting, schema enforcement, code navigation, definition links, snippets, static security analysis, and more!
The extension also integrates with API Contract Security Audit by 42Crunch, so that you can check the quality of your API definition directly in VS Code.
Both OAS v2 and v3 are supported.
Table of contents
- OpenAPI extension for Visual Studio Code
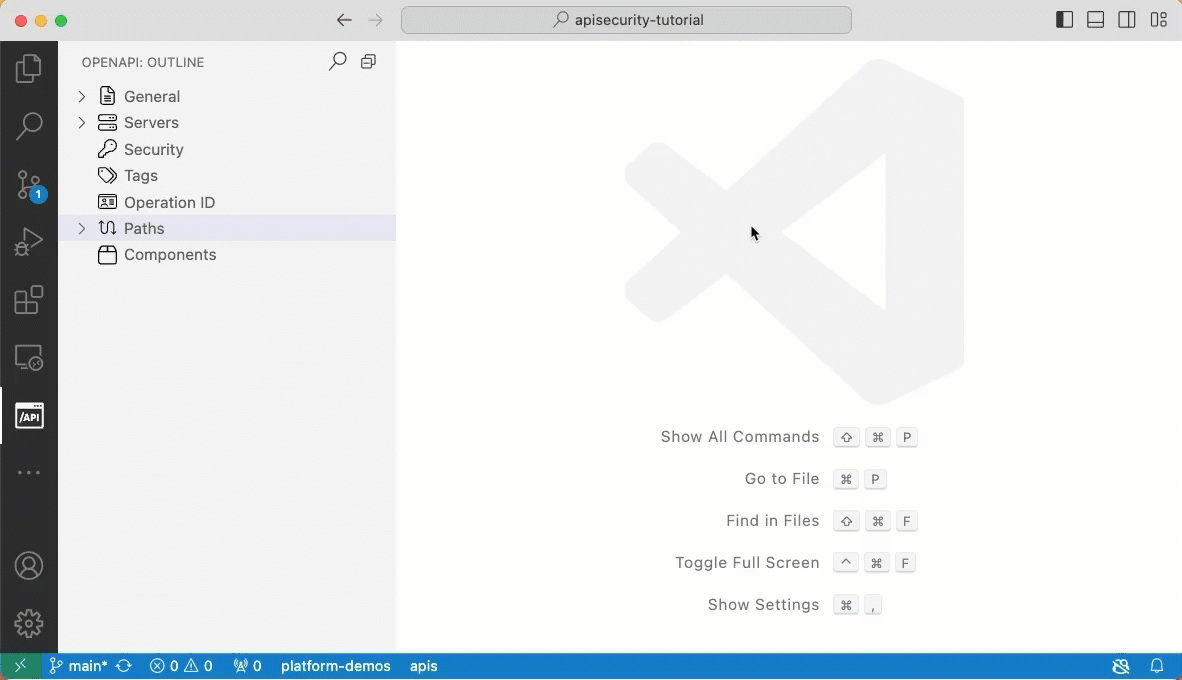
Quick start
After installing the plugin, open any JSON or YAML file that contains an OpenAPI definition in VS Code. The plugin automatically detects that this is an OpenAPI file, and the OpenAPI button ![]() is shown in the left-hand panel.
is shown in the left-hand panel.

Use the extension while editing your API
OpenAPI extension makes it easier and faster to navigate your OpenAPI definitions, especially when they get longer.
You can home in on elements in the OpenAPI explorer view, or jump directly to the target of a reference in the API. You can also add new elements to your API directly in the OpenAPI explorer directly where they are needed. Filling in the details is quicker with IntelliSense support for OpenAPI elements.
Create new OpenAPI files
- Press Ctrl+Shift+P on Windows or Linux, or Cmd+Shift+P on a Mac.
- In the command prompt, start typing
new openapi, and click the corresponding command to create either an OAS v2 or v3 template file. - Use the OpenAPI explorer to populate the template with new paths and other elements as needed.
- Save the file to your disk to fully enable IntelliSense.
Navigate API definition
- Open an OpenAPI file.
- Click the OpenAPI button to switch to the OpenAPI explorer view.
- Expand the sections and elements in the file as needed, and click the ones you want to jump to in the editor.

Add new elements in the OpenAPI explorer
- In OpenAPI explorer pane, go to the section where you want to add a new element, and click the ... menu.
- Click the item you want to add from the dropdown list.

Use IntelliSense
As you start typing OpenAPI elements or their values, the context-sensitive list of available options is displayed in the IntelliSense menu. In JSON OpenAPI files, just type double-quote (") to show the menu, and type further to filter the list. In YAML OpenAPI files, start typing the property name.
You can also use the corresponding VS Code hotkey (Ctrl+Space on Windows, Cmd+Space on Mac) to open the IntelliSense menu.

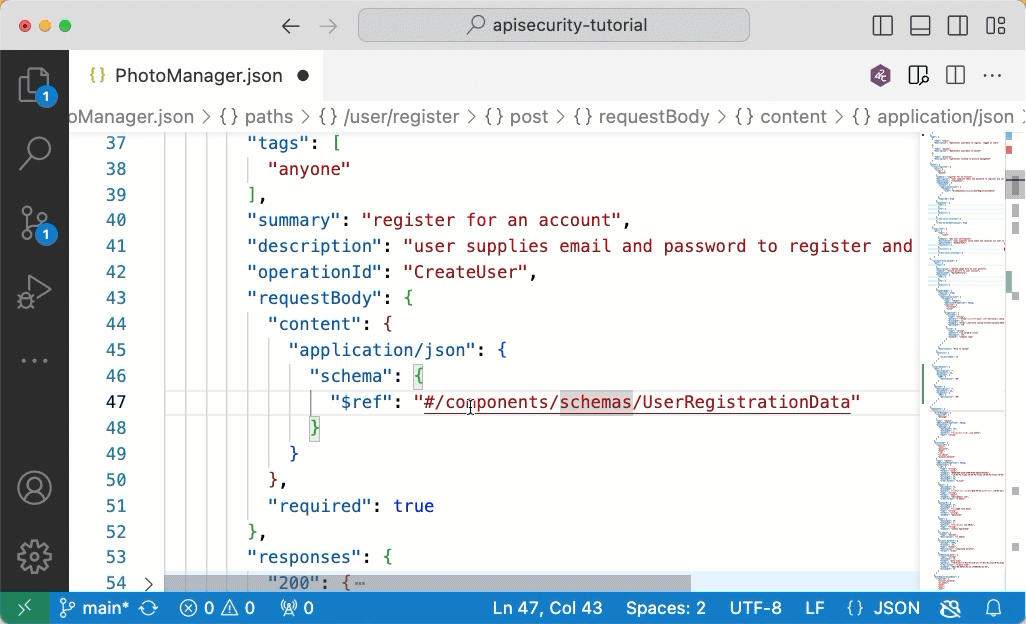
Jump to a reference
Use Go to Definition to locate the targets of references easily. To jump to view the definition from a reference in your API, either Ctrl+click a reference, or right-click a reference and click Go to Definition in the shortcut menu.
Sort entries in the navigation pane
By default, entries in the OpenAPI Explorer pane are sorted alphabetically. If you want to instead have them sorted in the order they are in the OpenAPI file, change the corresponding setting:
- On the File menu, click Preferences > Settings.
- Expand the Extensions section and click OpenAPI.
- Clear the checkbox Alphabetically sort contents of OpenAPI explorer outlines.
Preview OpenAPI documentation
You can get a documentation-style preview of the API you are editing by clicking the Preview button ![]() at the top right:
at the top right:

Our extension supports two popular OpenAPI documentation generators: SwaggerUI and ReDoc.
To change the default OpenAPI Preview rendering engine:
- On the File menu, click Preferences > Settings.
- Expand the Extensions section and click OpenAPI.
- Pick the option of your choice from the Default Preview Rendered dropdown list.

Execute operations with "Try it" (beta)
With "Try it" you can invoke operations defined in your OpenAPI directly from VS Code.
To do it click on "Try it" code lens which is displayed right below the HTTP verb ("get", "post", etc) of your operation and in the examples section.
When using "Try it" from the examples, the value of the example will be used as the payload for the request. Otherwise payload will be generated based on the request JSON Schema, or the first example available.

Try it is a new feature, and has number of limitations:
- Only OpenAPI 3.x is supported. Try it is not available in Swagger/OpenAPI 2.0 files.
- Sending files is not supported
- Try it works best with small textual responses, such as JSON. Binary/image responses will be shown as text
Generate JSON Schema using based on the response content
"Try it" can be used to generate JSON Schema based on the body of the response. To do it, select "Tools" tab in the TryIt response view and click "Generate schema" button.

Use the extension to audit the security of your API
You can use OpenAPI extension to check the quality of your API as you work on it. You can run the audit directly from VS Code by clicking the 42C button in the upper right corner.
To run Security Audit from VS Code, you need a token. On the first time, you are asked to provide your email address. When you supply the address, the extension requests the token to be sent to your mailbox. Once you get the token, paste it in the prompt in VS Code, and you are all set. From now on, all you need to do is to click the button to run the audit.
Navigate the issues in the audit report
After the audit finishes, you get the audit report directly in the VS Code view, side by side with your code. Depending on your API definition, the report might be long, so here are some handy ways to navigate the found issues.
- To scroll through all issues and their details, use the text panel on the right.

- Hover on an element that is underlined or marked with three dots (recommendations) in your code to see what the issues in that spot are. If you click on view the descriptions of only these issues, the rest of details are filtered out from the text panel, so you have less to scroll through.

- For a quick overall look, check the counts in the Status Bar. The different icons match the severity of the issue:
- Error: critical or high
- Warning: medium
- Info: low
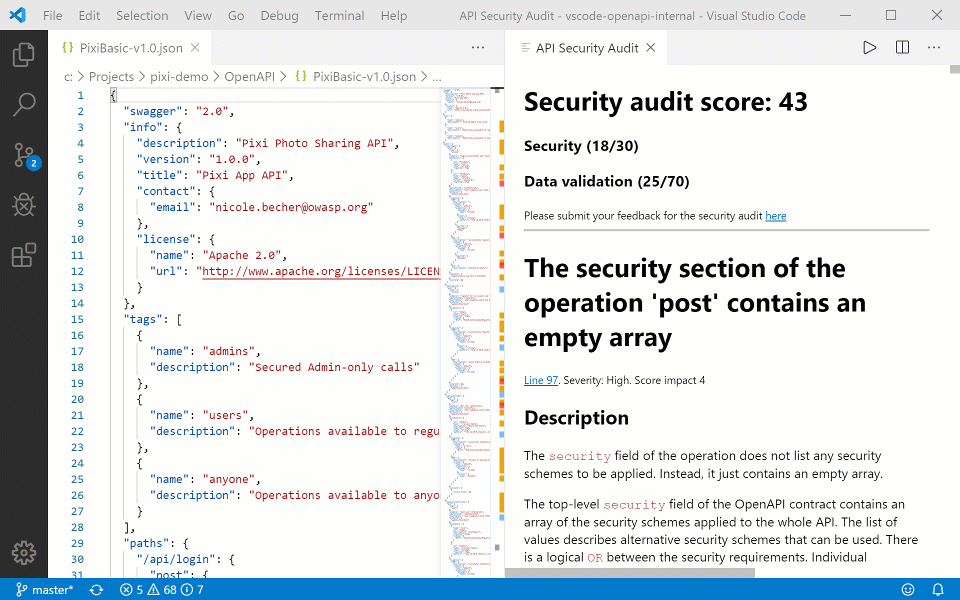
- Click the icons in the Status Bar to open the PROBLEMS panel and scroll through the issue titles. The issues are ordered from most to least severe, so it is easy for fix the worst offenders first. Note that recommendations are not listed in the PROBLEMS panel.
- Click on an issue in the PROBLEMS panel to jump to view it inline in your API definition.
Fix issues
Many of the issues reported by the Security Audit have Fixes associated with them. These are code snippets that you can get inserted into the OpenAPI file and then customize with the appropriate value.
Individual fixes
- Perform the Security Audit by clicking the 42c button.
- When you click some of the error lines in your OpenAPI file, you will see the QuickFix icon show up on the left of the line.
- Click the icon and select the QuickFix to apply.
- Tweak the values in the inserted code snippet as you see fit.

Bulk fixes
If your OpenAPI file contains multiple similar issues - for example, a parameter with the same name is missing the pattern definition - you can fix all such occurrences in one go:
- Fix the first occurrence and supply the proper values in the code snippet.
- Go to the next occurrence and use the bulk QuickFix. This bulk QuickFix will reuse the values that you used previously for the parameter with the same name.

Miscellaneous commands
- You can load results of Security Audit from a file for a currently open OpenAPI file by running command
42Crunch: Load Security Audit report from filefrom the command palette
Integration with 42Crunch Platform
This extension features optional integration with 42Crunch Platform. To enable it please configure your credentials by running 42Crunch: Update platform credentials command from the command palette.
Known issues
- For new files, IntelliSense does not work until you save the file. File extension must be
.jsonor.yaml. - When running 42 Crunch Conformance Scan on a host with incorrect clock, the scan can fail with the message
cannot send the scan report : rpc error: code = InvalidArgument desc = invalid input, to resolve the issue make sure your clock is correctly set.
Feedback
When you have a minute PLEASE submit your feedback and feature requests at this superquick survey.
Submit your bug reports at GitHub project Issues.
And, needless to say, your reviews at VS Code marketplace mean the world to us!