This project is inspired by Reddit user u/hibri808 and his post 'The Frankenstein Omakase set up'. The credit goes to him.
-
The Swelltech is always my goto choice for flat ground riding. Many other Swelltech users complained about the deck being too narrow at the tail, or the kick being too flat, or the traction pad being not comfortable. I personally don't have a strong opinion about the deck but am curious about trying a Swelltech with a smaller wheelbase, and it's always good to have more real estate for the feet. So as soon as I came across that post on Reddit, I decided to give it a shot. Again thanks to u/hibri808 who answered my many questions, and this project is the fruit of his wisdom and experience, plus a little fine-tuning of my own.
-
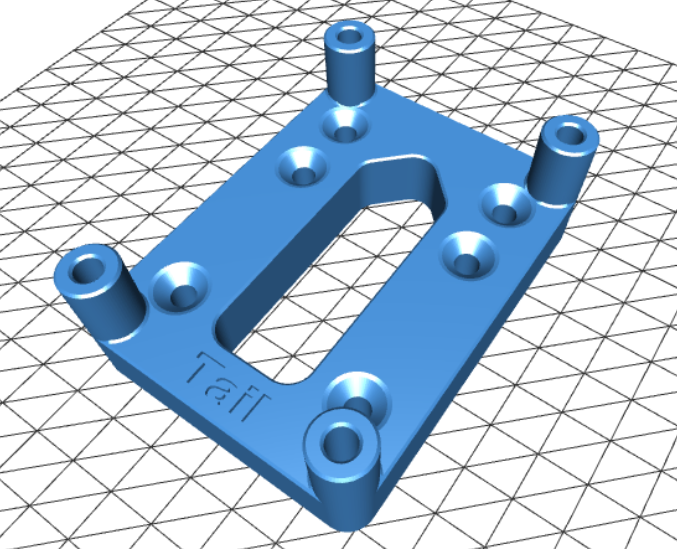
The Loaded Omakase is a beautiful deck and is not cheap. Drilling a deck is not the most complicated task, but you definitely don't want to mess up with such a deck. The goal of this project is to help ease the process of drilling should you want to do the same. This drilling guide offers 4 different wheelbases for your choice:
- 20", equivalent to the Austin Keen model.
- 20.5", equivalent to the Italo Air model.
- 21", equivalent to the J.O.B Pipeline model.
- 21.5", equivalent to the Hybrid Camo or O'san model.
- Print the files under the
STLsfolder. - Recommended filament: PLA
- No support needed
- 0.4mm nozzle, 5 perimeters
- Infill: 10%
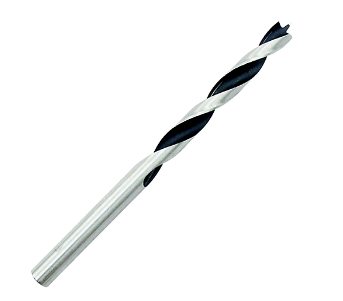
- 5mm universal wood drill bit, and a power drill
- 12pcs of M5 x 35mm (or longer) countersink bolts for fixing the guides on the deck
- 12pcs of M5 nuts and flat washers
- It's pretty straight forward - fix the drilling guides on the deck with the M5 countersink bolts, nuts and washers. Make sure to point the end marked 'Tail' of the rear guide towards the tail of the deck.
- It's adviced not to drill through in one go, otherwise the backside of the hole may show some small cracks round the edge. In order to avoid the cosmetic flaw, drill half way, take off the guides, put them on the other side of the deck, and drill through.
- After the drilling, you can fill those original holes which are close to the new holes with epoxy to increase the strength of the new holes.
- It's not directly related, but I think it's worth mentioning.
- The Omakase deck is significantly more rigid than the original Swelltech deck. I immediately noticed the ride became more stable, or even too stable for the way I liked. So I changed the road side barrel bushing to a lower duro, the original one is about 90-92A according to my durometer measurement.
- I know this is very personal, so totally up to you.
- With the original bushings, I had no wheel bites even with the 70mm stock wheels.
- With the softer barrel, it showed some wheel marks under the wheel wells, so it's better to use 65mm or smaller wheels.


