You will have had to completed the previous assignment called "AWS Sign Up"
At the end of this assignment, you'll have AWS security access keys so that you can give various programs permission to interact directly with the AWS servers. Think of this as setting up a secure sign in. The steps below will allow you to generate a specific code that you can store on your machine and have your programs use to let AWS know that it really is 'you' (or your machine) attempting to access AWS resources.
Additionally, we'll install and test boto3, which is the library maintained by AWS in order to allow Python users deeper ways to interact with AWS tools. You can find more details in the Boto3 documentation page here. At the end of this we'll use boto in a jupyter notebook to create a 'bucket' that we can later use to store data.
First, we need to have AWS generate the credentials we need. First, open your internet browser and navigate to https://aws.amazon.com/console/. Make sure that you are logged into the AWS account you set up earlier. Then open up Security Credentials. You should find that in the top right corner, under 'My Account'. You may need to re-enter your login and password. Once you've done that, scroll down to the section called 'Access Keys'. You may need to click through a screen encouraging you to use IAM account, ignore this for now.
You should see something like the image below:
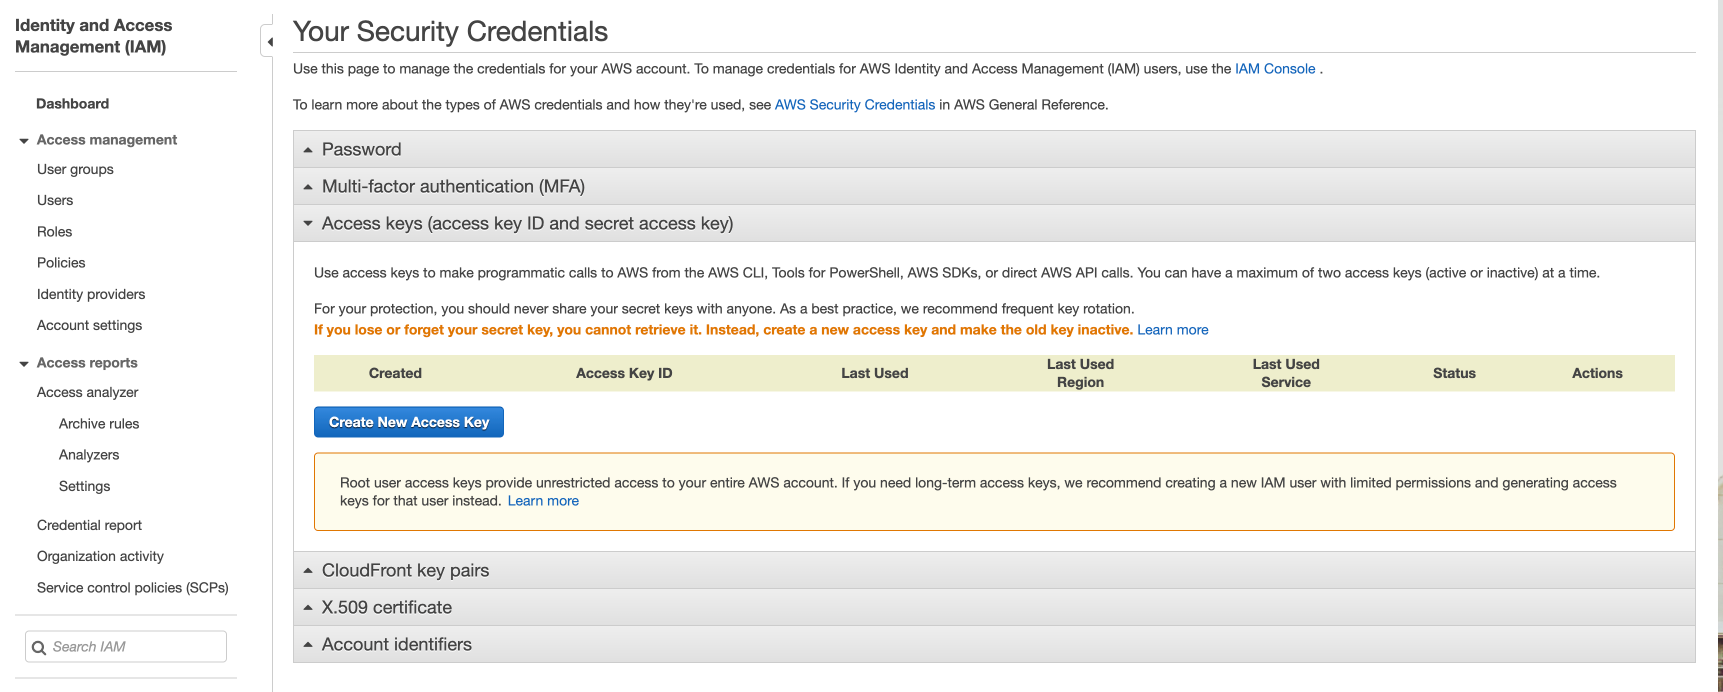
Create a new access key by pressing the button Create New Access Key as seen below.
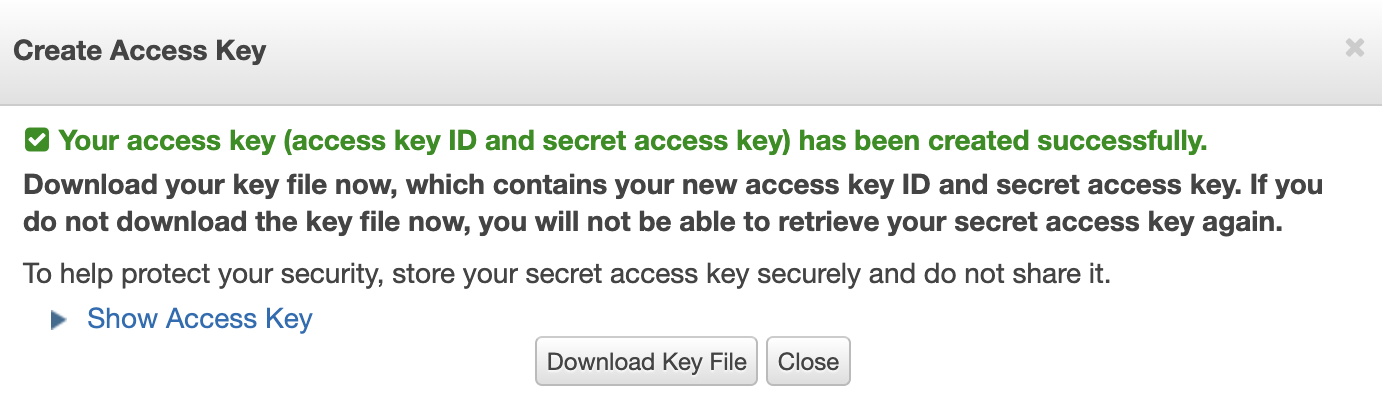
This will generate a keypair for you automatically. If you are interested in cryptography understanding how a keypair works is critical, but for our purposes we can think of a keypair like a password that is on one hand much harder to crack than the usual 'password123' type of password. The downside is that it is just a jumble of pseudo-random information that is much harder for humans to remember. So we'll copy and paste it into a secure location, and try to not rely on these keys for too much, because if someone is able to compromise your computer, they'd also get access to whatever access level you grant these keys in your AWS account. This is part of why we won't be putting 'real' data into any of our AWS practice tasks!
Copy and paste the keys into a safe place on your computer. Alternatively, you can press the download button to save the two keys as a csv file. This will be the only time you'll be seeing them.
Now that we have our keys, we need a place to put them. Most AWS tools will be looking for a folder at the user level titled '.aws' and, more specifically for our purposes, a folder called 'credential' within that.
However, it is very important that this folder be in the right place, otherwise your programs will go looking for their 'keys' to the AWS tools, and not be able to find them. So! Please follow these steps very carefully, as they will not work if you put the wrong commands into the terminal if the terminal is operating in the wrong folder.
First, we must open our terminal (gitbash) and navigate to the 'home' address AWS will be looking for by using this command:
cd ~
Now, we'll need to make the .aws folder, using this command:
mkdir .aws
Remember that a folder that starts with a '.' is hidden by default. This means that it won't appear if we use the normal 'ls' command to list out the folders available. However, if we know that it is there, we can still navigate into it by using cd.
cd .aws
Now we need to create a new file in '.aws' called 'credential'.
touch credentials
And having done that, you'll need to open the credential file. You can just use Windows Notepad for this:
notepad credentials
And here you'll need to copy in the keys in the format shown below:
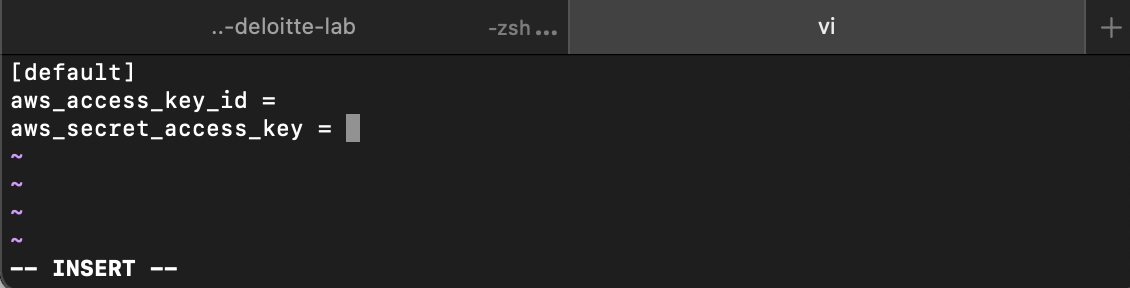
That is to say, you'll have to type in "aws_access_key_id = " and then paste in your key ID. And then "aws_secret_access_key = " and paste in the access key. Don't mix these up, and make sure to save! Close out of the notepad that opened up.
Next, we'll want to set some default config values. Mostly we're doing this so that we don't have to specify specific 'regions' within AWS. In general, you'll want to use the region that is closest to your current physical location, we we'll set that as a default. You can read more on the AWS regions here. Some services are only available if you are accessing certain regions, so you may need to use different regions on a case by case basis. One important note, AWS regions don't share data. That is, if you open a bucket in US East 1, and then look for it in US West 1, you won't be able to find it, even though you're using the same account.
Make sure your terminal is in the same directory. The current address should end with '/.aws'.
Then, we'll need to create an empty file called 'config'
touch config
And again, open it in an editor
notepad config
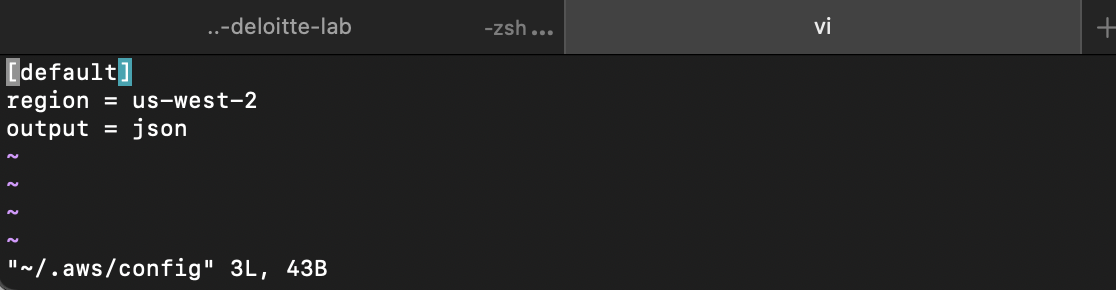
Once the file opens, add this:
region = us-west-2
output = json
You can find a list of the region names that AWS uses for config files here.
Once again, make sure to save, and then close out.
If everything has gone well, you shouldn't need to return to these files for this course!
Let's try creating a bucket using the boto3 client and your new access key ID and Secret Key.
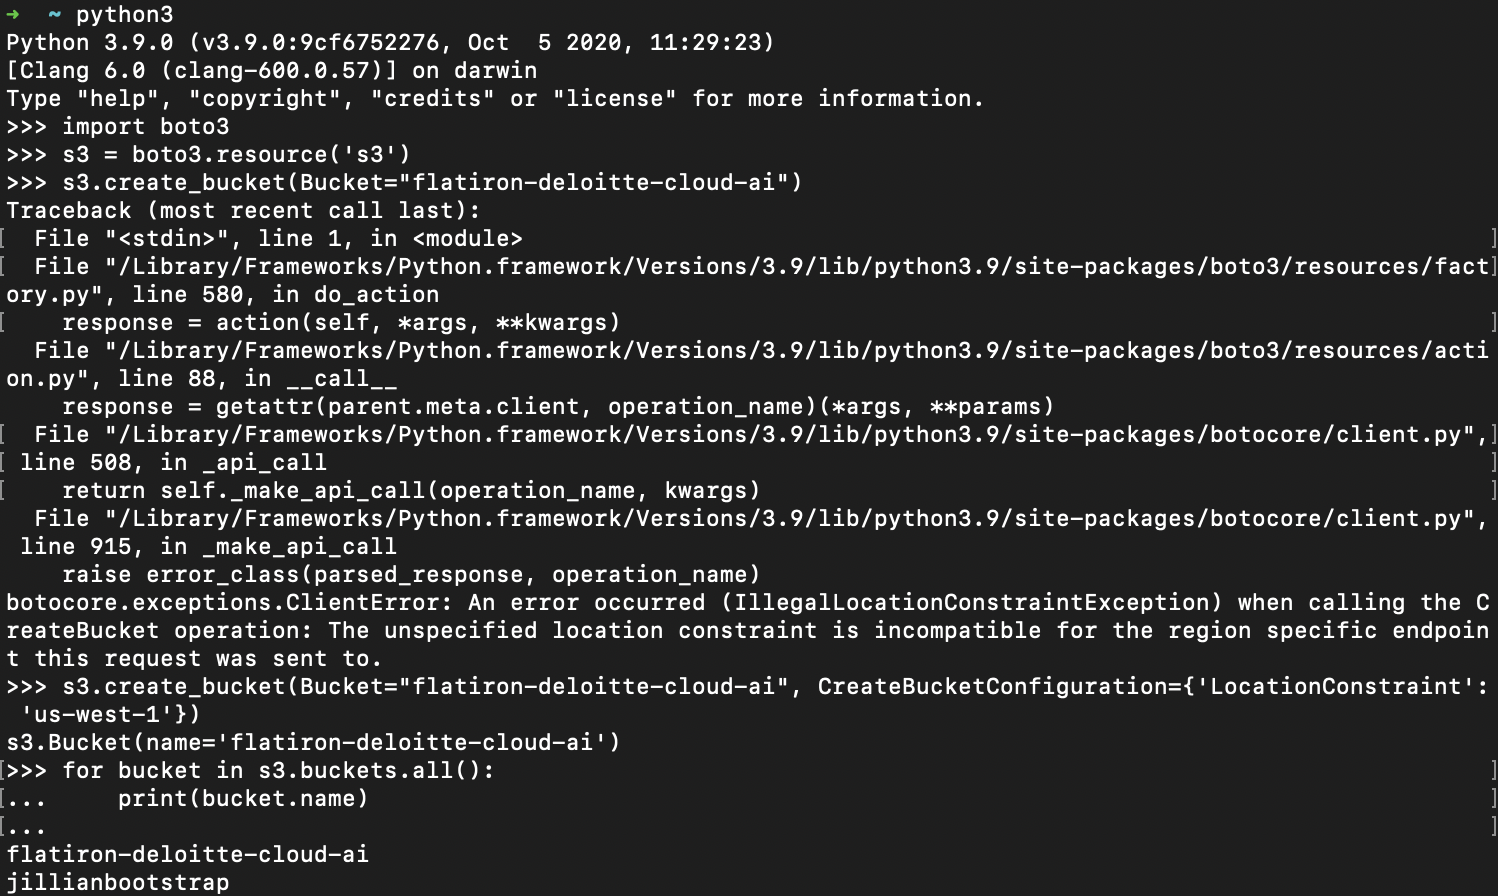
Now let's test your set up! We're going to try to create an empty bucket from a jupyter notebook. Go ahead and navigate to a logical location in your terminal and open a new jupyter notebook. Run these commands in the first cell. N.B. AWS bucket names can consist only of lowercase letters, numbers, dots, and hyphens; a suggestion here is 'Bucket='test-bucket-<random_number_or_word>'.
# If you haven't already, you may need to uncomment and run the following line. You should only need to do the  pip install once.
#!pip install boto3

import boto3

s3 = boto3.resource('s3')

s3.create_bucket(Bucket='Test Bucket')