A lightly opinionated starter for SvelteKit blogs:
- SvelteKit + Netlify adapter!
- Tailwind 3 + Tailwind Typography (with swyx fixes)
- JSDoc Typechecking
- GitHub Issues as CMS
Feel free to rip out these opinions as you see fit of course.
See https://swyxkit.netlify.app/ (see Deploy Logs)

- https://swyx.io
- https://twitter.com/iambenwis/status/1500998985388937216
- https://twitter.com/lucianoratamero/status/1508832233225867267
- https://twitter.com/Codydearkland/status/1503822866969595904
- add yourself here!
- Features
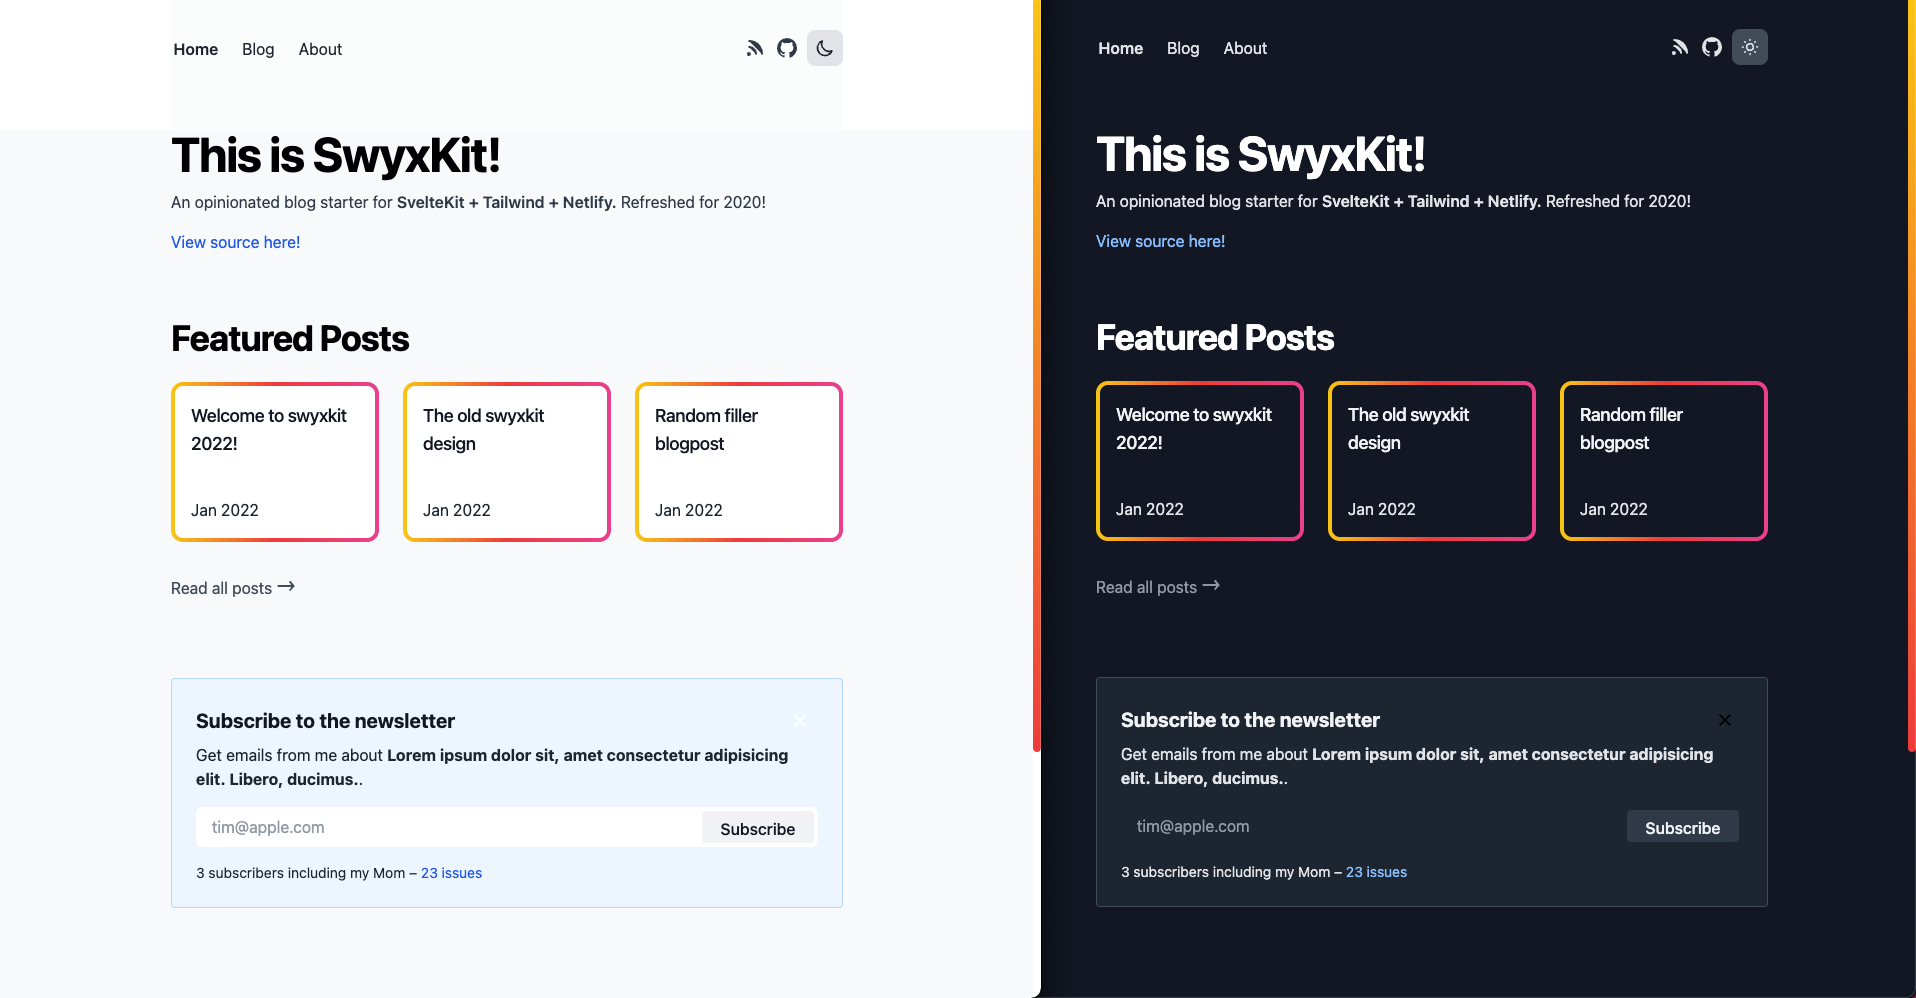
- Dark mode
- Github-issues-driven Blog with blog index
- Blog content pulled from the GitHub Issues API
- Comment and Reaction system from Github Issues
- 🆕 Shortcodes for embedding Tweets and YouTube videos
- Consumes markdown/MDSveX
- with syntax highlighting
- fixes for known MDSvex render issue
- RSS (at
/api/rss.xml) with caching
- Performance/Security touches
- set
s-maxage(notmax-age) to 1 minute to cache (consider making it 1-7 days on older posts)- for API endpoints as well as pages
- Security headers in
netlify.toml- X-Content-Type
- X-Frame-Options
- X-XSS-Protection
- SvelteKit does not yet support CSP - PR pending here
- Builds and Deploys in ~40 seconds on Netlify
- set
- Minor design/UX touches
- Top level blog URLs (
/mybloginstead of/blog/myblog- why) - Blog index truncates at 20 posts to make sure to render quickly
- Comments are rendered and sanitized
- Error page (try going to URL that doesnt exist)
- including nice error when github api rate limit exceeded - fix with
GH_TOKEN
- including nice error when github api rate limit exceeded - fix with
- Navlink hover effect
- Mobile/Responsive styling
- Mobile menu with animation
- Og:image and meta tags for social unfurls (not automatically generated though)
- Accessibility
- Custom scrollbar https://css-tricks.com/strut-your-stuff-with-a-custom-scrollbar/
- Defensive CSS touches https://ishadeed.com/article/defensive-css
- Top level blog URLs (
- Code Quality
- JSDoc Typechecking
- ESLint + Prettier
- Nightly lockfile upgrades
npx degit https://github.com/sw-yx/swyxkit
export GH_TOKEN=your_gh_token_here # can skip if just trying out this repo casually
npm install
npm run start
You should be able to deploy this project straight to Netlify as is, just like this project is.
July 2022 note: there was a breaking change in Sveltekit where you may have to set a Netlify environment variable
AWS_LAMBDA_JS_RUNTIMEtonodejs16.xto get serverless rendering to work.
However, to have new posts show up, you will need to personalize the siteConfig below - take note of APPROVED_POSTERS_GH_USERNAME in particular (this is an allowlist of people who can post a blog by opening a github issue, otherwise any rando can blog and thats not good).

# these are just untested, suggested commands, use your discretion to hook it up or deploy wherever
git init
git add .
git commit -m "initial commit"
gh repo create # make a new public github repo and name it whatever
git push origin master
ntl init # use the netlify cli to deploy, assuming you already installed it and logged in. can also use `ntl deploy`As you become ready to seriously adopt this, remember to configure /lib/siteConfig.js - just some hardcoded vars i want you to remember to configure.
export const SITE_URL = 'https://swyxkit.netlify.app';
export const APPROVED_POSTERS_GH_USERNAME = ['sw-yx']; // IMPORTANT - change this to at least your github username, or add others if you want
export const GH_USER_REPO = 'sw-yx/swyxkit'; // used for pulling github issues and offering comments
export const REPO_URL = 'https://github.com/' + GH_USER_REPO;
export const SITE_TITLE = 'SwyxKit';
export const SITE_DESCRIPTION = "swyx's default SvelteKit + Tailwind starter";
export const DEFAULT_OG_IMAGE =
	'https://user-images.githubusercontent.com/6764957/147861359-3ad9438f-41d1-47c8-aa05-95c7d18497f0.png';
export const MY_TWITTER_HANDLE = 'swyx';
export const MY_YOUTUBE = 'https://youtube.com/swyxTV';
Of course, you should then go page by page (there aren't that many) and customize some of the other hardcoded items, for example
- the Newsletter component needs to be wired up to a newsletter service (I like buttondown, tinyletter, and revue)
- page
Cache-Controlpolicy and SvelteKitmaxage - site favicons (use https://realfavicongenerator.net/ to make all the variants and stick it in
/static) - (if migrating content from previous blog) setup Netlify redirects at
/static/_redirects
This blog uses GitHub as a CMS - if you are doing any serious development at all, you should give the GH_TOKEN env variable to raise rate limit from 60 to 5000.
- Just make a really basic personal access token here, should be enough. https://docs.github.com/en/rest/overview/resources-in-the-rest-api#rate-limiting
- and set the env variables in Netlify
When deploying, don't forget to set it in Netlify: https://app.netlify.com/sites/YOUR_SITE/settings/deploys#environment
Open a new Github issue on your new repo, write some title and markdown in the body, add a Published tag, and then save.
You should see it refetched in local dev or in the deployed site pretty quickly. You can configure Sveltekit to build each blog page up front, or on demand. Up to you to trade off speed and flexibility.
If your Published post doesn't show up, you may have forgotten to set APPROVED_POSTERS_GH_USERNAME to your github username, as above.
If all of this is annoying feel free to rip out the GitHub Issues CMS wiring and do your own content pipeline, I'm not your boss. MDSveX is already set up in this repo if you prefer not having a disconnected content toolchain from your codebase (which is fine, i just like having it in a different place for a better editing experience). See also my blogpost on the benefits of using Github Issues as CMS.
- Customize your JSON+LD for FAQ pages, organization, or products. There is a schema for blogposts, but it is so dead simple that swyxkit does not include it.
- Testing - make sure you have run
npx playwright installand then you can runnpm run test
You can read:
- Why I Enjoy Svelte
- Svelte for Sites, React for Apps
- Why Tailwind CSS
- Moving to a GitHub CMS
- How to Setup Svelte with Tailwind
- Design from Lee Robinson: https://github.com/leerob/leerob.io/
- MDSvex from Pngwn is amazing https://mdsvex.pngwn.io/docs#layout
- Other people's code I borrowed from
- https://github.com/mvasigh/sveltekit-mdsvex-blog
- https://github.com/sveltejs/kit/blob/master/examples/hn.svelte.dev/src/routes/%5Blist%5D/rss.js
- RSS
- https://scottspence.com/posts/make-an-rss-feed-with-sveltekit
- https://www.davidwparker.com/posts/how-to-make-an-rss-feed-in-sveltekit
- Reasons it is hard to do dynamic RSS in Sveltekit:
- Sveltekit Endpoints dont take over from Sveltekit dynamic param routes (
[slug].sveltehas precedence overrss.xml.js) - RSS Endpoint runs locally but doesnt run in Netlify bc no access to the content in prod (SvelteKit issue)
- Sveltekit Endpoints dont take over from Sveltekit dynamic param routes (
- Find more sveltekit projects at https://github.com/janosh/awesome-svelte-kit
- implement etag header for github api
- store results in netlify build cache
- separate hydration path for mobile nav (so that we could
hydrate=falsesome pages) - custom components in MDX, and rehype plugins