goswag
To help you auto generate swagger for your golang APIs


Introduction
It will extend your Go framework by providing methods to generate a separate file containing all the necessary comments. These comments enable the Swag library to effortlessly generate Swagger files.
- Why:
I was searching for an automated method to generate Swagger documentation for Golang APIs. I came across the swaggo/swag lib, which seems to be the most popular choice or, at the very least, has numerous articles and tutorials promoting its use. However, I was dissatisfied with the process of adding extensive comments throughout the main file and other files containing handler functions. As a result, I decided to develop the goswag library.
- How:
Goswag simplifies the process of integrating Swagger documentation generation into your Go projects. By seamlessly aligning with your chosen framework's usage patterns, Goswag ensures a smooth integration experience.
For instance, if your framework uses a POST method with specific parameters, Goswag mirrors these method and parameters, streamlining the integration process. This principle applies across supported frameworks, ensuring consistency and ease of use.
Instead of this:
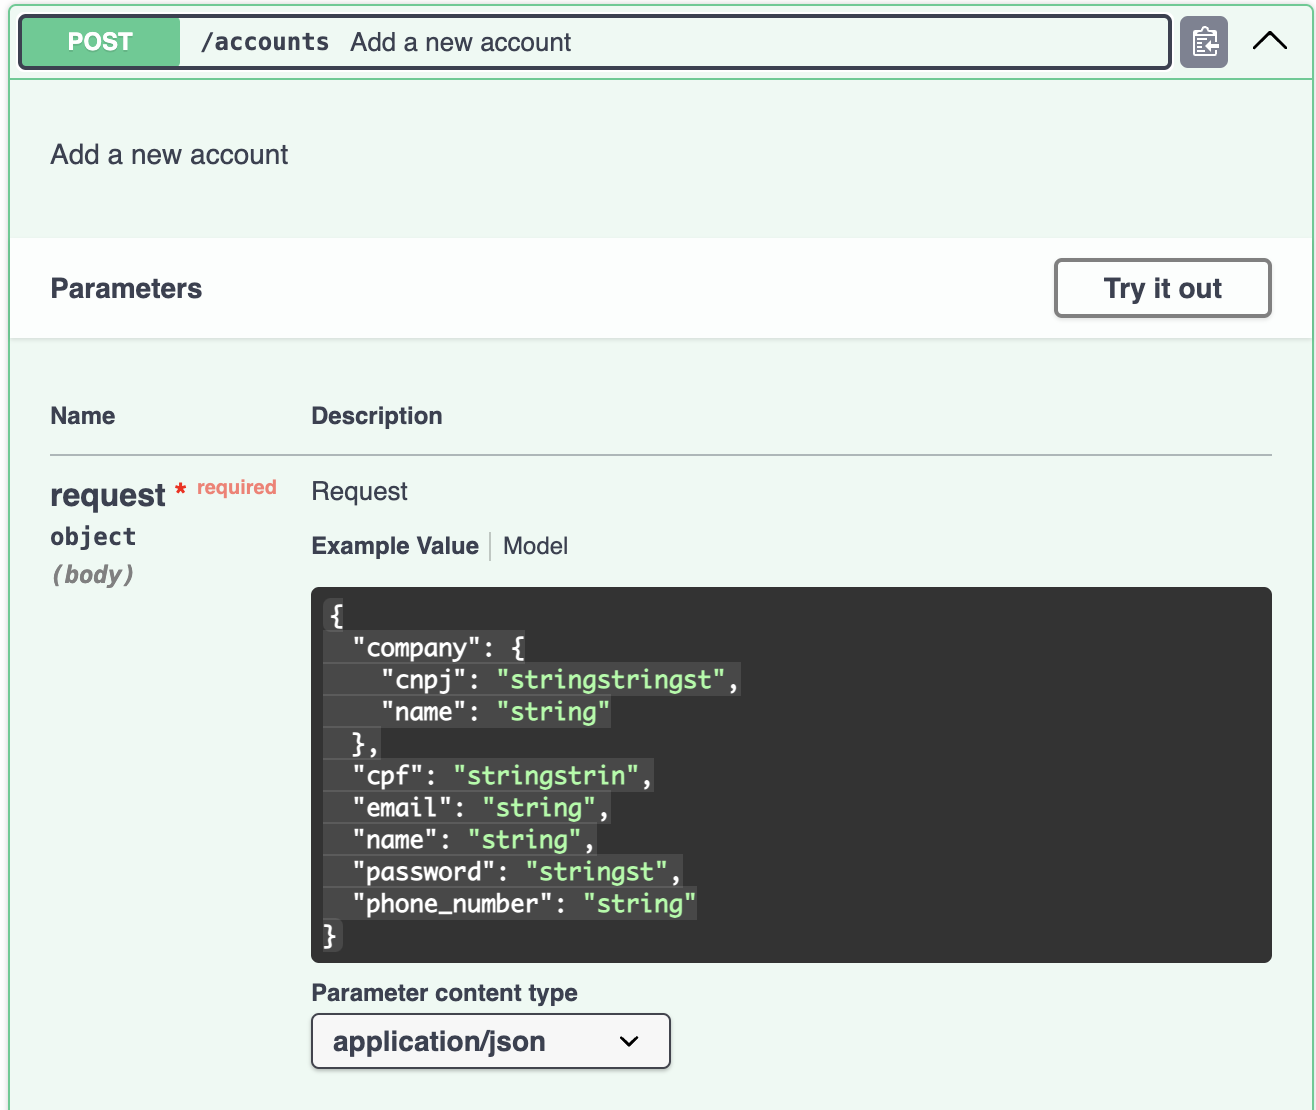
And will have the same result:
- Supported Libraries
Getting started
1 - Modifying your current project
When initializing your current framework, such as e := echo.New(), begin by replacing it with ge := goswag.NewEcho() or gg := goswag.NewGin(gin) by passing the Gin instance as a parameter for the Gin framework.
2 - Using original framework configuration
If you intend to utilize the framework with alternative configurations, for instance: e.Debug = true, you can access e as follows: ge.Echo().Debug = true achieving identical results.
3 - Add annotations to your routes:
After completing the initial setup, your routes are established without errors and require no further changes. However, your routes will now possess additional methods:
Summary: Provides a brief overview of your route.Description: Offers a detailed description of your route (If not set, it defaults to the summary).Accepts: The default value is json. f you wish to incorporate different values, please refer to the list of possible values here.Produces: The default value is json. To include different values, consult the list of possible options here.Read: ISpecifies the request body received by your routes.Returns: Is an array of ReturnType{}. Your route can have multiples returns (e.g., success, errors e etc). Refer to the interface reference for detailed usage information.
type ReturnType struct {
	StatusCode int
	Body       interface{}
	// example: map[jsonFieldName]fieldType{}
	OverrideStructFields map[string]interface{}
}QueryParam: Defines the query parameters of the route and specifies if they are required.HeaderParam: Defines the header parameters of the route and specifies if they are required.
4 - Generating your Swagger Documentation
The method used to instantiate your router, either NewEcho() or NewGin() includes a function called GenerateSwagger().
After setting up all your routes (including annotations), you can invoke GenerateSwagger() to generate your swagger documentation. However, this implies that if your route setup relies on services like a running database or RabbitMQ, you can only generate your Swagger documentation when your entire infrastructure is operational, which is not ideal.
Recommended Approach:
The recommended approach is to have a separate main file where you do not need to provide real connections for your route setup.
Consider a file named server.go with the following setup:
func SetupRoutes(db *sql.DB) *echo.Echo {
    e := echo.New()
    handlers := handlers.New(db)
    e.GET("/hello", handlers.HandleHello)

    return e
}
In order to start your router, you currently need to provide a database connection. However, this requirement is unnecessary for generating Swagger documentation.
Recommended Approach Setup
- Install
swag. It is necessary for generate swagger documents. - Create a folder in your root project folder named
goswag. - Inside the
goswagfolder, create a file calledmain.gowith package main. - Inside of this file, create your main function that will invoke your routerSetup.
- You can add comments to the main.go file for your Swagger, similar to this example in item 2.
// @title           GoSwag example API
// @version         1.0
func main() {
    // Here you have already used goswag for your route setup, added annotations and change it return to goswag.Echo or Gin interfaces
    ge := server.SetupRoutes(nil)
    ge.GenerateSwagger() //will generate your swagger
}- Create a Makefile and add the following command:
.PHONY: docs
docs:
	@cd goswag && \
	go run main.go && \
	cd .. && \
	swag init -g ./goswag/main.go && \
	swag fmt -d ./goswag/
You can now execute the make docs command.
It will generate a new goswag.go file inside of your goswag directory. This file includes all necessary handlers and comments for the Swag library to generate the Swagger files inside the docs directory.
NOTE: after the first generation, the doc.go file in the docs folder will import Swag library. If you haven't used Swag in your project before, you'll need to run go mod tidy to ensure the swag package is included in your go.mod file.
Example of Usage
To see an example of usage, you can check this repository.
The necessary modifications are located in transport/rest/server.go and the router.go file inside of each route directory in transport/rest/routes/.
More features
You can add description for fields, add if they are required or not.
For this struct fields features and more, you can follow the swag documentation to understand how to add it.
Contributing
Contributions are welcomed. :)
You can contribute not only with code but also by enhancing these README.md docs, writing articles, using Goswag and providing feedback.
To contribute, please follow these steps:
- Fork the repository
- Create a new feature branch (
git checkout -b feature/<FEATURE NAME>) - Make the necessary changes
- Commit your changes (
git commit -m "Add some feature") - Push your changes to your forked repository (
git push origin feature/<FEATURE NAME>) - Create a pull request to the main branch of the repository
License
Goswag is MIT licensed.
TODO:
- NewGin() does not implement the method Match or Any from gin, because there are no way (yet) to define the same (summary,responses,bodies) for all methods


