Dan Hienzsch developed an ATtiny85-based board and offered a few of them on Twitter:
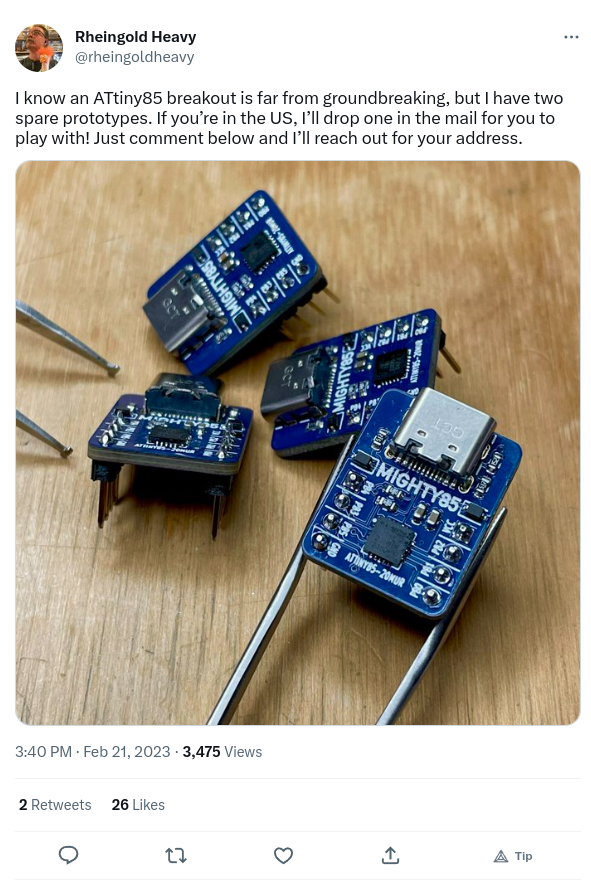
After a few hours, he had only received a single reply so - since it was free - I went ahead and asked for one. I received it in the mail within a few days:

Before shipping, Dan asked if I needed any documentation, but I said I'd just give it a whirl and see what happens once it got here. He did helpfully let me know the ATtiny was preloaded with the Micronucleus bootloader. I had no idea what that was...
Upon receipt, I just plugged the board into a USB socket to see what would happen. I thought it might enumerate or the OS would pick it up, but ... nothing. OK, so I actually have to do a little work.
Since this was an ATtiny85 board, I figured the Arduino IDE would be a good place to start and so I downloaded the latest appimage.
Upon starting the IDE, no ATtiny boards were listed, so I added http://digistump.com/package_digistump_index.json to the Additional boards manager URLs field in File/Preferences as described here.
[Note: A lot of the difficulties described below can be avoided by using the ATtinyCore package http://drazzy.com/package_drazzy.com_index.json.]
After the IDE installed the board package, I selected Digispark (Default - 16.5 MHz) from the list presented by Tools/Boards.
I also set Tools/Port to /dev/ttyS0. (I'm using Ubuntu 22.04.)
With the Mighty85 disconnected from the USB port, I attempted to compile & upload the default empty program in the IDE.
When prompted, I reattached the board and then got pummeled with these messages:
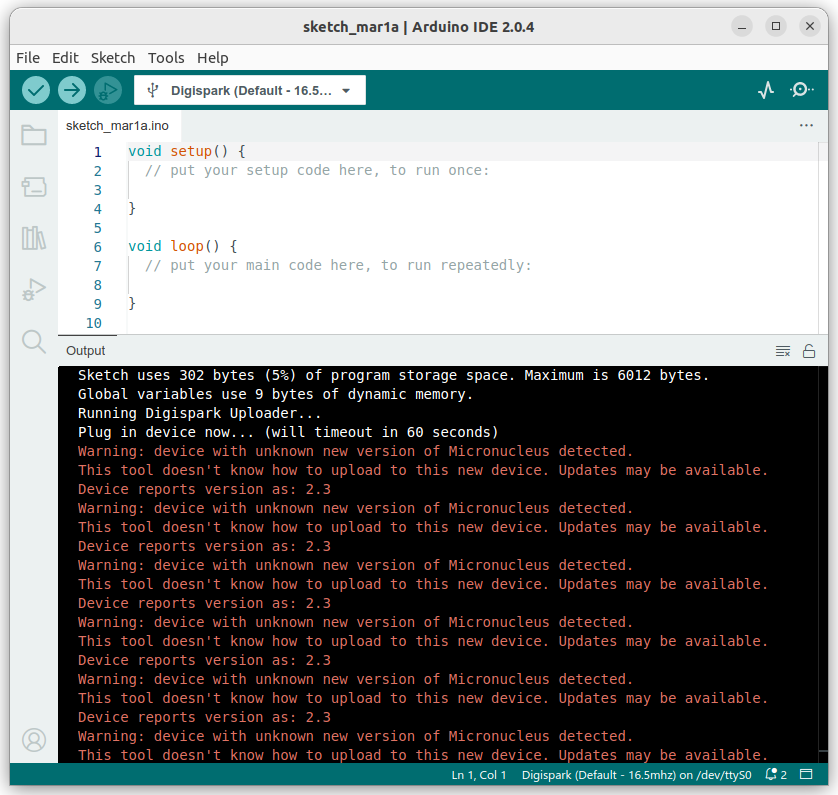
While Dan helpfully had loaded the Micronucleus bootloader, he used a version (2.3) that is newer than the digistump board package can handle.
So I had to compile a new micronucleus executable as discussed here:
git clone https://github.com/micronucleus/micronucleus.git
cd micronucleus/commandline
sudo apt install libusb-dev
make
sudo make install
Next, I copied over the old executable in the board package with my newly-compiled micronucleus:
cp /usr/local/bin/micronucleus ~/.arduino15/packages/digistump/tools/micronucleus/2.0a4After this, my compile & upload got a little further but still had a problem:
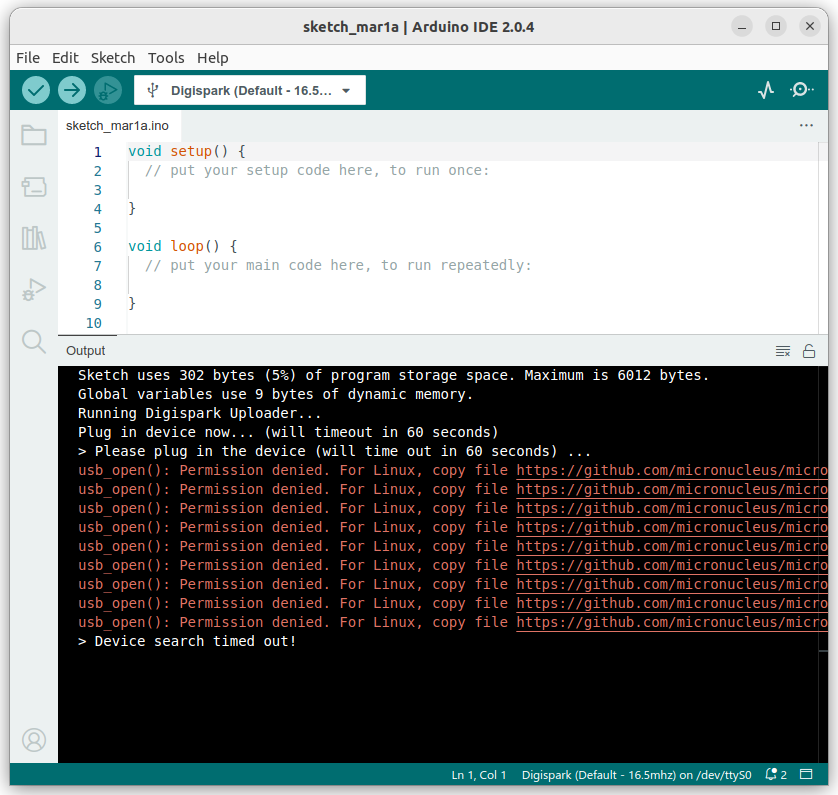
The error message (most of which you can't see) told me that I couldn't use the USB port to access the Mighty85 until I added some rules:
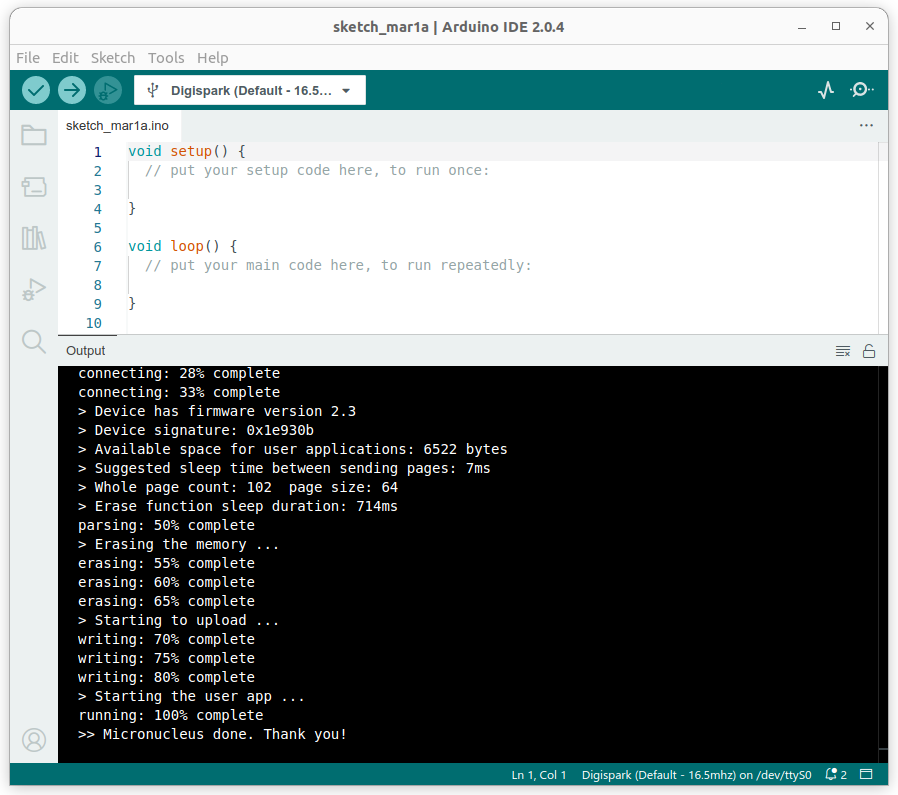
sudo cp 49-micronucleus.rules /etc/udev/rules.dWith the rules in place, the upload succeeded:
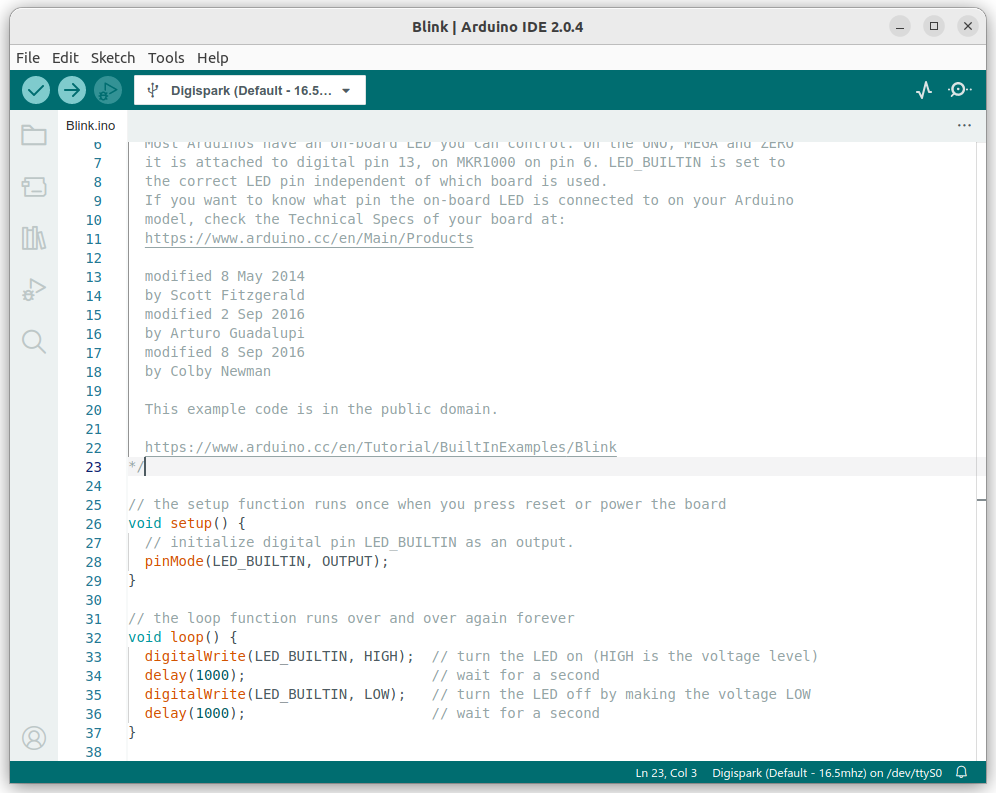
Empty loops are fun and all, but a real program is needed that shows the Mighty85 is actually working. I started with the File/Examples/01.Basics/Blink example that blinks an LED on and off in a two-second cycle.
Since the Mighty85 doesn't have a built-in LED, I decided to use an LED + resistor connected between the I/O pin labeled PB0 and ground.
I didn't know the actual pin number or register address of PB0 but the Arduino environment does.
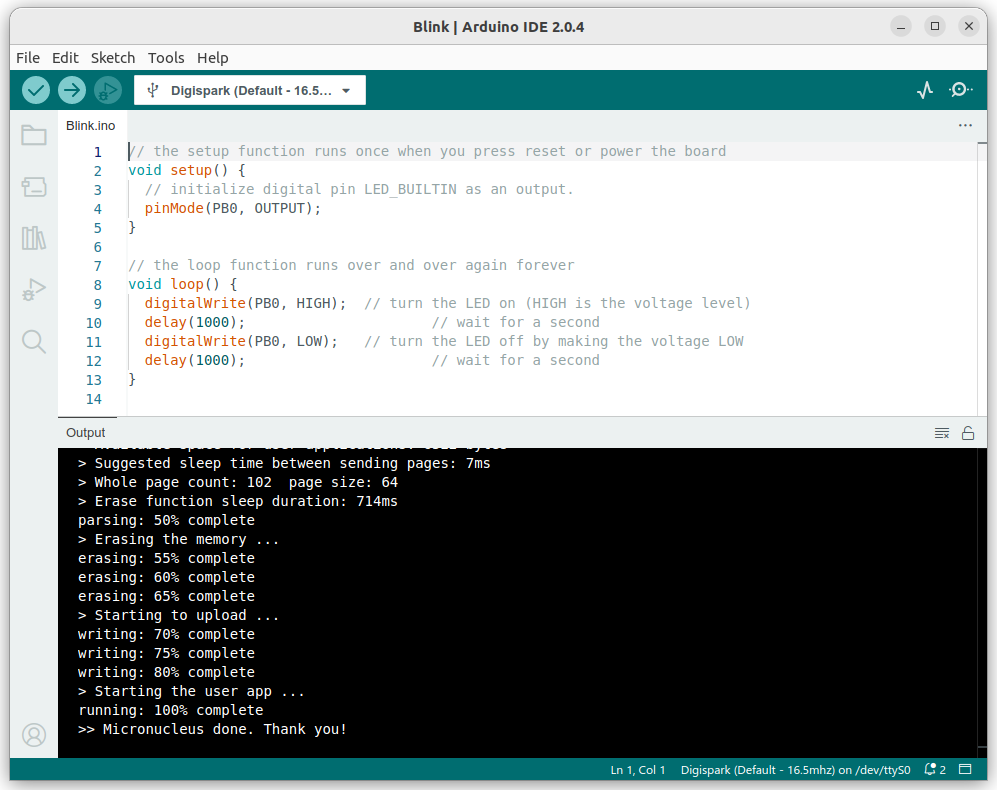
All I had to do was replace LED_BUILTIN with PB0.
After compiling and uploading, I had a blinking LED:
That's it for now!
