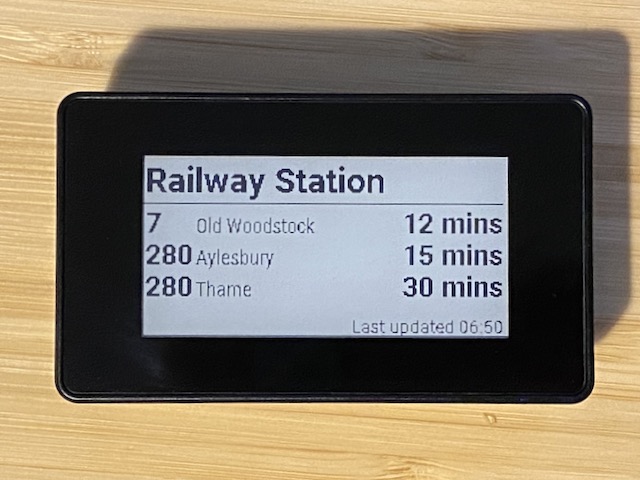
Display bus arrival times on a Raspberry Pi with an e-ink screen.
The display shows up to three upcoming buses for a stop. Touching the display cycles through different stops.
This is inteded for use with:
The e-Paper HAT is available with a case from The Pi Hut.
Image the SD Card for the Raspberry Pi Zero 2 W with Rasperry Pi OS Lite (64-bit) using the Raspberry Pi Imager. Use the settings in the imager to set hostname, enable SSH and specifiy the wi-fi password.
One the Pi has booted, login via SSH and configure the Raspberry PI to work with the e-Paper HAT:
- Run
sudo raspi-config - Select
Interface Options→SPIand selectYesto enable. - Select
Interface Options→I2Cand selectYesto enable. - Use
Finishto exit the configuration tool. - Reboot.
Install gitand then clone this repository:
sudo apt-get install -y git
git clone https://github.com/davweb/nimbus.git
Run the set up script to install the required dependencies:
cd nimbus
./setup.sh
Firstly get the IDs of the bus stops you want to display from here. The IDs will be a list of letters like oxfamjma.
Run the module passing in bus stop IDs as arguments:
source .venv/bin/activate
python -m nimbus oxfamjma oxfgwajm
The script runs continuously as it needs to monitor the touch screen.
The easiest way to run at boot is to schedule a script that sources the virtual environment and runs the script. For example, a script would look like:
#!/usr/bin/bash

cd /home/pi/nimbus
source .venv/bin/activate
python -m nimbus oxfamjma oxfgwajm >nimbus.out 2>&1
Schedule it with cron with the following crontab entry:
@reboot /home/pi/run-nimbus.sh
