This repository contains some simple IoT projects and assignments using the NodeMCU ESP8266 board. The projects are grouped into three sets.
- Project Set A covers basic components like sensors and actuators to get started with NodeMCU and Arduino programming.
- Project Set B explores the WiFi capabilities of NodeMCU by building web interfaces and servers.
- Project Set C integrates an IoT device with the MiA middleware platform using MQTT. It adds authentication and the ability to control LED lights based on an LDR sensor reading.
The assignments come with instructions and report PDFs (in Persian) explaining the projects in detail. Video demos of the projects can be found here.
In the following section, you will find a summary of the assignment's instructions.
The following hardware components are used in these projects:
- NodeMCU ESP8266 development board
- Breadboard
- Jumper wires
- Resistors (330Ω and 10kΩ)
- LEDs
- SG90 Servo Motor
- SRF04 Ultrasonic Sensor
- LDR (Light Dependent Resistor)
- RC522 RFID Module
-
Hello World: Print a hello message on the Arduino IDE serial monitor to verify setup and communication with NodeMCU board.
-
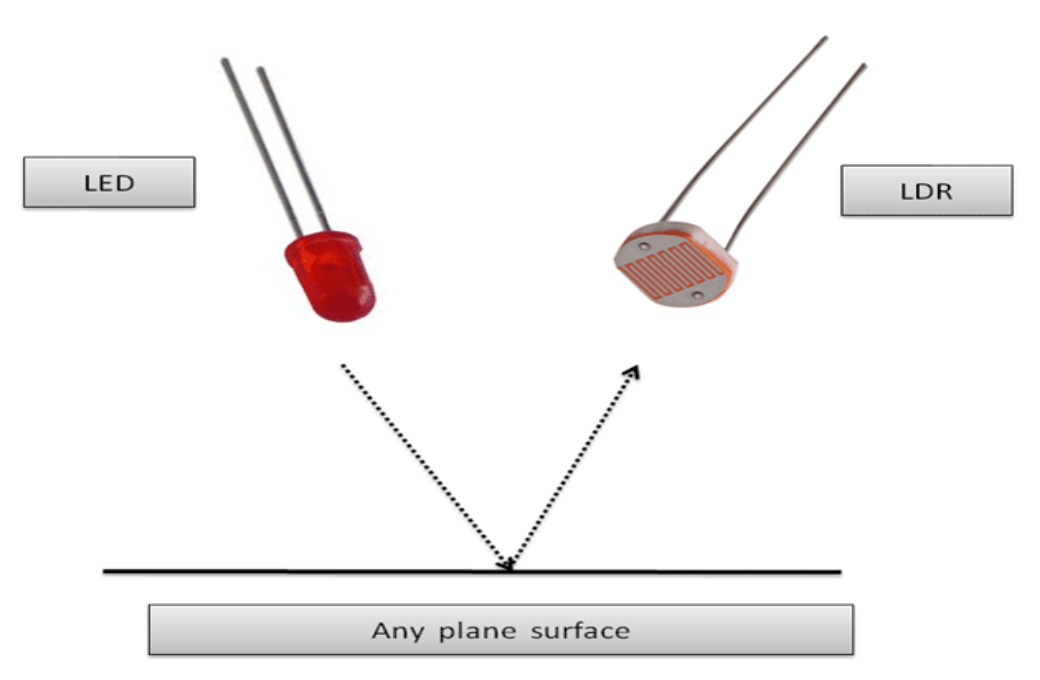
Button: Use an LDR photoresistor as a makeshift button. When one's hand is placed over LDR to block light, toggle an LED on. Remove the hand to toggle the LED off.
-
Line Follower: Use 3 LDRs to detect a black line on a white surface. If no line is detected, a red LED turns on, and buzzer sounds. If the middle LDR detects the line, the green LED turns on and the servo stays still. If the right LDR detects the line, the servo rotates right. If the left LDR detects the line, the servo rotates left. This allows an imaginary line following the robot to follow a black line. The general idea of this circuit can be seen in the figure below (figure not ours).
-
Smart Bin: Use the ultrasonic sensor to detect hand proximity. When a hand is detected within a set distance range, the servo rotates to open an "imaginary" bin lid. (Figure, not ours).
-
Screen Light: Use the LDR to detect ambient light levels. Adjust the brightness of an LED based on LDR reading to mimic auto phone brightness.
-
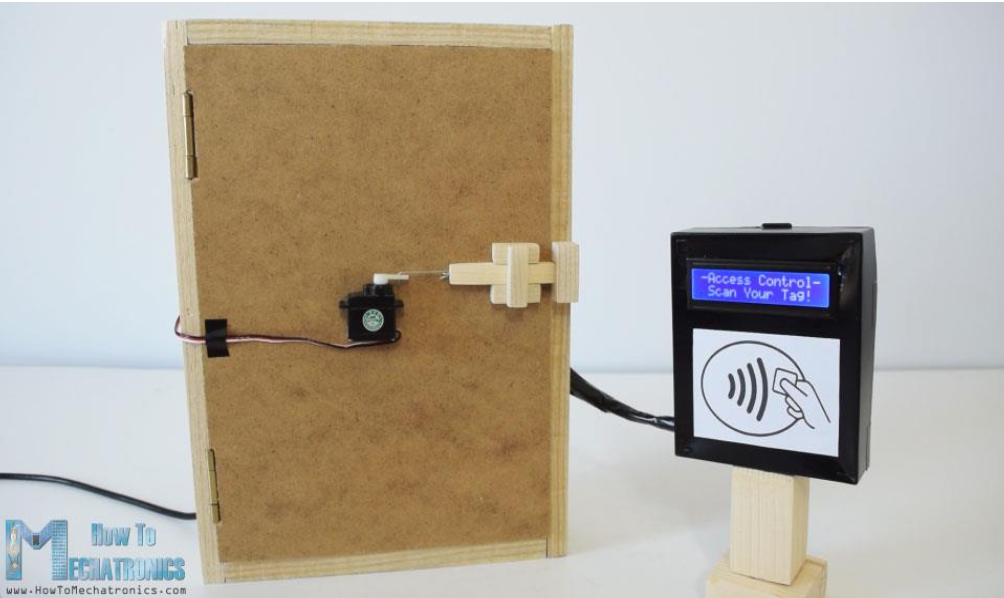
Attendance System: Use the RFID module to detect the scanned student ID cards. When the "professor" arrival is simulated by a button press (developed in section 2), start a 10-minute attendance window. If a student RFID tag is scanned within this window, record the attendance and rotate the servo to open the imaginary "door". If scanned after the window, buzz the buzzer. In the end, print a list of present and absent students based on RFID scans. Use NTP to timestamp all RFID scans.

-
Hostname: Print the default hostname of the NodeMCU board which is in the format ESP-XXXXXX where X's are the MAC address. Set a custom hostname for the board and print the new hostname to the serial monitor.
-
Station Mode: Initialize the NodeMCU board in Station mode to connect to existing WiFi networks. Print the SSIDs of nearby WiFi networks scanned by the board to the serial monitor. Connect to a selected network in Station mode and print the assigned IP address of the board.
-
Access Point Mode: Configure the NodeMCU board in Access Point mode to act as a WiFi hotspot. Assign a static IP address to the board that is within the valid AP IP range and not already in use. Print the board's IP address in AP mode to the serial monitor.
-
Vending Machine: Host a simple web page on the NodeMCU IP address. The page has a student ID number, product selection, and balance. Students enter an ID, select a product, and scan an RFID tag. Check the student's balance stored in memory, dispense the product by rotating a servo if the balance is sufficient, and update the balance. If insufficient balance, the servo stays still and an error is shown.
-
Parking Door: Host a page with buttons to open and close the door. When open is pressed, rotate a servo to open the door position, and turn on an LED to indicate the open state. If the door is left open for 20 seconds, automatically close. When closing, check for obstacles with an ultrasonic sensor. If an obstacle is detected, stop closing, open the door, buzz a buzzer, and show an error on the page. (figure, not ours)
-
Alarm: Host a page to set an alarm time and volume. Use the NTP protocol to check the current time against the set alarm time. When the alarm time is reached, buzz a buzzer at the set volume. The page has buttons to snooze the alarm for 5 minutes or stop it completely.

MiA is an IoT middleware developed at Amirkabir University that uses MQTT to connect agents (like NodeMCU boards) and things (sensors and actuators). It provides a full-featured package that can support expected capabilities from an IoT middleware platform, including sending notifications, collecting logs, and discovering and managing "things". (Figure taken from MiA official Github repository)

- MiA Agent Authentication: Implement authentication for MiA agents to securely connect to the MiA server. This involves generating encryption keys and passing credentials during the MQTT connection process.
- Smart Streetlight: Use an LDR photoresistor to simulate measuring streetlight brightness. Read the analog voltage from the LDR, map it to a 0-100 range, and publish this reading to the MiA server every 10 seconds using the proper the data model for a light sensor. To simulate smart streetlights, set up 4 LEDs individually as light thing devices registered with MiA. When a request is sent via the MiA API to turn on one of the LED lights, look up the correct LED from the things list and turn it on to simulate a smart streetlight. Use the proper data model to define the LED lamps as thing devices.
- Course: Internet of Things
- University: Amirkabir University of Technology
- Semester: Spring 2022
Let me know if you have any questions!