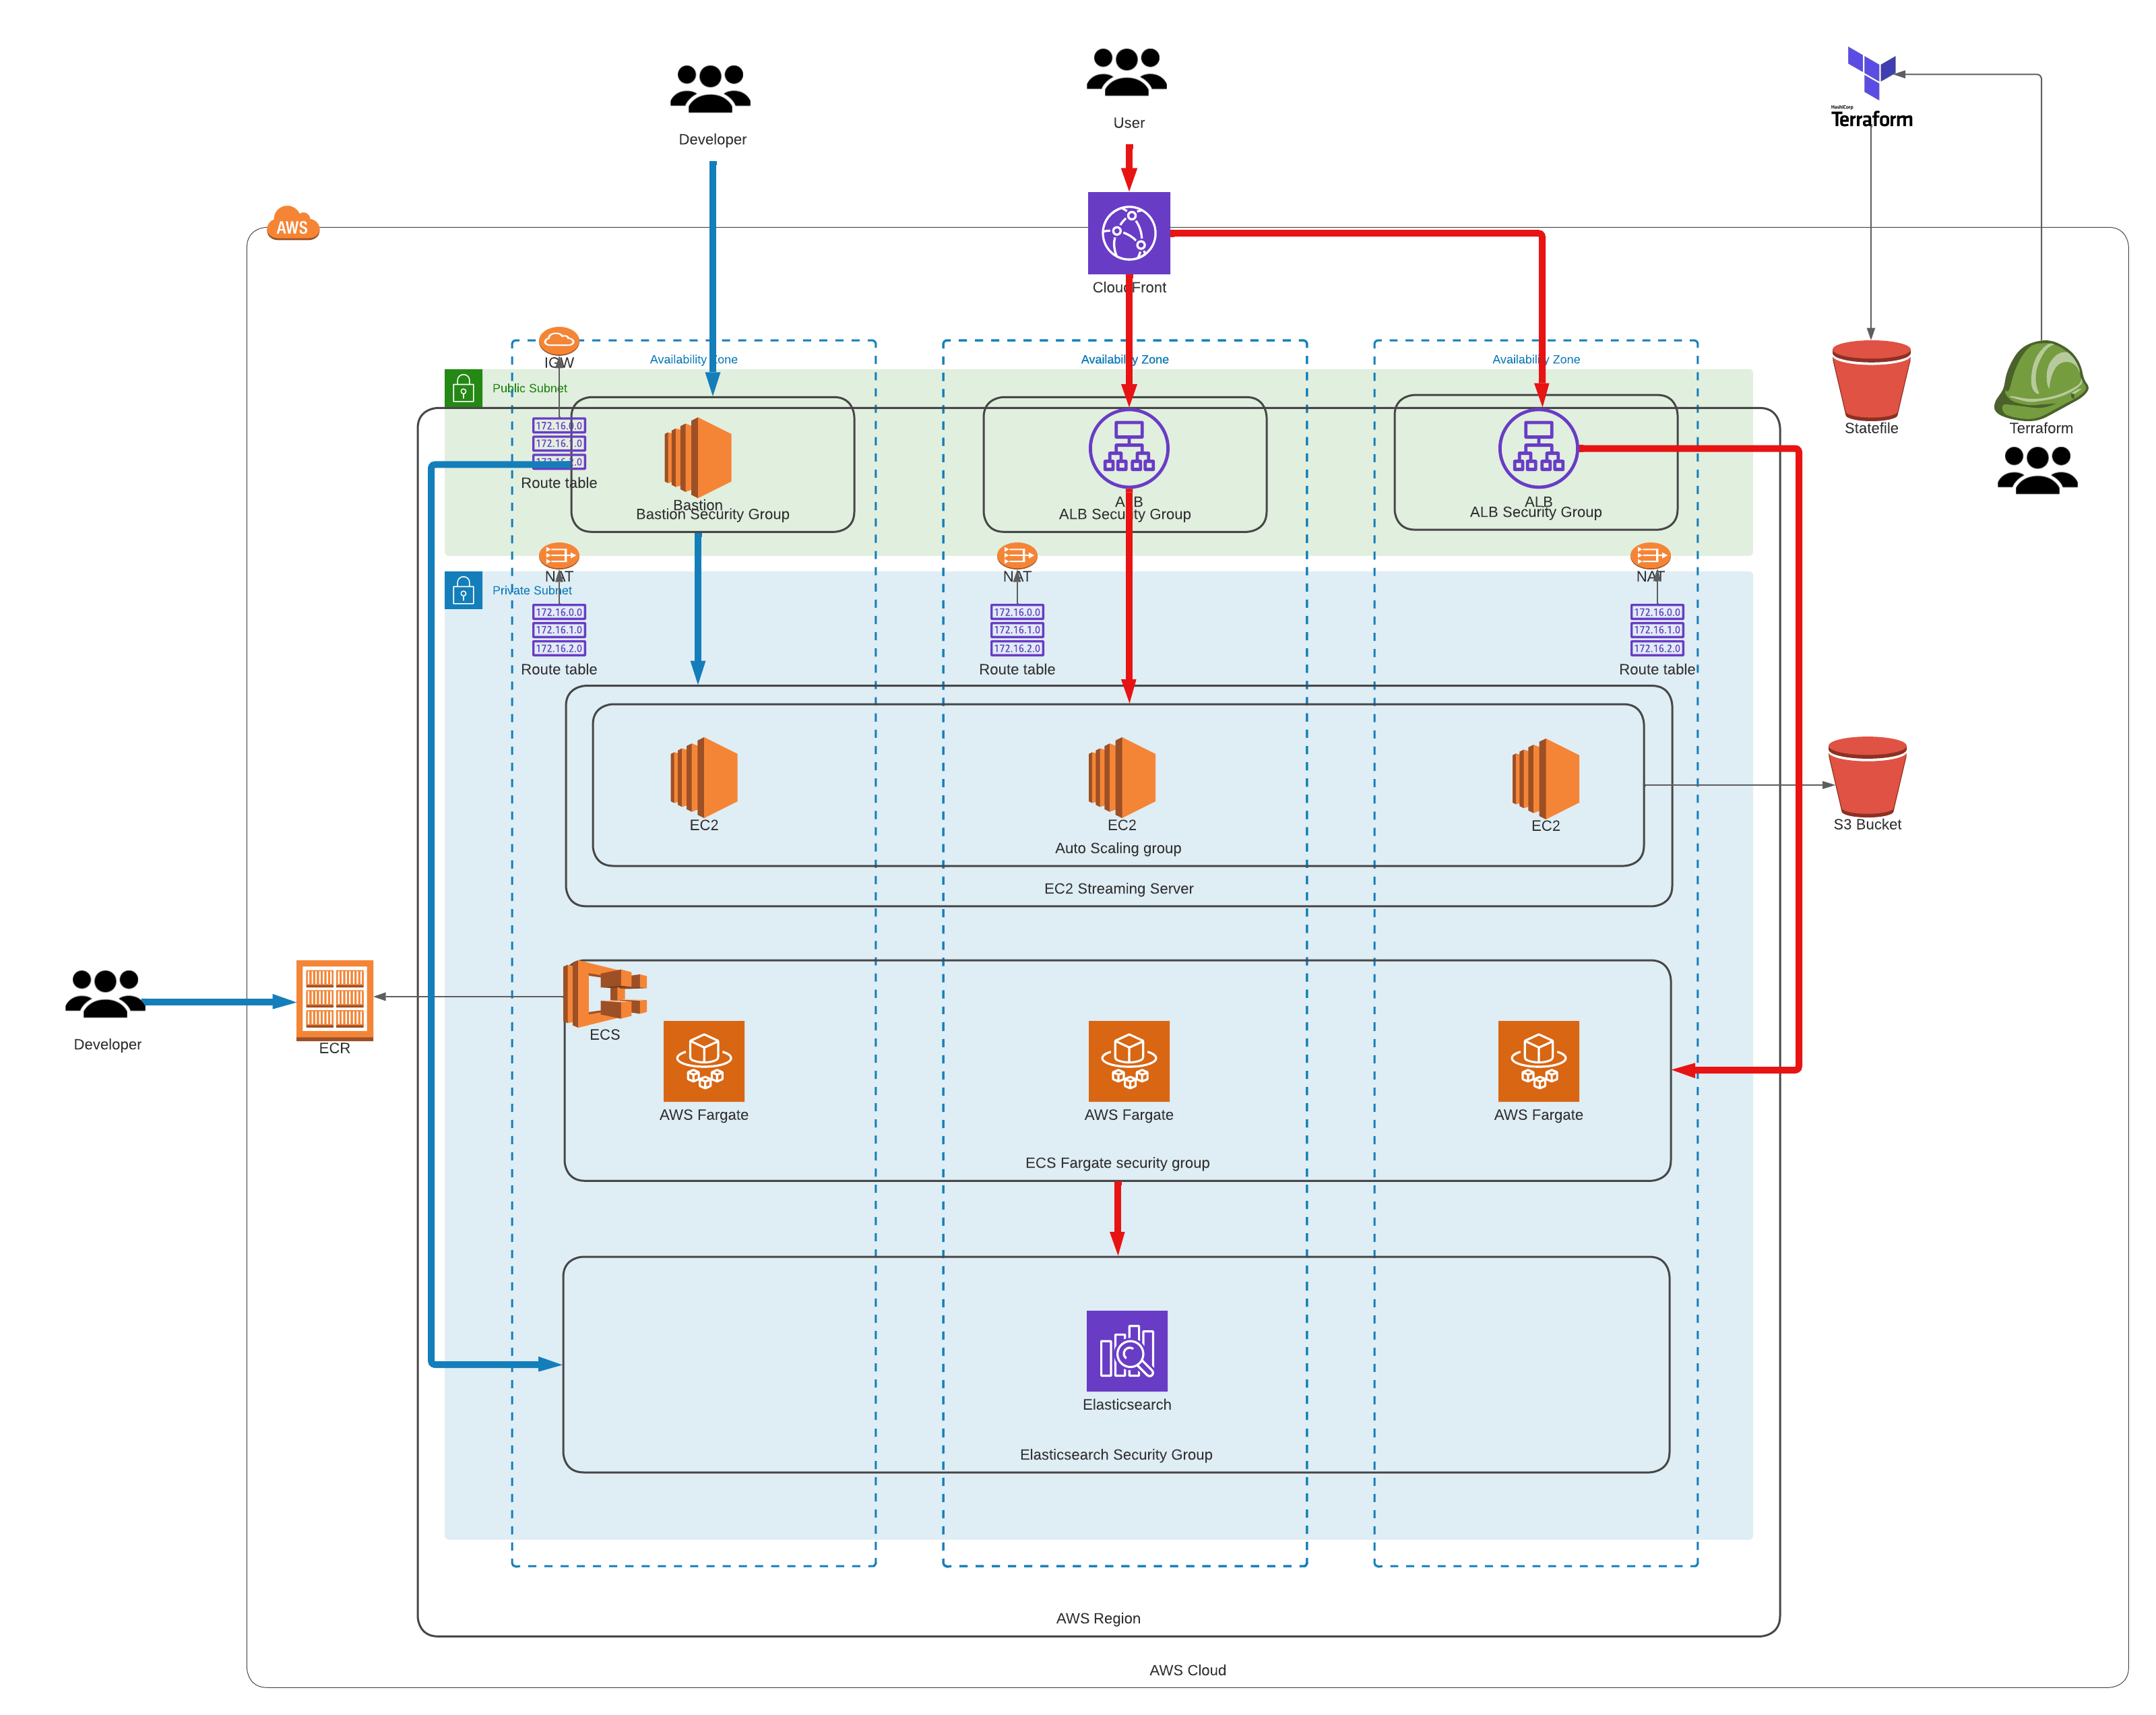
This repo will create your custom EC2, ECS, and OpenSearch environment.
- AWS_ACCESS_KEYS and AWS_SECRET_ACCESS_KEYS are set as environment variables (link: https://docs.aws.amazon.com/cli/latest/userguide/cli-configure-envvars.html)
- Terraform version > 1.1.5 (version 1.3.7 suggested) installed on your local machine
- Review ECS Fargate Development. (Link: https://docs.aws.amazon.com/AmazonECS/latest/userguide/what-is-fargate.html)
- Review Amazon OpenSearch Service Guide Development. (Link: https://docs.aws.amazon.com/opensearch-service/latest/developerguide/gsg.html)
- Step 1: Clone the Repo. This command will clone the repo and will change directory the recently cloned repo
$ git clone https://github.com/antonio-rufo/tf-beeb234.git- Step 2: Create a S3 bucket for remote state storage. Update the
terraform.tfvarsfile with youraws_account_idand Optionallyregionandenvironment
$ cd tf-beeb234
$ cd statebucket
$ vi terraform.tfvars
Create the resources:
$ terraform init
$ terraform plan
$ terraform apply --auto-approve
Take note of the output for state_bucket_id. You'll need to update the main.tf on each layer with it. It is not yet possible to have the state bucket values interpolated.
- Step 3: Create your base and network layer. Update the
terraform.tfvarsfile with youraws_account_idand Optionallyregionandenvironment. Then updatemain.tfwith the state_bucket_id created in step 2 (line 18).
In terraform.tfvars, set variable single_nat_gateway to false for Production environment; to have 3 NAT gateways for high availability (HA).
In this layer, I've also added in a sample entry for ECR in case if you want to use ECR for storing your container images.
$ cd ../infrastructure/000base
$ vi terraform.tfvars
$ vi main.tf
Create the resources:
$ terraform init
$ terraform plan
$ terraform apply --auto-approve- Step 4: Create your Key Pair for both the Bastion and Streaming Server instances. We'll need Key Pairs to login to both the Bastion and the Streaming Server instances respectively.
Login to AWS Console > AWS > Key Pair > click Create key pair
Select RSA as Key Pair Type.
Select .pem if you are using Mac
Select .ppk if you are using Windows
click Create key pair and save it on a safe spot. You will be using the newly created Key Pair for a long time.
- Step 5: Create your Compute layer. Update the
terraform.tfvarsfile with youraws_account_id,bastion_ec2_instance_type,streaming_server_ec2_key_nameand Optionallyregionandenvironment. Then updatemain.tfwith the state_bucket_id created in step 2 (lines 18 and 32).
In the tfvars, you can customise your ECS service configuration. Ex. Container image to use, container name, container port, etc.
$ cd ../100compute
$ vi terraform.tfvars
$ vi main.tf
Create the resources:
$ terraform init
$ terraform plan
$ terraform apply --auto-approve- Step 6: Check if the ECS Sample application is working.
In the output section of the 100compute layer, there will be an output called
ecs_alb_dns.
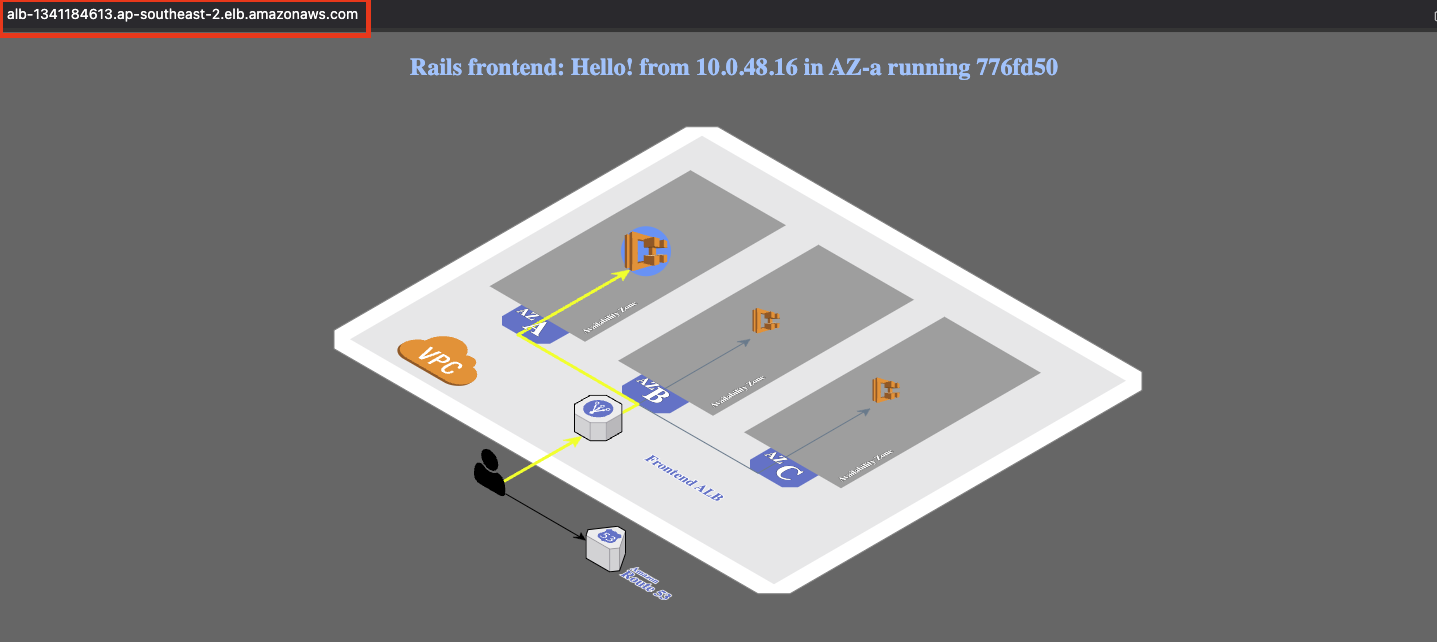
Wait for around 3-5 minutes. Paste value in your Browser.
You should be able to see:
- Step 7: Check if the Streaming Server sample application is working.
In the output section of the 100compute layer, there will be an output called
streaming_server_alb_dns.
Wait for around 3-5 minutes. Paste value in your Browser.
You should be able to see:


