This is a simple demo to explore NextJS v6 with support for:
- Jest / Enzyme
- Redux (1)
- Redux DevTools
- Currently supports viewing and debugging your Redux store in
- Chrome
- Firefox
- Electron
- Please see remote-redux-devtools for other browsers/environments
- Currently supports viewing and debugging your Redux store in
- Redux DevTools
- TypeScript (2)
- Auth0 (3)
- Webpack
(1) - The master branch of this project does not include Redux. If you would like to explore my Redux demo code, please checkout branch nextjs-with-redux instead.
(2) - The master branch of this project does not include TypeScript. If you would like to explore my TypeScript demo code, please checkout branch nextjs-with-typescript instead.
(3) - The master branch of this project does not include the Auth0 demo. If you would like to explore the Auth0 demo code, please checkout branch nextjs-with-auth0 instead.
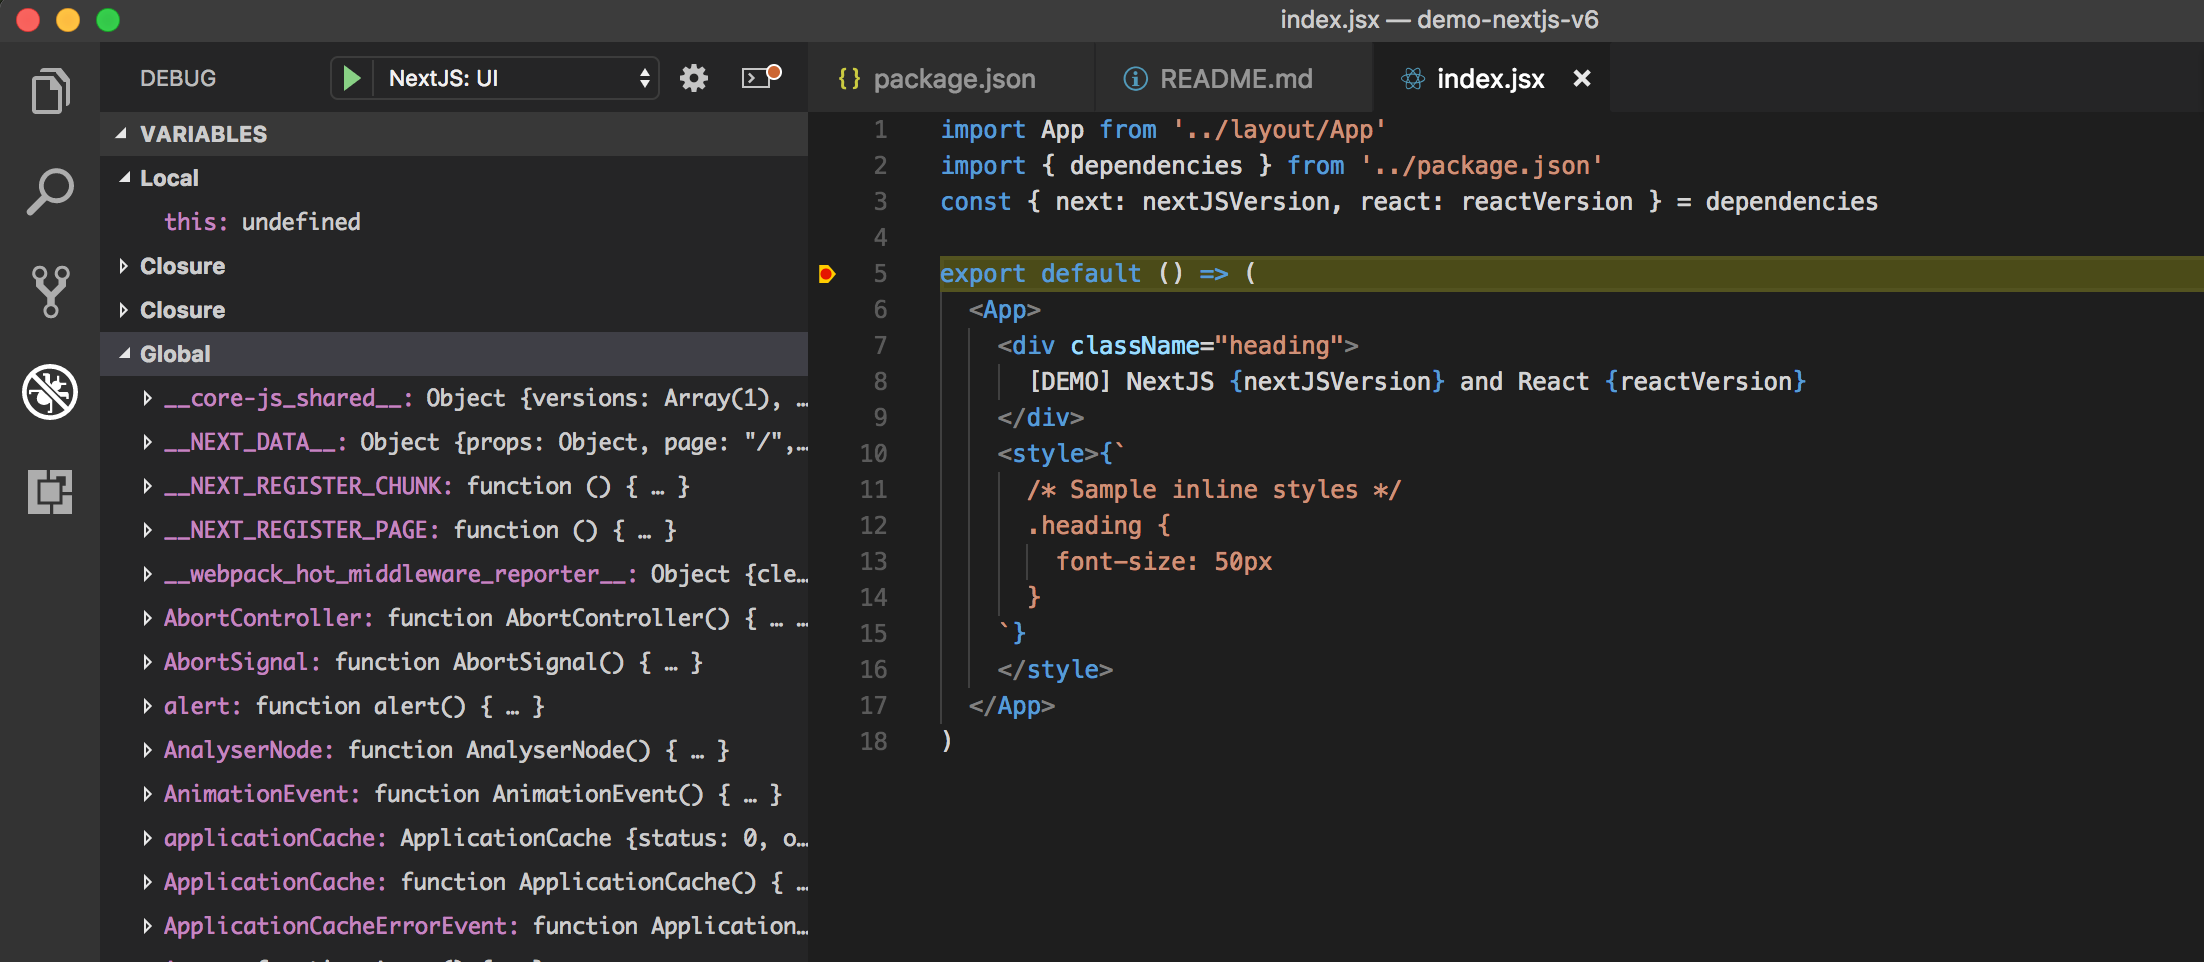
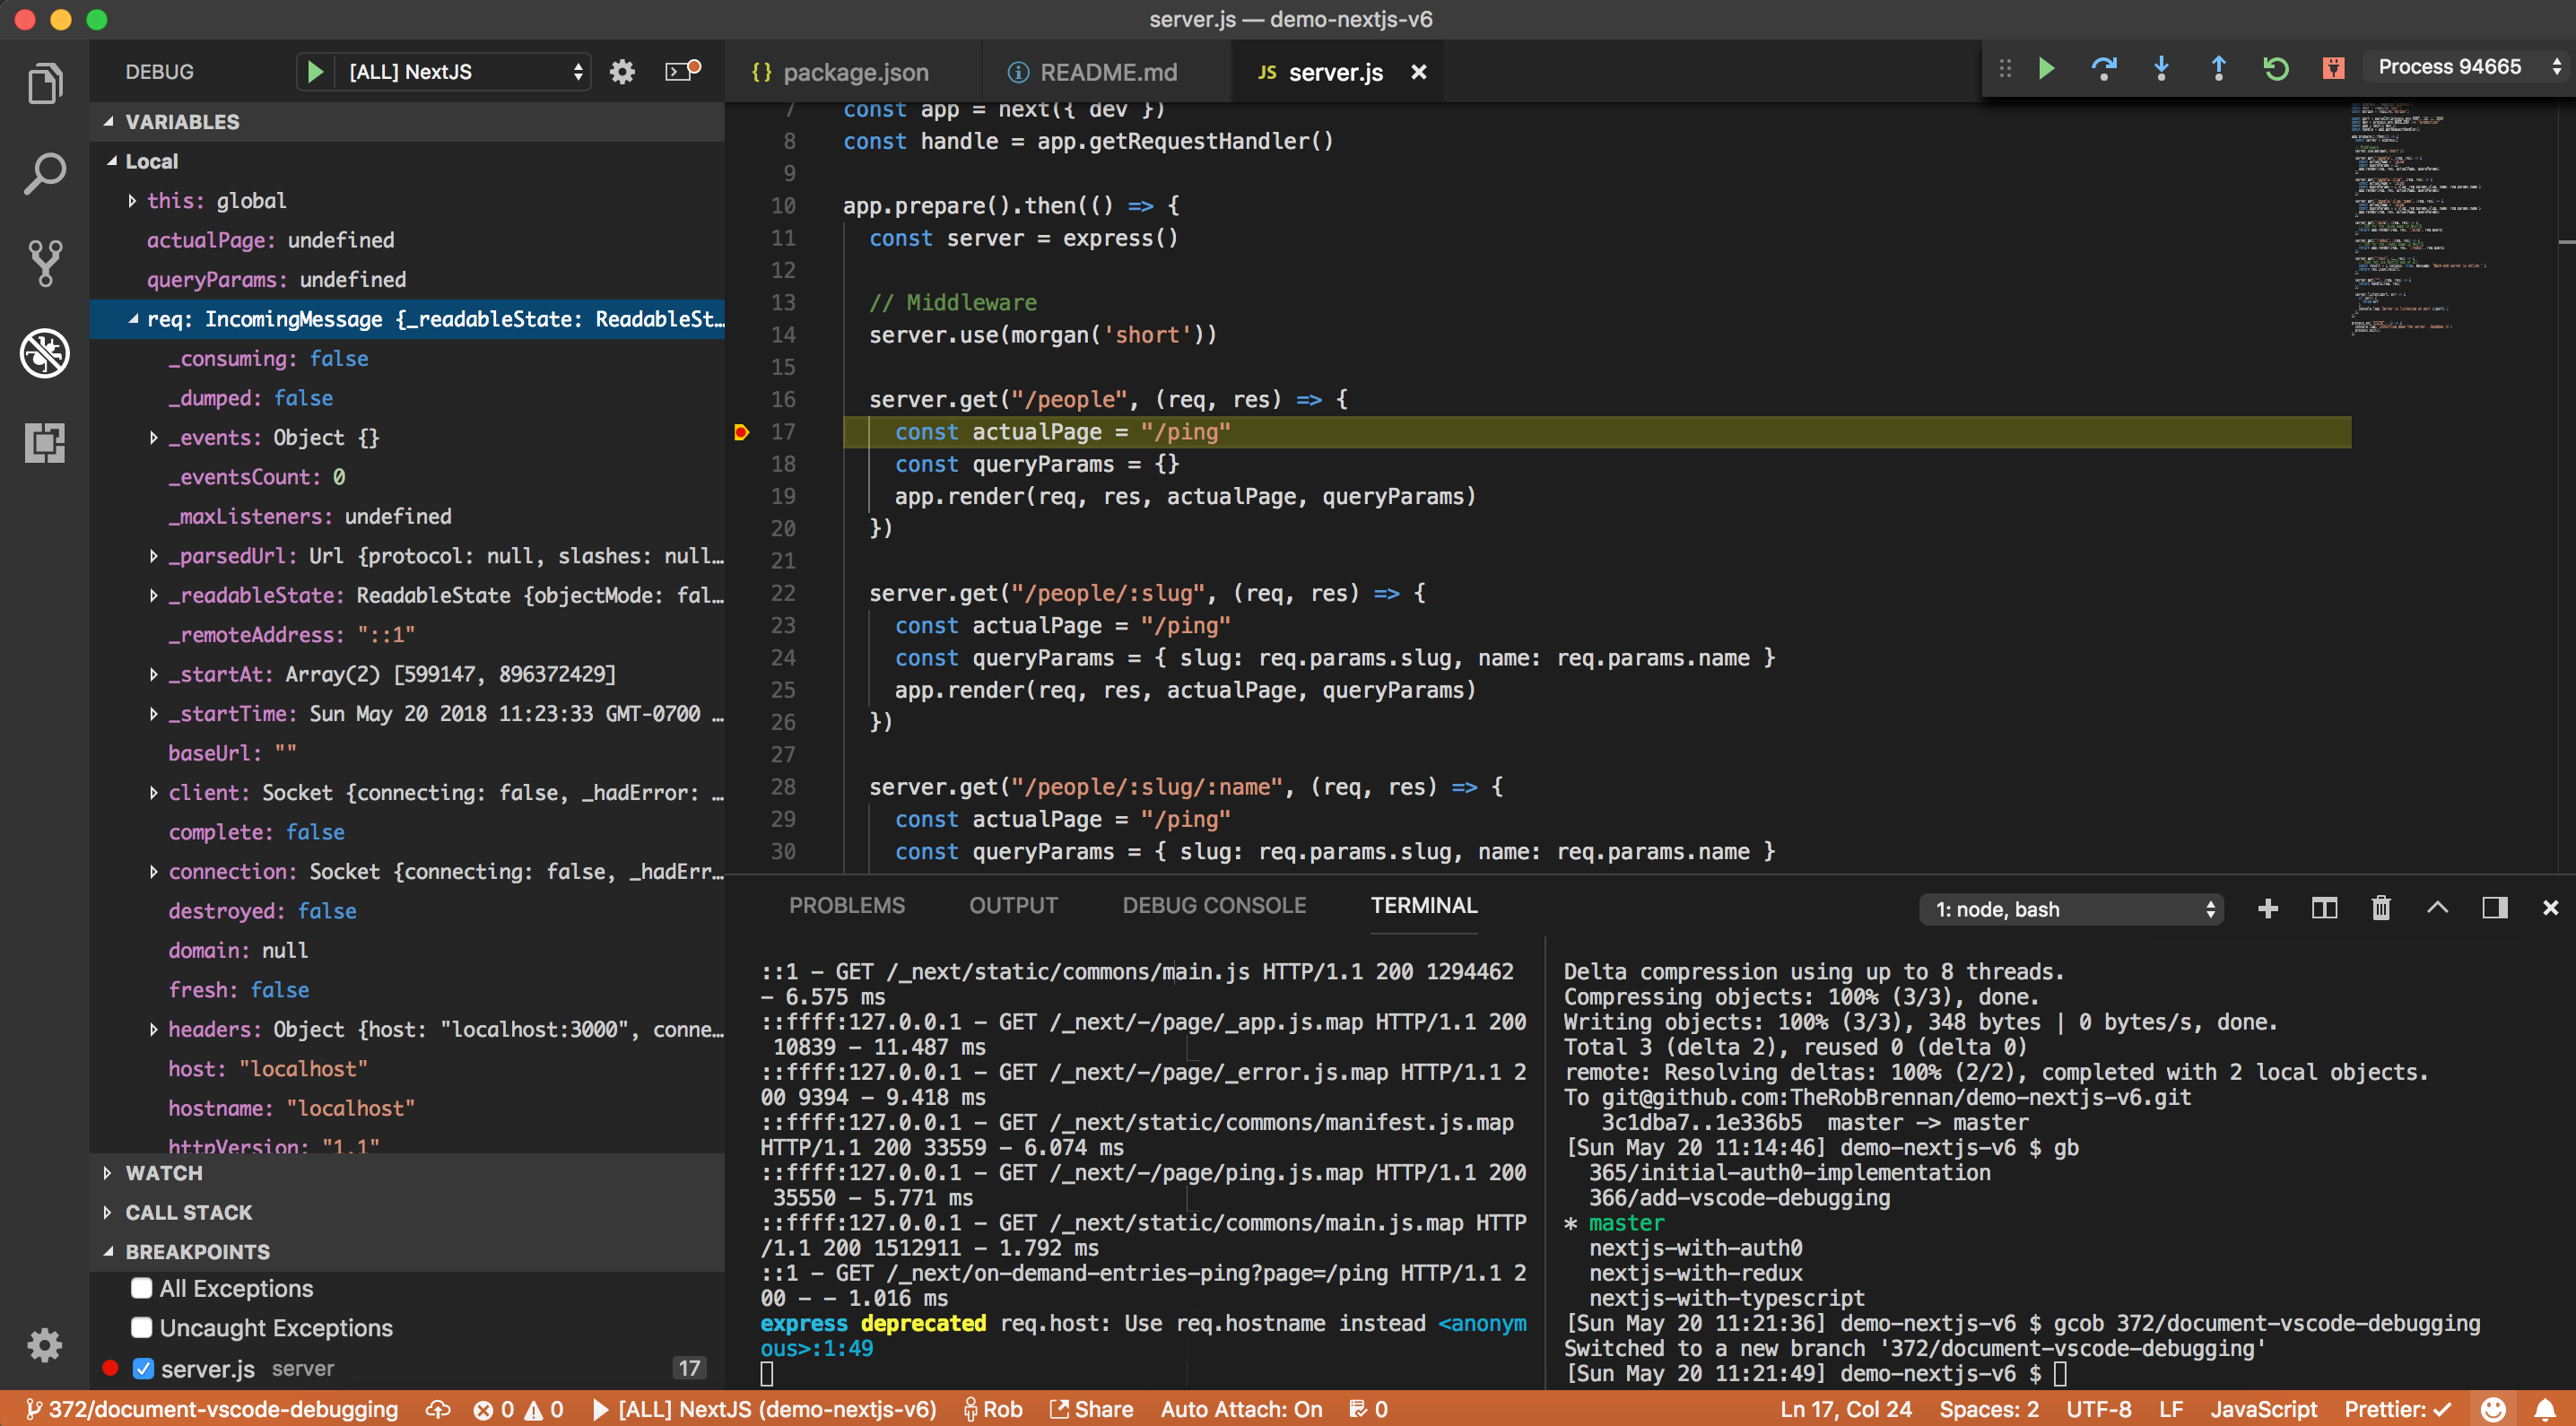
If you are using VS Code as your editor, this project will allow you to debug the front-end NextJS UI, the back-end ExpressJS server, or both while your local server is running:
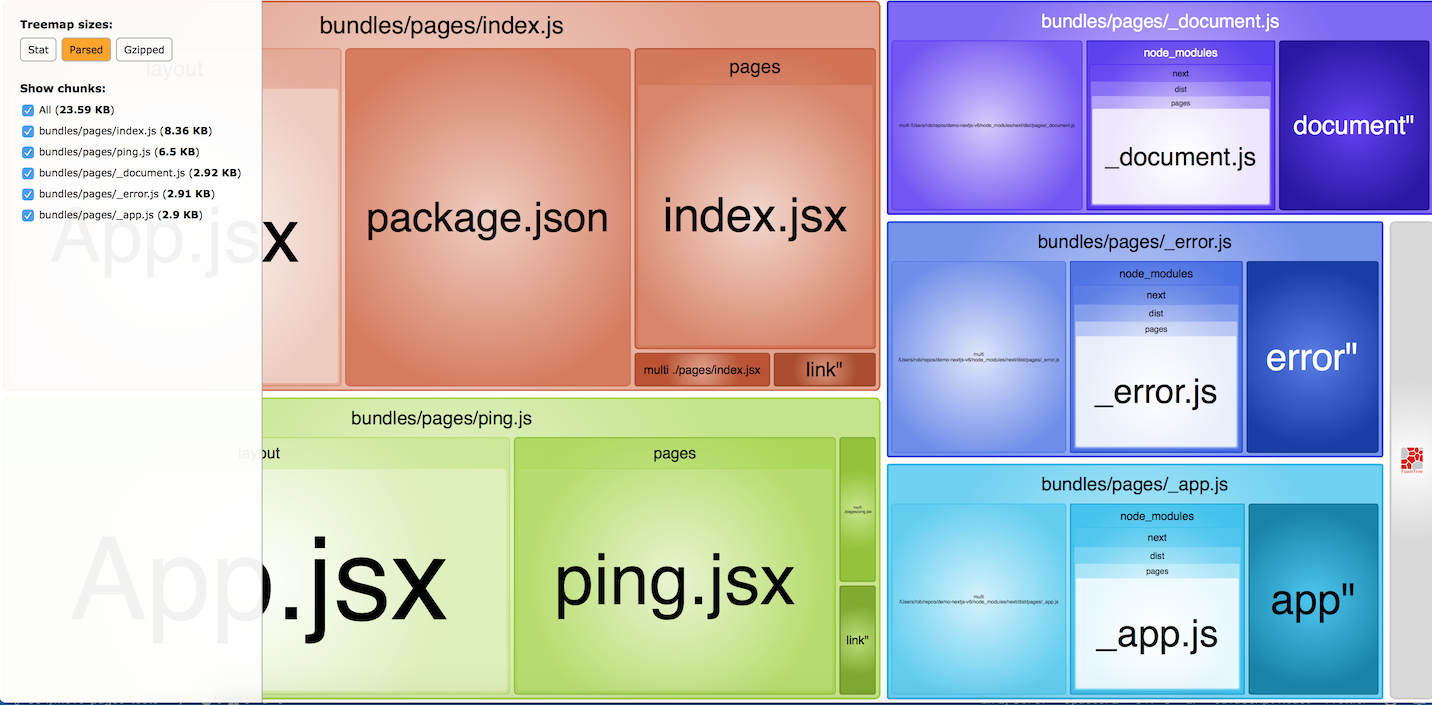
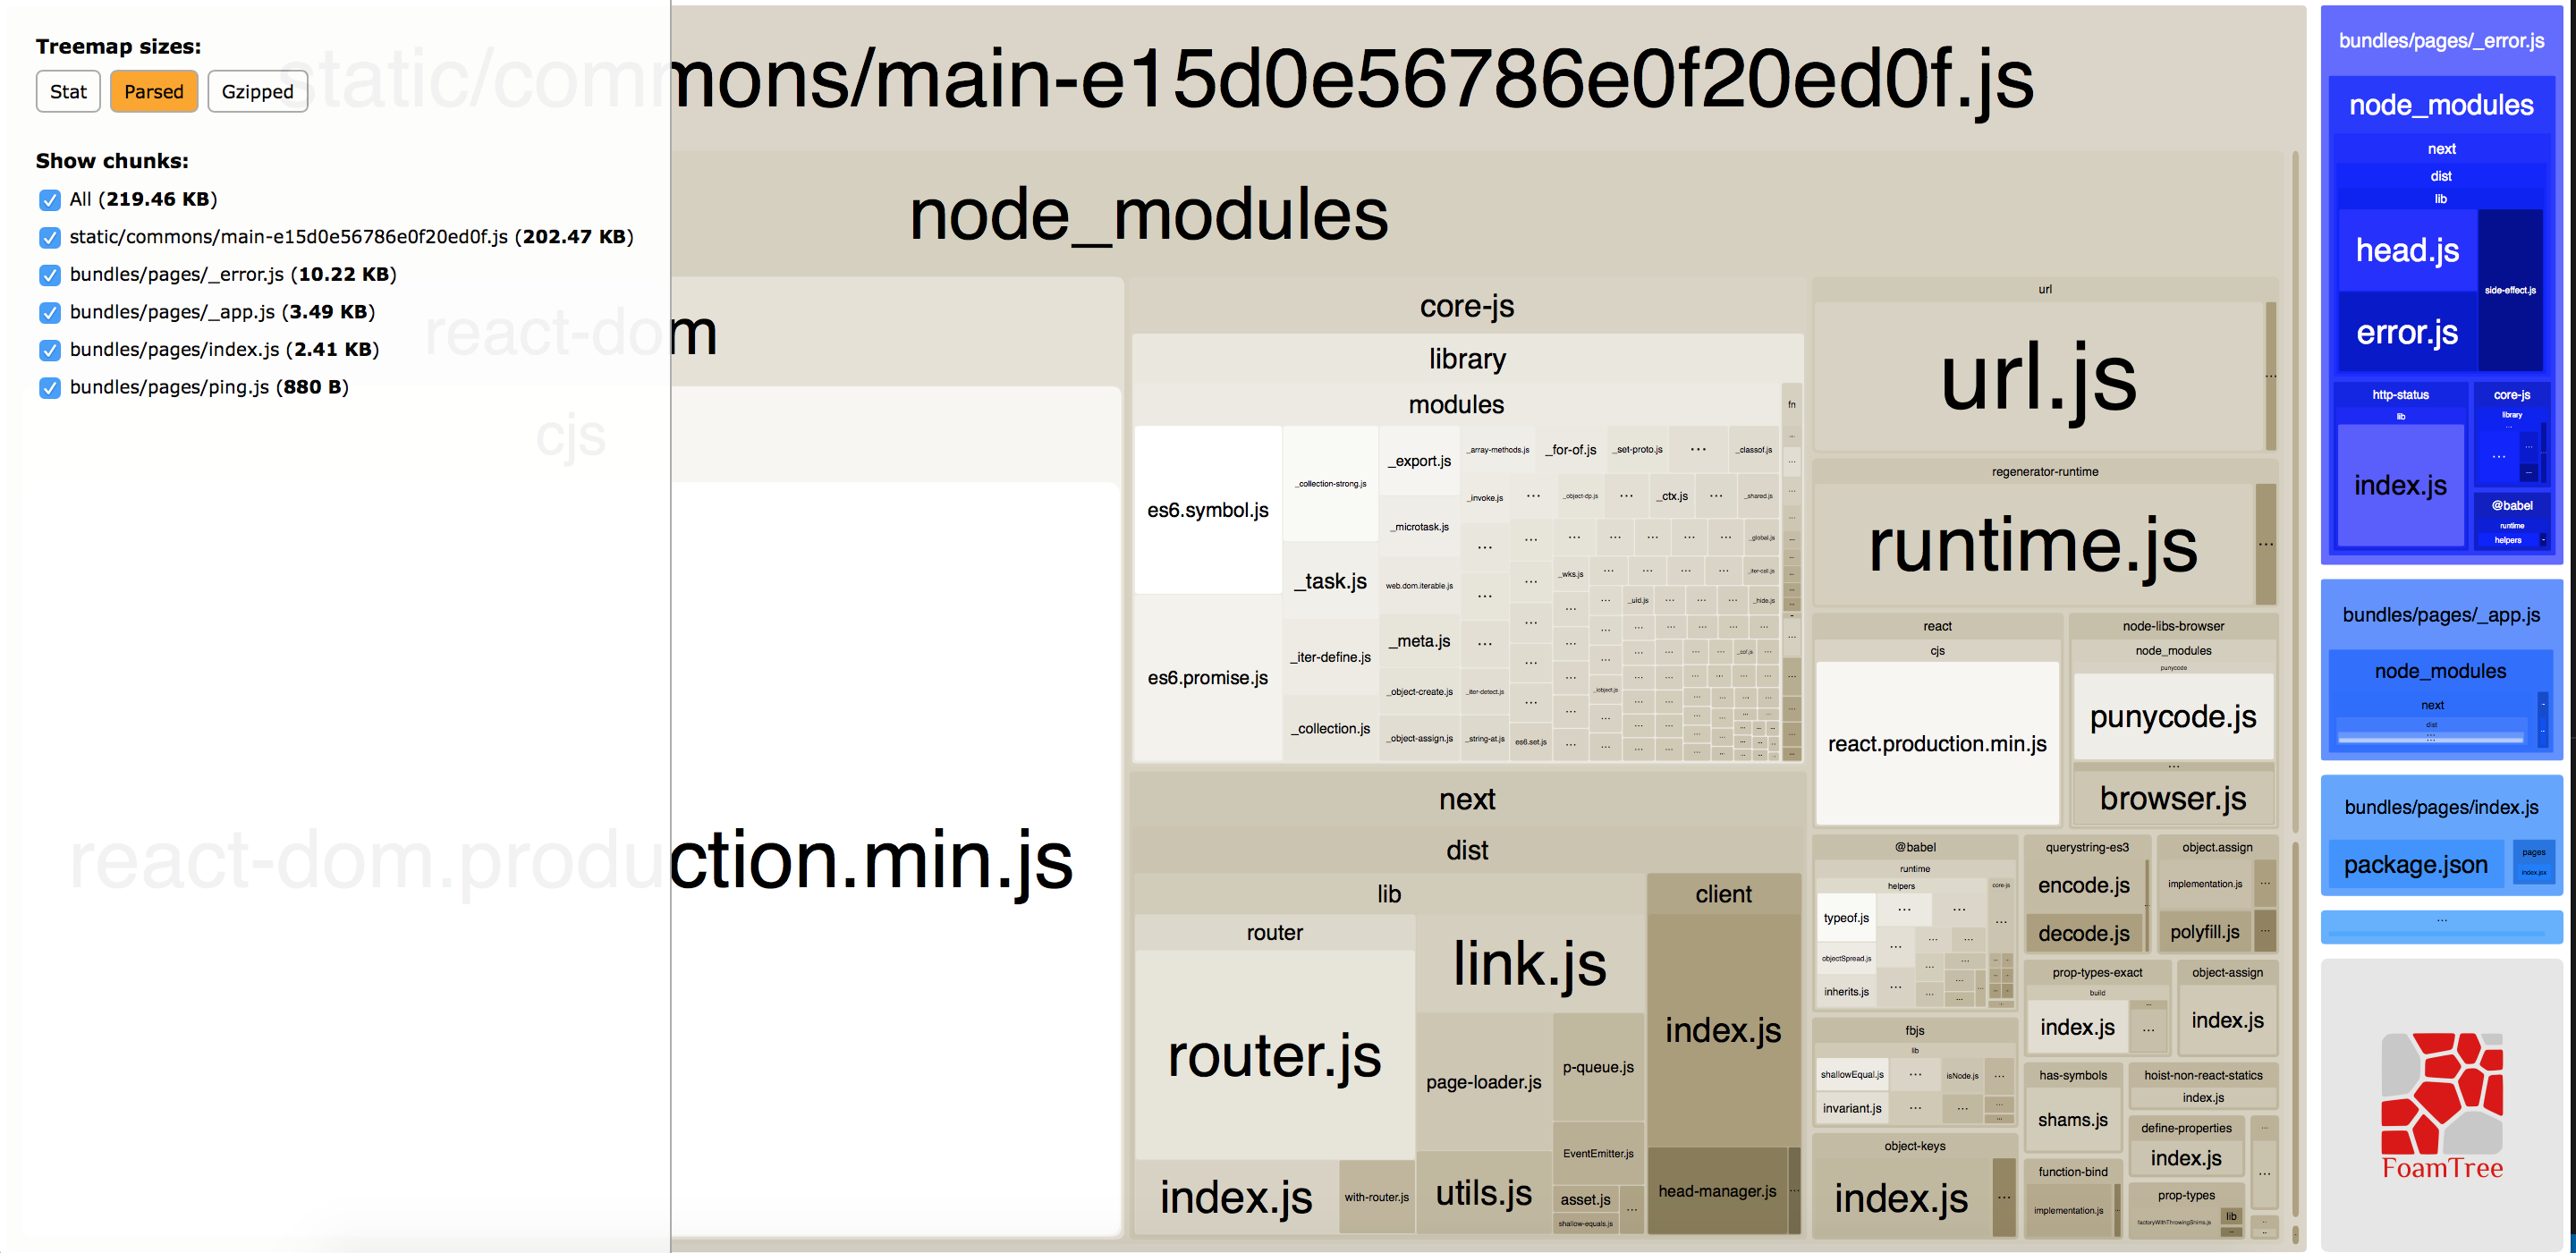
This project also includes a helper script that will enable you to interactively explore what is contained within your production app. Simply run:
$ npm run analyzeThis will generate an interactive tool to see what the generated bundles for your app contain:
My initial goal is to start with a clean slate and see how new features and functionality in NextJS v6 can be incorporated.
If you would like to see work from my previous NextJS 5 demos, please visit demo-nextjs-v5-without-typescript and/or demo-nextjs-v5.
To get started with NextJS v6, all you need to do is clone this repo and run the install script:
$ git clone git@github.com:TheRobBrennan/demo-nextjs-v6.git
$ cd demo-nextjs-v6
$ npm install
If you are developing on either macOS or Linux, you can move on to "Start your local development server."
If you are developing on Windows, I would encourage you to use the nextjs-for-windows-powershell-development branch as your starting point. @victorprocure made a great contribution in Cross Development Build #32 - which makes this starter project super friendly for people developing on Windows machines:
$ git checkout nextjs-for-windows-powershell-development
Once you have cloned the repo and installed the required dependencies, you can start NextJS by running:
$ npm run dev
Once you see > Ready on http://localhost:3000, you can view your app at http://localhost:3000
TIP: If you would like to run your application on a port other than the default 3000, you can run:
$ npm run dev -- -p <your port here>
Your development server will constantly reload as changes are made to your app.
This demo uses a lightweight ExpressJS server - server.js - to demonstrate how to:
- Create an endpoint (for an API, as an example) that does not use NextJS
- Server-side render (SSR) NextJS pages
- Server side render (SSR) custom route/paths with NextJS
This example path is a route that our NextJS app knows absolutely nothing about. It is purely handled by our Express server. You can ping this route to verify that the server is available.
This is simple server side rendering (SSR) for the ping.jsx page
This example uses the ping.jsx as the page we want to render when handling custom routes.
In layout/App.jsx notice that we have the following code block:
<Link as={`/people`} href={`/ping`}><a>People</a></Link>
<Link as={`/people/developers`} href={`/ping?slug=developers`}><a>Developers</a></Link>
<Link as={`/people/developers/rob`} href={`/ping?slug=developers&name=rob`}><a>Rob</a></Link> This tells NextJS that these links will render the ping.jsx page, but that we want the URLs to appear as /people/... and not just a link to /ping?slug=developers&name=rob.
This setup will work fine on the client side...until they try to access the /people/... route directly or refresh the web page. To get that to work, we need to modify our lightweight server to explicitly handle those routes.
Notice that in our ./server/server.js file we have the following block of code:
    server.get('/people', (req, res) => {
      const actualPage = '/ping'
      const queryParams = { }
      app.render(req, res, actualPage, queryParams)
    })

    server.get('/people/:slug', (req, res) => {
      const actualPage = '/ping'
      const queryParams = { slug: req.params.slug, name: req.params.name }
      app.render(req, res, actualPage, queryParams)
    })

    server.get('/people/:slug/:name', (req, res) => {
      const actualPage = '/ping'
      const queryParams = { slug: req.params.slug, name: req.params.name }
      app.render(req, res, actualPage, queryParams)
    })
All three of these custom routes render the ping.jsx page with the appropriate parameters passed in. This means the user will be able to navigate to the following example URLs in their browser OR by forcing a hard refresh on the server:
- /people
- /people/developers
- /people/developers/rob
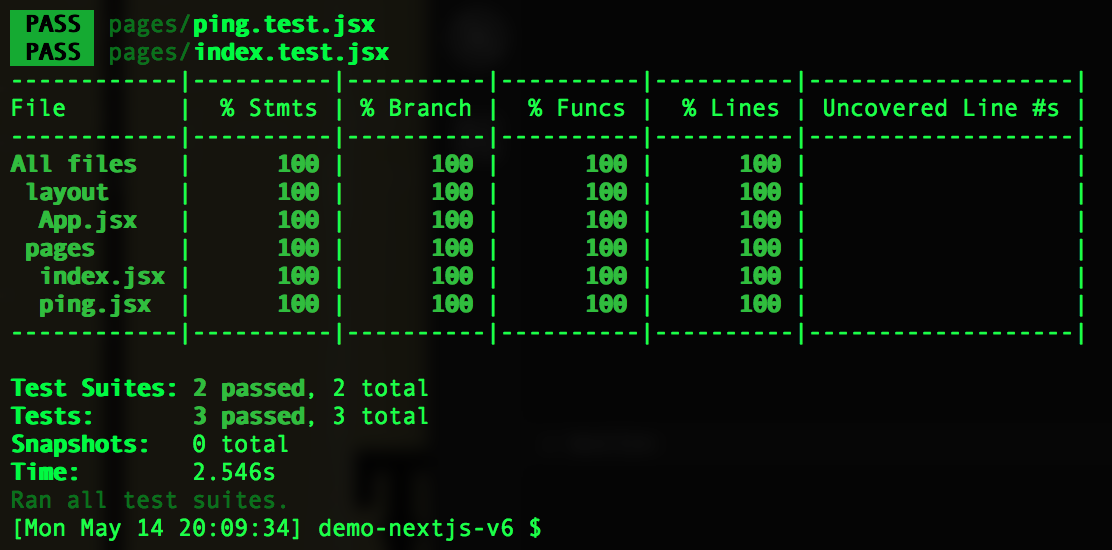
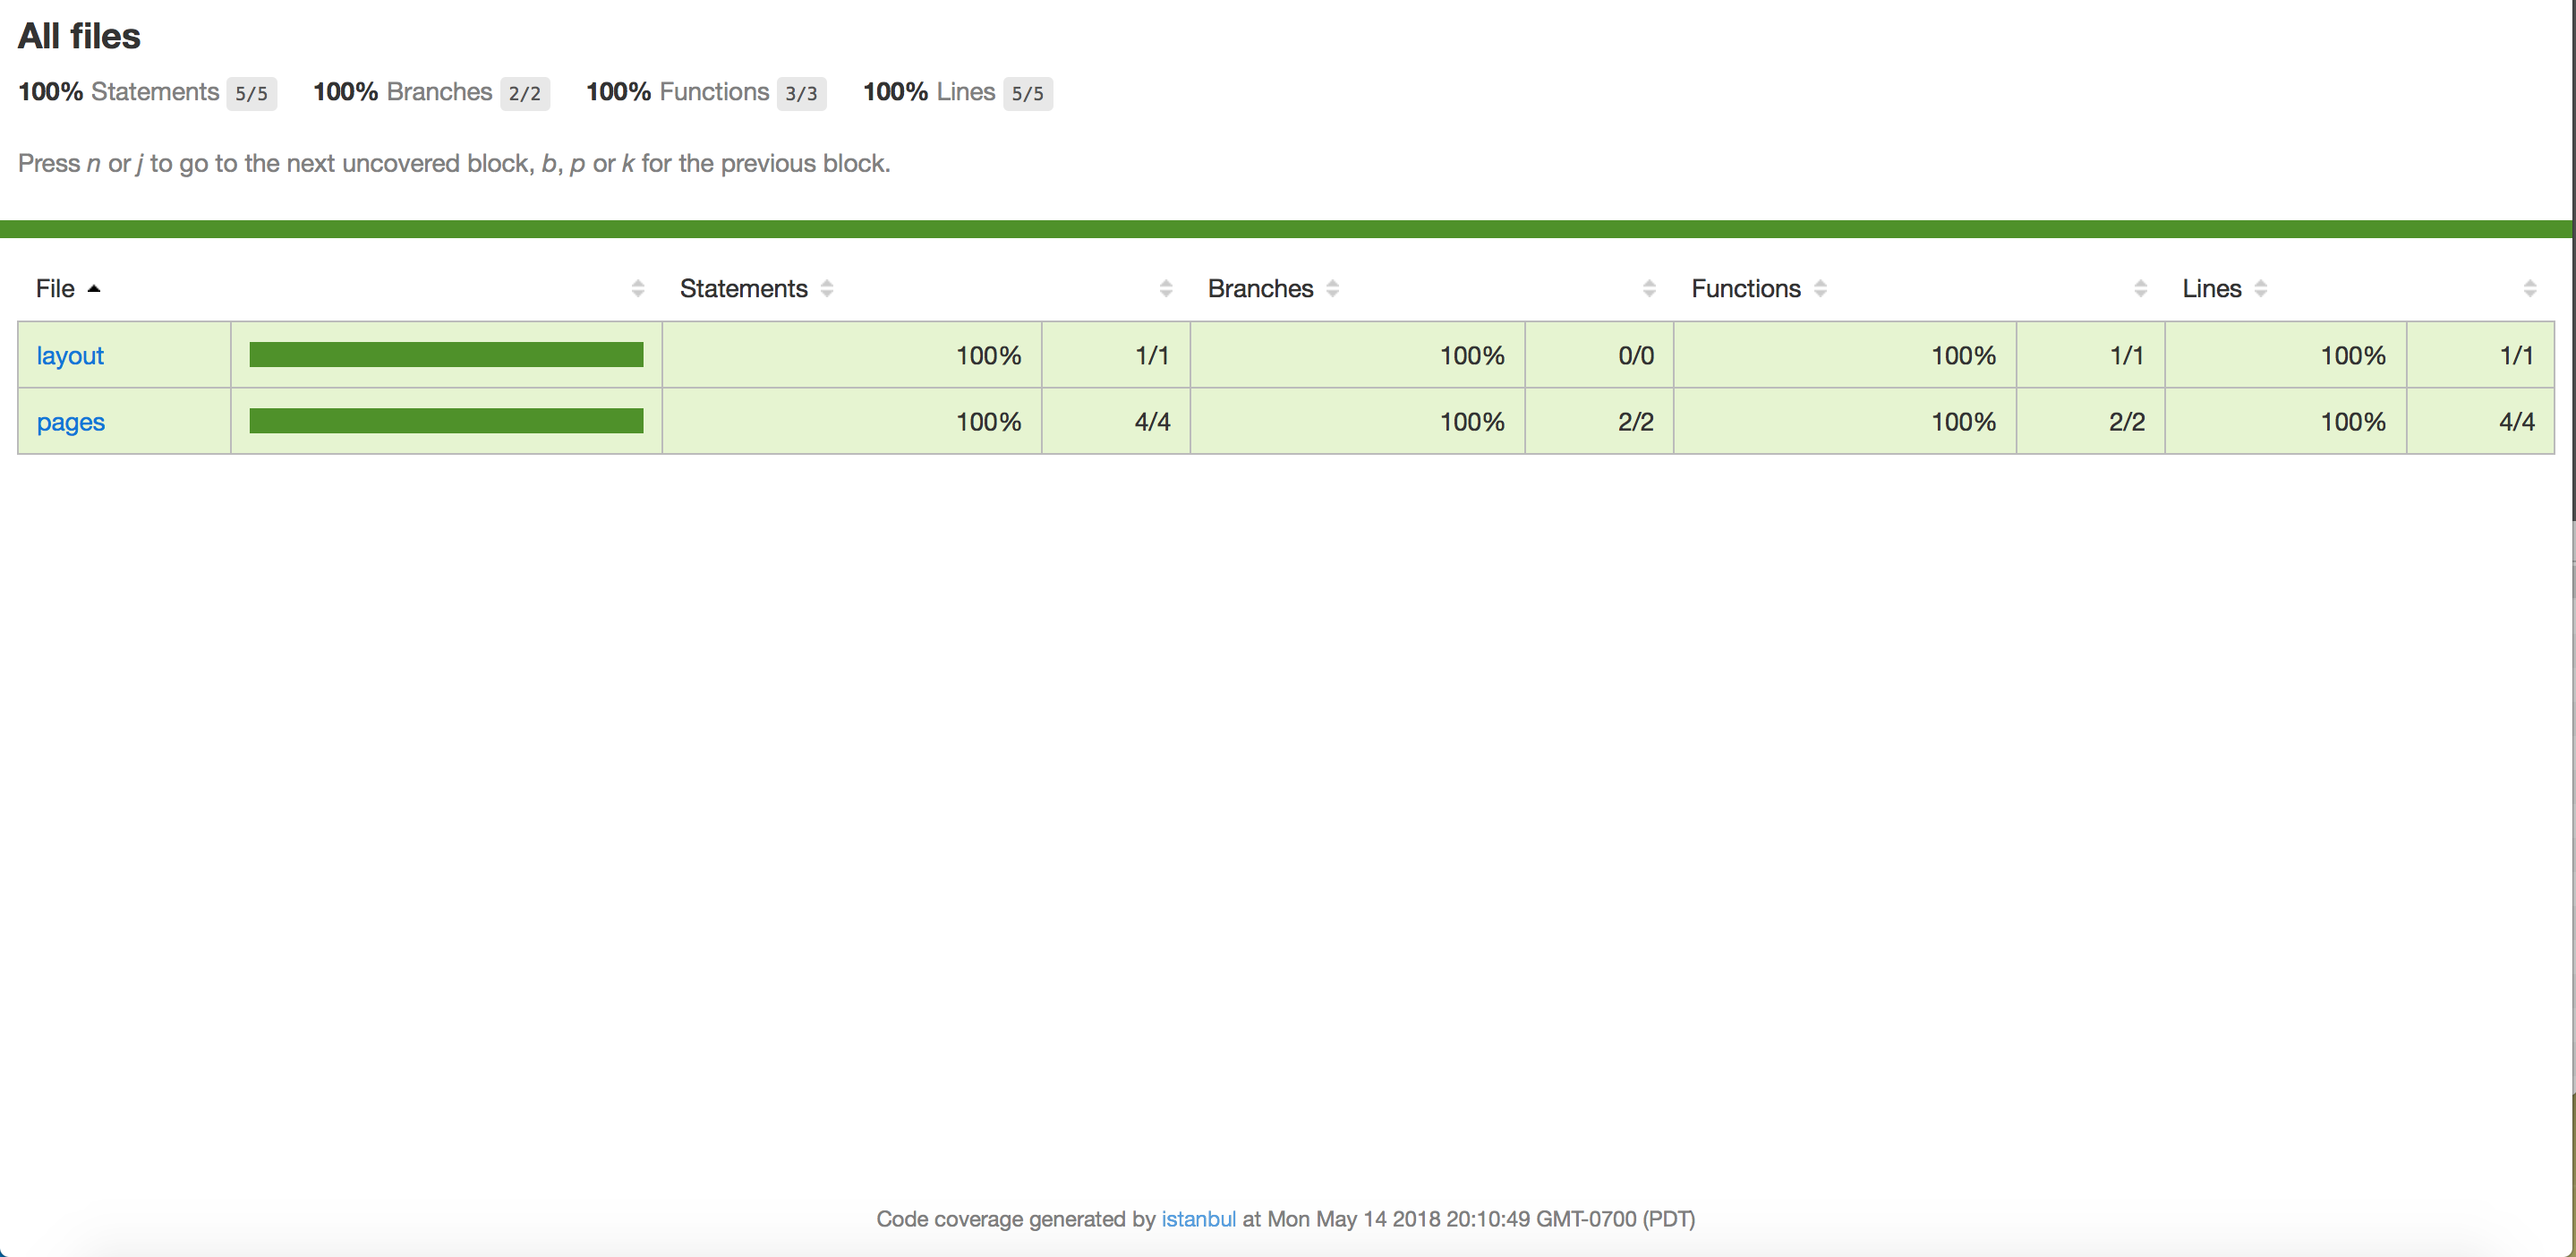
This project uses jest and enzyme for testing your React application - and should have high levels of code coverage.
For testing, we have the following scripts I have lovingly crafted in our main package.json file:
    "test": "./node_modules/.bin/jest --no-cache",
    "test:debug": "./node_modules/.bin/jest --debug",
    "test:verbose": "./node_modules/.bin/jest --verbose",
    "test:watch": "./node_modules/.bin/jest --watch"
    "test:coverage": "npm test -- --coverage --no-cache",
    "test:coverage:view": "npm test -- --coverage --no-cache && open coverage/lcov-report/index.html",
To run the tests:
$ npm run <script>Let's take a peek at what each one of the test scripts has to offer.
This script will run any file(s) that matches the pattern specified in our jest.config.js - which is usually any file that contains .test. in the name.
Similar to the above command, this will output debug information for your jest setup and then run through any file(s) that matches the pattern specified in our jest.config.js - which is usually any file that contains .test. in the name.
Similar to npm run test, this script will run any file(s) that matches the pattern specified in our jest.config.js - which is usually any file that contains .test. in the name - and display a verbose output of the tests that were executed.
This script should be your best friend. It will quietly sit in the background as you make changes and run tests that are affiliated with any and all files you modify.
This script will allow you to see how much test coverage you have for your project. Certain files may be excluded from this report (see collectCoverageFrom in jest-config.js) for more details.
Similar to the above command, this script will run the code coverage test and open up your browser (on the Mac only) to view an interactive report to see what code is and is not covered adequately:
Don't have a Mac? No problem. Fire up your favorite web browser and open coverage/lcov-report/index.html
One goal of this project will be to explore the cloud hosting service provided by Zeit - the creators of NextJS.
If you have not signed up for a free account at Zeit Now, please do so before continuing on with this guide.
To deploy this application to Zeit Now, you can run:
$ npm run deploy:now
You should see output similar to:
> Deploying ~/repos/demo-nextjs-v6 under therobbrennan
> Using Node.js 8.11.1 (requested: `8.11.1`)
> https://demo-nextjs-v6-lklggktgoj.now.sh [in clipboard] (sfo1) [5s]
> Synced 10 files (608.82KB) [5s]
> Building…
> ▲ npm install
................................
*** All kinds of output here ***
................................
> [0]
> [0] demo-nextjs-v6@0.1.0 start /home/nowuser/src
> [0] NODE_ENV=production node server/server.js -p $PORT
> [0]
> [0] Server is listening on port 3000
> ✔ Scaled 1 instance in sfo1 [59s]
> Success! Deployment ready
Zeit Now will give each deployment its own URL. In the above example, we can visit our application at https://demo-nextjs-v6-lklggktgoj.now.sh
For more information, please see the Five Minute Guide for an overview on deploying to Zeit Now.
As of this writing, you do not have to download or use Docker to run this project. However, if you have Docker installed and configured on your development machine, you can spin up the project by running:
$ npm run docker:up
TIP: If you want to explicitly force a clean build of the Docker images and containers for this project, you can run:
$ npm run docker:up:clean
To verify the server is running, you should be able to see a response from http://localhost:3000 to verify the application is running.
Once you have finished with your work - or if you would like to stop the project from running:
$ npm run docker:down
I've included additional scripts that have been useful when working with Docker in previous projects.
You can run these with:
$ npm run <script>
-
docker:nuke
- This is the nuclear weapon. This command will delete ALL of your containers and images GLOBALLY.
If you are using Docker with other projects on your machine, this command will nuke those, too!
The initial CI/CD setup was inspired by How to set up continuous integration and deployment for your React app
Our initial setup will implement CI/CD with services from
- CircleCI
- Free CI/CD for open source and publicly available projects
- CodeClimate
Additional services we may want to incorporate
