This is the Docker image for open courseware 3D Point Cloud Analysis from www.shenlanxueyuan.com, China.
All source code are based upon public available resources and starter-code from www.shenlanxueyuan.com.
The solution has been tested on Ubuntu 18.04 using Docker version 19.03.9, build 9d988398e7
To install Ubuntu on your existing Windows or Mac laptop, you can purchase
- One additional SSD disk My Own Choice
- One data bus for external disk connection My Own Choice
- Disk holder (Without this when the disk is detached from the bus your machine would die :P) My Own Choice
And
- Install the Ubuntu on the additional disk
- When you want to use Ubuntu, change the boot option to
USB bootduring startup.
This will keep your native system intact. Personally, I don't recommend native Ubuntu installation. If you choose to bootstrap your native Windows/Mac with Ubuntu and your Ubuntu somehow broke your whole system would be TOTALLY DAMAGED.
In order to use docker without sudo, current user must be added to Docker group as follows:
sudo usermod -aG docker $USERIn order to use networking inside Docker, IP forwarding should be enabled. You can check current IP forwarding config using the command below:
# check ip forwarding, 1 means enabled and 0 means disabled
sudo sysctl net.ipv4.ip_forward
To enable IP forwarding once, set the flag using the following commands:
# enable IP forwarding:
sysctl -w net.ipv4.ip_forward=1
# check config status. 1 means it has been successfully enabled.
cat /proc/sys/net/ipv4/ip_forward
If you want to enable it for all, change the configuration in /etc/sysctl.conf:
##############################################################3
# Functions previously found in netbase
#

# Uncomment the next two lines to enable Spoof protection (reverse-path filter)
# Turn on Source Address Verification in all interfaces to
# prevent some spoofing attacks
#net.ipv4.conf.default.rp_filter=1
#net.ipv4.conf.all.rp_filter=1

# Uncomment the next line to enable TCP/IP SYN cookies
# See http://lwn.net/Articles/277146/
# Note: This may impact IPv6 TCP sessions too
#net.ipv4.tcp_syncookies=1

# Uncomment the next line to enable packet forwarding for IPv4(UNCOMMENT THE LINE BELOW)
net.ipv4.ip_forward=1

# Uncomment the next line to enable packet forwarding for IPv6
#  Enabling this option disables Stateless Address Autoconfiguration
#  based on Router Advertisements for this host
#net.ipv6.conf.all.forwarding=1The environment can be built with docker-compose as follows:
# this will build both cpu and gpu environment
docker-compose buildYou can change configuration for cpu environment using docker-compose inside here (click to follow the link)
Local directories for source code and data are configured below. This will map your native workspace into into Docker.
    volumes:
      # assignments:
      - ${PWD}/workspace/assignments:/workspace/assignments
      # data volume:
- ${PWD}/workspace/data:/workspace/dataConfig port mappings for supervisord monitor and VNC client access as follows. This will map internal service ports to your native machine. Make sure the native port is not occupied.
    ports:
      # standard vnc client:
      - 45901:5900
      # supervisord admin:
- 49001:9001You can change configuration for gpu environment inside this launch script (click to follow the link). Here docker run is used because so far docker-compose still doesn't support NVIDIA runtime, which is a must for GPU docker instance.
Local directories for source code and data are configured below. This will map your native workspace into into Docker.
  -v ${PWD}/workspace/assignments:/workspace/assignments \
-v ${PWD}/workspace/data:/workspace/data \Config port mappings for supervisord monitor and VNC client access as follows. This will map internal service ports to your native machine. Make sure the native port is not occupied. The additional port 6006 is for Tensorboard.
  -p 49001:9001 \
  -p 45901:5900 \
-p 46006:6006 \# for cpu environment, launch with docker-compose:
docker-compose up workspace-vnc-cpu
# for gpu environment, launch with nvidia-docker:
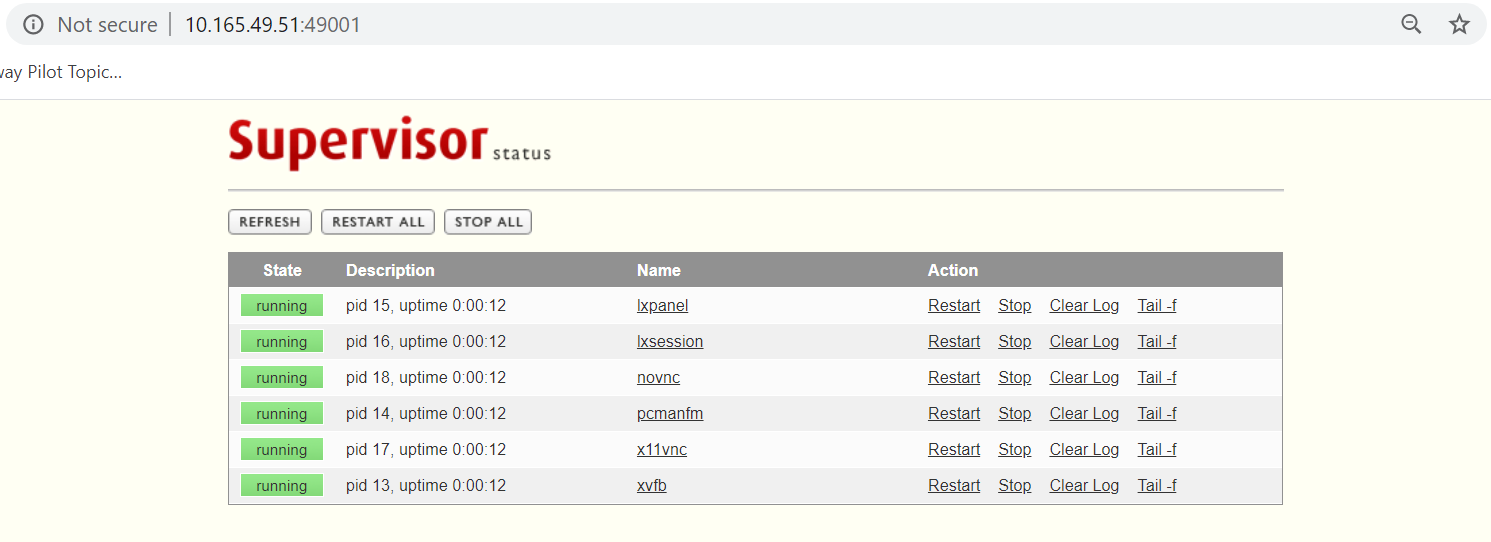
./launch-workspace-vnc-gpu.shAccess supervisord monitor to make sure all processes have been started: http://[HOST_IP]:49001
You can access the desktop with standard VNC client
On the system you can use
- Remmina on Ubuntu
- TightVNC Viewer on Windows
to create a VNC session to connect to: http://[HOST_IP]:45901
First, create a new VNC connection as follows. Make sure you have
- Select the correct protocol
VNC - Select the correct port on your local machine
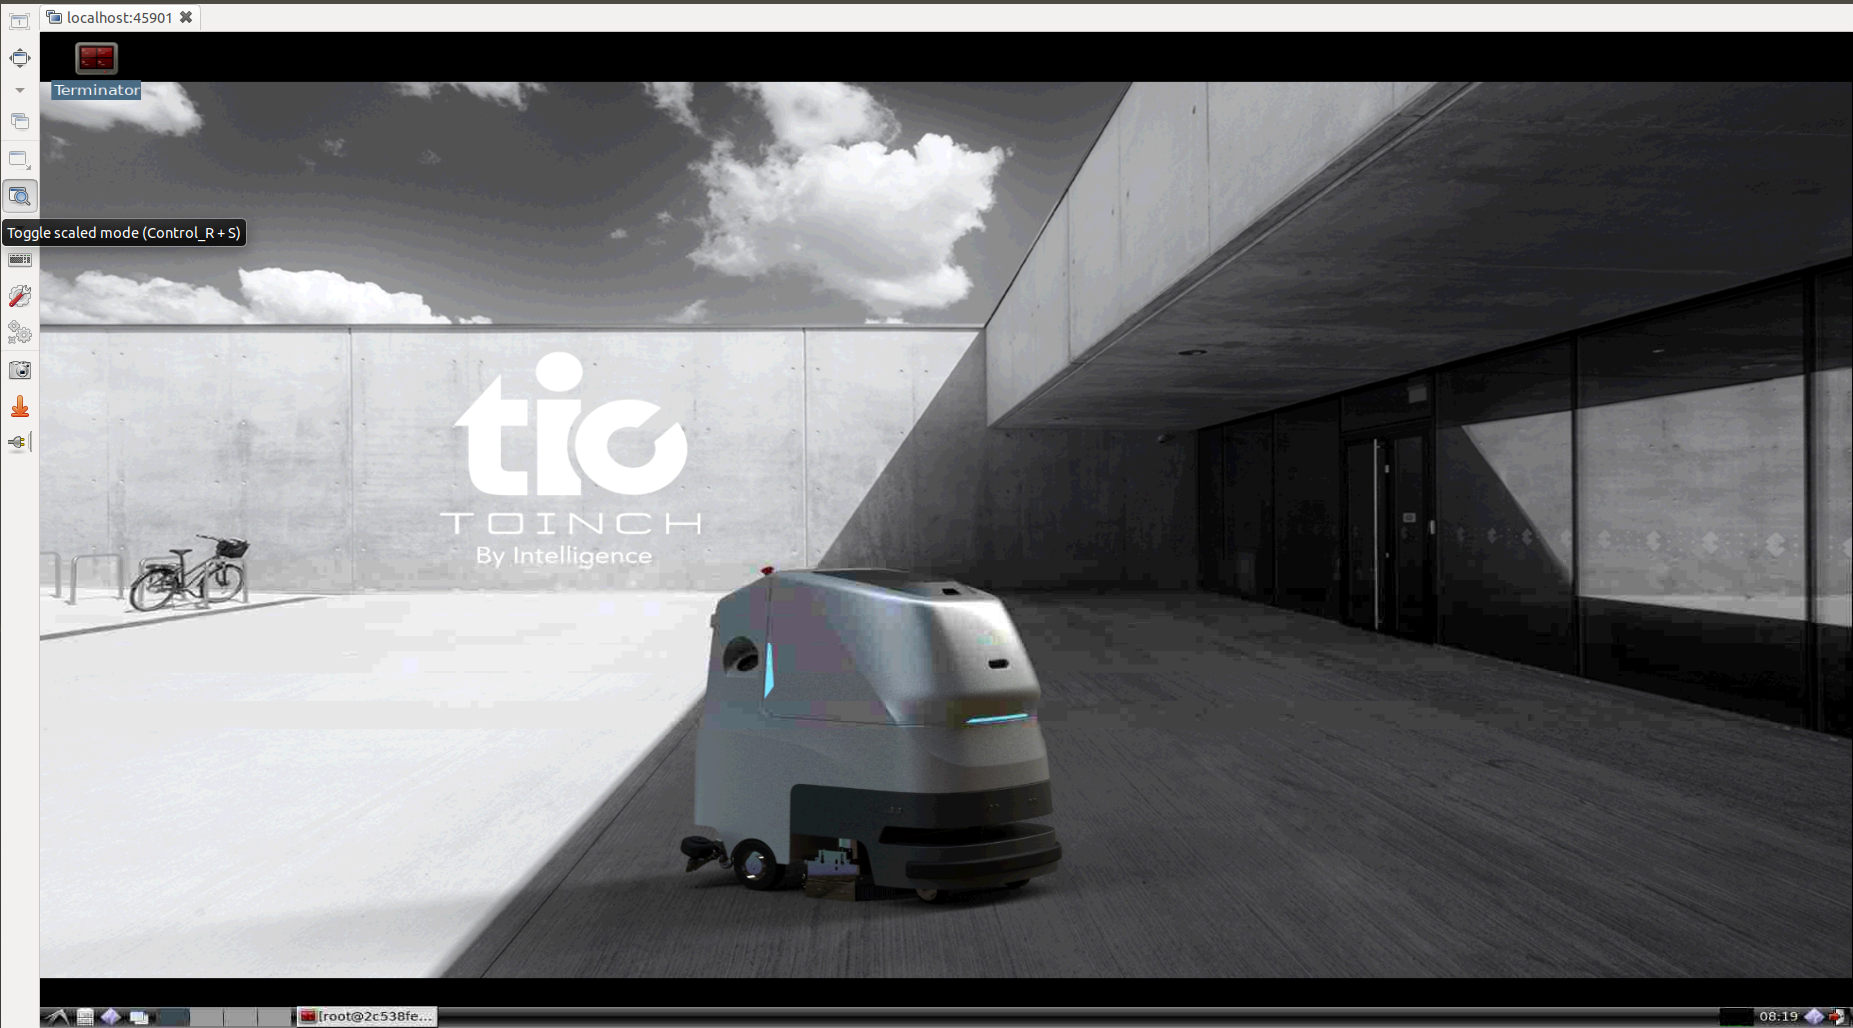
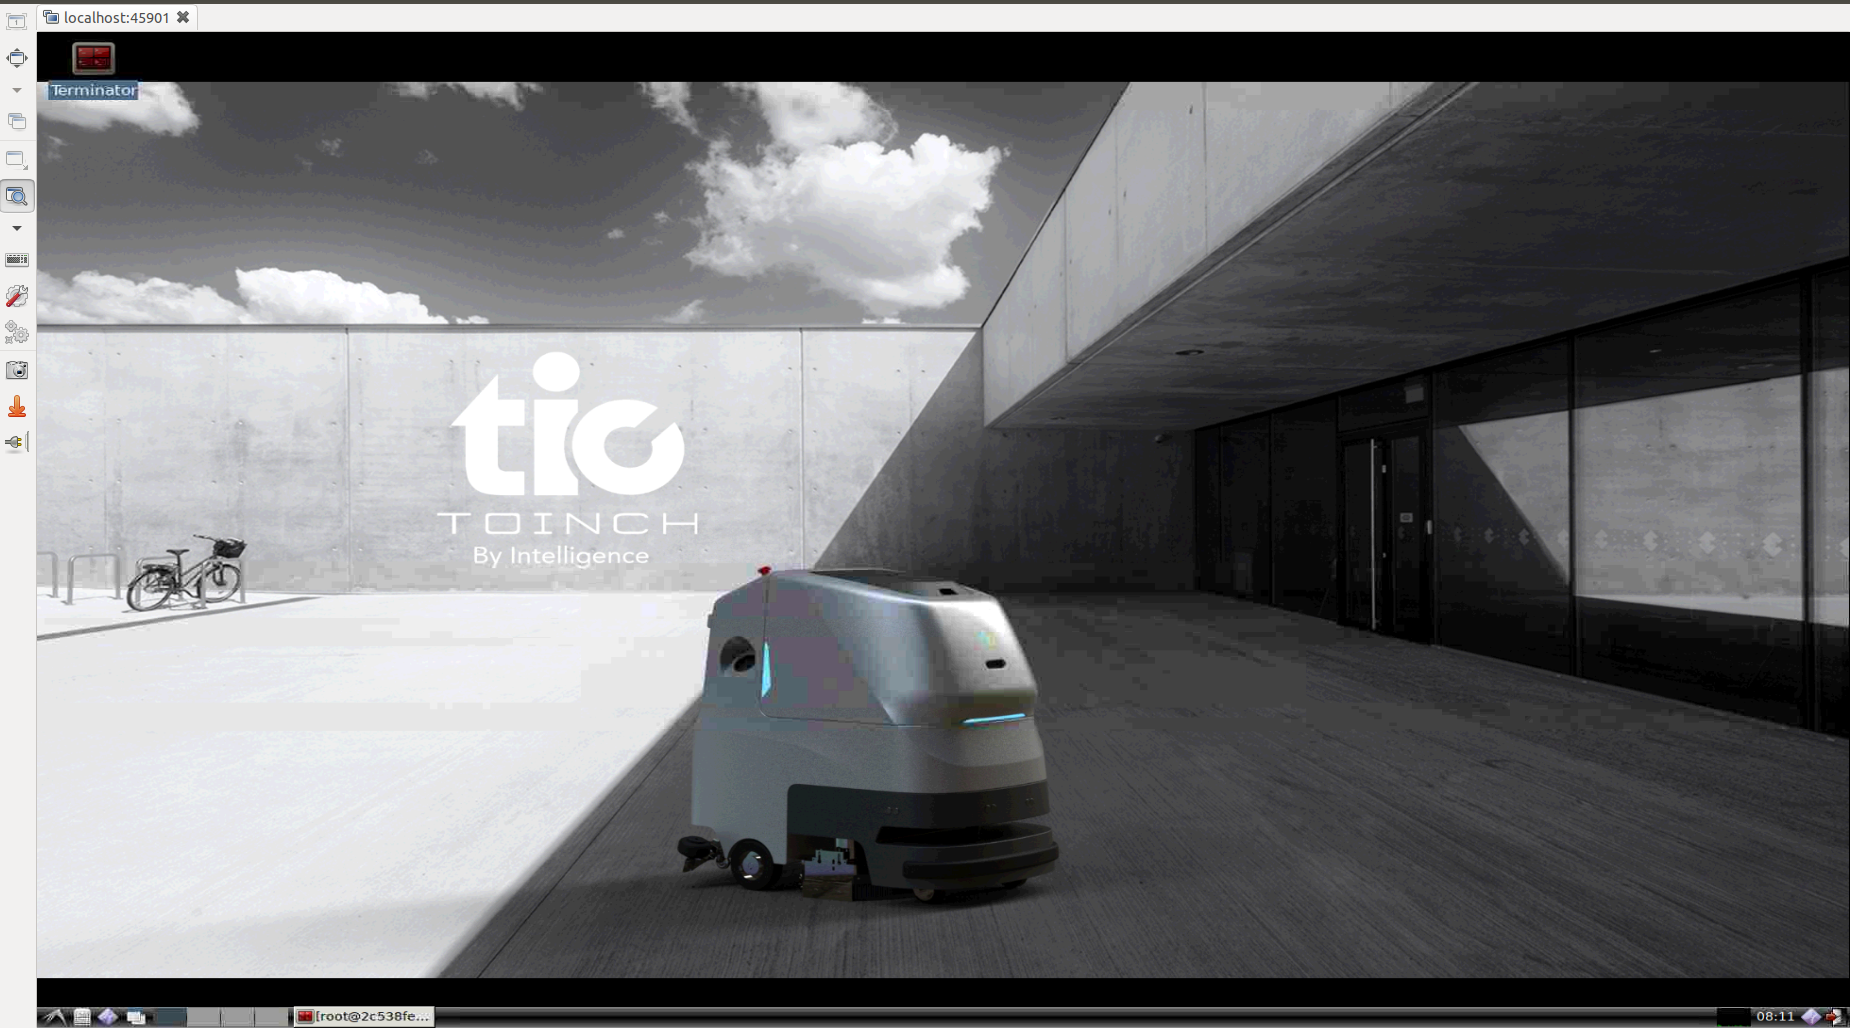
When you enter the desktop, click the button to make the window fit to your screen:
Finally,
You can create new virtual environment using conda and install packages inside the environment using either conda or pip.
See Anaconda official tutorial.
Here TsingHua source is used for Python package index.
When you install large packages such as Tensorflow, use the following command to extend timeout:
pip install tensorflow-gpu==2.2.0 progressbar2 --default-timeout=1000This command helps when you have unstable network connection.
BE REVOLUTIONARY! Keep Learning & Keep Programming!
Bonne Journée!


