Example of backend/api application developed in quarkus protected and integrated with OIDC Keycloak authorization service.
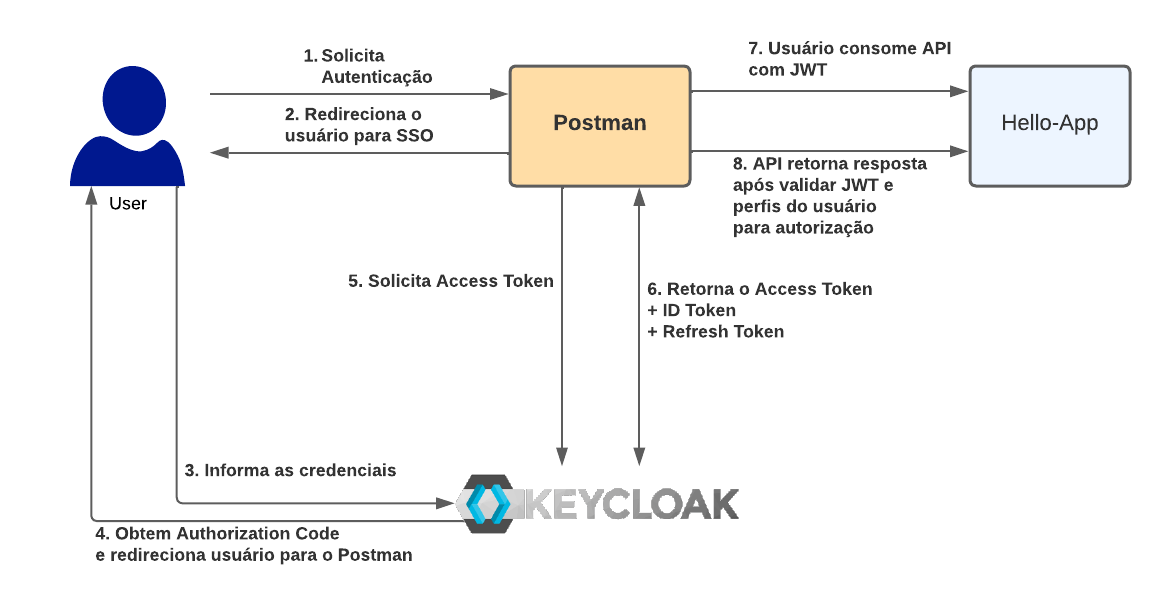
In our example we will basically have 3 actors: the authorization server, responsible for issuing JWT tokens and represented by the keycloak, the postman that will be used to simulate a front-end application and our REST API developed in quarkus and protected by authorization server.
As an example are the following endpoints:
- /hello - unauthenticated public access service
- /hello/default - authorized service for standard user and administrator
- /hello/admin - authorized service only for admin user
- /hello/profiles - authorized service for any authenticated user
We will use a default configuration for users with access profiles based on Roles(RBAC - Role Based Access Control), to authorize users to consume the APIs. We will then have the following users with their respective profiles:
| USERNAME | PASSWORD | CLIENT | ROLES |
|---|---|---|---|
| demo | 1234 | hello-app | NDA |
| demo-default | 1234 | hello-app | DEFAULT_USER |
| demo-admin | 1234 | hello-app | DEFAULT_USER, ADMIN |
In an attempt to facilitate the execution and testing of the example, we are providing an export of the realm demo-realm.json to import the configured users, client and roles.
The keycloak can also be downloaded from the website: https://www.keycloak.org/downloads, with other execution options for development.
Users, clients and roles must be configured according to the users table presented in the previous section.
To run or start the local keycloak (legacy wildfly package):
cd $KEYCLOAK_HOME/bin
sh standalone.sh
To run on different ports, in case of a wildfly package:
cd $KEYCLOAK_HOME/bin
sh standalone.sh -Djboss.socket.binding.port-offset=100
For other types of installation see the documentation: https://www.keycloak.org/guides
Quarkus extension used for OIDC:
<!-- OIDC extensions -->
<dependency>
  <groupId>io.quarkus</groupId>
  <artifactId>quarkus-oidc</artifactId>
</dependency>
Extension added after creating quarkus project with quarkus CLI:
quarkus create app com.redhat.demo:rest-api-keycloak:1.0For more information on creating quarkus projects: https://quarkus.io/guides/getting-started, for projects with community.
For those who have a Red Hat subscription which supports Red Hat build of Quarkus it is recommended to use the supported version by Red Hat. You can also create the project on usingthe page: https://code.quarkus.redhat.com/ that already containing the supported version.
Then we set the properties version to a version supported by Red Hat, as of this writing:
<properties>
  <!-- Omitted properties -->
	<quarkus.platform.group-id>com.redhat.quarkus.platform</quarkus.platform.group-id>
  <quarkus.platform.artifact-id>quarkus-bom</quarkus.platform.artifact-id>
  <quarkus.platform.version>2.13.7.Final-redhat-00003</quarkus.platform.version>
  <!-- <quarkus.platform.group-id>io.quarkus.platform</quarkus.platform.group-id> -->
  <!-- <quarkus.platform.version>2.10.1.Final</quarkus.platform.version> -->
</properties>
OIDC configuration in src/main/resource/ application.properties
# OIDC Configuration
quarkus.oidc.auth-server-url=http://localhost:8180/realms/demo
quarkus.oidc.client-id=hello-app
quarkus.oidc.credentials.secret=mQoWzSJNIFbpxrRhwaqDmouy0Z3pQOAE
quarkus.oidc.tls.verification=none
Configuration of the api resources:
@Path("/hello")
public class GreetingResource {

    @Inject
    SecurityIdentity securityIdentity;

    @Inject
    JsonWebToken jwt;

    @GET
    @PermitAll
    @Produces(MediaType.TEXT_PLAIN)
    public String hello() {
        return "Hello from RESTEasy Reactive";
    }

    @GET
    @Produces(MediaType.TEXT_PLAIN)
    @Path("/default")
    @RolesAllowed({"DEFAULT_USER","ADMIN"})
    public String helloDefaultUser() {
        OidcJwtCallerPrincipal oidcPrincipal = getOIDCPrincipal();
        String username = String.valueOf(oidcPrincipal.claim("preferred_username").orElseThrow());;
        return "Hello, Your user is the: " + username;
    }

    @GET
    @Produces(MediaType.TEXT_PLAIN)
    @Path("/admin")
    @RolesAllowed("ADMIN")
    public String helloAdminUser() {
        OidcJwtCallerPrincipal oidcPrincipal = getOIDCPrincipal();
        String username = String.valueOf(oidcPrincipal.claim("preferred_username").orElseThrow());
        return "Hello user: " + username + ", Only administrators can use that resource";
    }


    @GET
    @Produces(MediaType.TEXT_PLAIN)
    @Path("/perfis")
    @Authenticated
    public String helloPerfisString() {
        OidcJwtCallerPrincipal oidcPrincipal = getOIDCPrincipal();
        JsonObject resource_access = (JsonObject) oidcPrincipal.claim("resource_access").get();
        String username = String.valueOf(oidcPrincipal.claim("preferred_username").orElseThrow());
        return "Hello User : " + username + ", you have the following profiles: " +  resource_access.getJsonObject("hello-app").getJsonArray("roles");
    }

    private OidcJwtCallerPrincipal getOIDCPrincipal() {
        Principal principal = securityIdentity.getPrincipal();
        OidcJwtCallerPrincipal oidcPrincipal = null;
        if(principal instanceof OidcJwtCallerPrincipal) {
            oidcPrincipal = (OidcJwtCallerPrincipal) principal;
        }
        return oidcPrincipal;
    }
}
Regarding authentication and authorization settings:
- To allow any access to a resource, use the annotation @PermitAll
- To allow any explicitly authenticated access, use the annotation @Authenticated
- To make use of RBAC when accessing resources, use the annotation @RolesAllowed({}), with the list of profiles.
SecurityIdentity roles can be mapped by checking the JWT access token as follows:
- If the
quarkus.oidc.roles.role-claim-pathproperty is set and matching array or string claims are found, then roles are extracted from those claims. - If the
groupsclaim is available then its value is used. - If claim
realm_access/rolesorresource_access/${client_id}/roles(where${client_id}is the value of propertyquarkus.oidc.client-id) is available then its value is used . These claims are exactly what Keycloak emits in its tokens.
Additionally, a custom SecurityIdentityAugmentor can also be used to add the functions as documented here.
To run with embedded maven:
./mvnw quarkus:devTo test the functioning of the APIs, we are making this Postman Collection available with calls to resources configured to run localhost.
Quarkus Demo.postman_collection.json
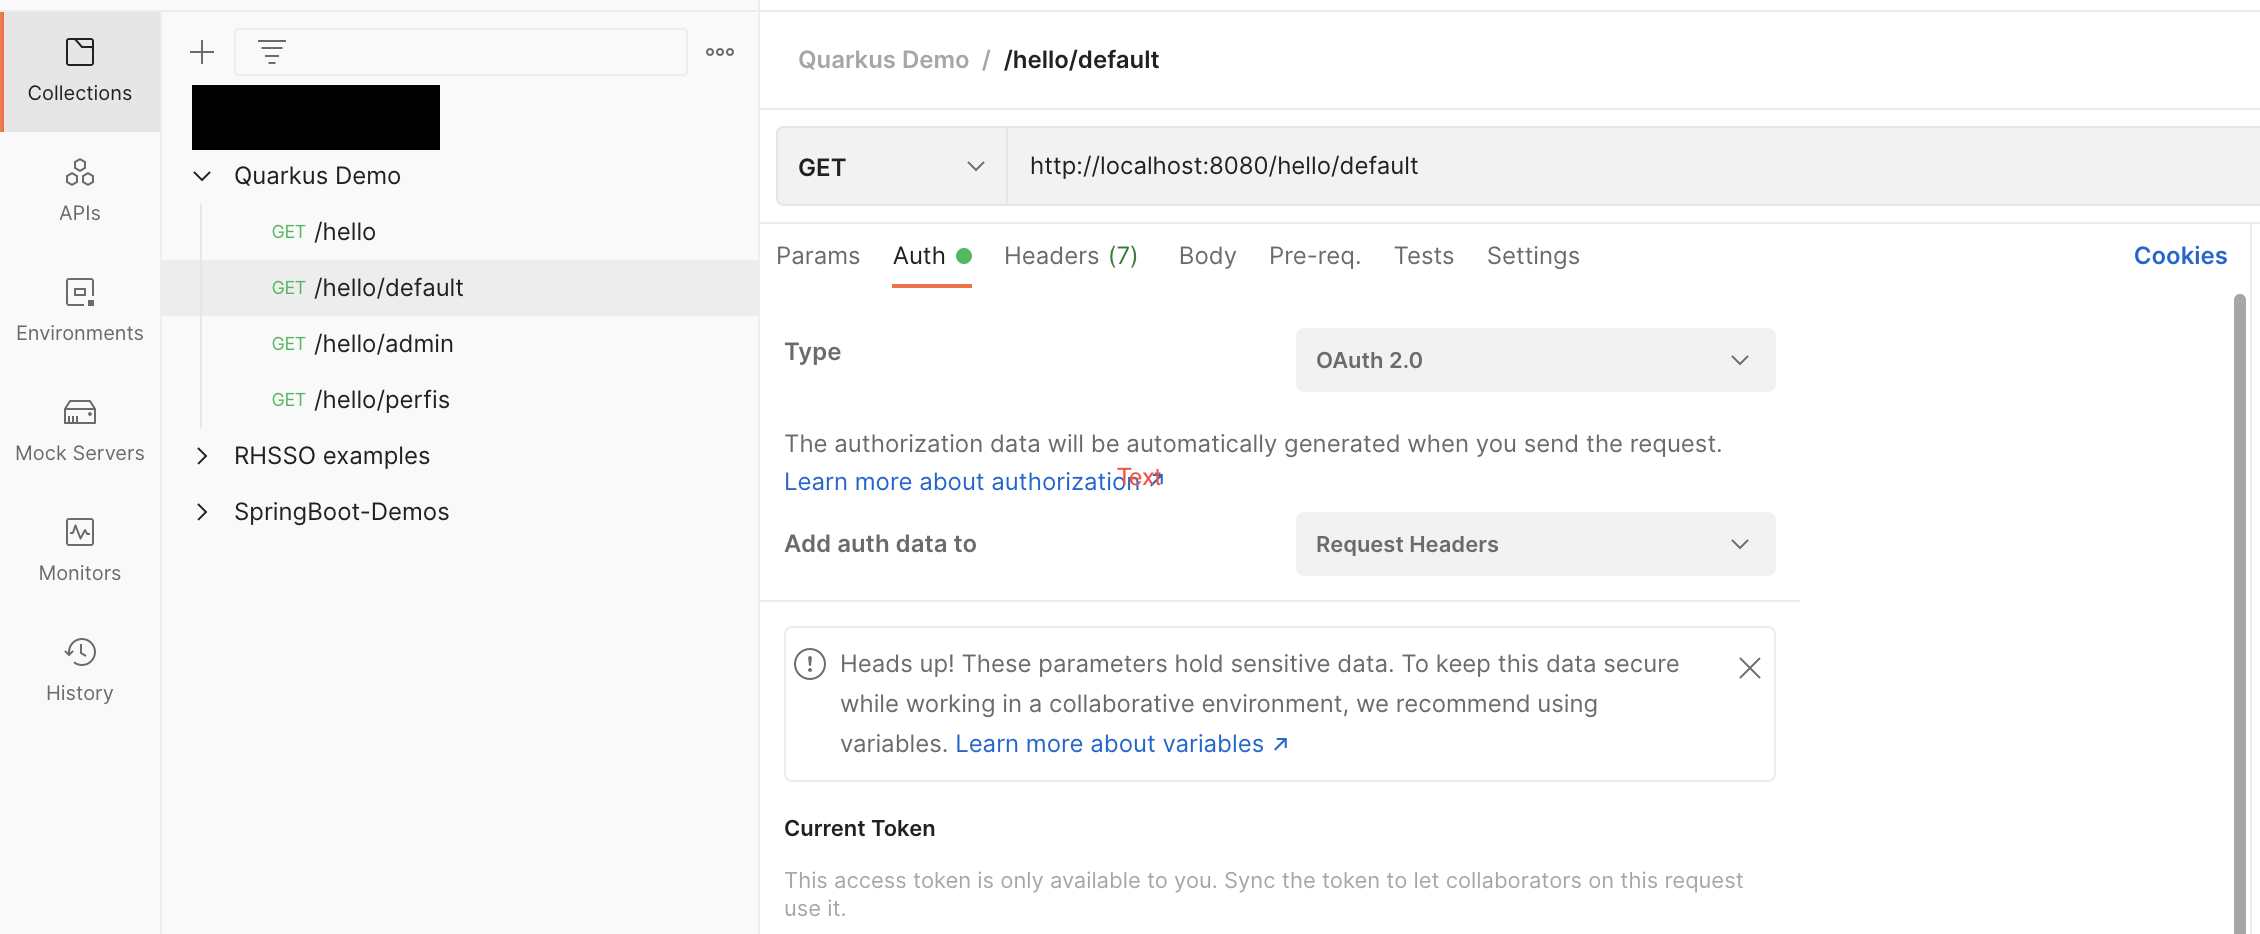
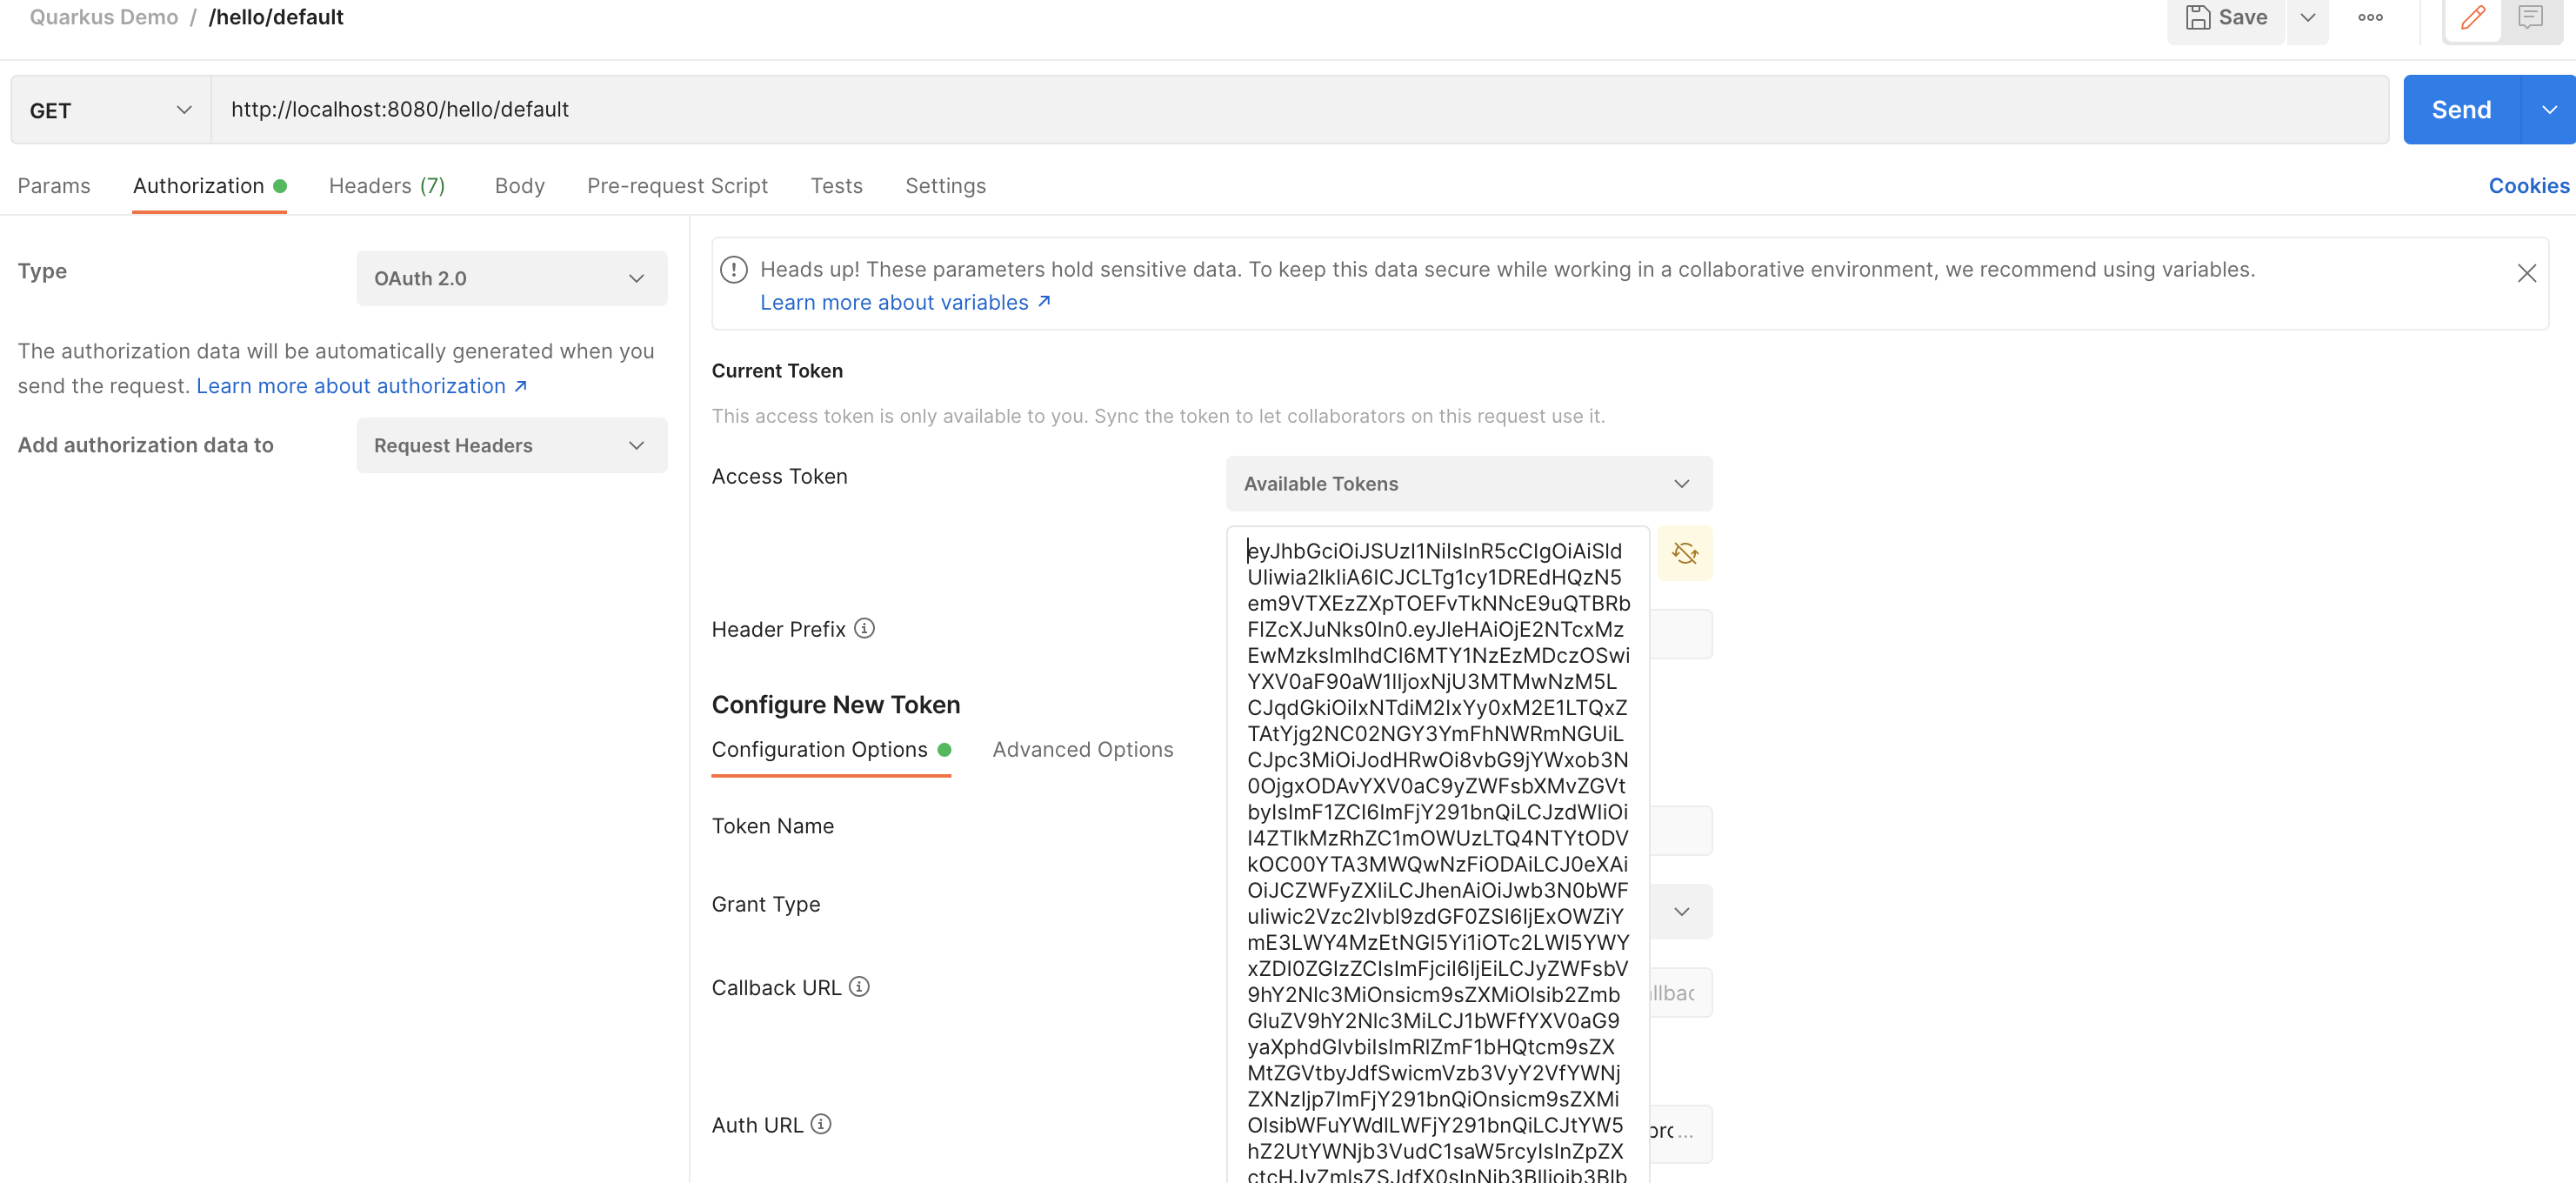
After importing the collection to postman, just select the resource you want to test and select the authorization tab:
Select the type of authorization for OAuth 2.0, and fill in the information if necessary:
Grant Type: Authorization Code
Auth URL: http://localhost:8180/auth/realms/demo/protocol/openid-connect/auth
Access Token URL: http://localhost:8180/realms/demo/protocol/openid-connect/token
Client-id: postman
Secret: 88tkIw8ceZ1pLbtoh4UU9SMmTuNeXUPw
Scope: openid
Some of the data above may change depending on the Realm configuration you are using.
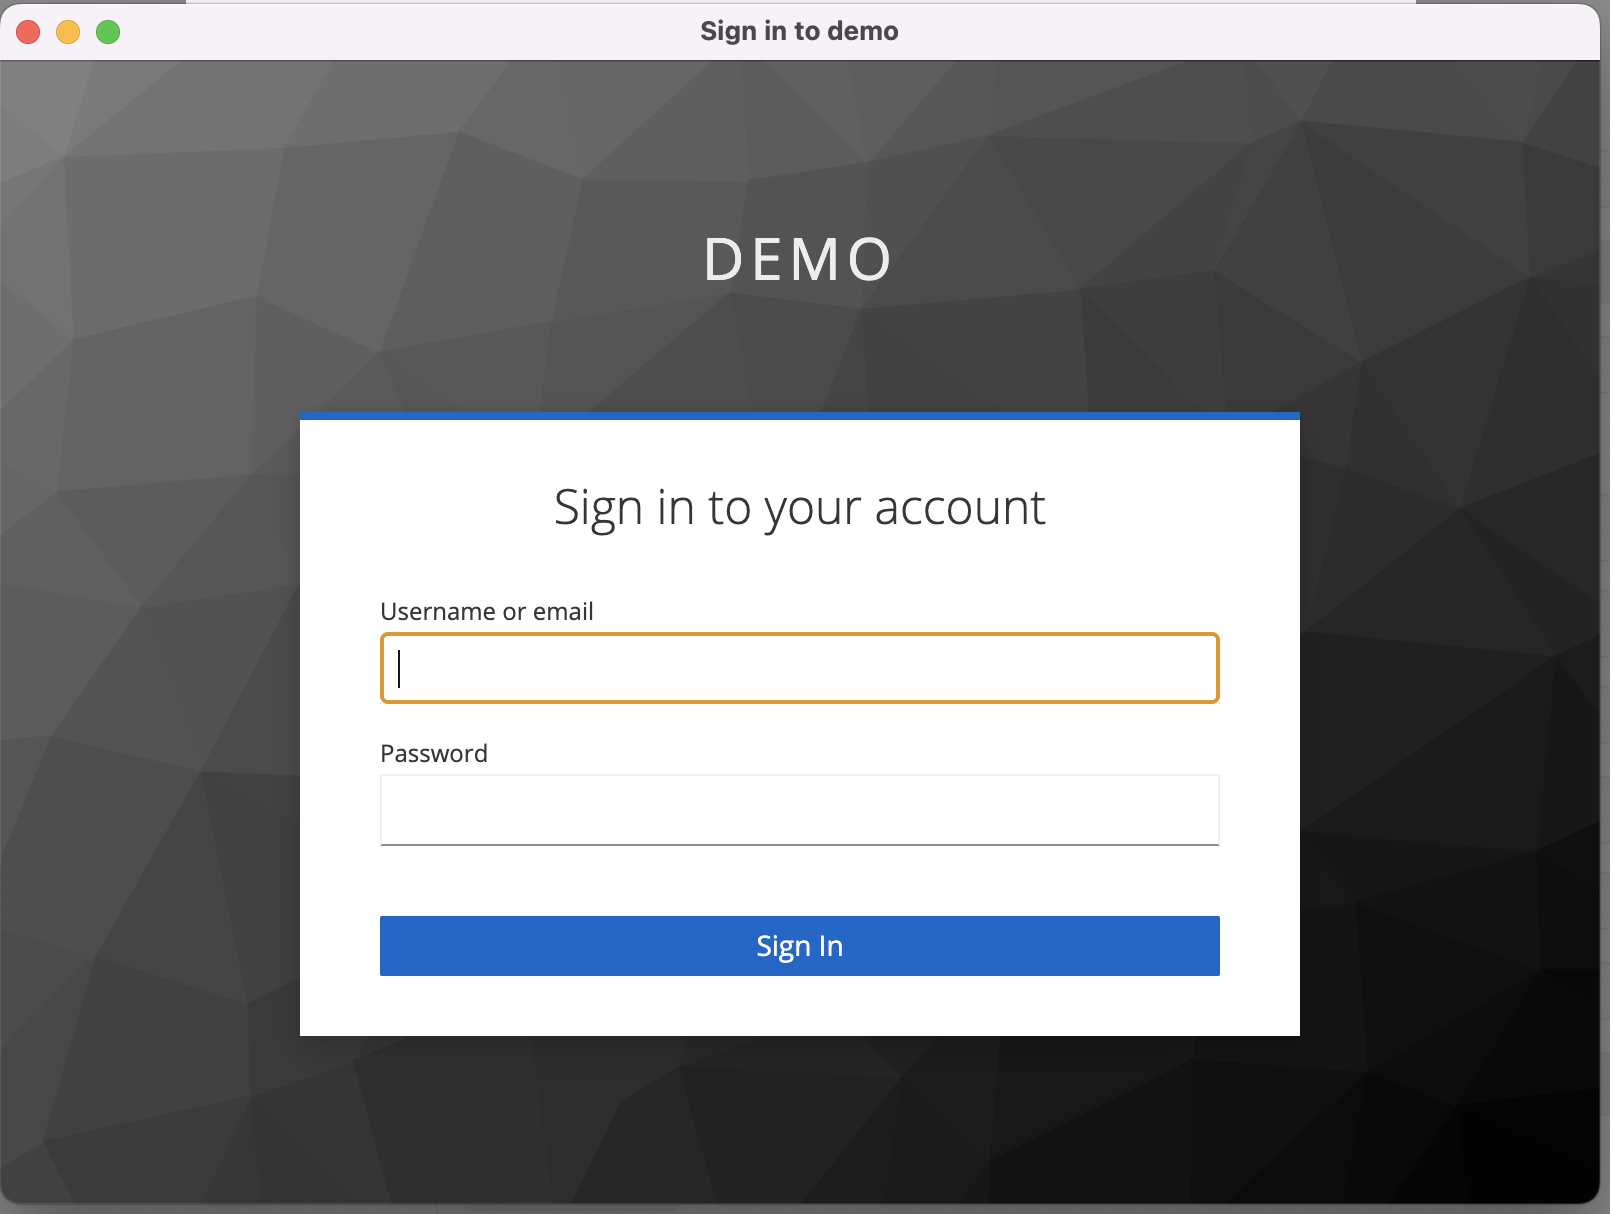
Select the Get New Access Token button and start the standard authentication flow.
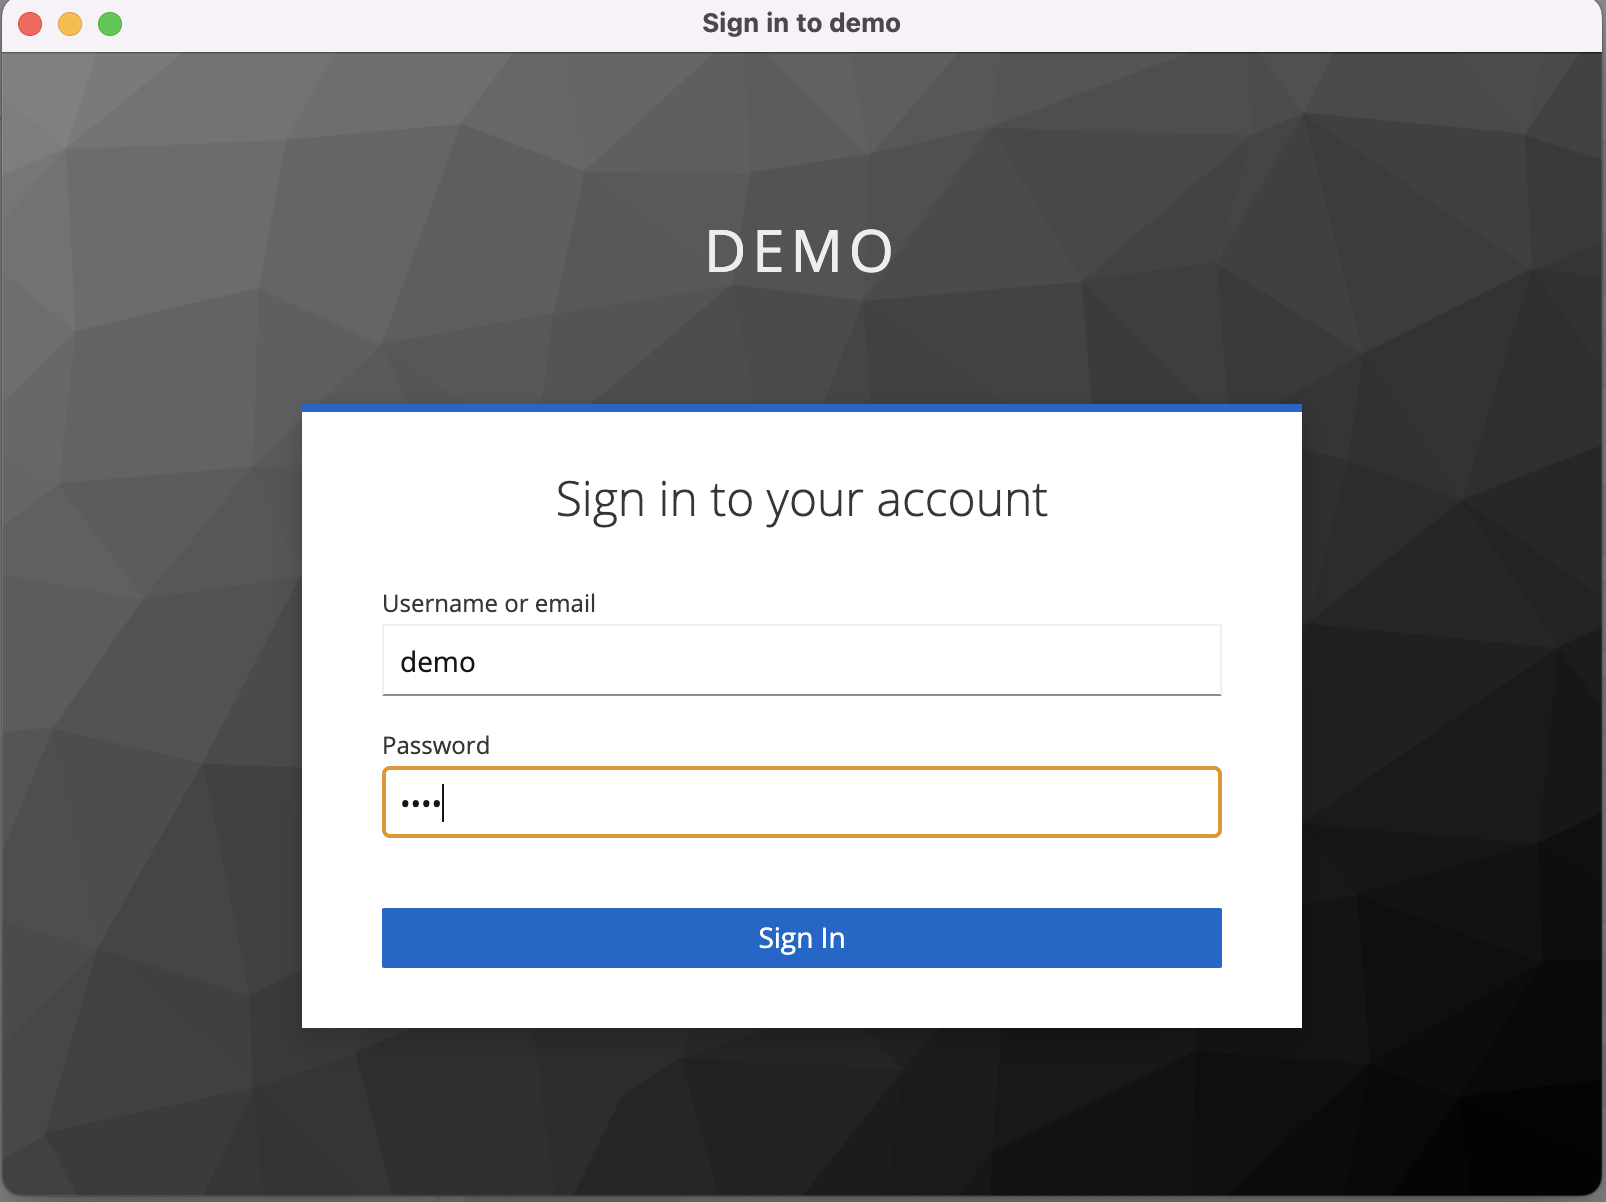
Enter username and password:
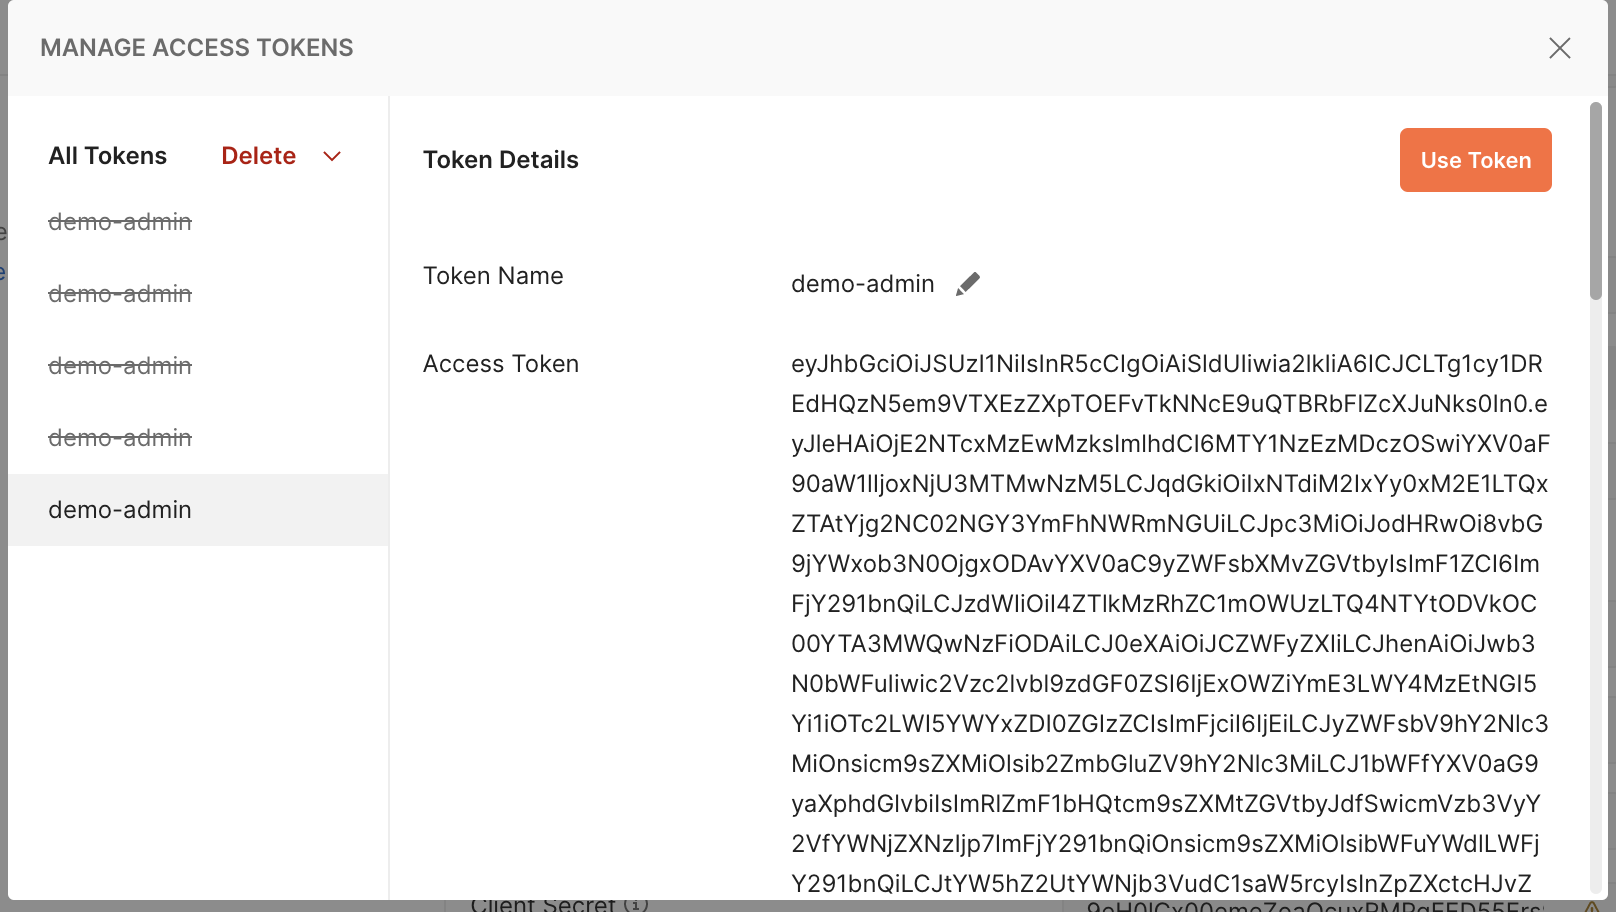
Selecting the Use Token button after authentication:
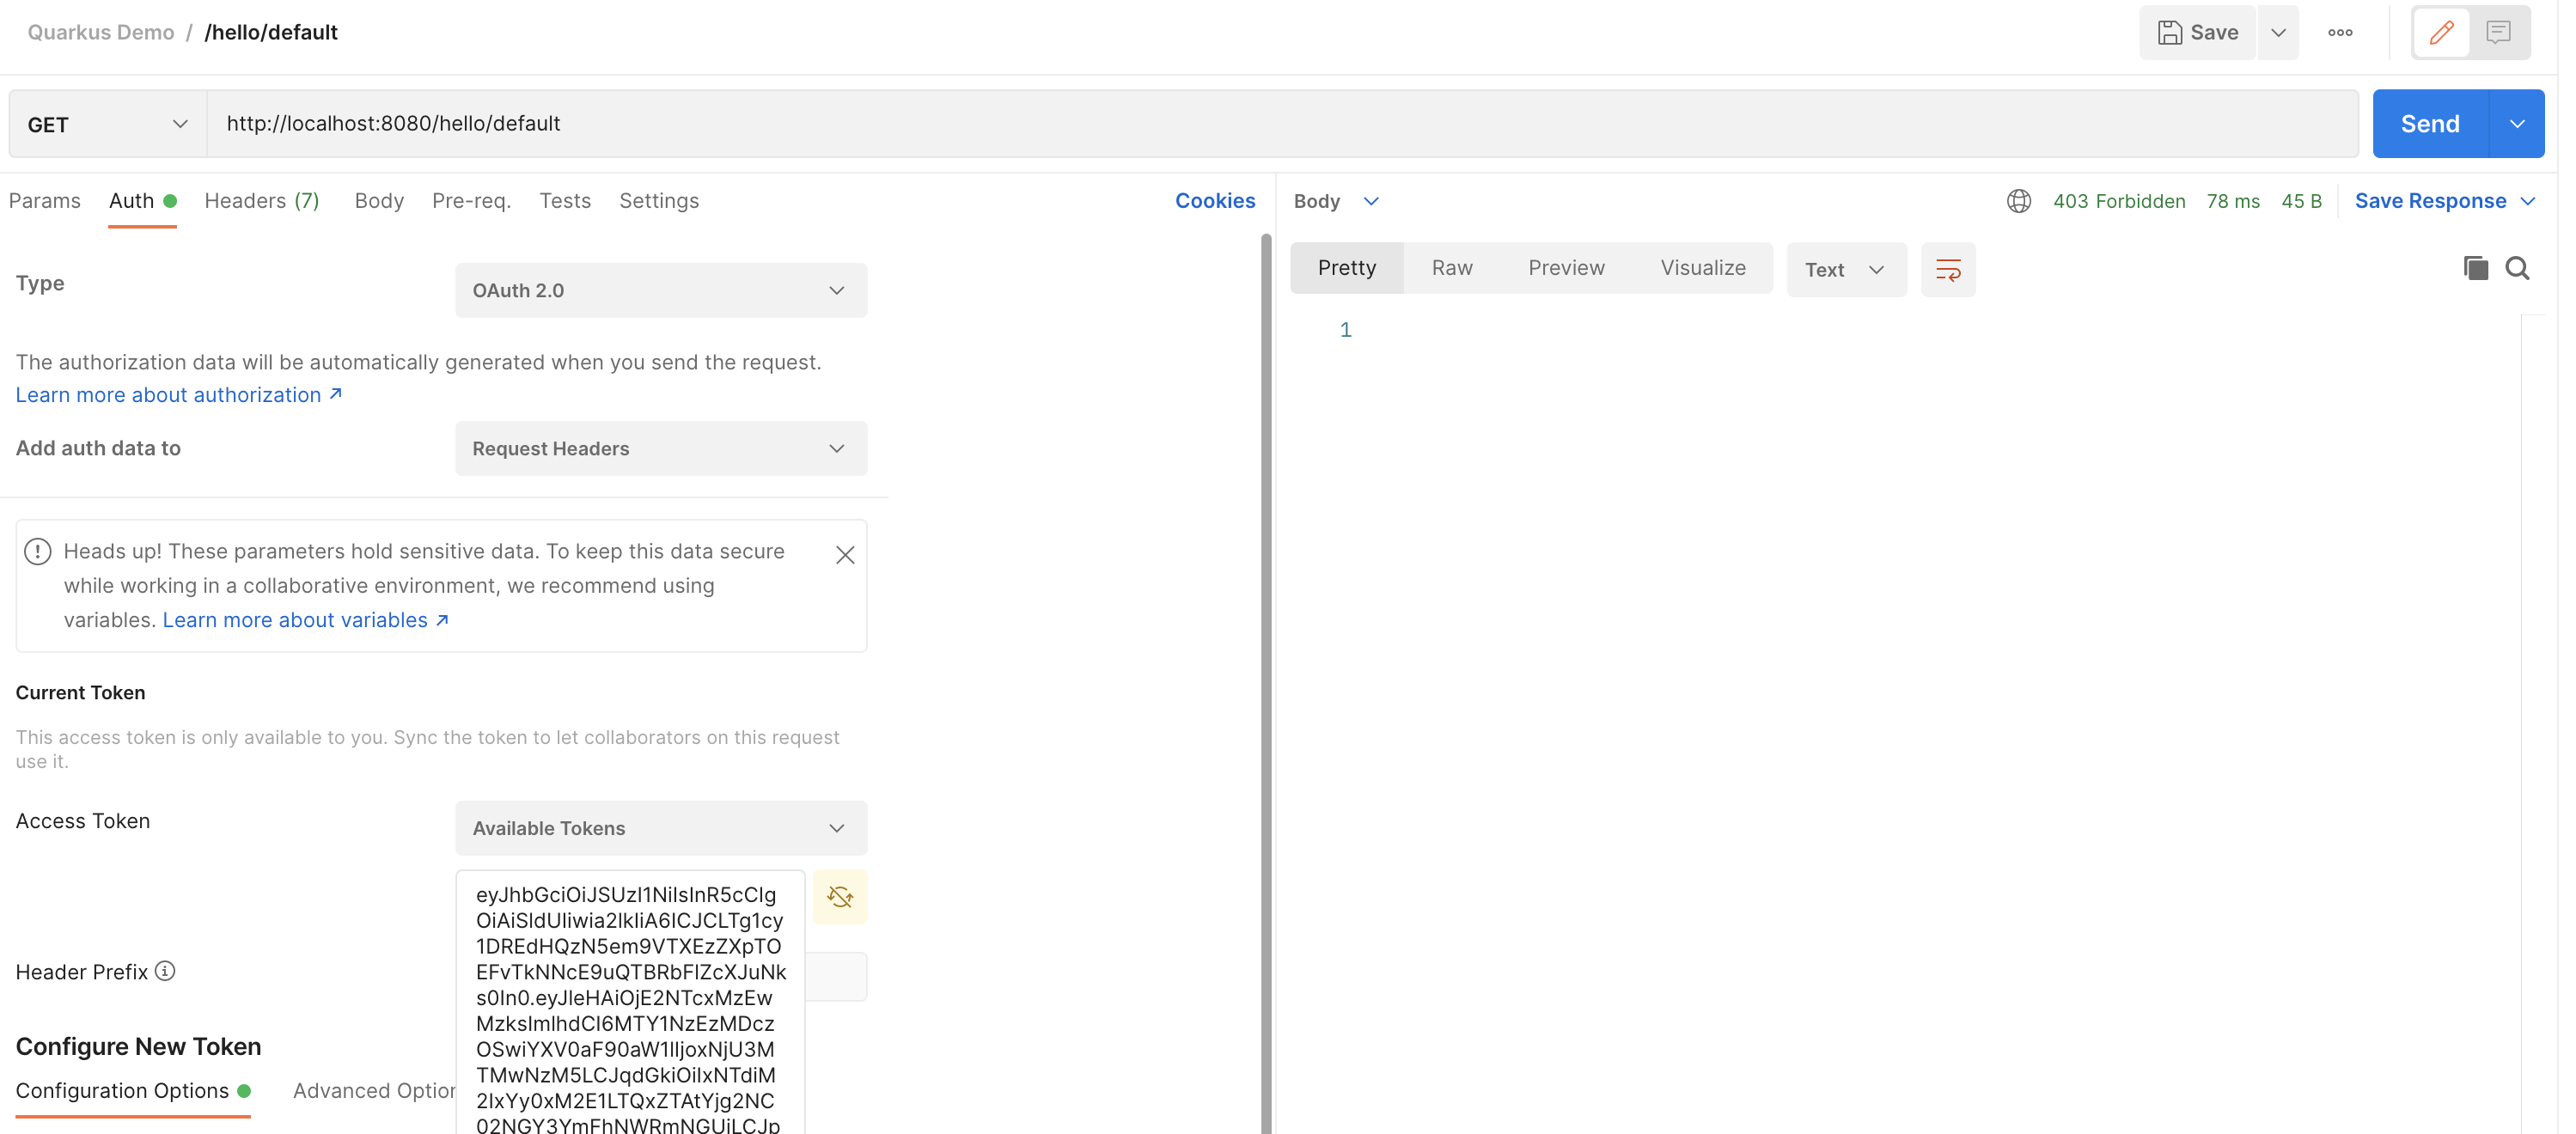
Trigger a call to the desired resource on the Send button:
Observe the return of the service:
In our example, the user demo is not authorized to access resource /hello/default.
You can now continue with the tests on the other endpoints. =)
