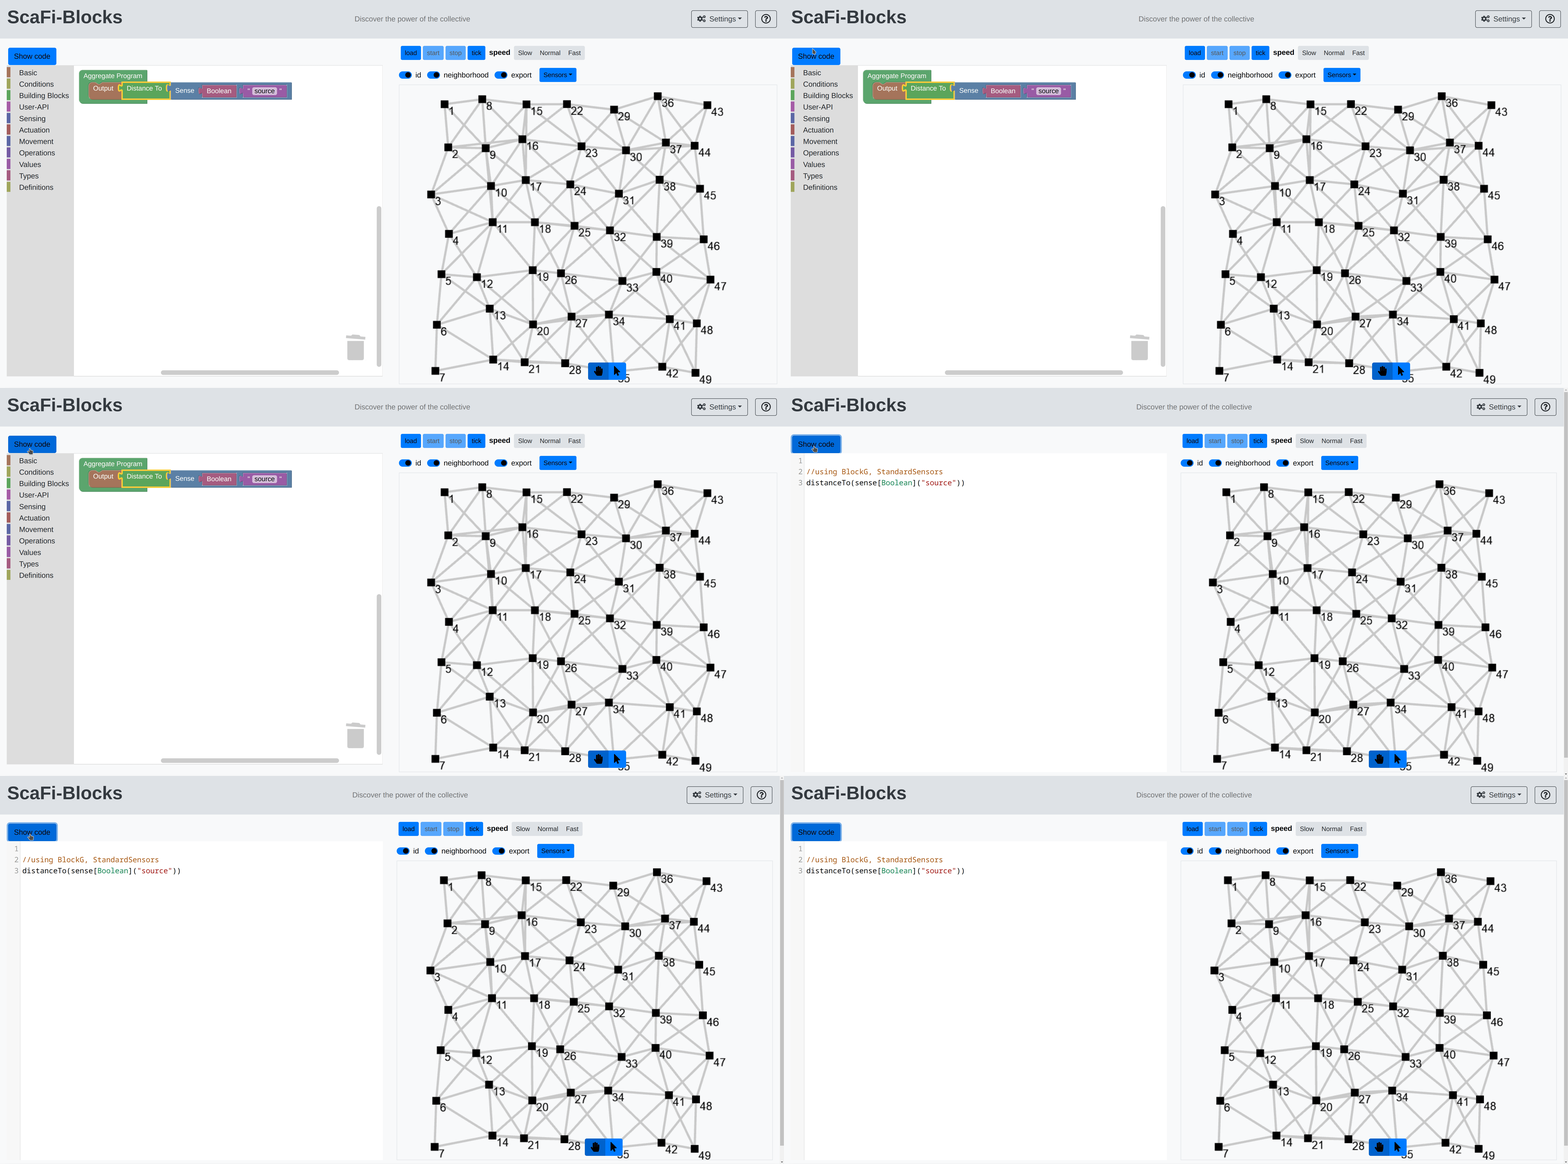
ScaFi Web Blocks is an online playground designed to facilitate agile experimentation with ScaFi using visual programming. ScaFi itself is a framework that enables the writing of aggregated code in an intuitive and agile manner. This new platform aims to lower the learning curve for mastering this programming paradigm by leveraging block programming. For this system, we select Blockly.
The project consists of two main parts:
- A web page, which includes ScaFi Web as the engine to execute ScaFi program on the web and ScaFi Blocks to enable low-code programming for aggregate computing.
- A remote compilation service that translates ScaFi code into executable JavaScript.
In the following sections, we will guide you through the process of setting up and using ScaFi Web Blocks.
There are two ways to launch the project: by compiling and running it locally or by using Docker. We recommend the latter for ease of setup.
To run the project using Docker, execute the following command:
docker run -d -p 8080:8080 gianlucaaguzzi/scafi-blocks:0.0.4
Now, you should be able to access the project's main page at http://localhost:8080.
If you implement changes to the project, you can compile and run it locally using SBT. Then, execute the following command in your terminal:
sbt runService
This command compiles the system, producing the web page and the compilation server. After the compilation is complete, you should be able to access the project's main page at http://localhost:8080.
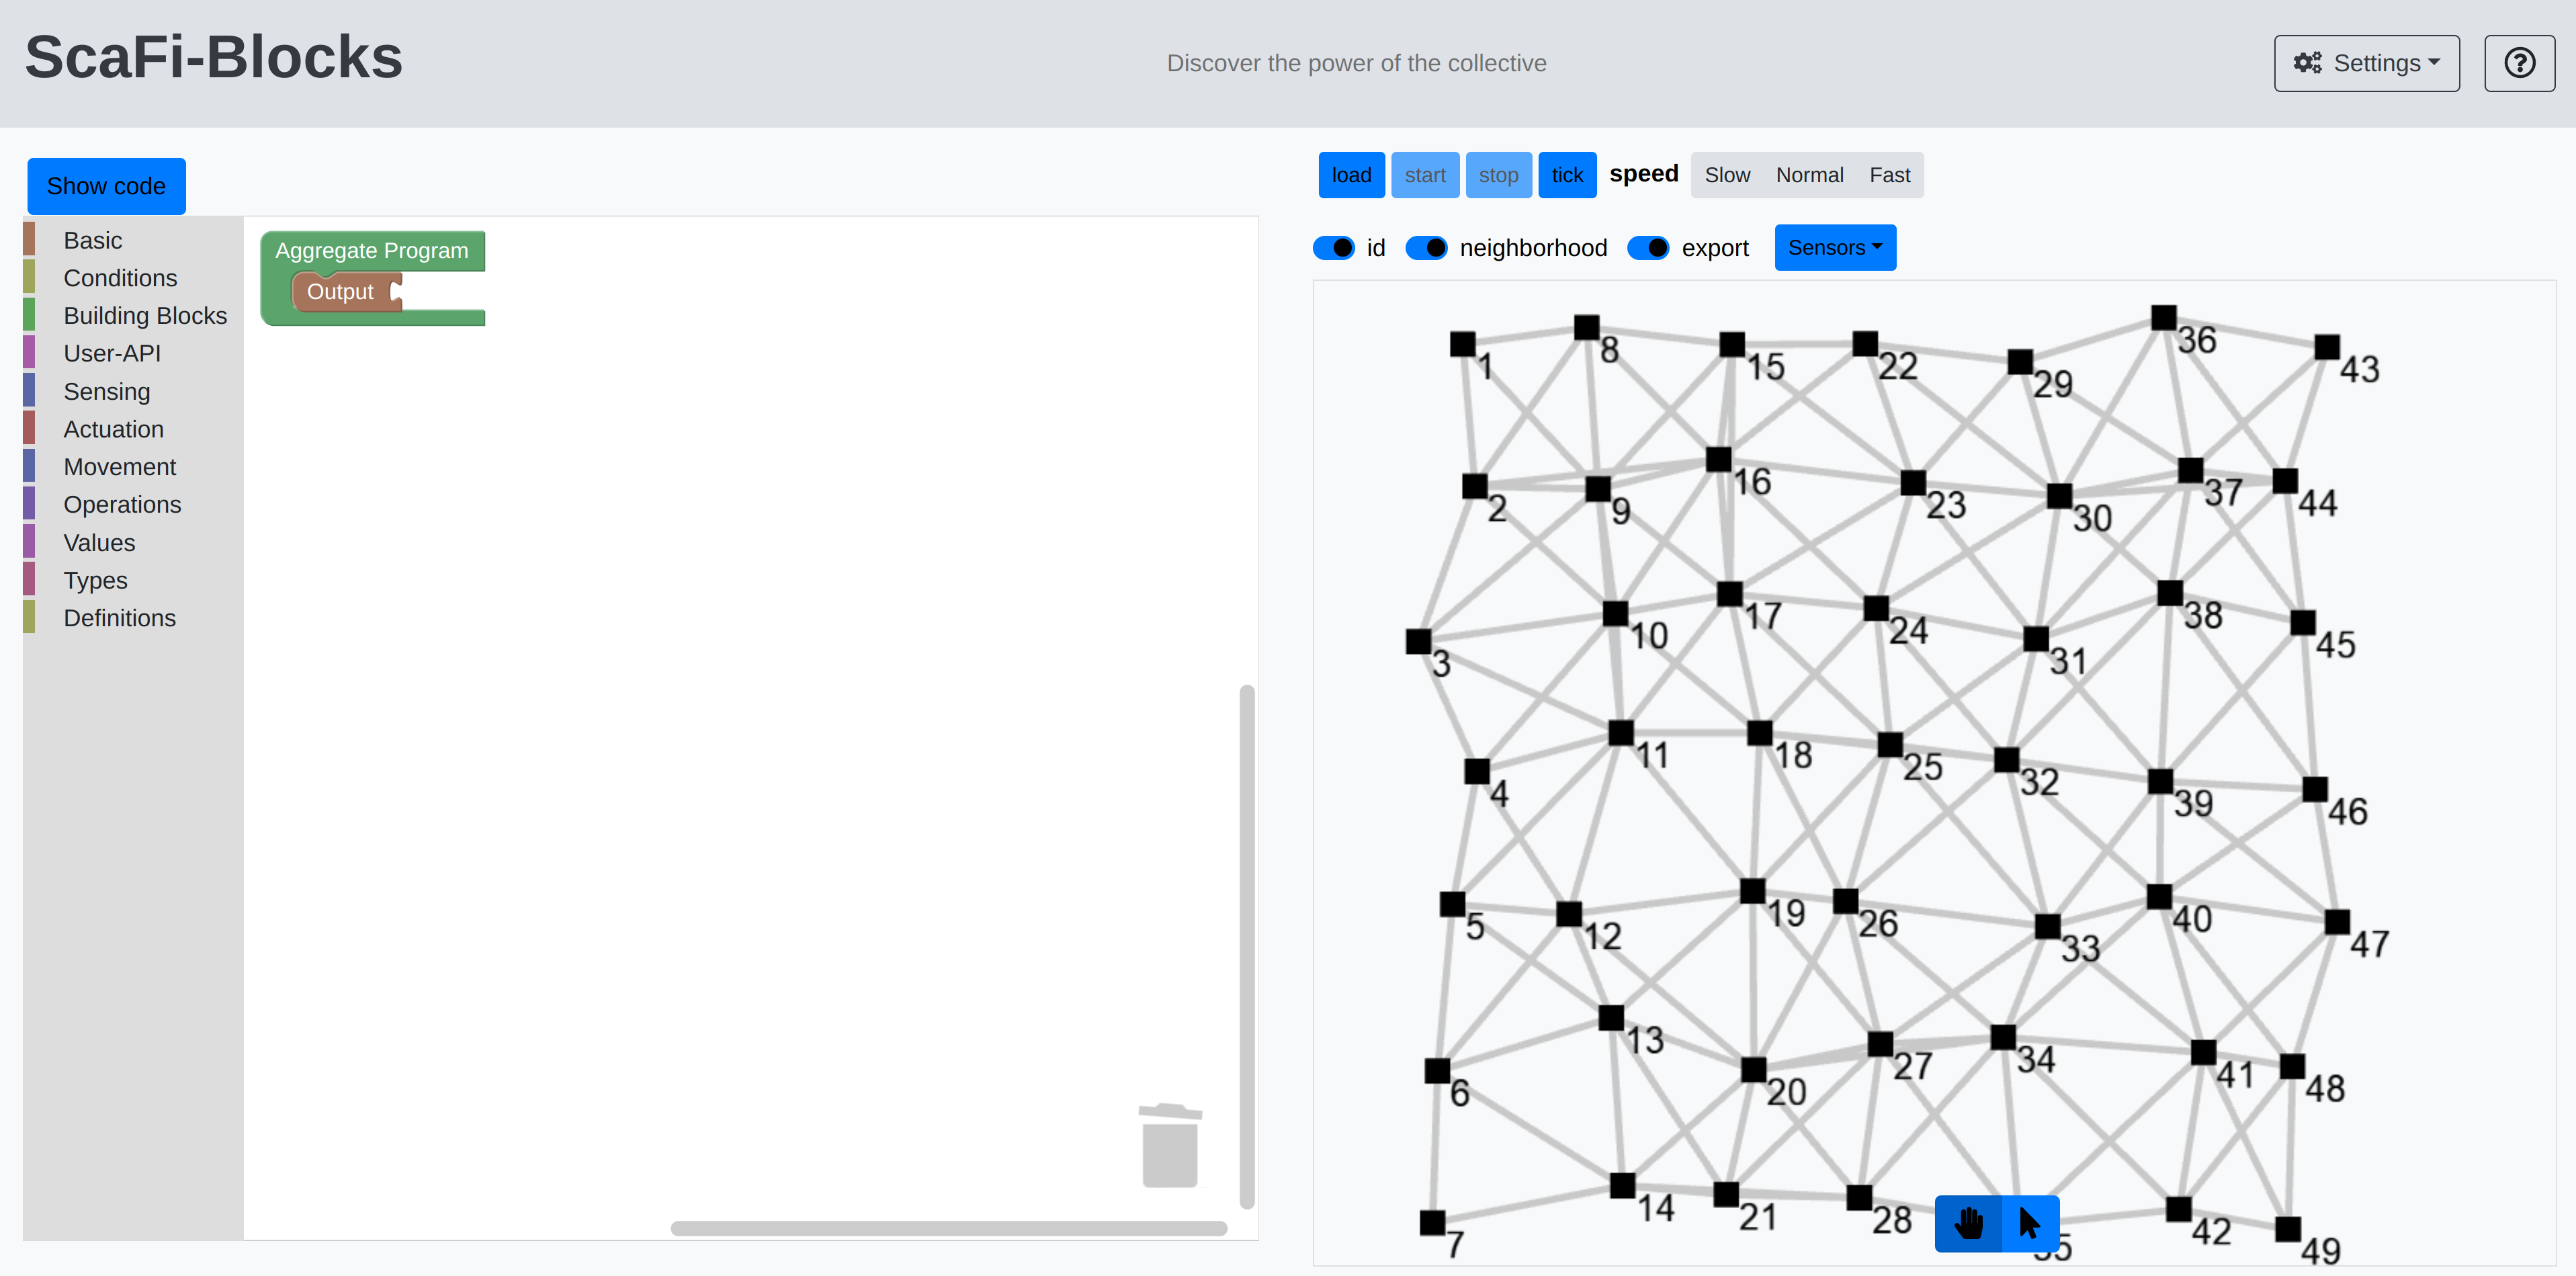
You should see the following screen:
The web page is organized as follows:
- On the left, you have the area where you can write your code.
- On the right, you can control the simulation.
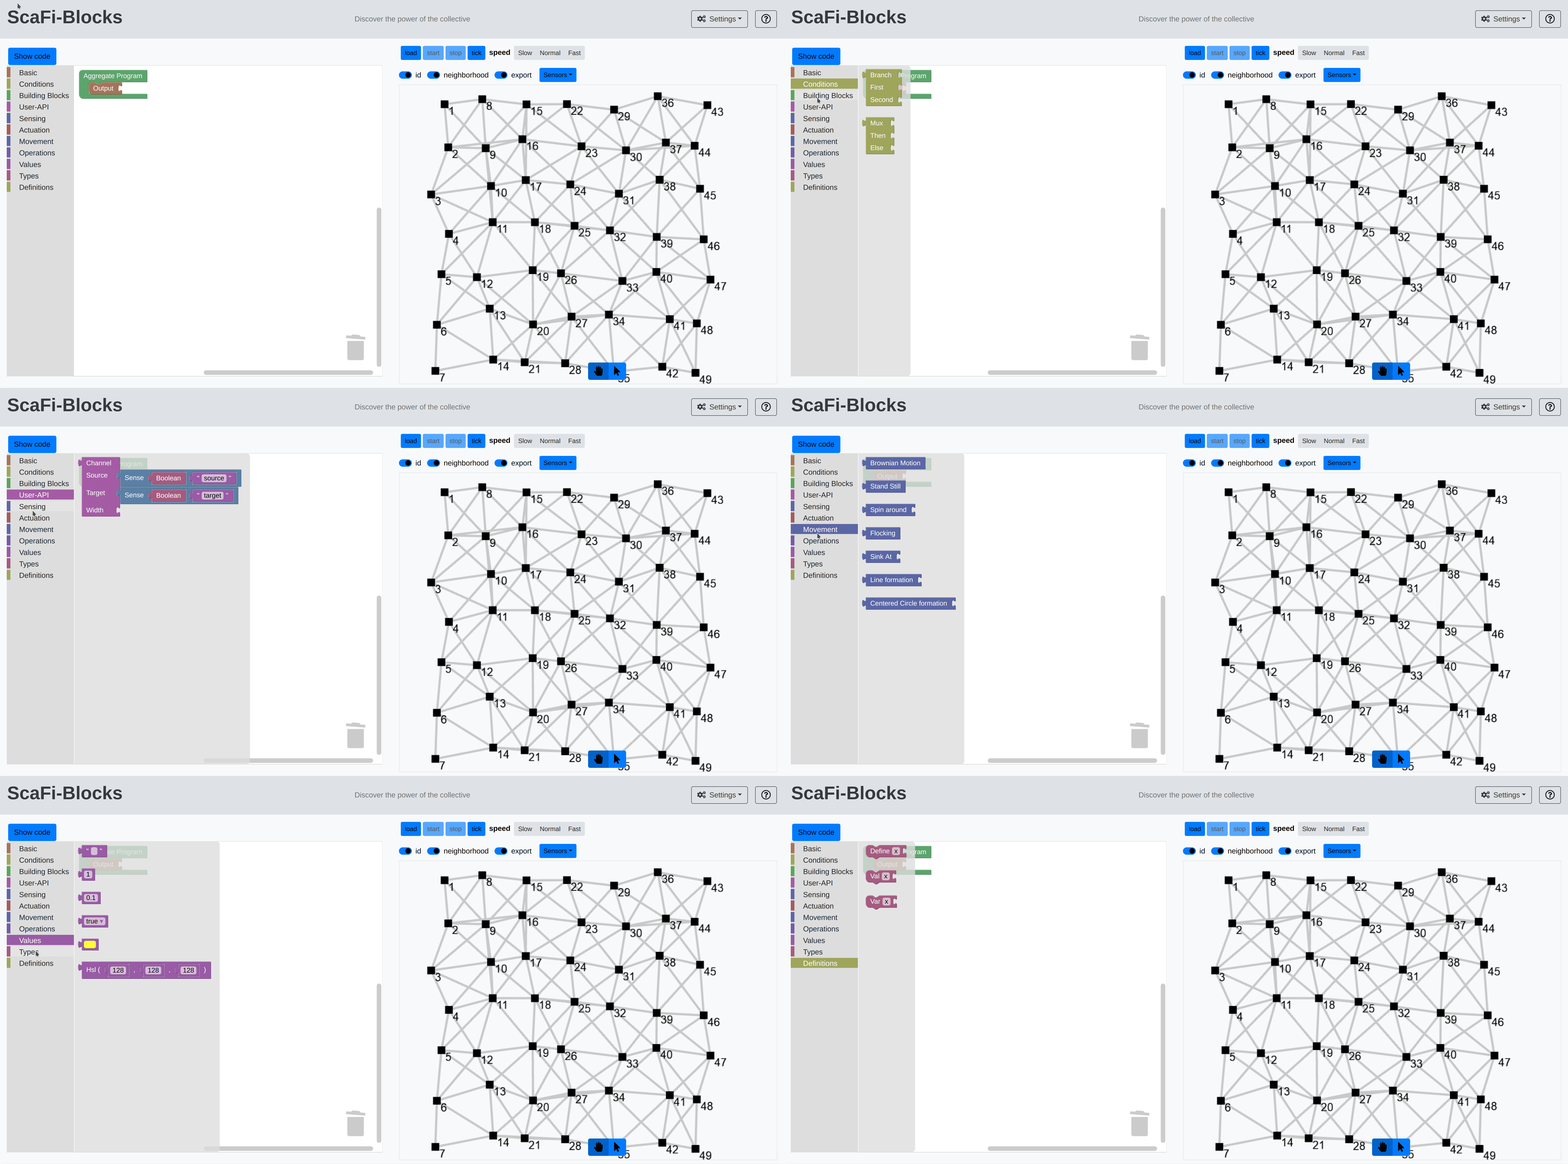
In the left area, you can drag and drop blocks to create your program. The blocks are organized into categories, each of them has several blocks that can be used to create your program:
Once you have selected a block, you can drag it to the main area and connect it to other blocks to create your program.
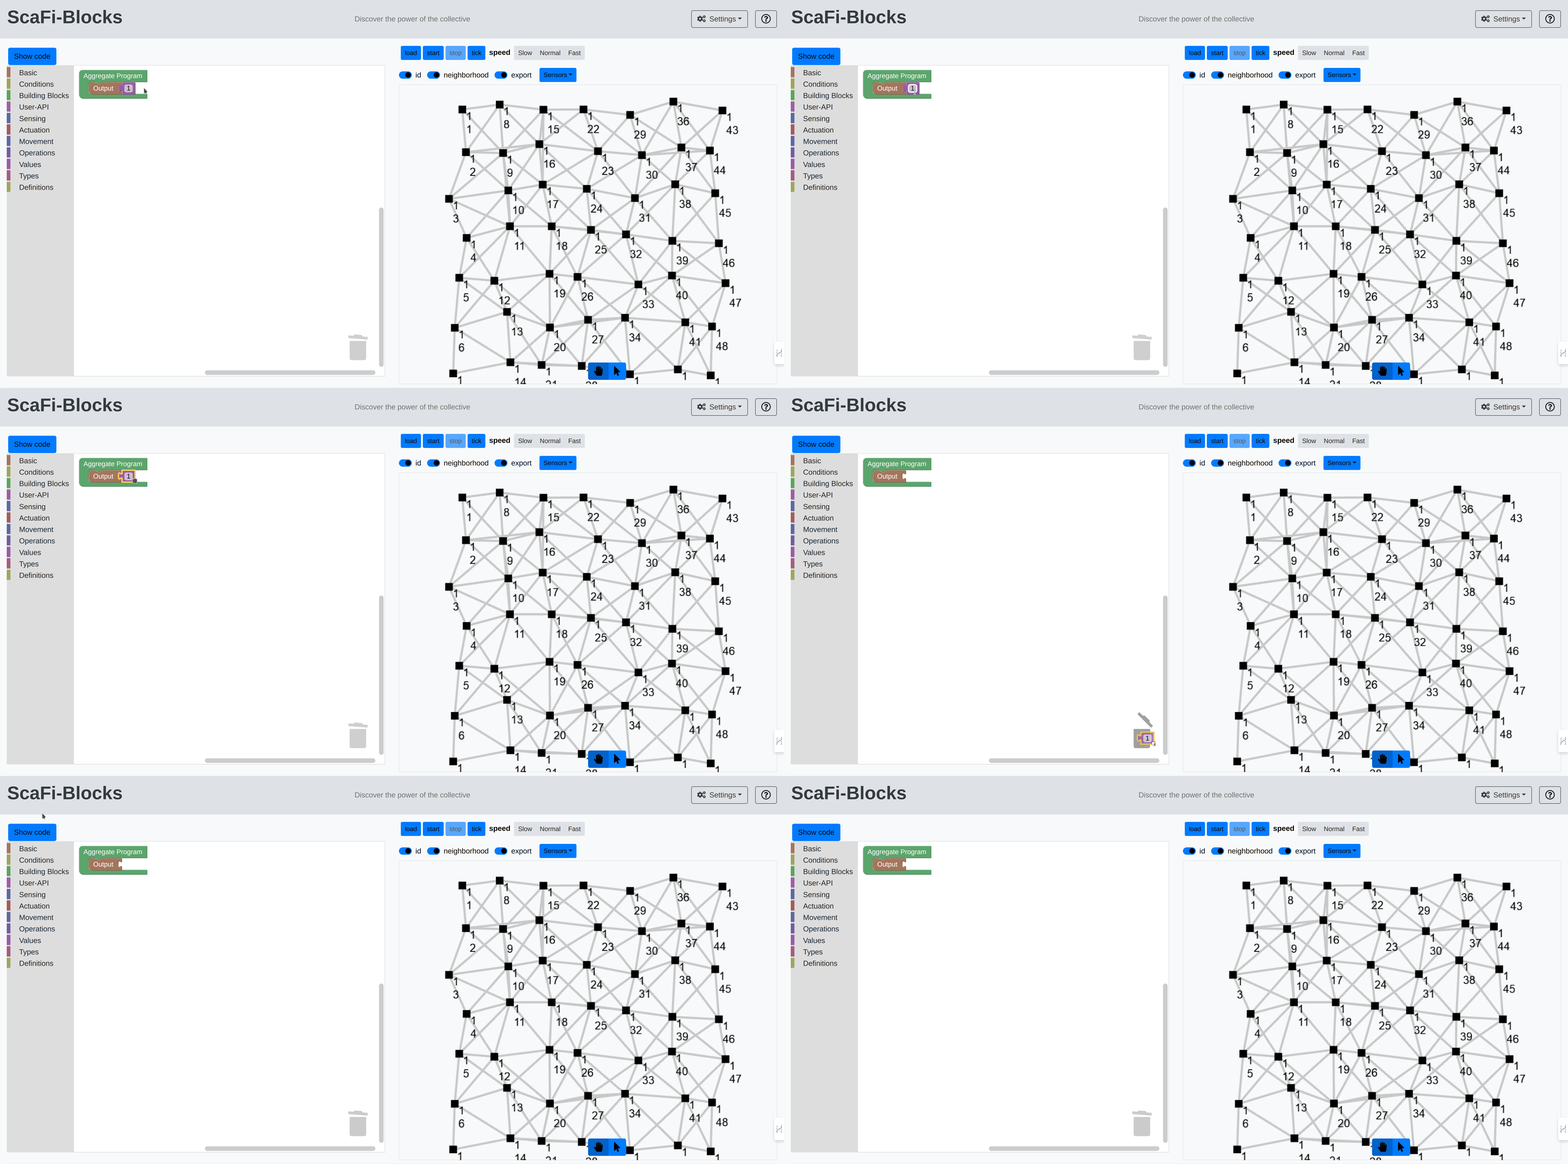
You can also remove the blocks by dragging them to the trash can.
After writing your code, you can view its textual version.
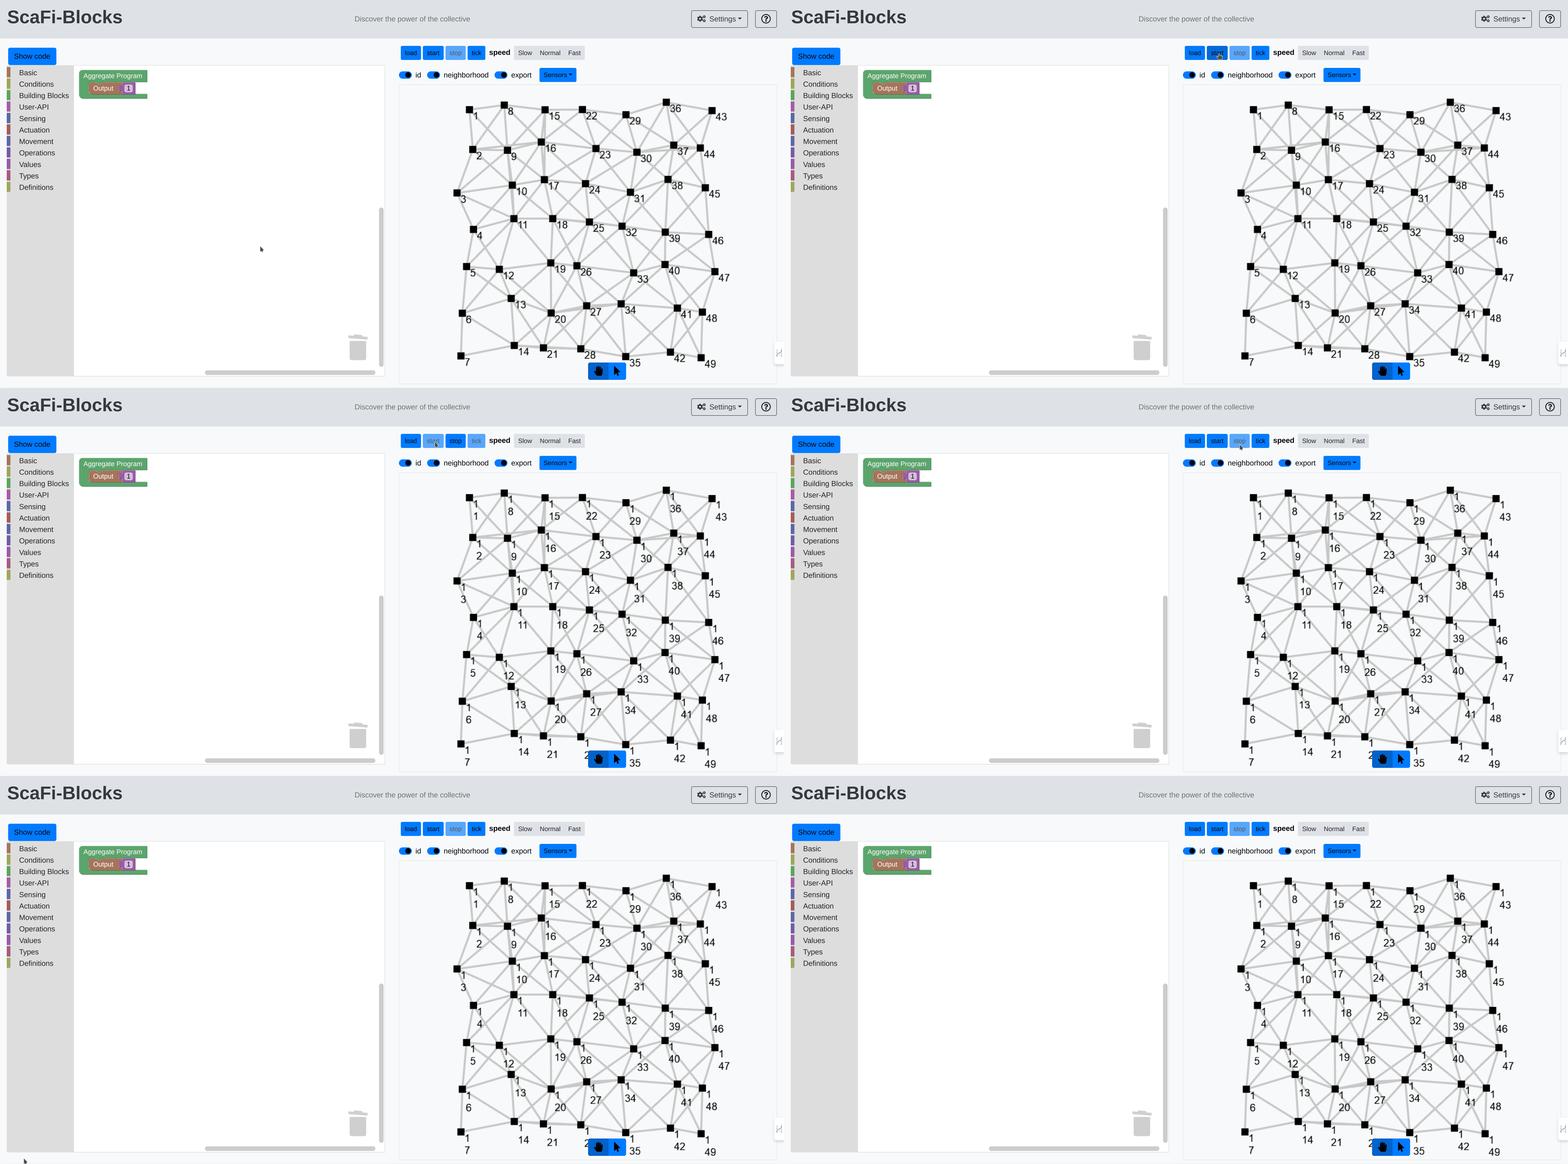
Once your application is ready, you can load your program by clicking the load button:
This sends the script to the server, compiles it, and prepares it for execution by the simulator.
To execute the program, click the start button (and clicking stop to stop the simulation):
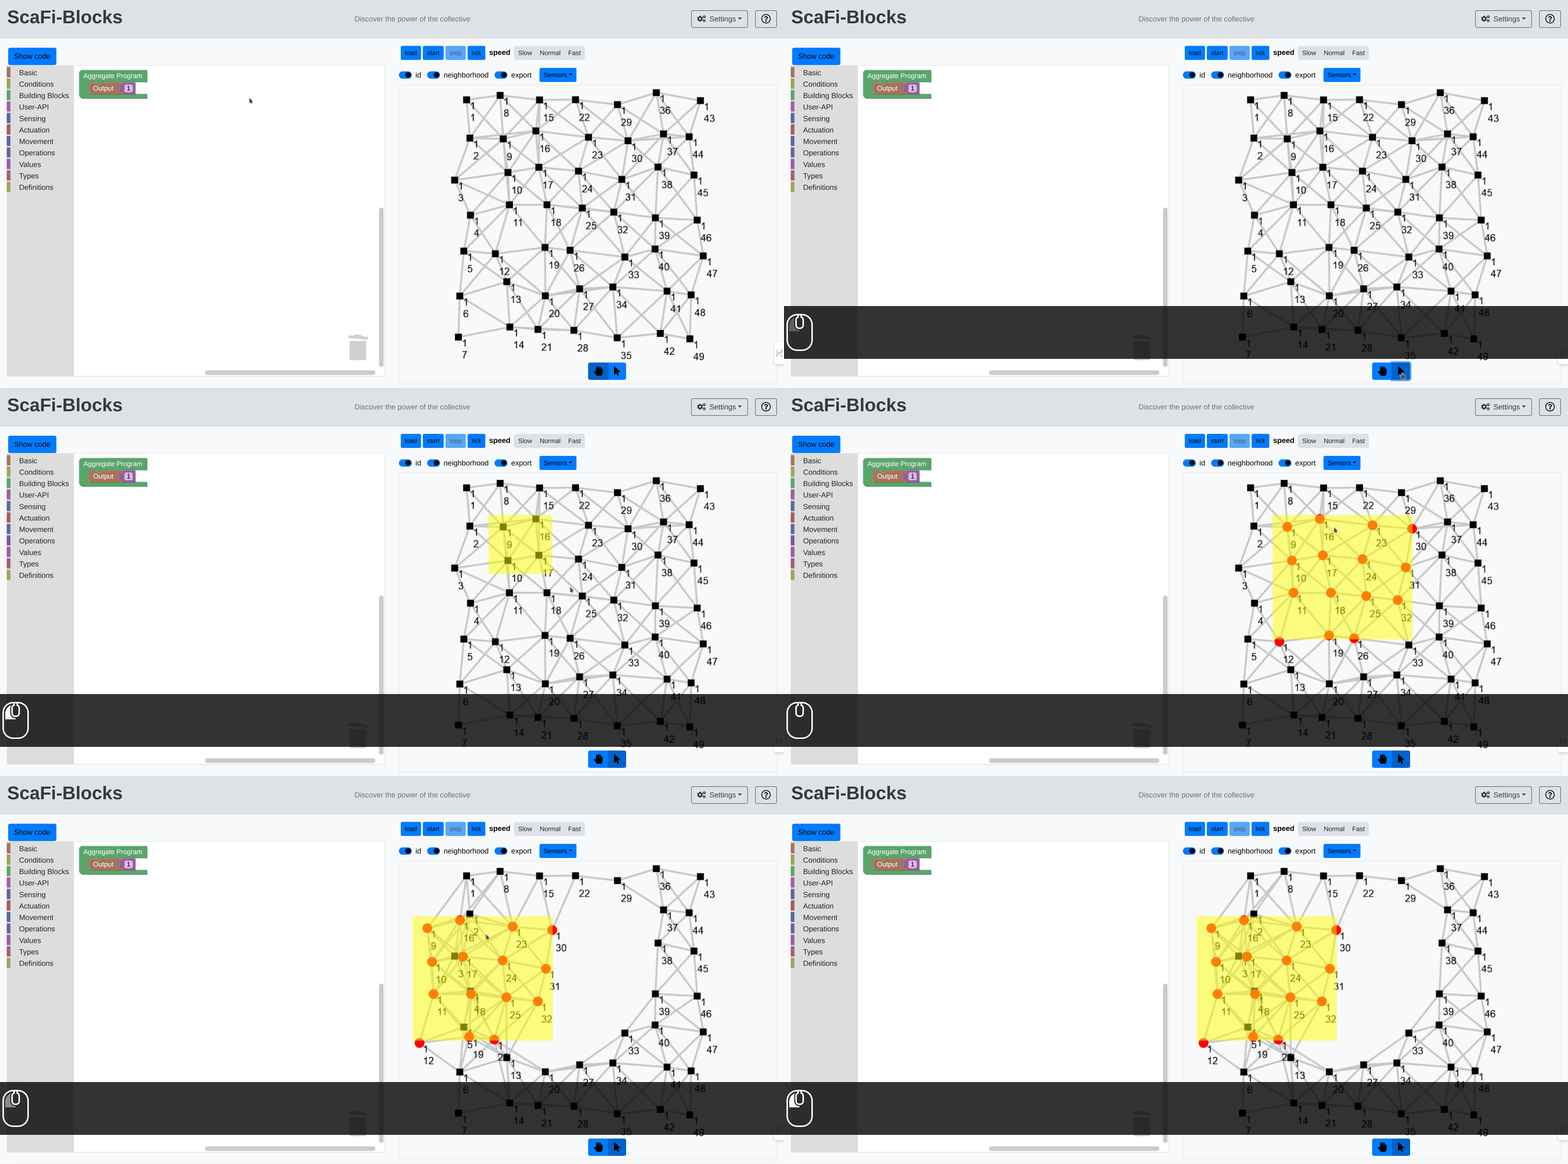
The simulator is a grid of nodes, each of can be moved by clicking the button with the arrow, selecting an area of the grid, click on top of that area and dragging it to the desired position:
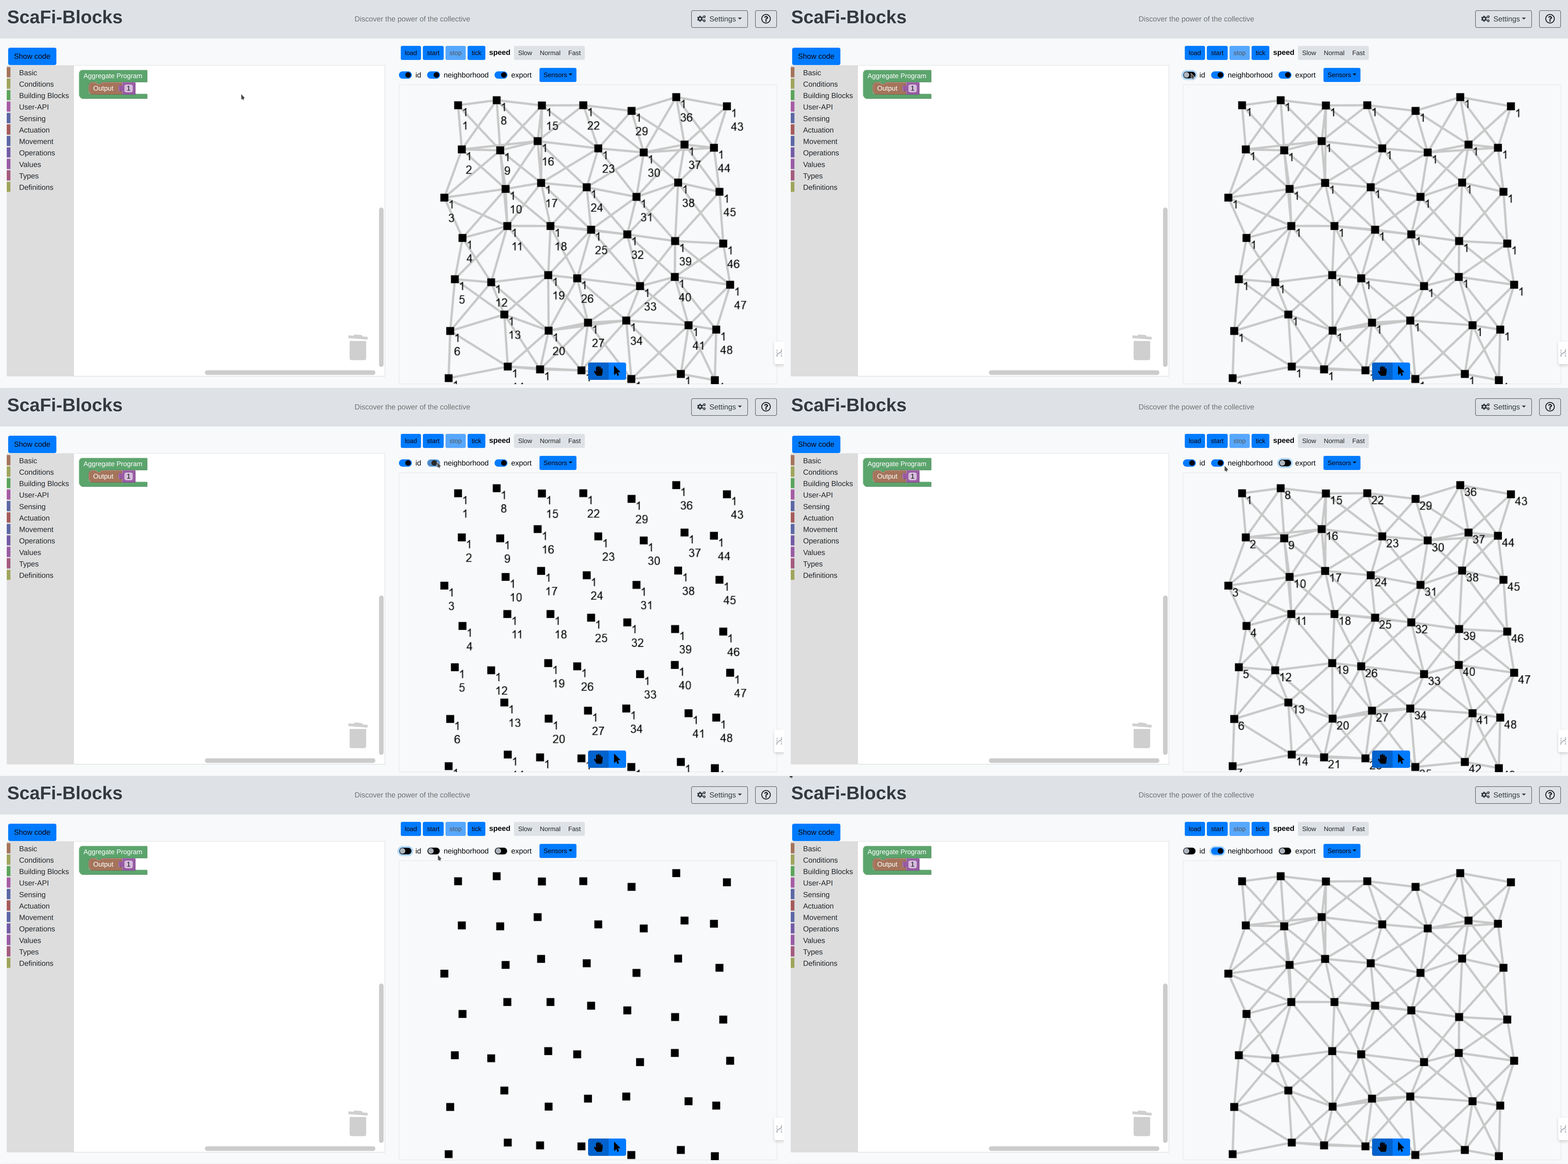
You can toggle some visualization options, i.e.,
idto show the id of each nodeneighbourhoodto show the neighbourhood of each nodeexportto show the result of the program
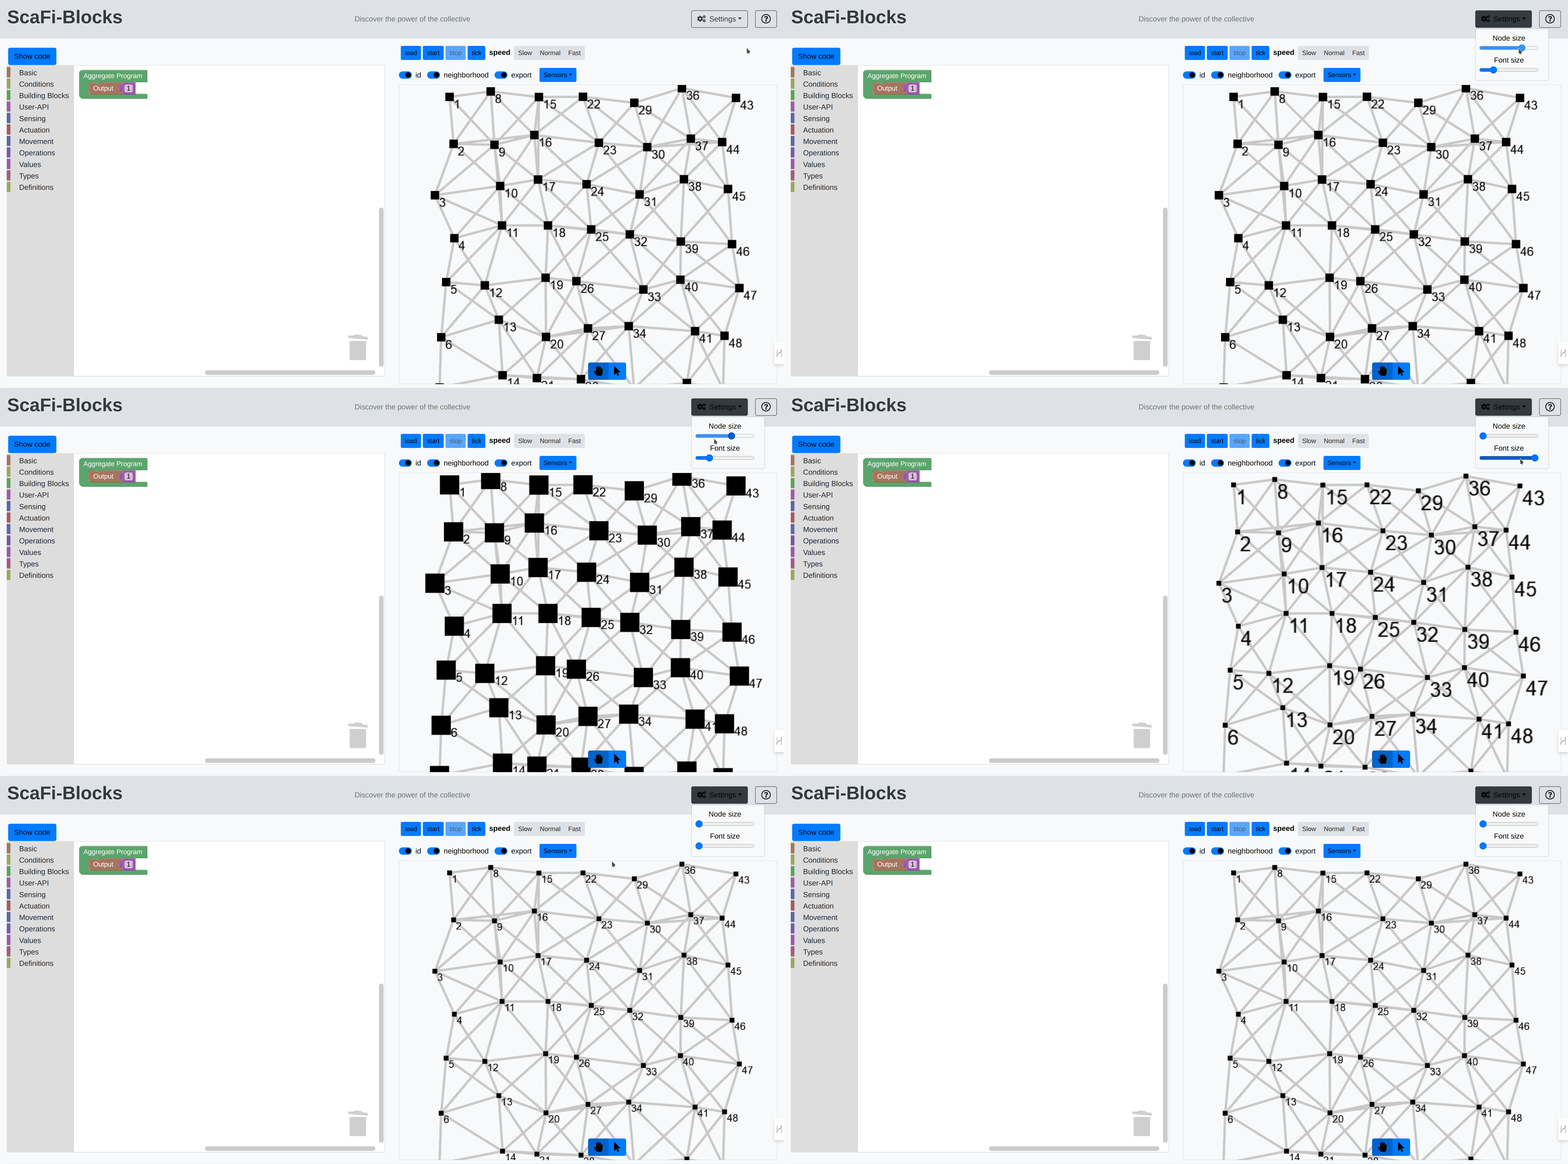
There are other options to increase the font size and the node size by clicking the settings button:
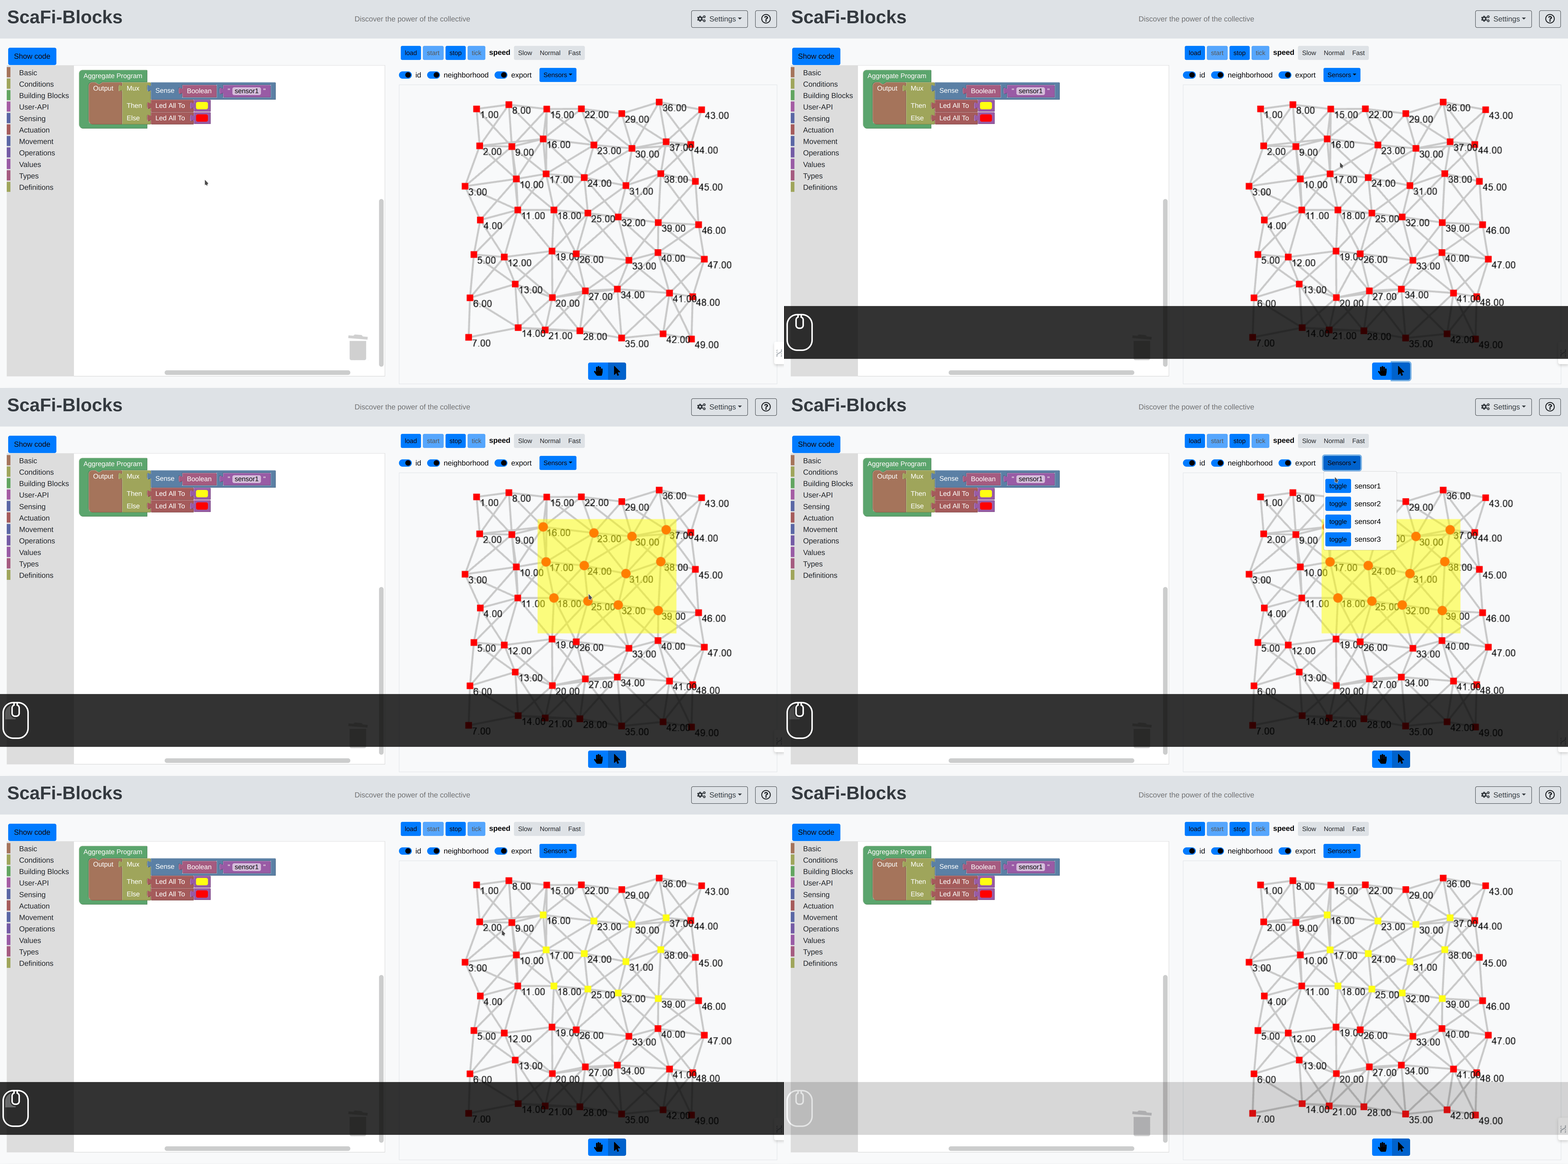
Each node also has sensors and actuators that can be turned on and off by selecting the nodes and clicking on "sensor" to change their states.
For example, in the following video there is a sensor (called sensor1) that can be on and off.
When it is off, the colour of the node is red, otherwise it is yellow.
For change the sensor, follow this video:
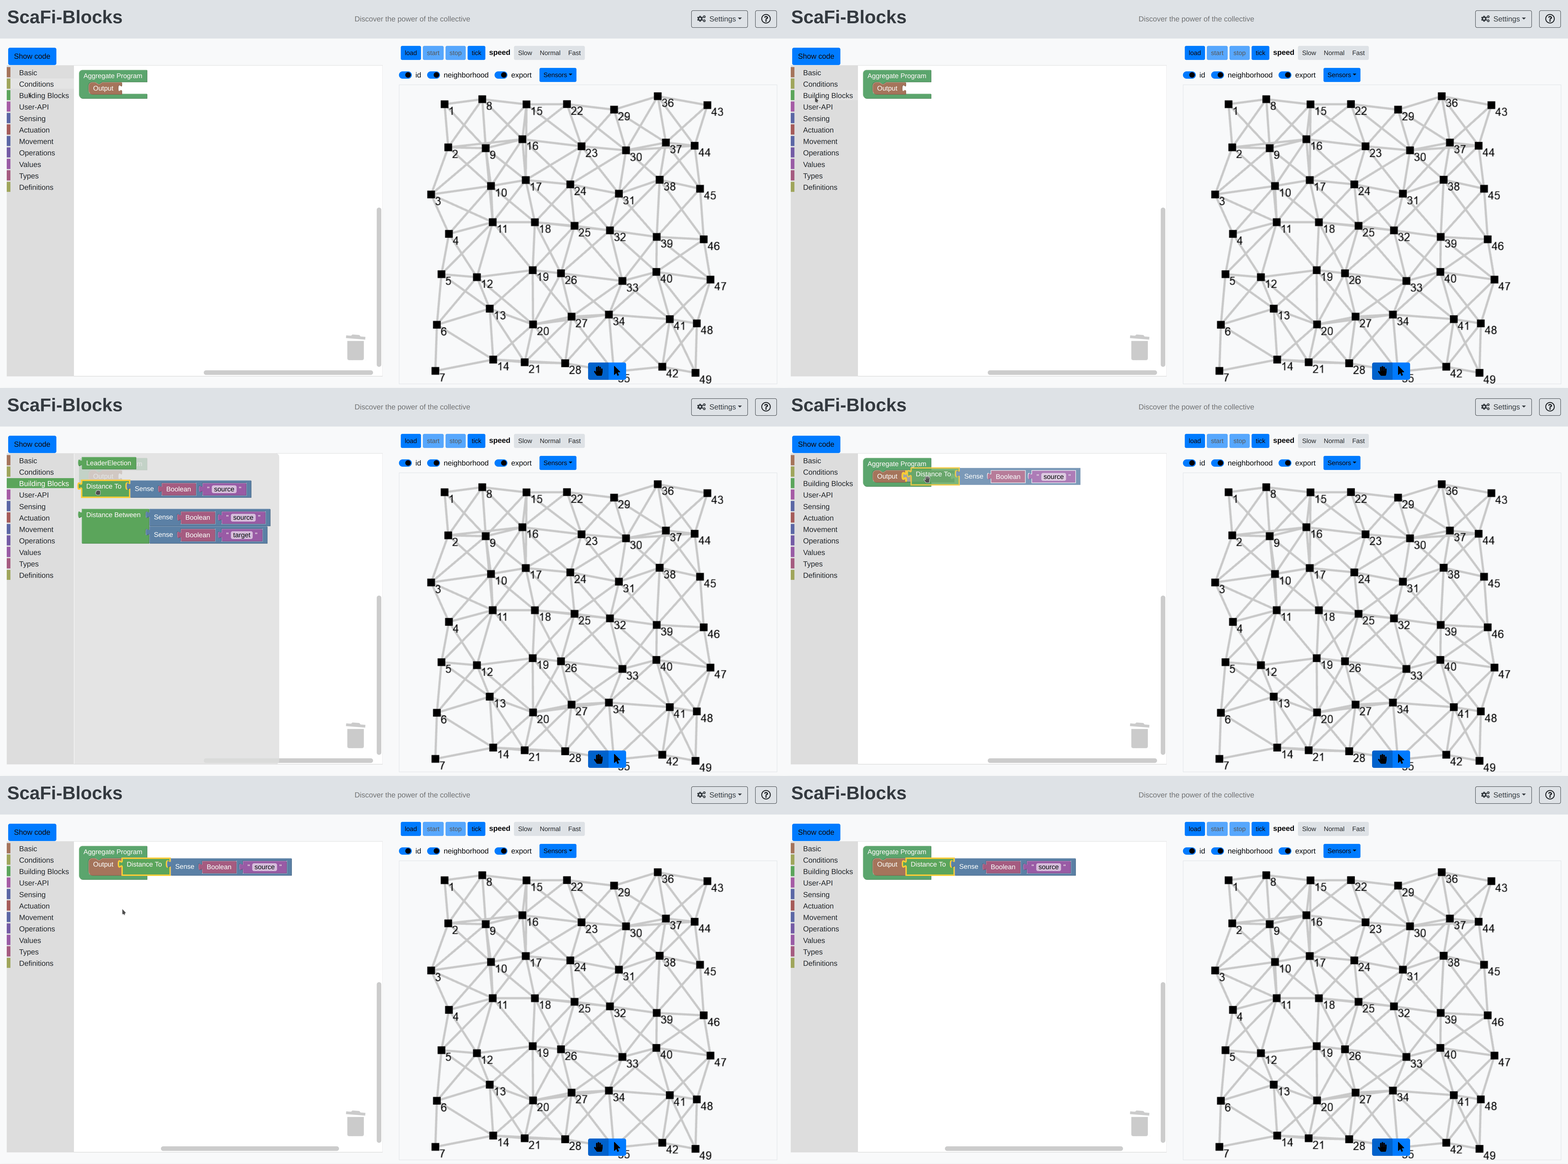
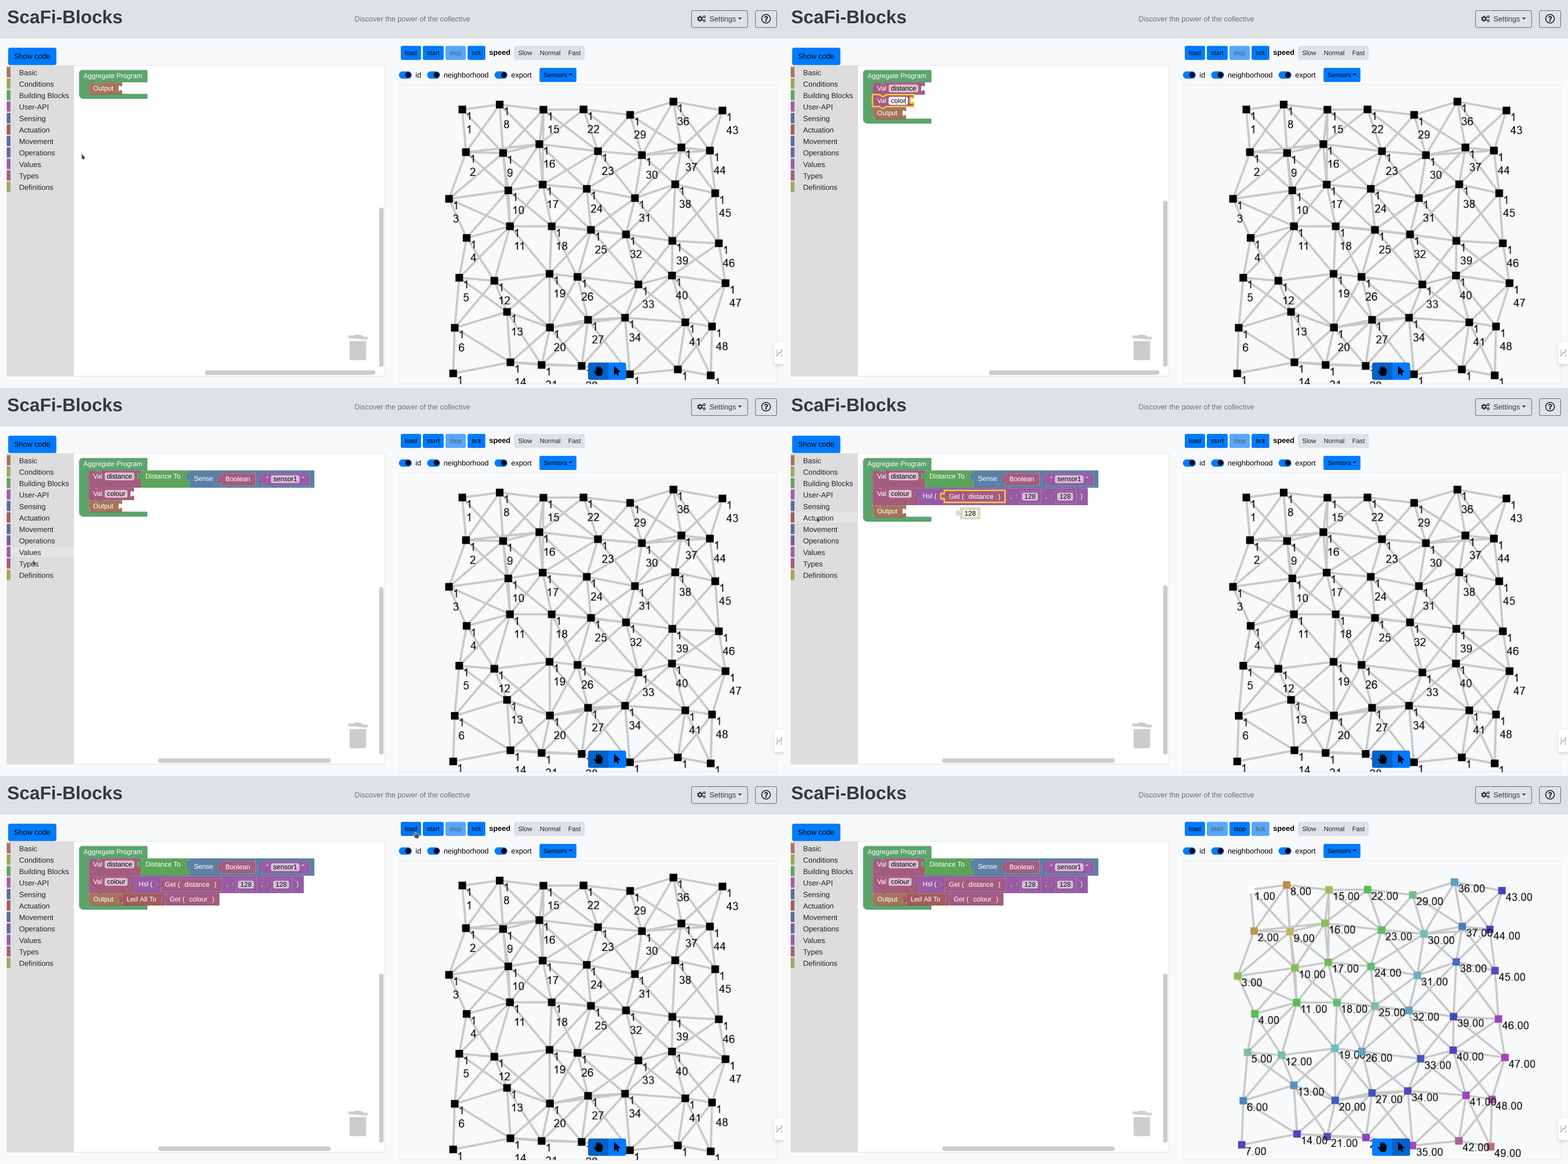
This example demonstrates an aggregate program that determines the distance from a source node (an area with the sensor1 set to true) to all other nodes.
In this demo, we also changed the colour of the nodes based on the distance from the source node, leveraging:
hslthat compute the right colour based on the distancelad to allto effectively actuate the colour change The demo can be seen in the following video:
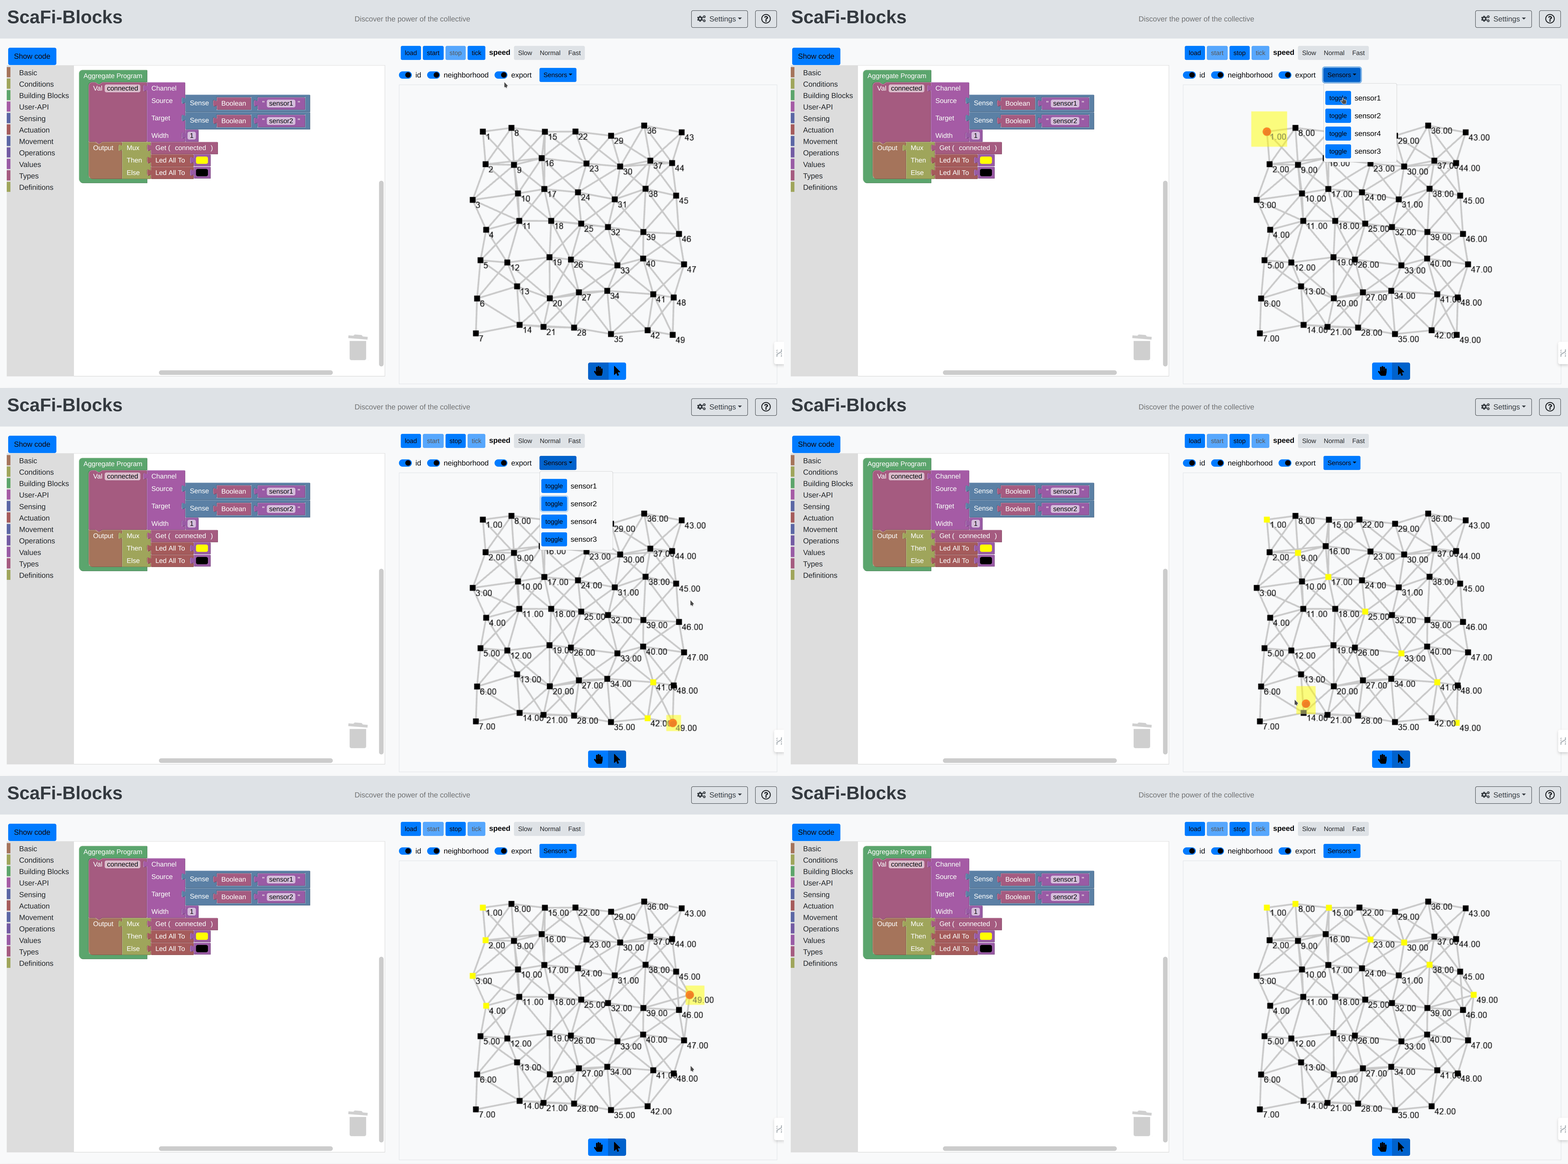
The channel is a pattern in AC that connects a source area and a destination.
This program can be created using ScaFi Web Blocks.
In this case, we have a source area (with sensor1 set to true) and a destination area (with sensor2 set to true).
The channel is created by using the channel block, which is a combination several gradient blocks (see the paper for more details).
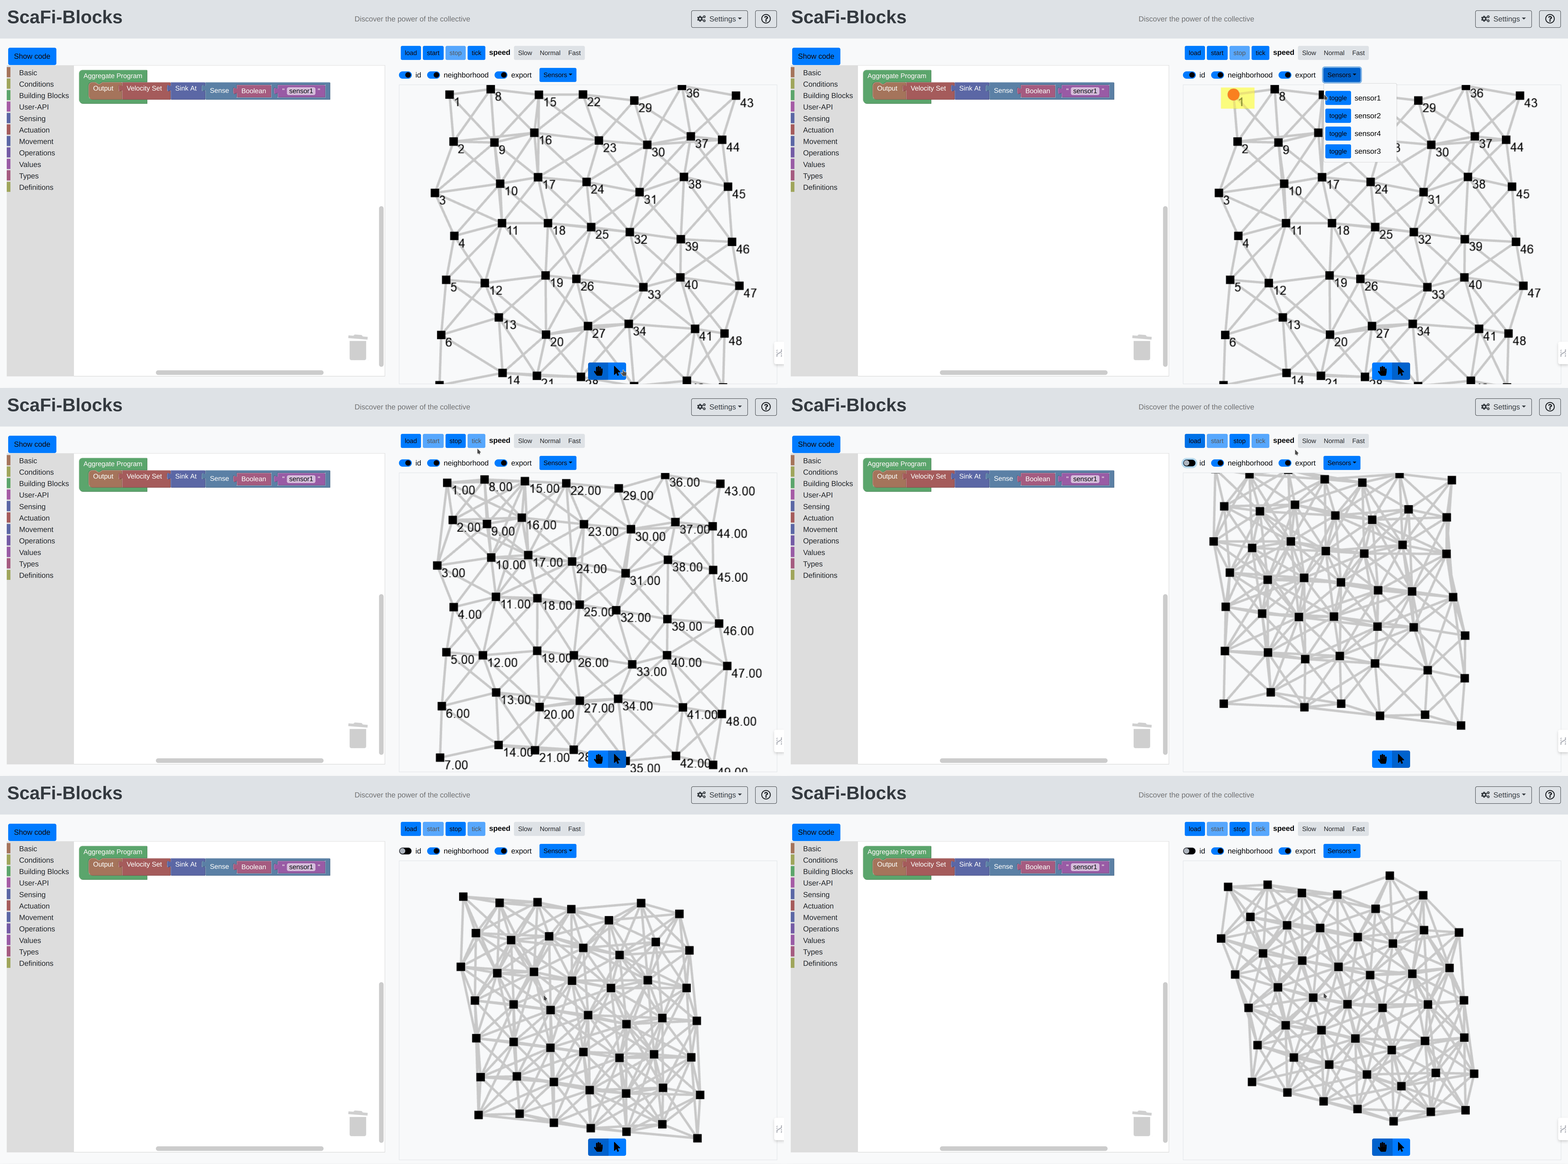
Nodes can also be moved using a specific block called velocity set
This block accepts one of the blocks with the category movement.
In this example, we have a node that moves in a specific direction when a sensor is set to true.
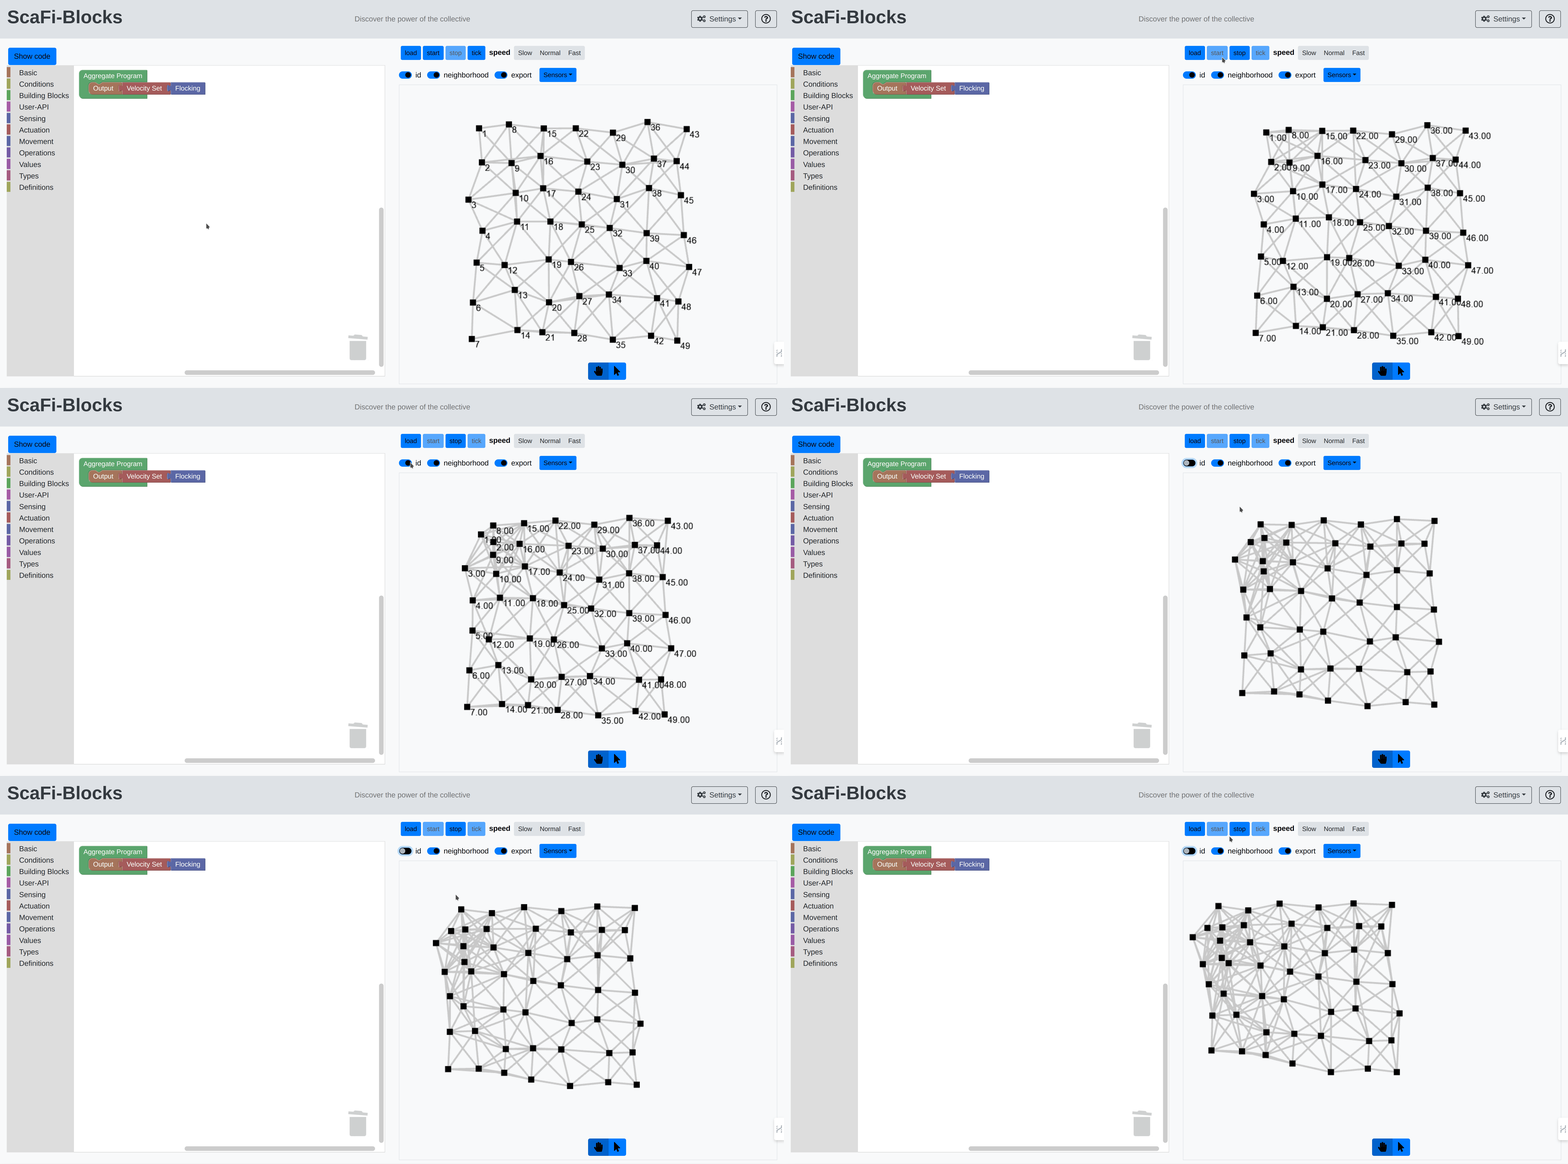
There are also high level movement block like flocking
You can also combine the movement blocks with other standard blocks to create more complex programs.
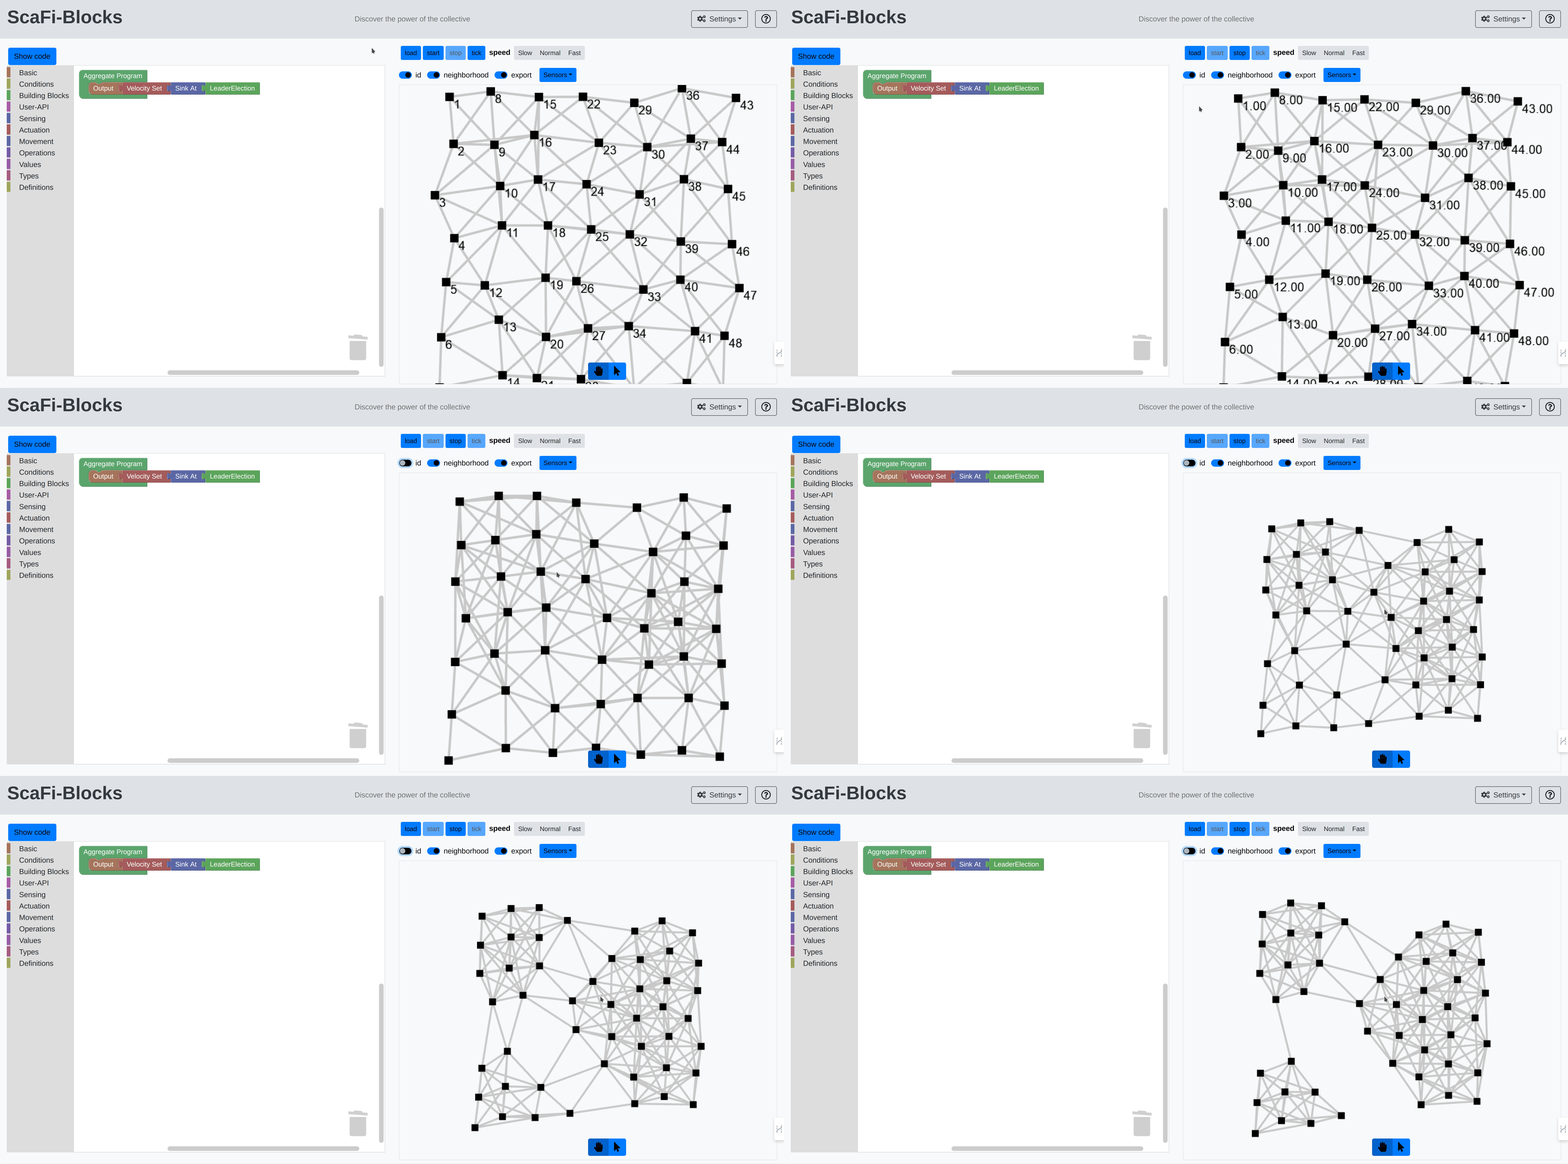
For instance, using leader election with sink at, it is possible to create several blobs of nodes with the leader in the middle of each blob.
These are the main features of ScaFi Web Blocks. We hope you enjoy using it and that it helps you to learn and experiment with ScaFi in a fun and interactive way. Now, let's aggregate! Combine new blocks and create new programs!
