See in Hackster.io: Hackster.io Artemis ATP Wake Word Detection

This repository is a copy of sparkfun/Tensorflow_AIOT2019 repository adapted for the SparkFun Artemis ATP Development

This repository contains the Micro Speech example that demonstrates the use of TensorFlow Lite based machine learning executing on the SparkFun Artemis ATP Development. The example is designed for use within the Arduino development environment.
The example contained in this repository, micro_speech, uses the on-board microphone to detect a spoken keyword.
To run the examples, the following hardware is required:
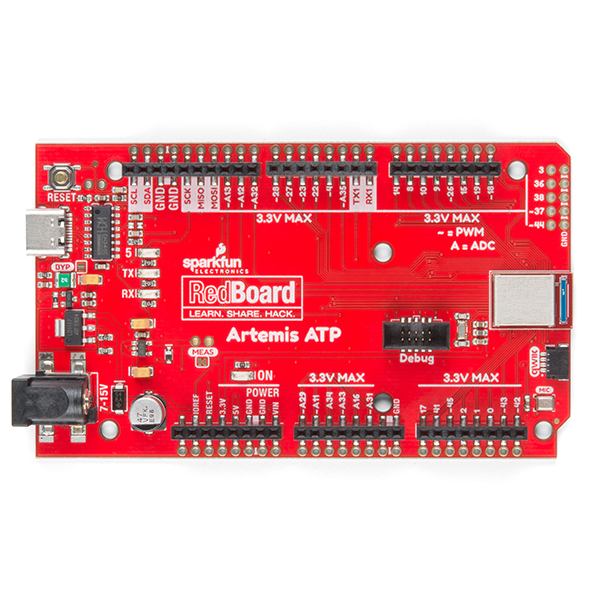
- SparkFun Artemis ATP Development
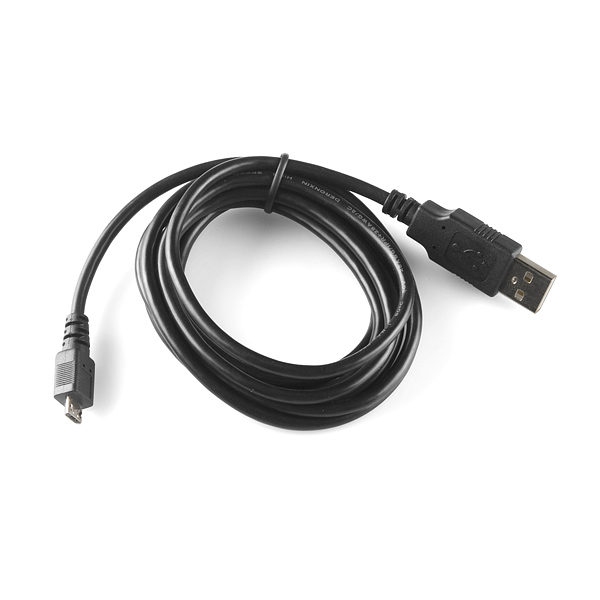
- Reversible USB-A to USB-C cable or a cable to connect the Development Board to the development computer.
The example in this repository is for use and execution within the Arduino development environment. This section details the steps required to setup Arduino for the examples.
Arduino is avilable for a variety of platforms. To ensure compatiblity with the demos in this repository, the latest version should be installed.
The Arduino application is available for a variety of platforms and is available online from Arduino. Download the application from the Arduino website using this link.
The examples utilize the TensorFlowLite Arduino libary, which is installed using the Arduino Library Manager.
To install this library, use the following steps:

- In Arduino, select the "Manage Libraries..." menu item. Tools > Manage Libraries...
- In the Library Manager interface, search for tensorflow
- Select the library Arduino_TensorFlowLite by TensorFlow Authors
- Select the non-precompiled version of the libary
- Select the Install button to install the library
Load the SparkFun Boards package into the Arduino Board Manger.
To install package, use the following steps:
-
In Arduino, open the Preferences menu item. File > Preferences, (macOS) Arduino > Preferences
-
Add the following path to the Additional Boards Manager URLs: path in preferences.
https://raw.githubusercontent.com/sparkfun/Arduino_Boards/master/IDE_Board_Manager/package_sparkfun_index.json -
Select the OK button to save the preferences.

Once the location of the SparkFun boards package is set in the preferences, the board definition package for the SparkFun Apollo3 boards must be installed.
To install package, use the following steps:

- In Arduino, open the Preferences menu item. Tools > Board "..." > Manage Boards...
- Search for SparkFun
- Select the **SparkFun Apollo3 Boards" package
- Close the dialog
- Select the SparkFun Edge Board. Tools > Boards "..." > SparkFun RedBoard Artemis ATP
- Set the Bootloader to the SparkFun Variable Loader. ***Tools > Bootloader "..." > SparkFun Variable Loader..."
- Plug USB cable into computer
- Plug in Artemis ATP board to adpater
- Install and setup Arduino as described above.
- Download (or clone) this repo to favorite location
- Open Arduino
- Open an example from this repo through Arduino by clicking on the
.inofile in the example directorymicro_speech
- Select the
SparkFun RedBoard Artemis ATPboard (Tools->Board under 'SparkFun Apollo3') - Select the proper port to connect with the baord (Tools->Port)
- Windows - COM Port
- Linux - /dev/ttyUSB*, where * is a number. NOTE: Permissions on this device needs to include user read and write (chmod 666)
- macOS - /dev/cu.usbserial*
- Change the Bootloader from Ambiq Secure Bootloader (Default) to SparkFun Variable Loader (Enable w/ Artemis Bootloader) (Tools->Bootloader)
- (Your boards have received the upgraded bootloader already)
- Change the
SVL Baud Ratefrom 921600 to 230400
- Compile with the
Verifybutton (checkmark symbol) - Upload with the
Uploadbutton (arrow symbol)- If uploading fails try lowering the bootloader baud rate
- Note: You will see some warnings from the compiler, these can be ignored.
- Note: The bootloader attempts to upload for 3 times. If all three attempts fail, try adjusting the baud rate.
- Open the Serial Monitor by clicking on the magnifying glass icon (top right) or (Tools->Serial Monitor)
The micro speech example has a model that is trained to recognize "Yes" and "No". An example of how to train a new model based on Google collected sample phrases is included in the tensorflow micro_speech example repository. The method listed utilizes Google Colaboratory to run the training session - an Jypter notebooks based system that presents a Python based notebook and abstracts the management of compute resources.
The notebook to run the training for this example is contained in the tensorflow github repository at this location.