This is a sample project to demonstrate how to run a scalable WordPress website on AWS using coldbrew-cli.
Install Docker in your system. Make sure you can run docker from your command line.
Install coldbrew-cli.
You will need AWS access keys to configure coldbrew-cli. Either set the environment variables or use CLI Global Flags.
In this tutorial, you will need a running MySQL server for WordPress. See AWS RDS Tutorial if you want to create a MySQL instance in AWS.
git clone https://github.com/coldbrewcloud/tutorial-wordpress.git
cd tutorial-wordpress
This project contains
- wordpress: WordPress 4.6.1 fresh install
- Dockerfile: sample Dockerfile
- coldbrew.conf: sample coldbrew-cli app configuration file
- httpd.conf: sample Apache configuration file
- wp-config.php: sample WordPress configuraiton file
You typically update wp-config.php file to configure your WordPress website. In this tutorial, you should update wp-config.php located at the project root, then Docker build will copy the file to a proper location (wordpress/wp-config.php).
At the minimum, you should configure 2 things:
- Update wp-config.php file with your MySQL username, password, host, and database name.
- See more details here.
- Generate a new keys/salts and update them in wp-config.php file.
- You can use WordPress secret key service.
- See more details here.
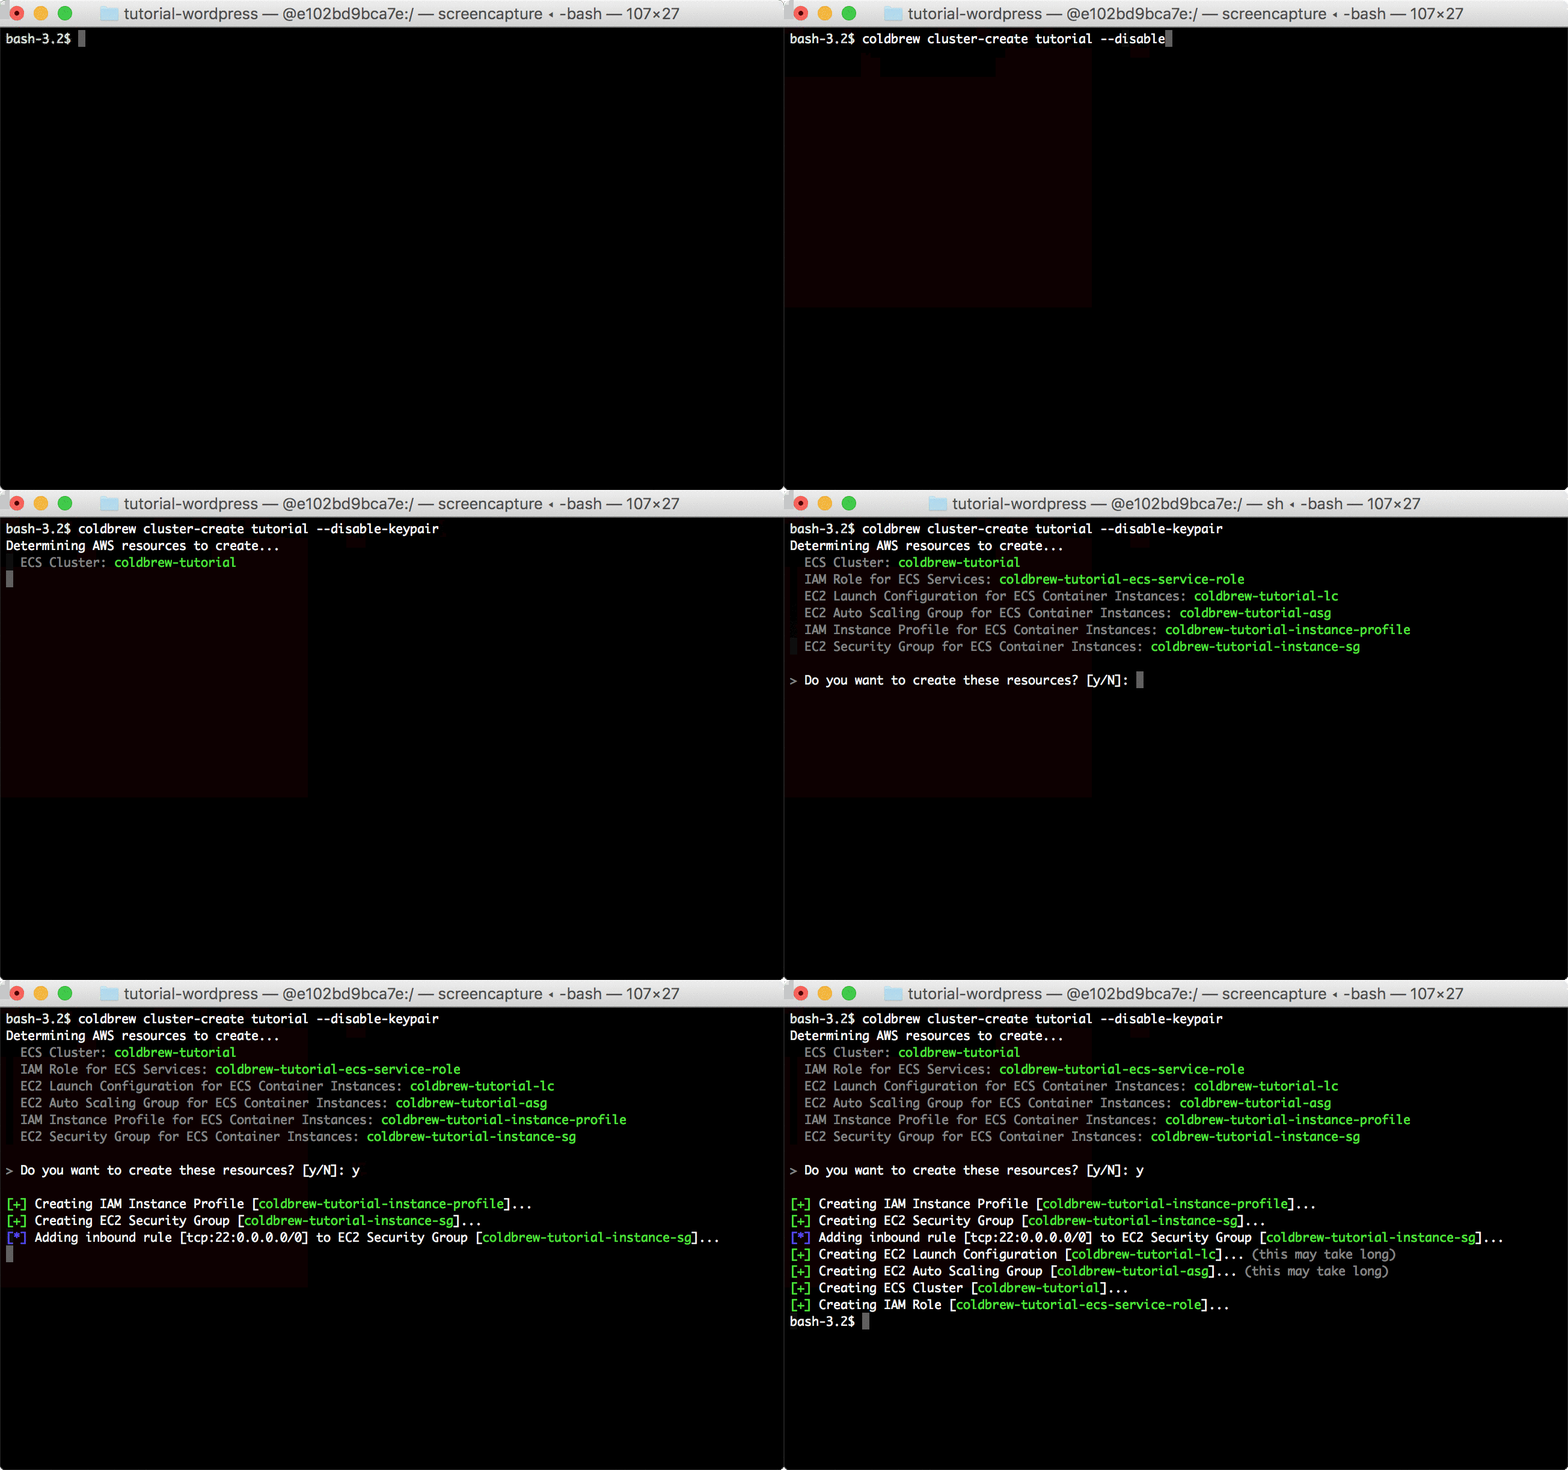
Before you can deploy the application, you need to create your first cluster. You can create the cluster using cluster-create command.
coldbrew cluster-create tutorial --disable-keypair*In this tutorial, --disable-keypair flag was used to skip assigning EC2 key pairs to ECS Container Instances, but, that's not recommended if you need to access the instances directly (e.g. via SSH).
*It will take a couple of minutes until all EC2 Instances (ECS Container Instances) finish initialization and register to ECS Cluster. But you can proceed to deploy your app.
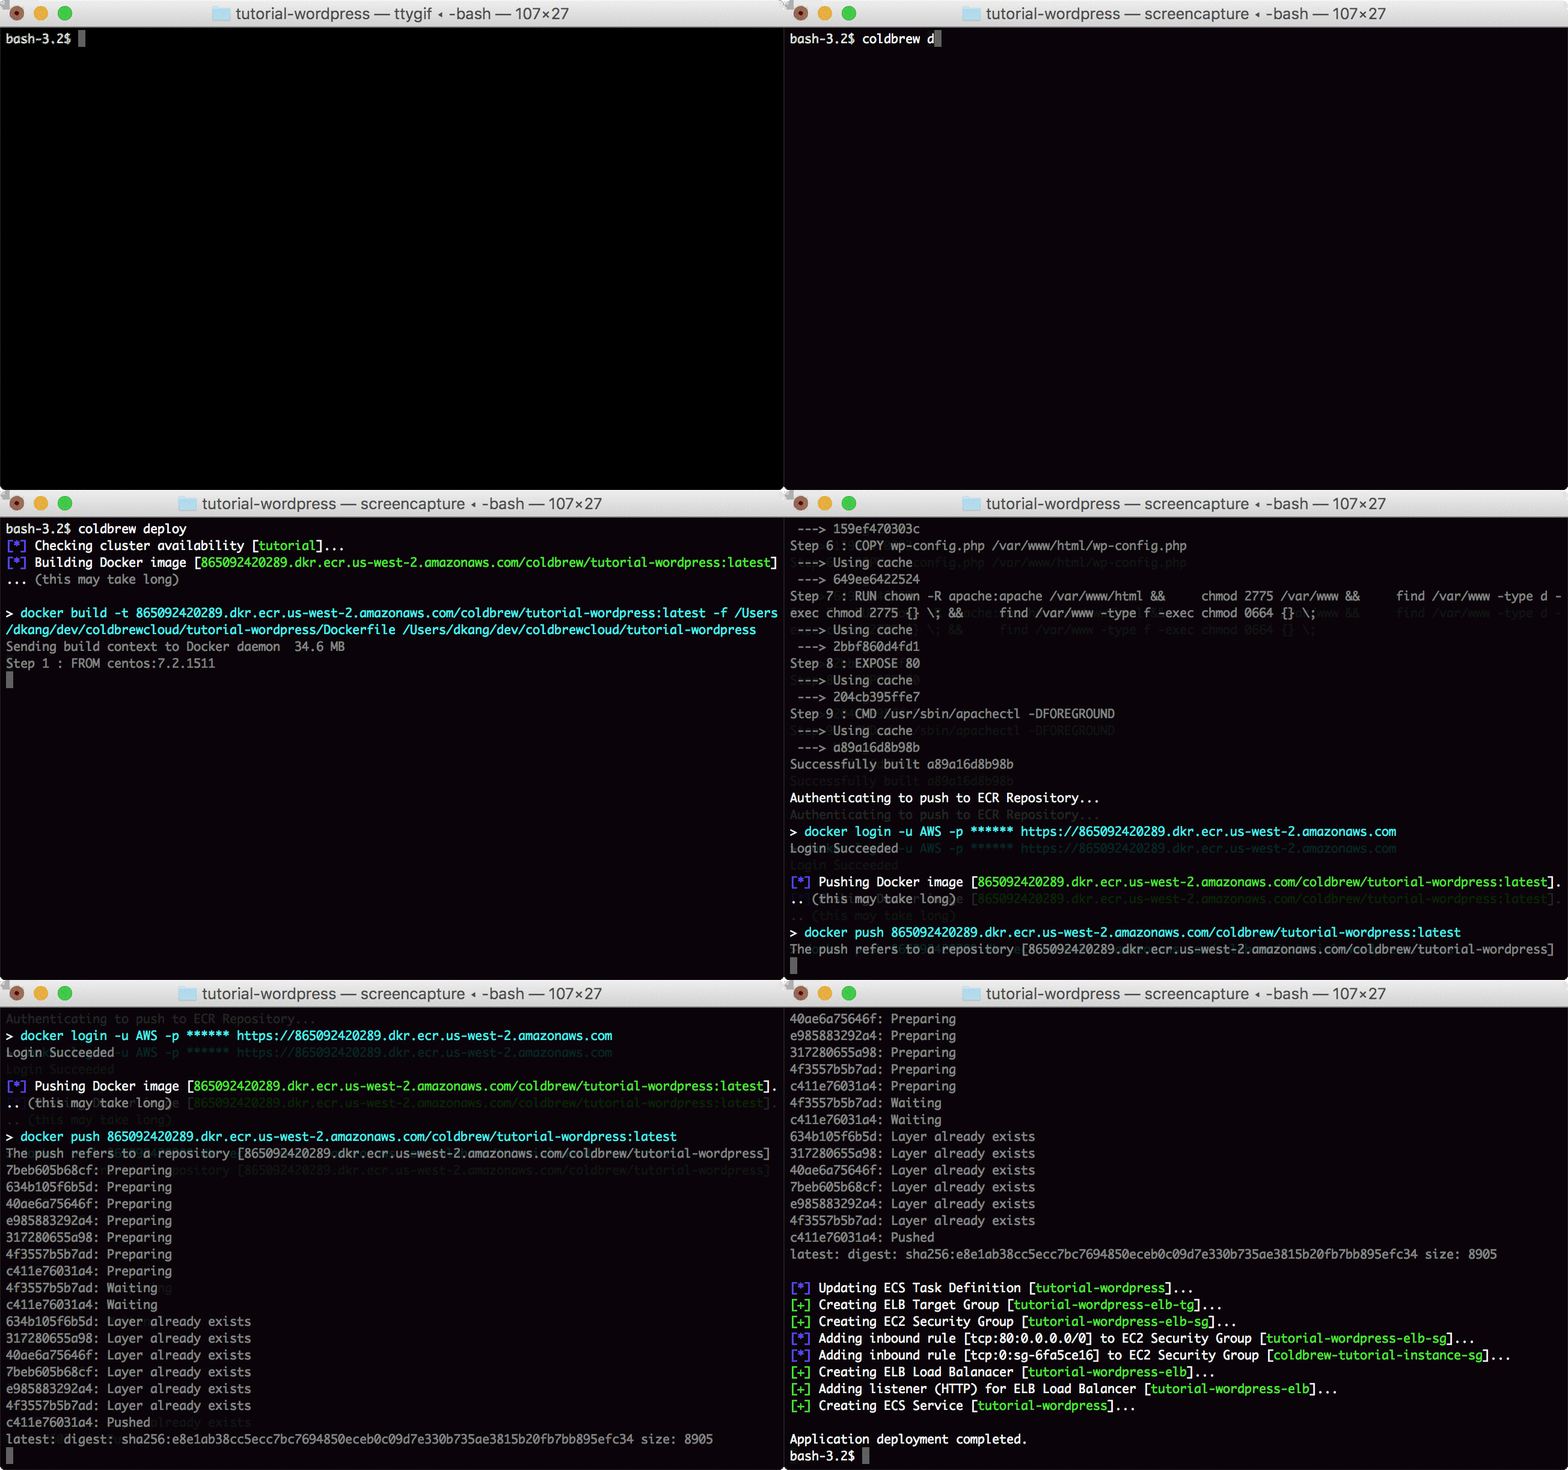
Now you use deploy command to build the Docker container image and deploy it to AWS ECS.
coldbrew deployNow you just need to wait a couple more minutes (or even less if it's not the first deploy) until all AWS resources get fully configured.
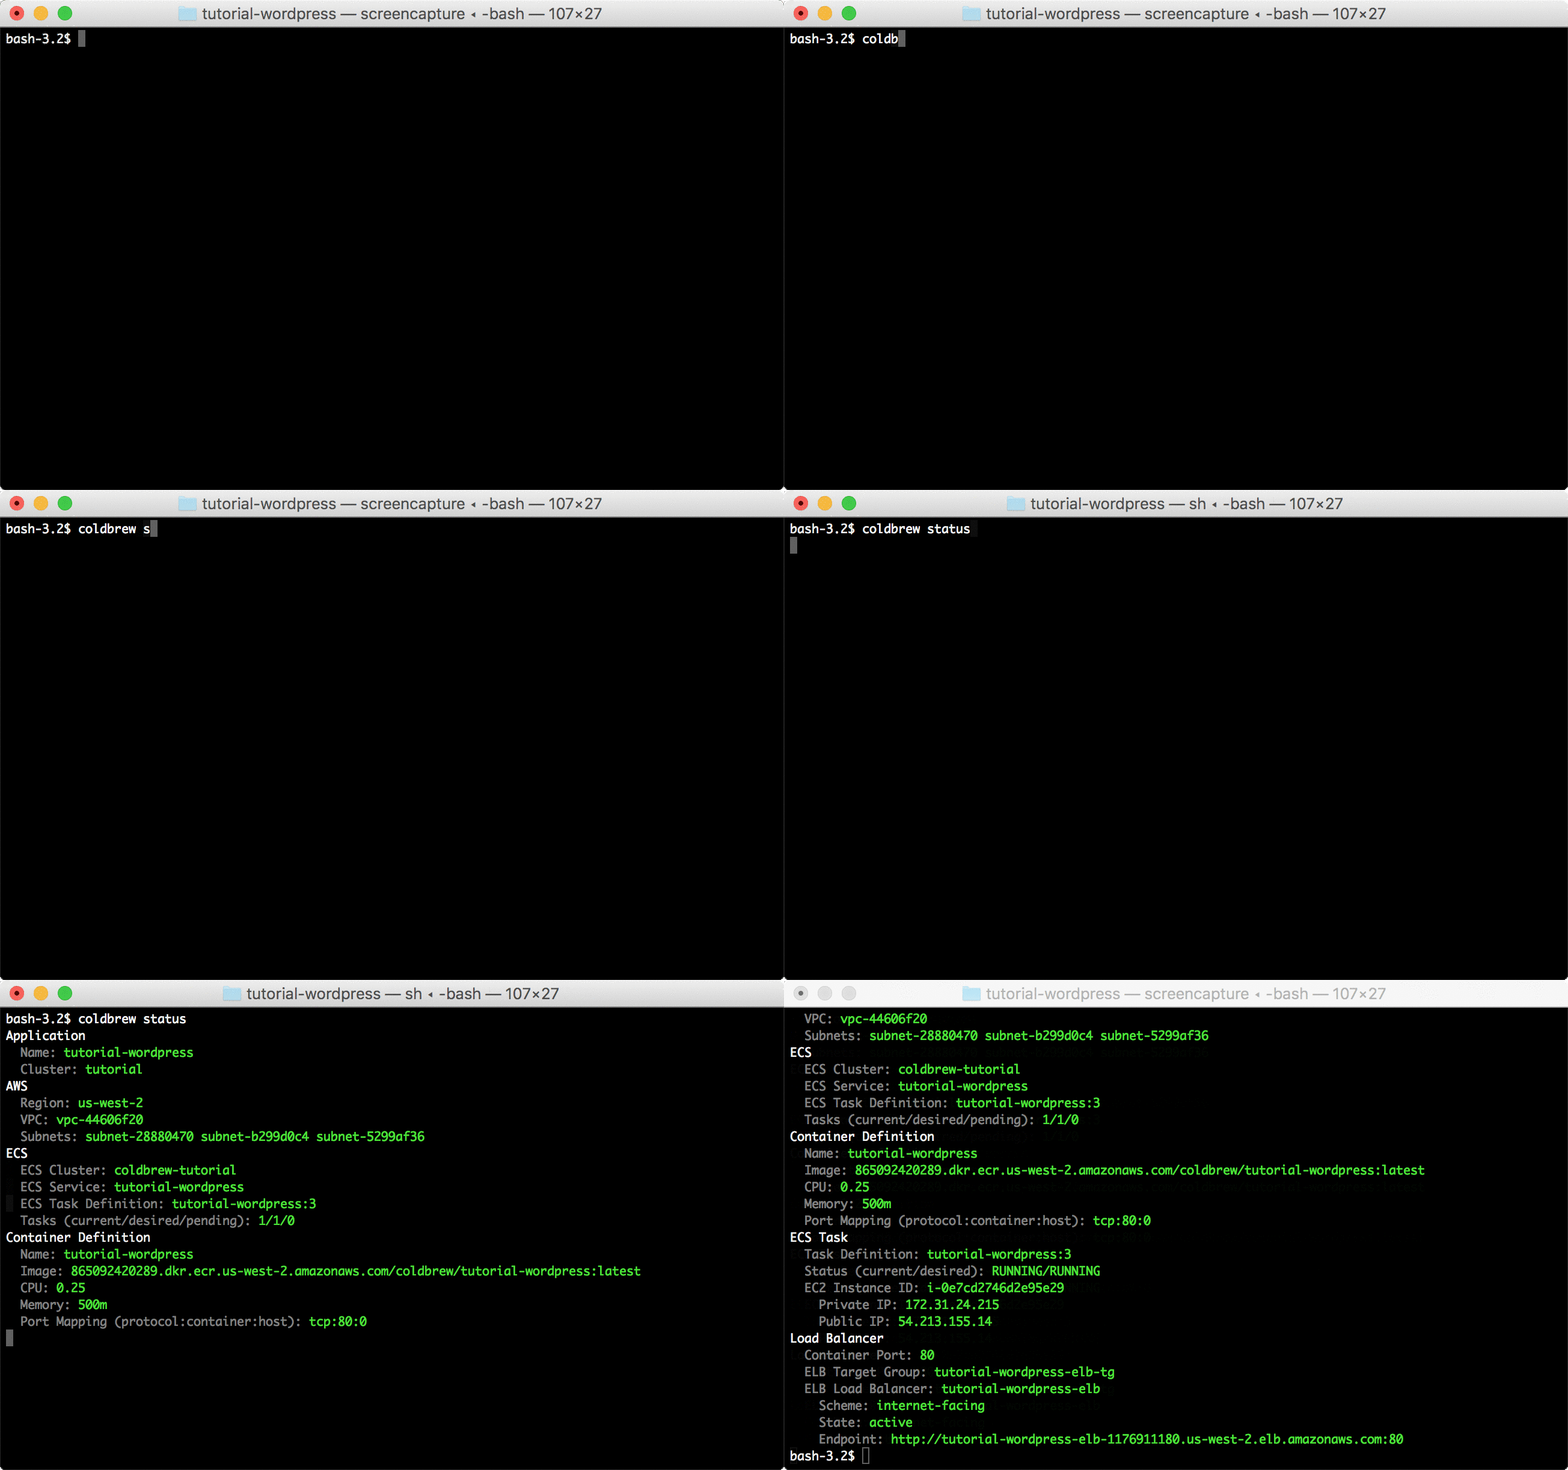
Use status command to see the current running status of your app.
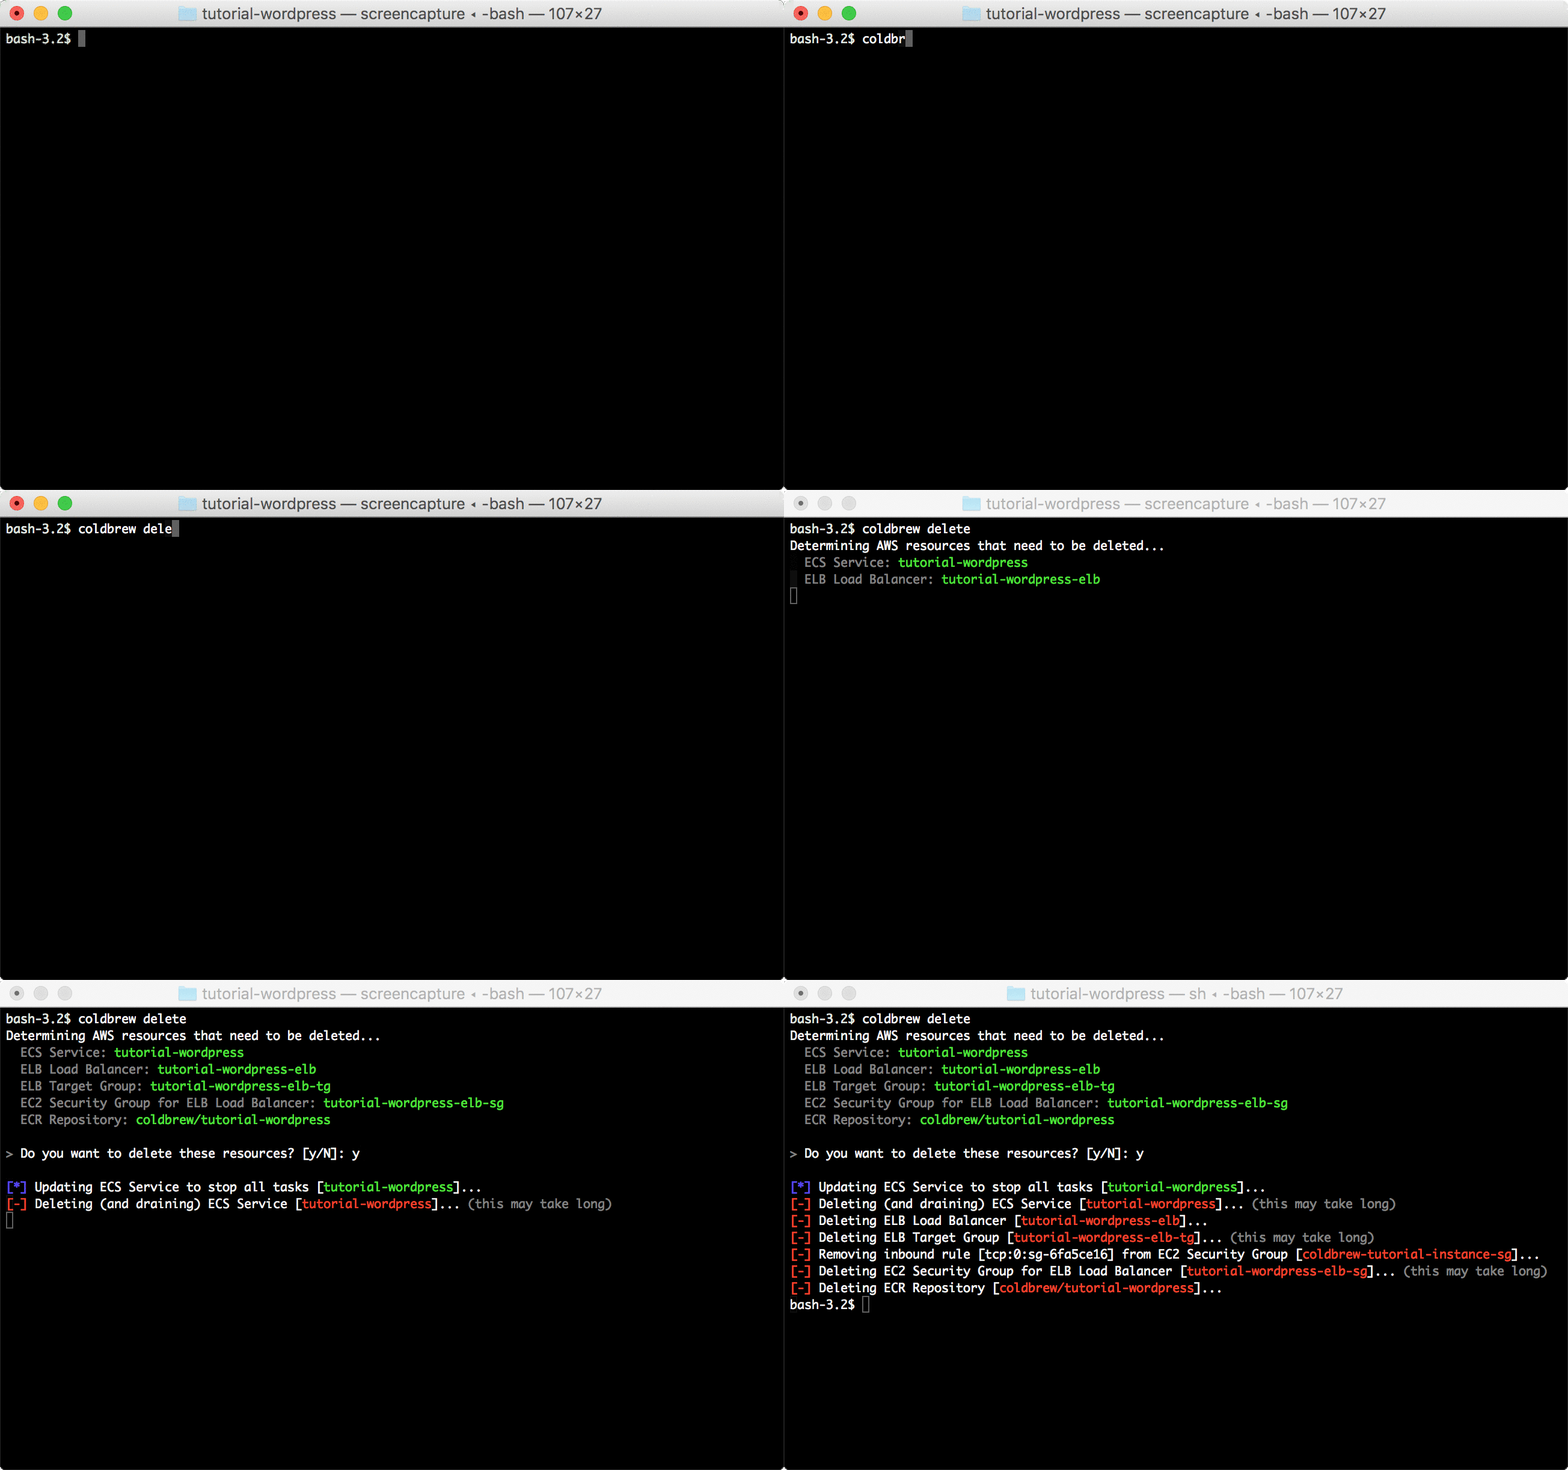
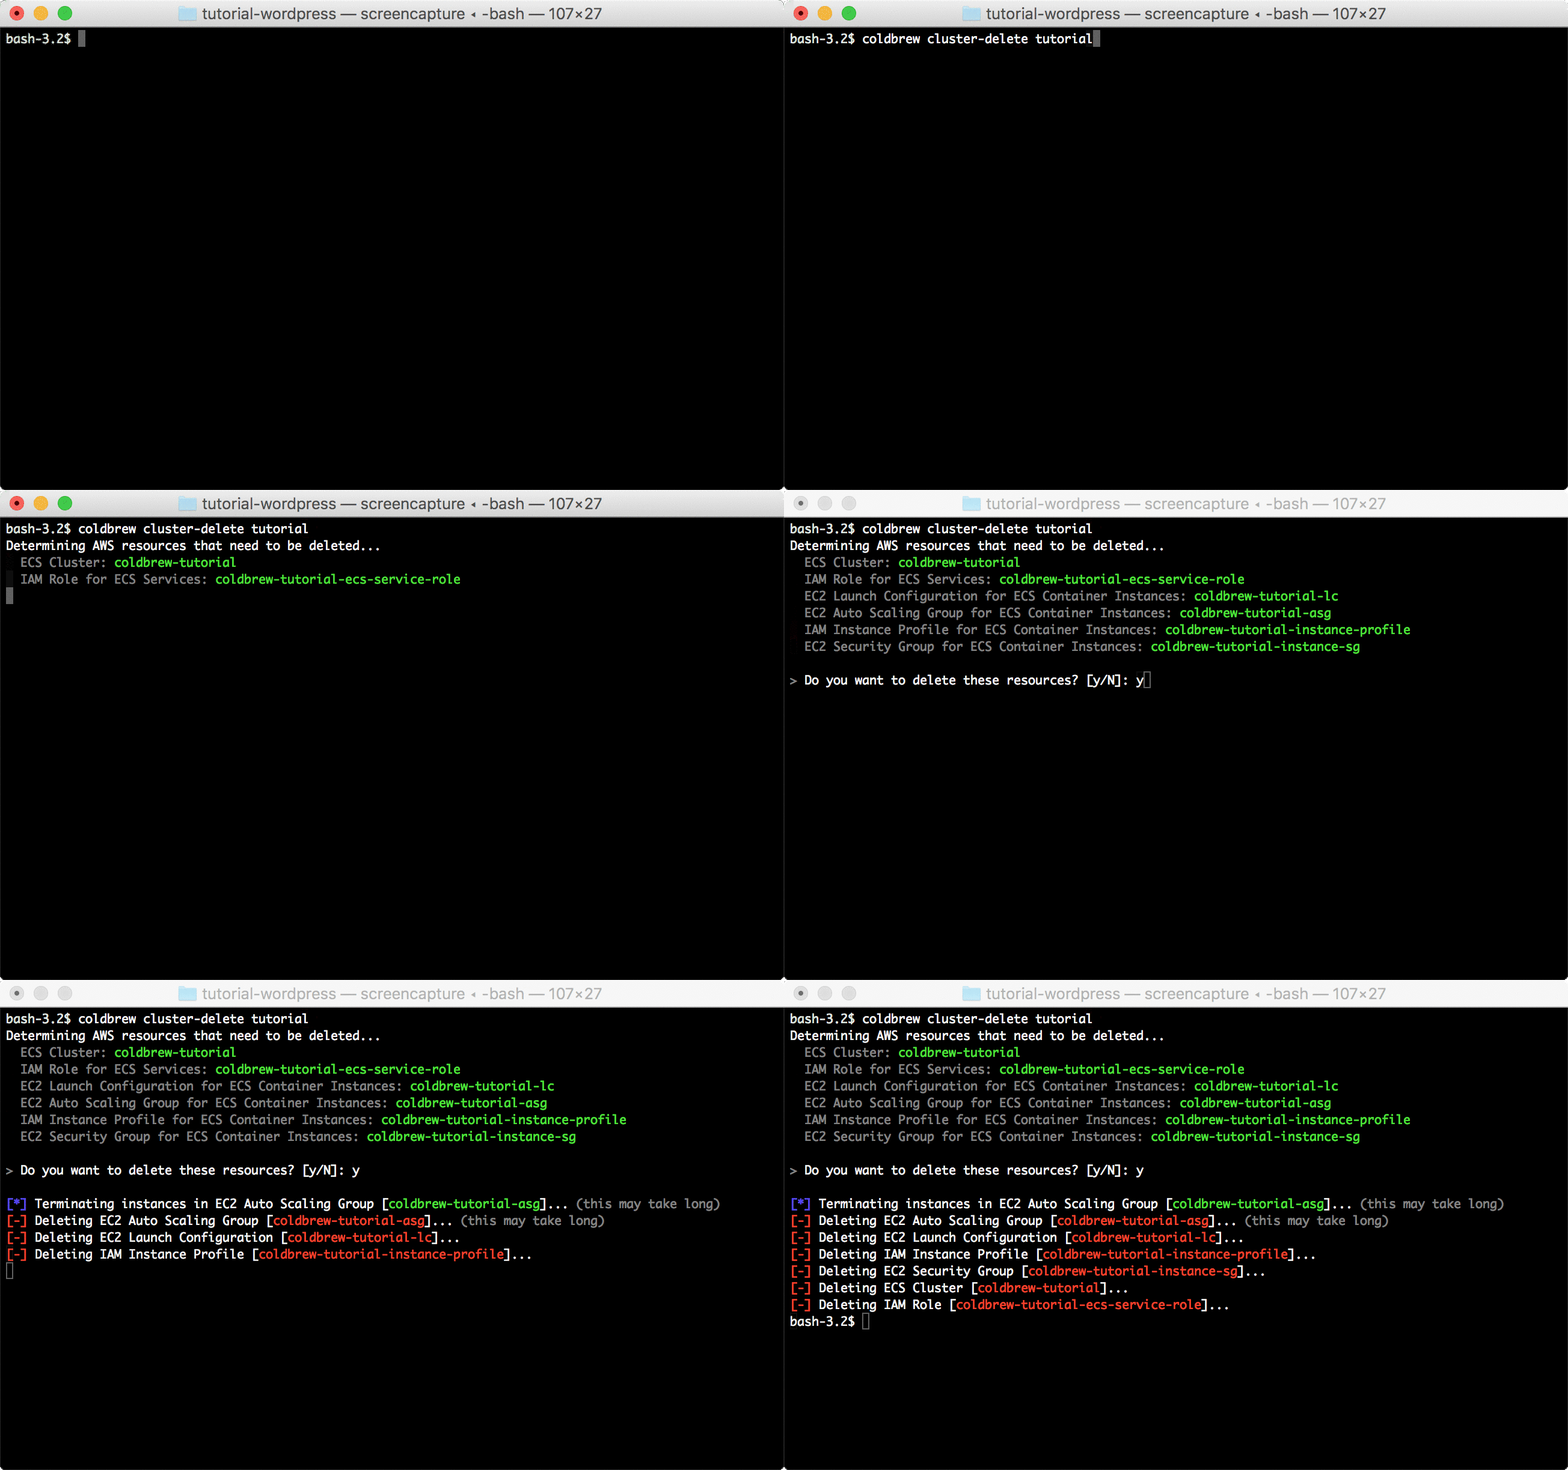
coldbrew statusYou can delete all resources for the app and cluster using deploy and cluster-delete respectively.
coldbrew deletecoldbrew cluster-delete tutorial- Easier to scale
- Consistent running environment
- Maintain things as code
- Easier to integrate in CI
Docker container used in this tutorial contains:
- CentOS 7.2
- Apache/2.4.6 (CentOS)
- PHP 7.0
To run WordPress in scalable setup, you need to consider following things:
- To add/change plugins or themes, you need to do it in your local copy and then deploy. If you add something in the remote website directly, the change will be gone in the next deploy.
- Use remote storage for media files (e.g. S3 Uploads plugin).
- Disable automatic version updater (
wp-config.phpin this tutorial has already disabled it)
