Build a mosaic of a master image, using as tiles images coming from a given collection.
Add images to the "images folder" to be used as tiles in the mosaic. You can also add folders containing images.
Add a master image to the "master folder".
In the Python console, ensure the current directory is the folder containing mosaic.py, import the file and start a mosaic project,
import mosaic
mos = mosaic.MosaicProject(height=100, width=120)
The height and width parameters are optional and determine the height and width of the tiles in the mosaic.
Then build a mosaic
mos.build_mosaic(max_im=0, tuning=None)
The resulting mosaic can be found in the "output folder". Here max_im and tuning are optional parameters explained below.
Suppose there are 1300 images in the "image folder". You might want to build a mosaic using merely a 1000 of them. Then set max_im=1000, i.e.
mos.build_mosaic(max_im=1000, tuning=None)
The default value max_im=0 yields no maximum being imposed.
Tuning basically means colour shifting the mosaic towards the master image. The options are tuning='tuning_1', tuning='tuning_2' or custom tuning. For example,
mos.build_mosaic(max_im=0, tuning='tuning_1')
yields a slight shift towards the master image, and tuning='tuning_2' yields a more severe shift. For custom tuning, please have a look at the equally titled section below.
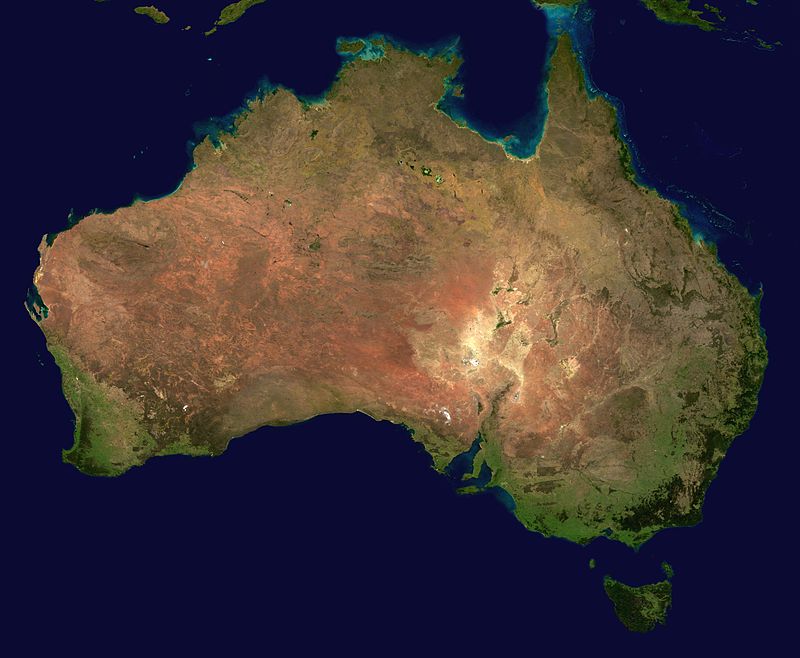
I placed 1210 Australian wildlife images in the "images folder" and the following image in the master folder.
I then imported the mosaic module, started a mosaic project and built a mosaic,
import mosaic
mos = mosaic.MosaicProject()
mos.build_mosaic(max_im=1140, tuning='tuning_2')
which yielded the following mosaic in the output folder.
Continuing on the example above, to print another mosaic, for example with tuning = 'tuning_1', use the print_mosaic method,
mos.print_mosaic(tuning='tuning_1')
Suppose a mosaic project already exists. To continue with it, import mosaic and start a project
import mosaic
mos = mosaic.MosaicProject()
The user is then prompted to either continue the old project or start a new one and clear the old one. Select continue old project.
The build_mosaic method does three things:
(1) crop and resize each image in the "images folder" and save it to the "library folder".
(2) process the master image in "master folder" and find an optimal assignment of library images to tiles in mosaic.
(3) print a mosaic, optionally with some tuning.
One can also do these steps manually. For instance, to do the above example manually, import mosaic and start a project
import mosaic
mos = mosaic.MosaicProject()
Build a library
mos.build_library()
Process the master image
mos.process_master(max_im=1140)
Print a mosaic
mos.print_mosaic(tuning='tuning_2')
Now, suppose you would like to create another mosaic, with the same library images but a different master image. Then just place a new master image in the "master folder" and repeat the last two steps.
Customised tuning is for example done as follows:
weights=[60, 10, 0, 25, 5]
mos.print_mosaic(tuning=weights)
This prints a mosaic which is a composition of (technically a weighted average of)
-60% the basic (untuned) mosaic,
-10% the master image,
-0% a once smoothened version of the master image,
-25% a twice smoothened version of the master mosaic,
-5% a triply smoothened version of the master mosaic.
The tuning parameter must be a tuple or list containing only integers with sum equal to 100.
The idea behind using smoothened versions in tuning is that they distort individual tiles less than using the original master image. In this way a severe tradeoff between global accuracy of mosaic and local intactness of tiles is avoided.
The smoothening is done by filtering the master image, after having been resized to the same shape as the basic mosaic, using a uniform kernel with the same shape as the tiles of the mosaic.
The preset tuning options translate as follows:
tuning = None is equivalent to tuning = [100],
tuning = 'tuning_1' is equivalent to tuning = [80, 13, 0, 0, 7],
tuning = 'tuning_2' is equivalent to tuning = [70, 15, 0, 0, 15].
- cv2
- glob
- numpy
- pandas
- pathlib
- scipy
This project is licensed under the MIT Lıcense.

