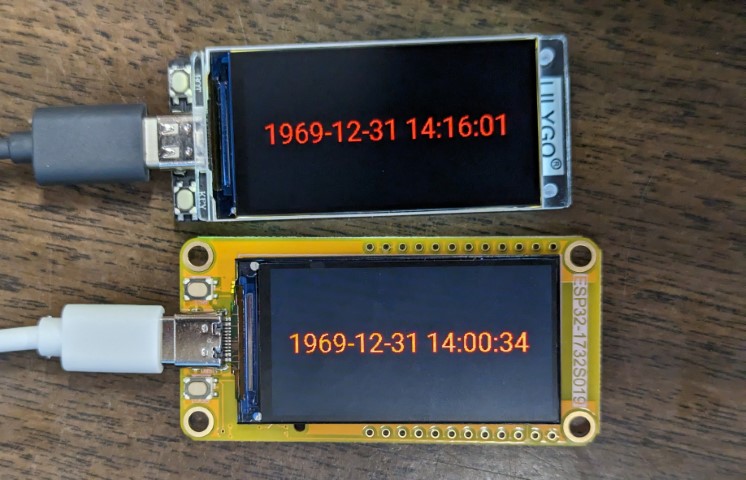
esp32-1732s019 S3 (ST7789) running ESPHome using tft_espi
esphome:
  name: s3

external_components:
  - source: github://clowrey/tft_espi-esphome
    components: [tdisplays3]

esp32:
  board: esp32-s3-devkitc-1
  variant: esp32s3
  framework:
    type: arduino

# Enable Home Assistant API
api:

ota:
  password: "6ada29f6f41ce1685d29d406efd25fa4"

wifi:
  ssid: !secret wifi_ssid
  password: !secret wifi_password

time:
  - platform: homeassistant
    id: ha_time

switch:
  - platform: gpio
    pin: GPIO14
    name: "Backlight"
    id: backlight
    internal: true
    restore_mode: RESTORE_DEFAULT_ON

font:
  - file: "gfonts://Roboto"
    id: roboto
    size: 30

display:
  - platform: tdisplays3
    id: disp
    update_interval: 1s
    rotation: 270
    lambda: |-
      it.printf(20, 70, id(roboto), Color(255, 0, 0), id(ha_time).now().strftime("%Y-%m-%d %H:%M:%S").c_str());
You will first need to do a manual installation by putting the example.yaml file into your esphome folder then using the modern format in ESPHome to get a local copy of the firmware and finally use https://web.esphome.io/ to install over USB.
Download a copy of this code and place the tdisplays3 folder in your esphome folder. Also place the example.yaml and secrets.yaml into the esphome folder, ensuring to change the example.yaml api and secrets.yaml details to your own credentials.
From your ESPHome dashboard, create a local copy of the s3 firmware by clicking the three dots > Install > Manual Download > Modern Format
To set the board into flash mode, hold the button on the left of the USB port while plugging in the USB cable that is connected to your desktop machine.
Navigate to https://web.esphome.io/ in a compatible browser (Chrome, Edge etc.) and click "Connect". Select the corresponding COM Port and click connect again.
When the board has connected, click "install" and select the firmware that you have created, this will erase the board and write the new firmware.
When the firmware has been written to the board you will need to unplug and reconnect the USB cable.
After that you can upload firmwares using WIFI without repeating this process