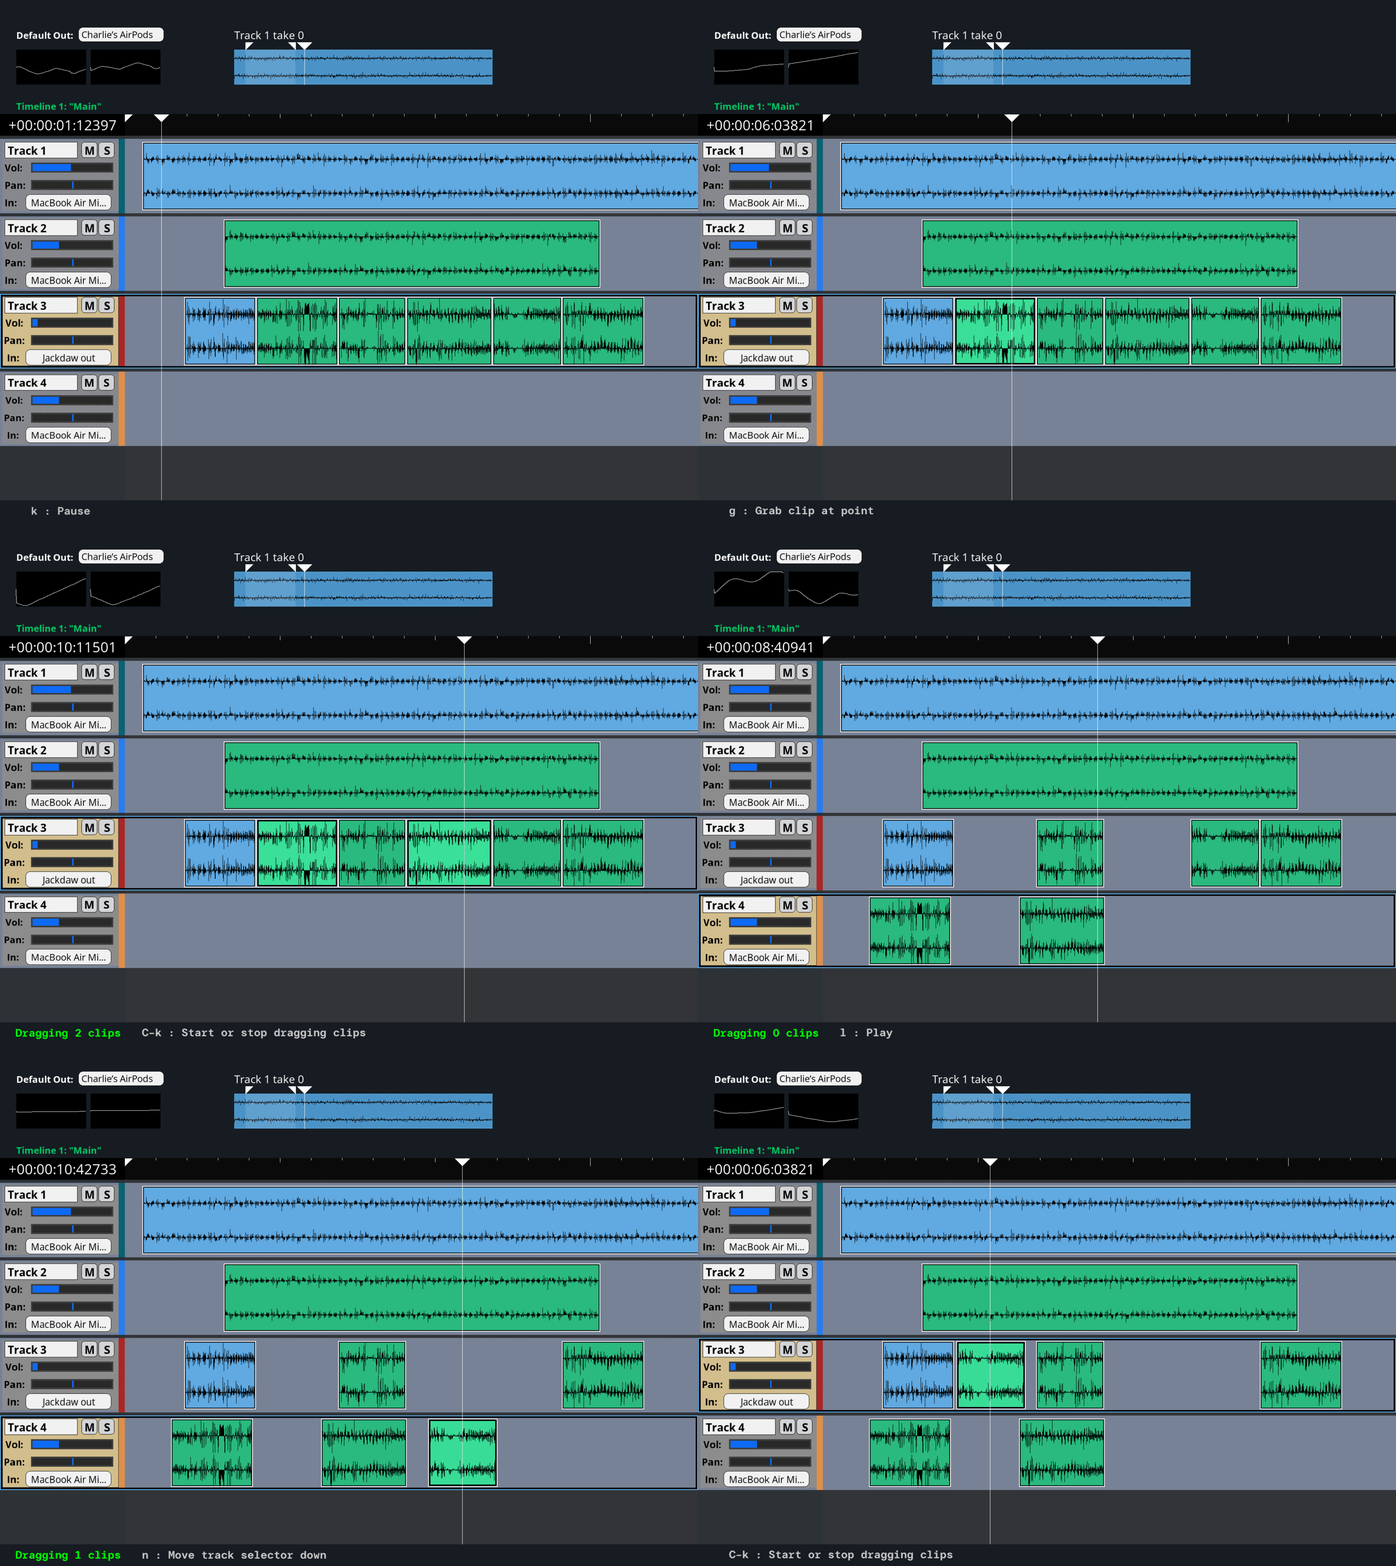
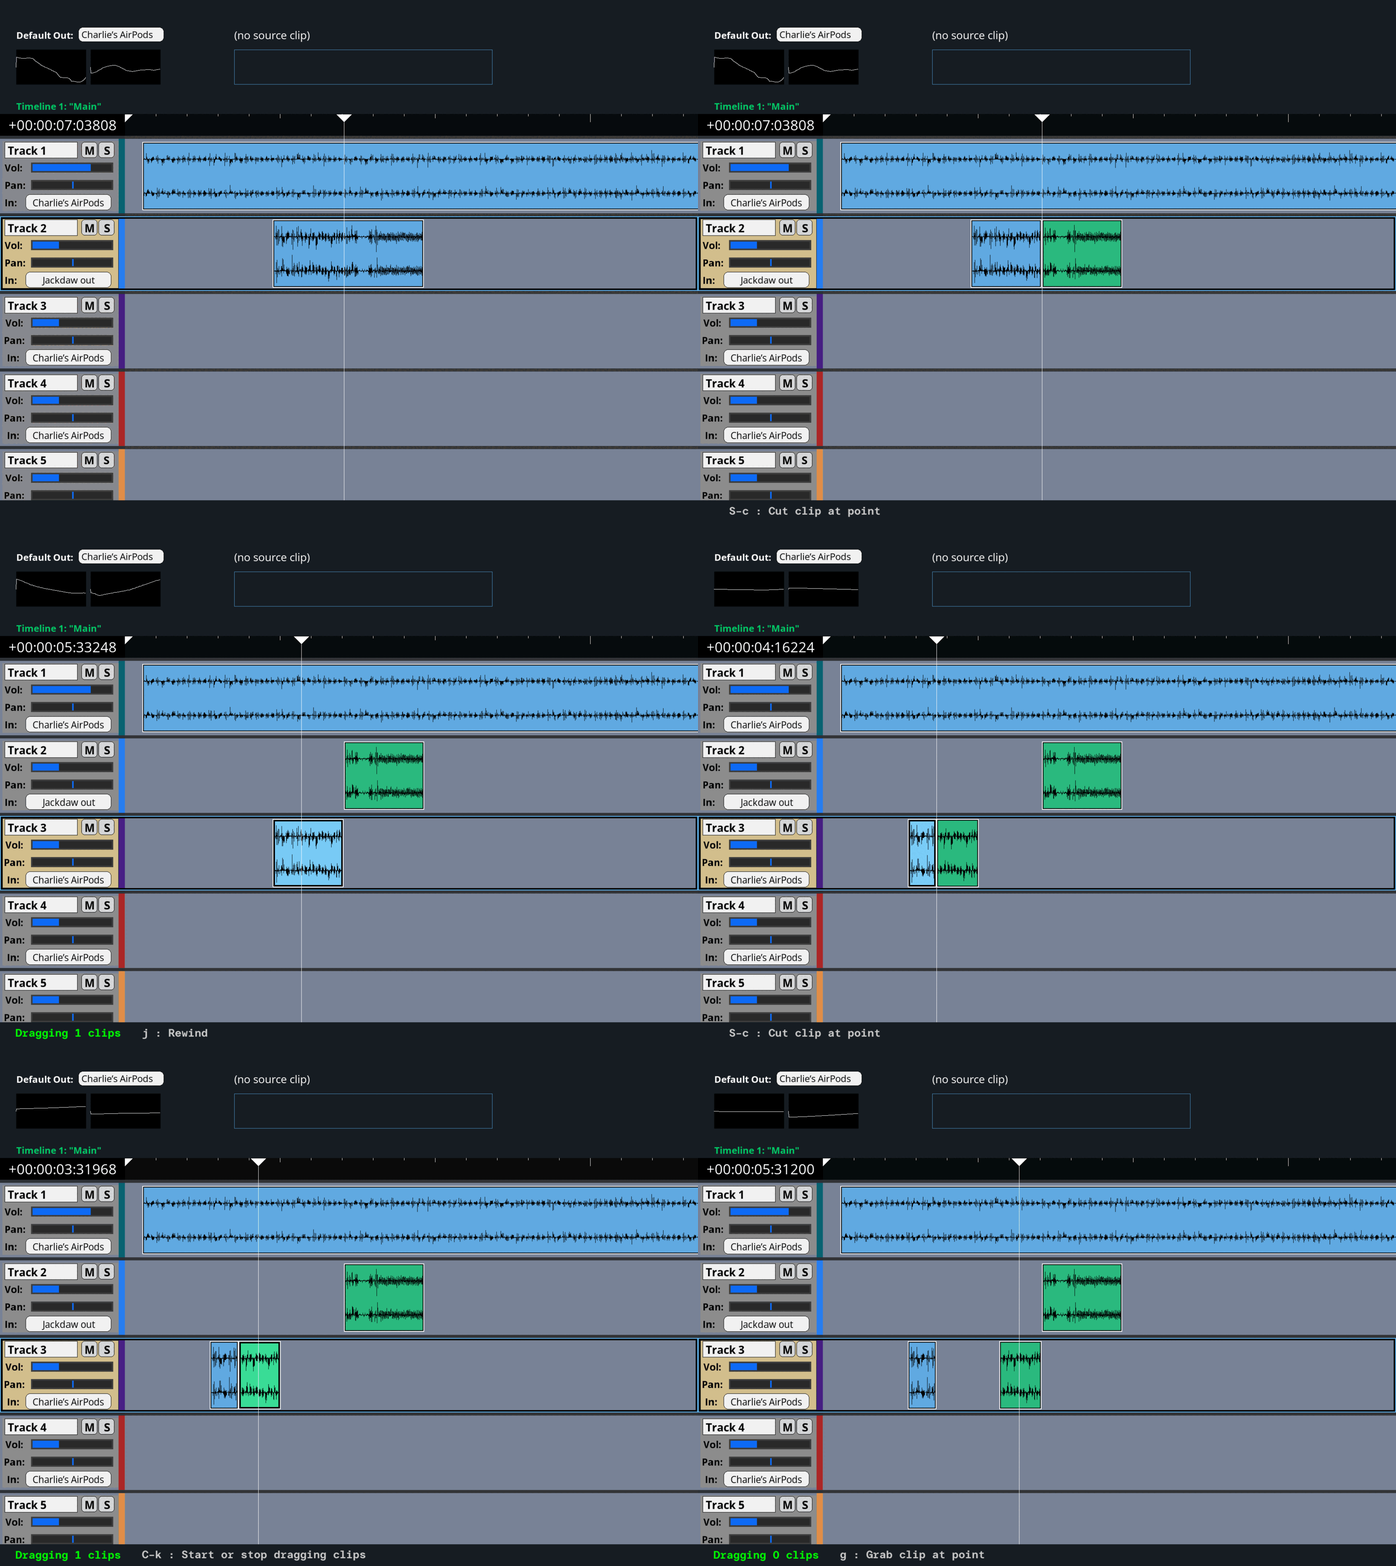
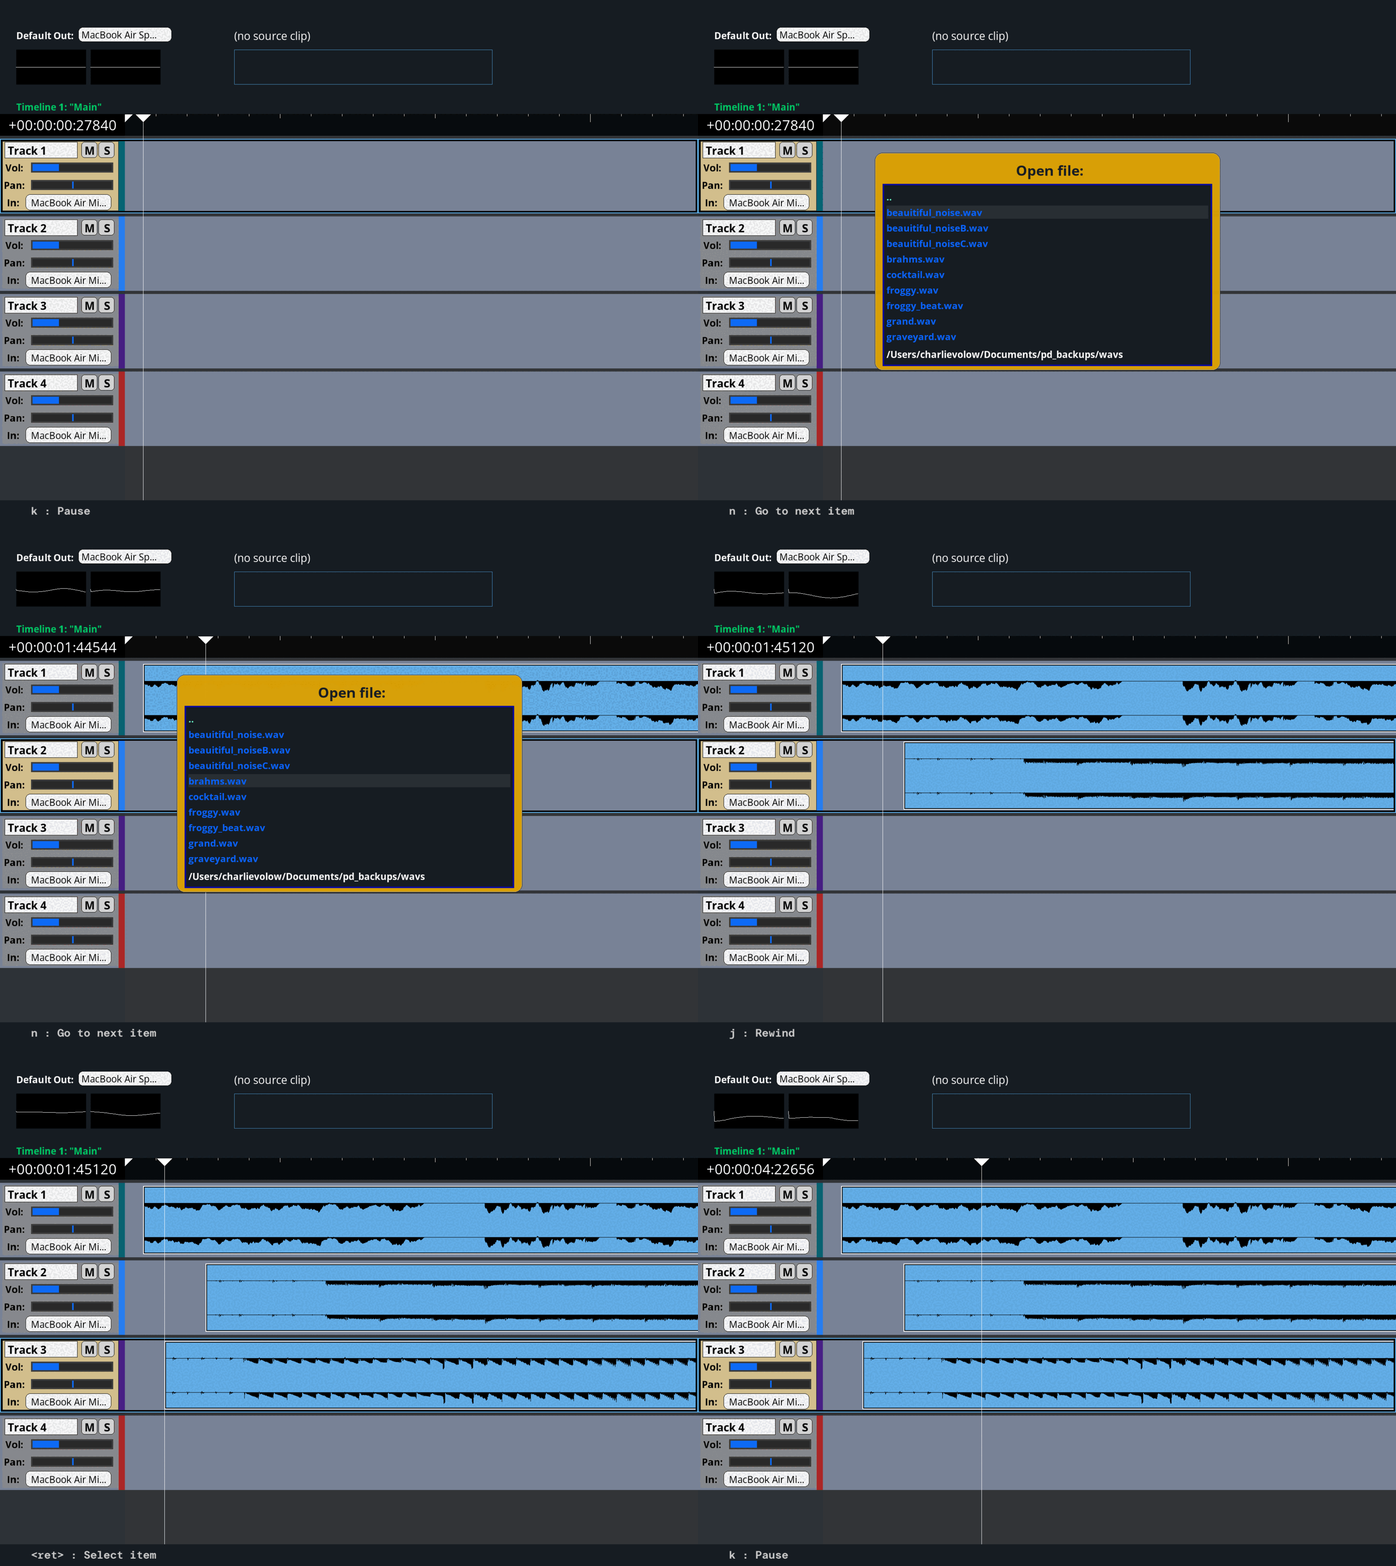
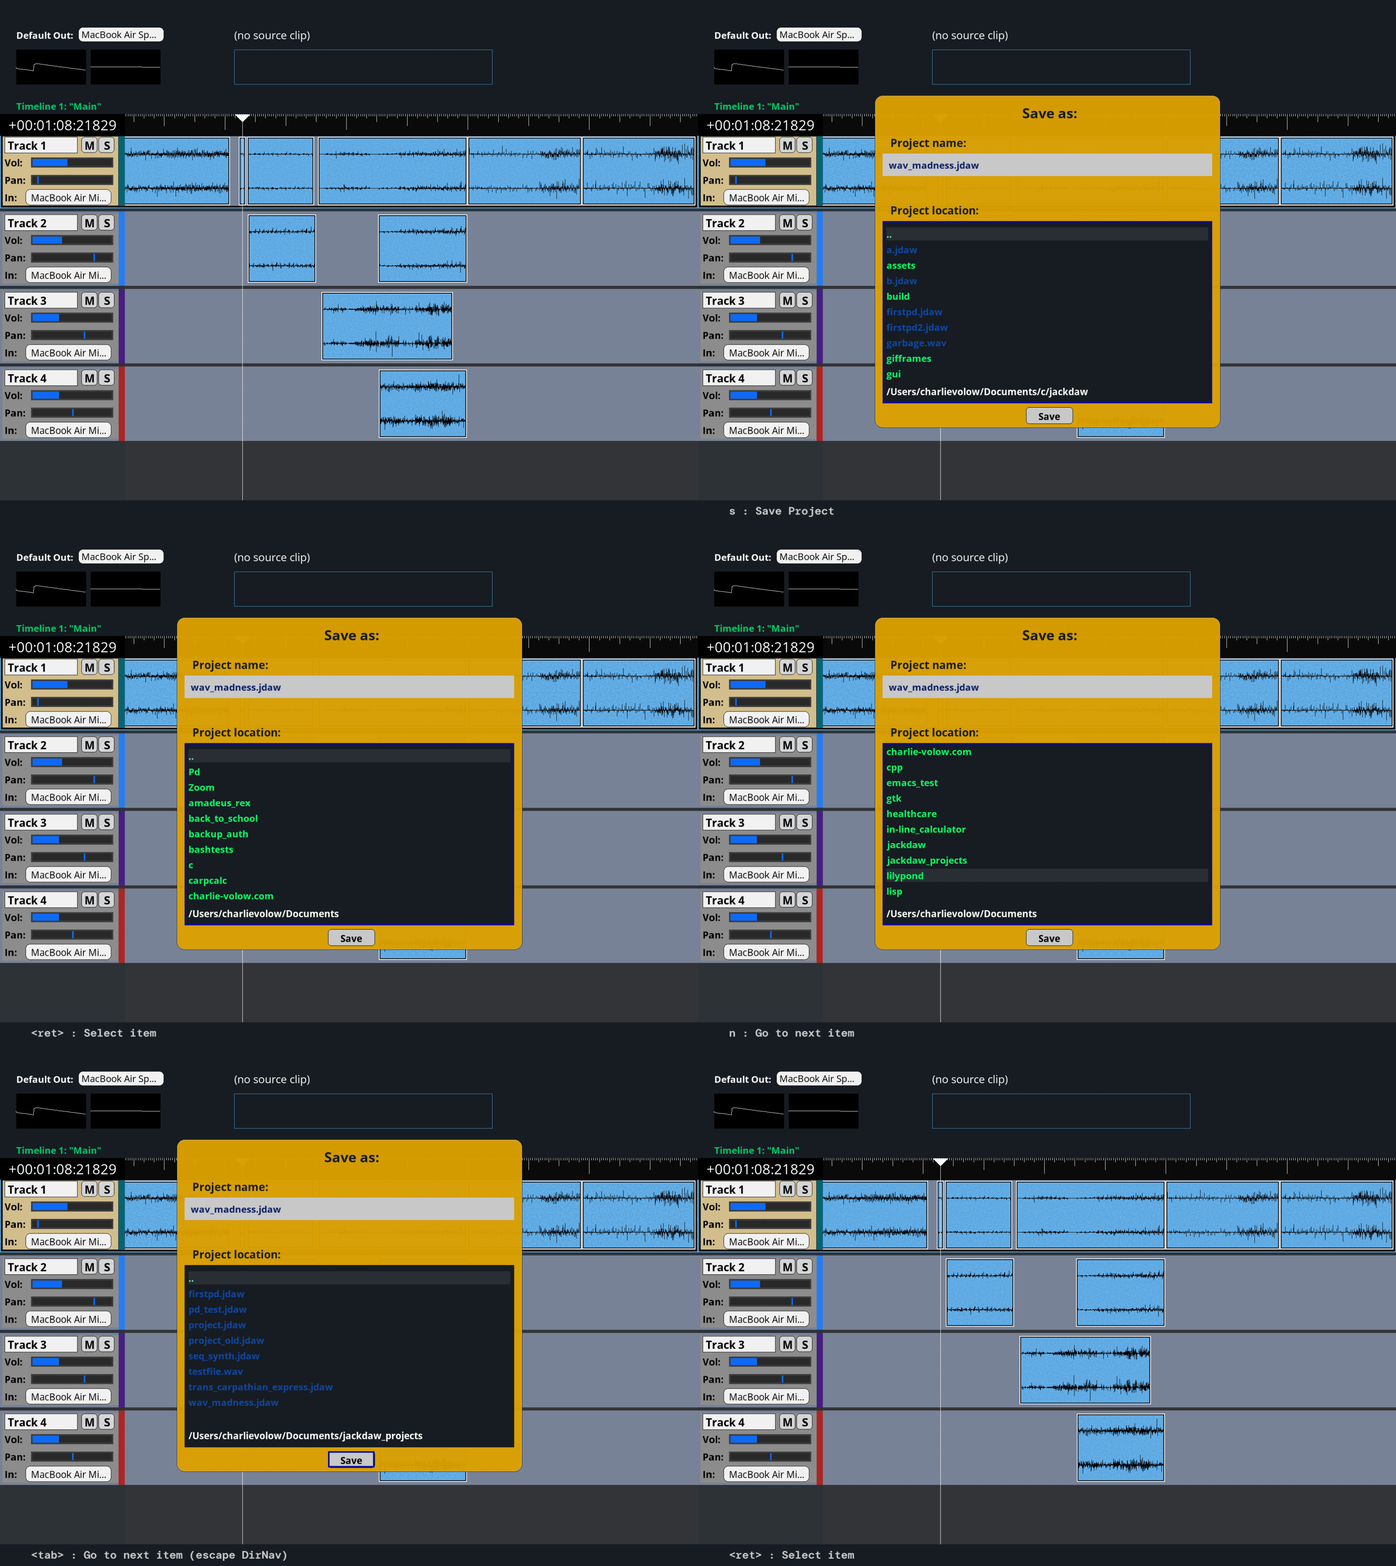
A stripped-down, keyboard-focused digital audio workstation (DAW) taking some design cues from non-linear video editors like Avid. Built on SDL (https://libsdl.org/).
- Disclaimer
- Installation
- Keyboard command syntax
- Quickstart (getting comfortable)
- User manual
- Function reference
Jackdaw is very much a work in progress! What's currently available here is fun to use, can do a lot, and can definitely be used to make music; but I don't yet consider it to be "released." I do not guarantee that things will work perfectly or as you expect them.
Currently, the only way to install Jackdaw is to build it from the source code. The first step is to clone the repository:
$ git clone https://github.com/chvolow24/jackdaw.git
Jackdaw is compatibile with macOS and Linux.
Jackdaw is dependent on the SDL2 library, and related SDL2_ttf library.
Two scripts are provided in this repository to make installation and updating easier: install.sh and update.sh. I don't want to actively encourage their use, because I don't want to encourage you to run bash scripts written by strangers on your machine. But I use them, and they're there if you want them.
Executing install.sh will attempt to install Jackdaw's dependencies (SDL2 and SDL2_ttf) on your system. In order to do so, it will also install homebrew on macos if not already installed. It will then build the jackdaw executable, and move it to /usr/local/bin, so that you can run it from the command line in any directory.
update.sh pulls any available updates from the remote repository, re-executes itself*, and then moves the executable to /usr/local/bin.
*This is basically to make it so that you don't have to git pull in order to run the latest version of update.sh. But it would also be a great way for me to run malicious code on your computer! Proceed with caution (or trust).
If you don't want to use my scripts, you'll need to manually install the dependencies, build the project, and then do whatever you want with the executable.
Detailed instructions for installing SDL can be found here.
Homebrew should work just fine:
$ brew install sdl2
$ brew install sdl2_ttfYou may want to build SDL from source by default instead of using apt-get; I found that the version of SDL provided by apt-get on ubuntu was too old.
SDL2_ttf can be installed with the package manager, though:
$ sudo apt-get install libsdl2-ttf-2.0-0
$ sudo apt-get install libsdl2-ttf-devNavigate to the main jackdaw directory (where you cloned this repository) and run make:
$ makeIf there are errors, please feel free to create an issue on this repository; I'd be happy to look into it.
If make executed successfully, there should be an executable named jackdaw in the current directory.
$ ./jackdawJackdaw is a keyboard-based application; it uses the mouse and GUI buttons very sparingly. Here are some examples of keyboard commands you'll see written in the application and in this documentation:
n......................................press the 'n' key
p......................................press the 'p' key
C-s...................................hold down 'command' OR 'ctrl', and press the 's' key
A-t....................................hold down 'alt' OR 'option' and press the 't' key
C-S-o.................................hold down 'command' OR 'ctrl', AND 'shift', and press the 'o' key
S-<ret>..............................hold down 'shift' and press the 'return' or 'enter' key
When a hyphen is present (as in C-s) it means you need to hold down one or more modifier key before striking the final key to invoke the command.
Capital C stands for the "Command" OR "Control" key. Jackdaw does not distinguish between these two keys.
Capital S stands for the "Shift" key.
Capital A stands for the "Alt" or "Option" key. (Again, no distinction is made)
Capital K indicates that you must hold down the 'K' key, which is used as a modifier in very specific circumstances.
So, C-S-o means hold down the control (or command) key and the shift key, and then press 'o'.
Most of the final keys are named by a letter or number, except for these:
<ret> means 'return' or 'enter'
<tab> means 'tab'
<spc> is the spacebar
<del> is the 'delete' or 'backspace' key (no distinction)
<up>, <down>, <left>, and <right> are the arrow keys
This will all be familiar to emacs users, and hopefully not too painful for everyone else.
This section is a brief tutorial meant to familiarize you with the most basic and frequently-used operations in jackdaw. From there, you can reference the user manual to learn about the other things you can do in the program.
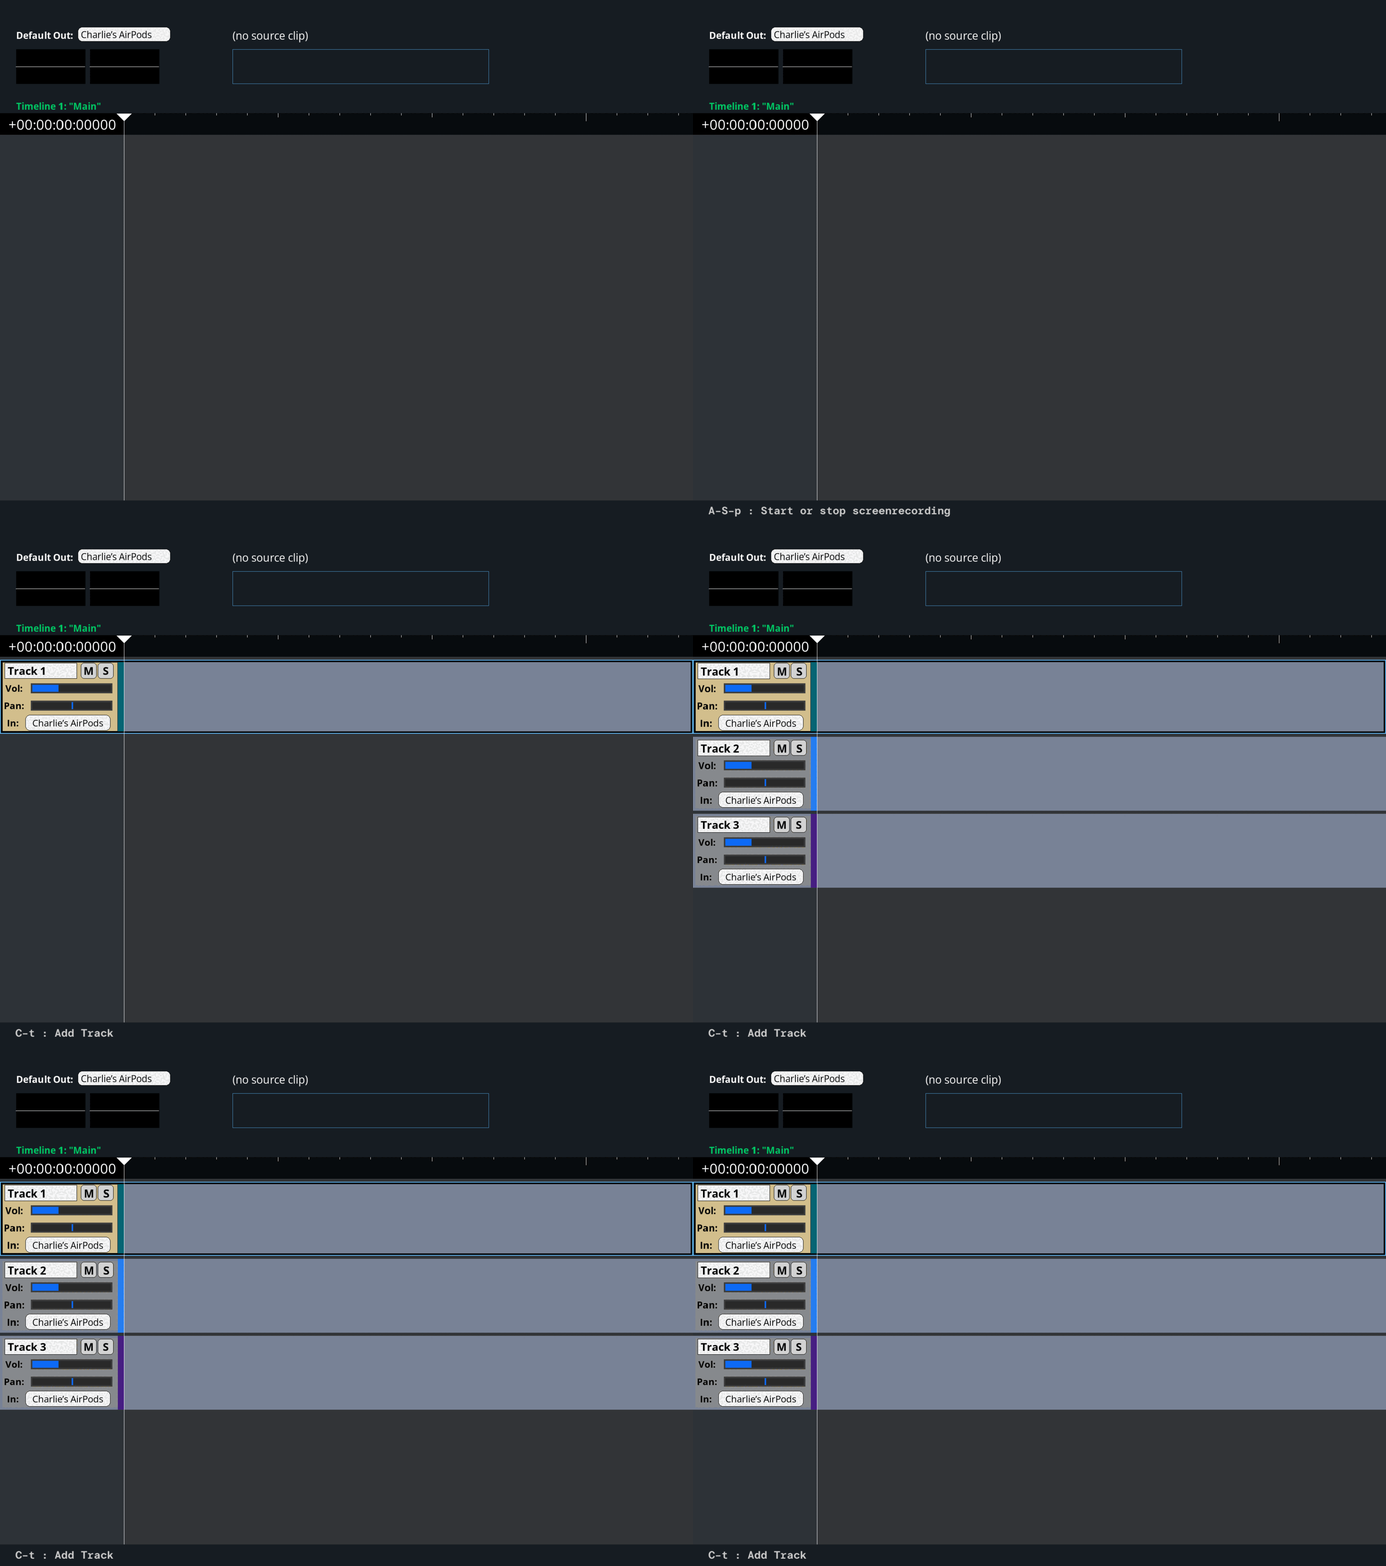
The first thing you'll probably want to do upon opening jackdaw is to add a track or two. You can do this with
C-t
(Hold down cmd or ctrl and hit t).
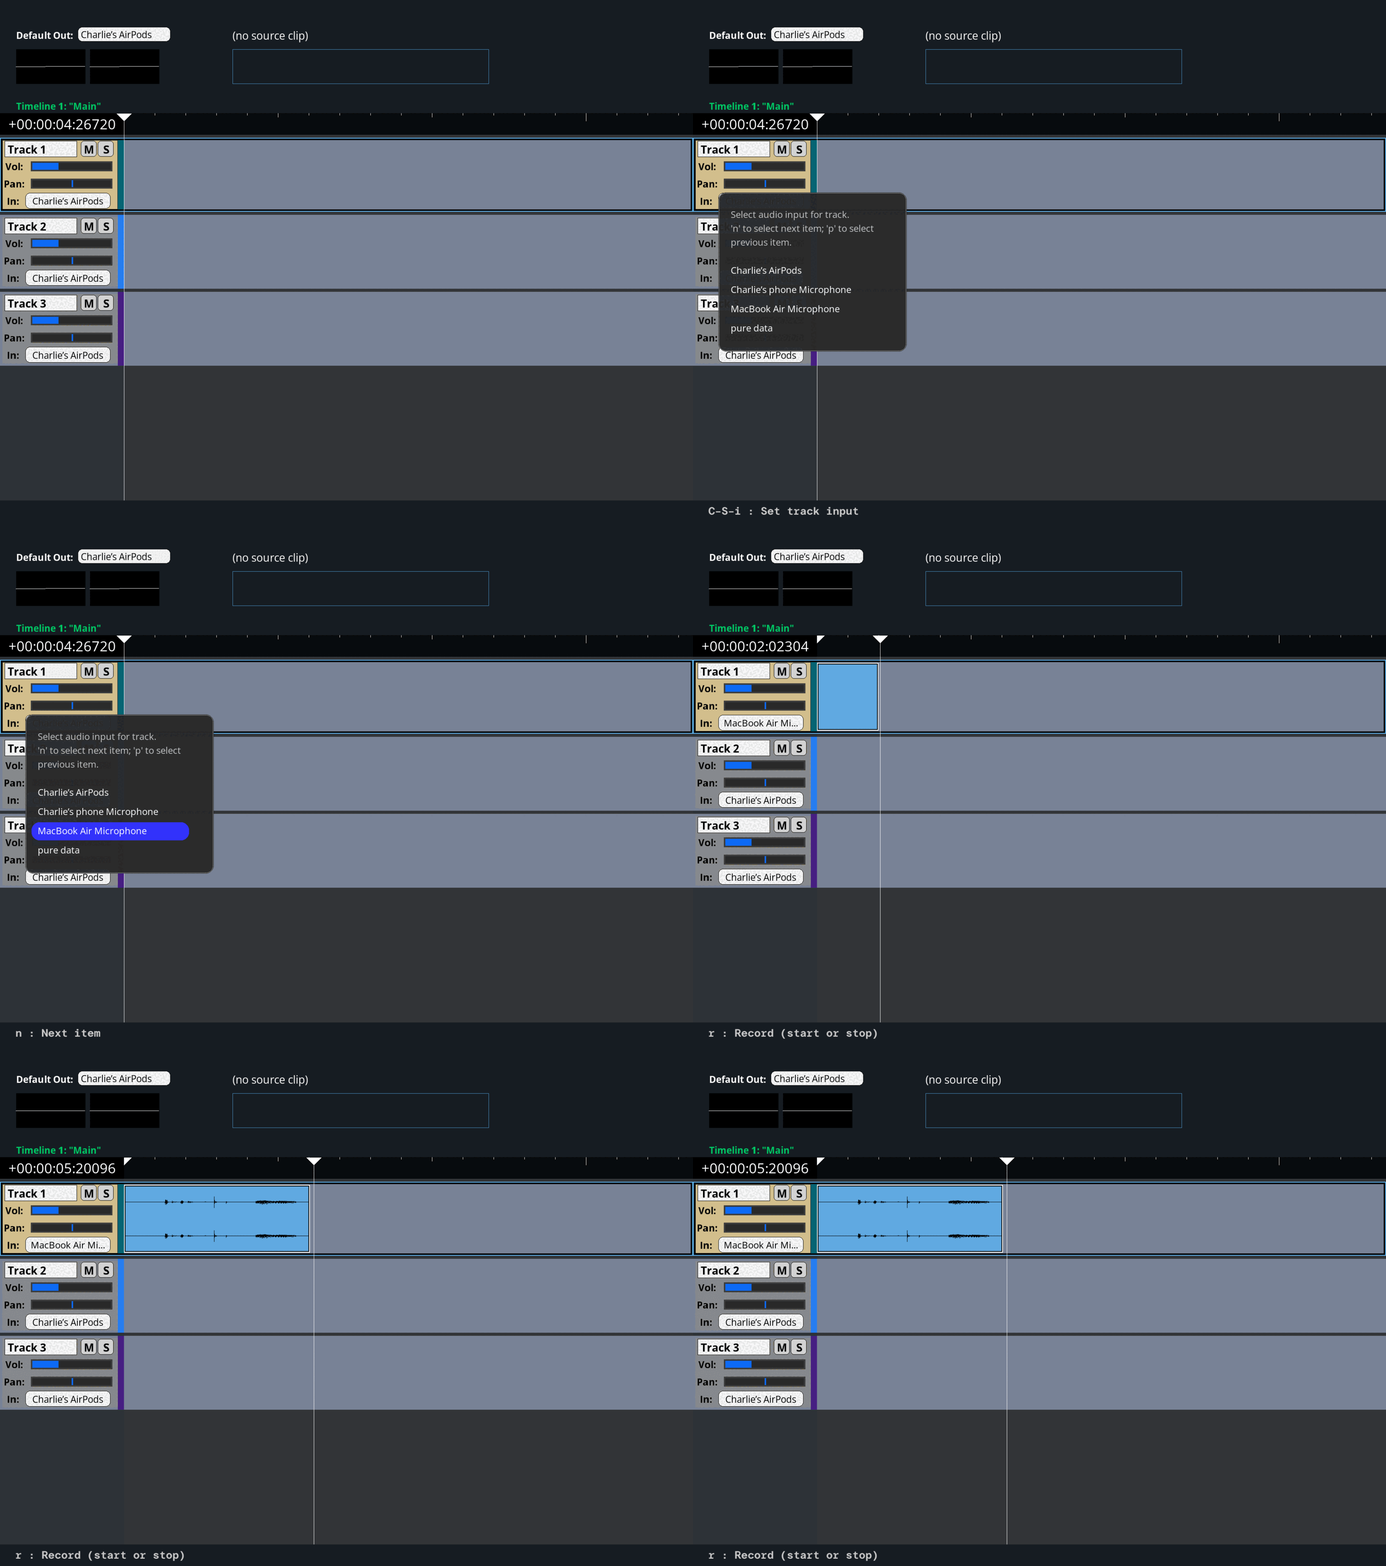
The track input will be set to the default system audio input device, but you can change the current track input if you like with C-S-i. A list of available input devices will appear. Use n (for 'next') to go to the next item in the list, and p (for 'previous') to go to the previous. (These keys will be used a lot). Hit <ret> to choose the currently-highlighted device.
Once you have selected an appropriate audio input device, you can start recording audio into jackdaw with r. After making some noise at your computer or microphone, stop recording with r.
You should now see a clip on your timeline, with an audio waveform representing the audio you just recorded. You can rewind over the clip, pause, and play it back with the j (rewind) k (pause) and l (play) keys.
If you tap l or j multiple times, the playback speed will double.
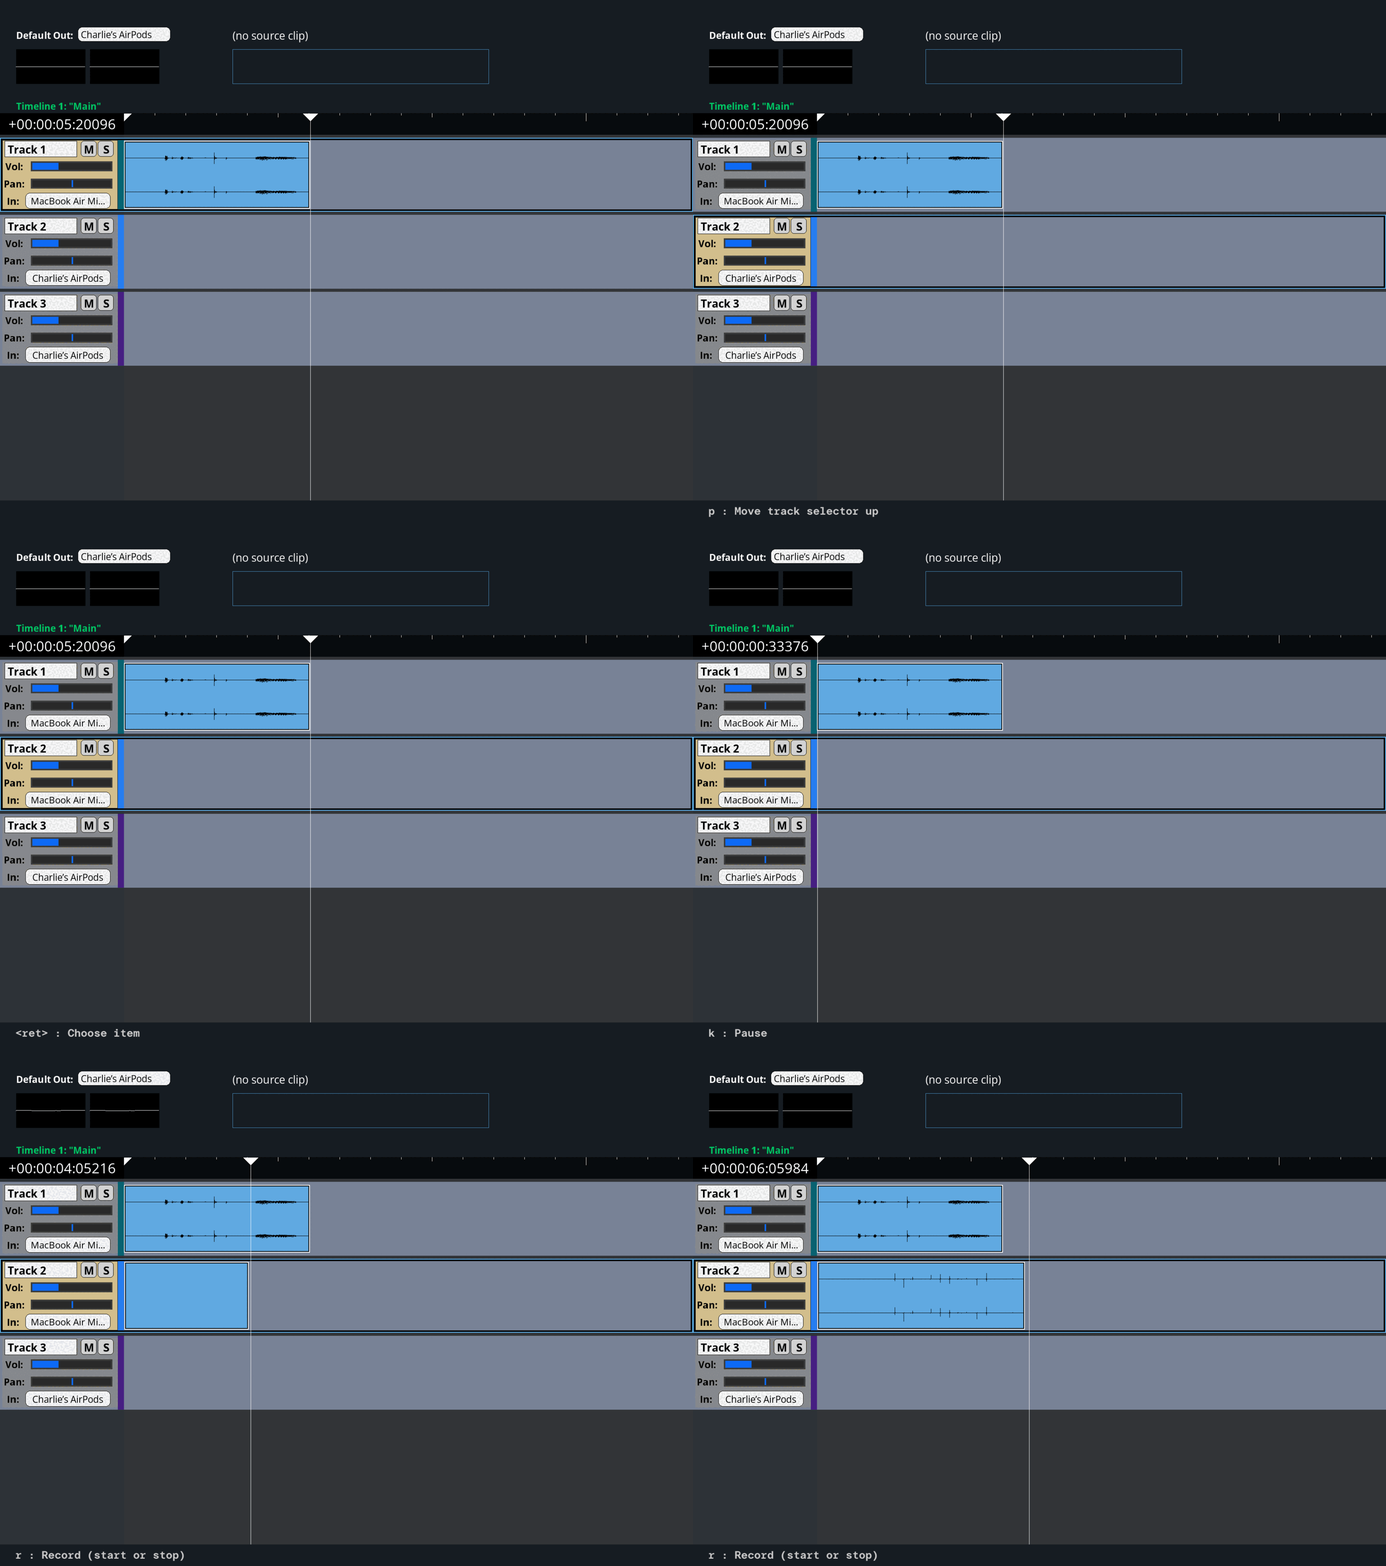
The clip you recorded landed on the first track by default. You can again use the n and p keys to move the track selector up and down. Try rewinding back to the beginning of the recording you made, selecting a different track, and recording some new audio.
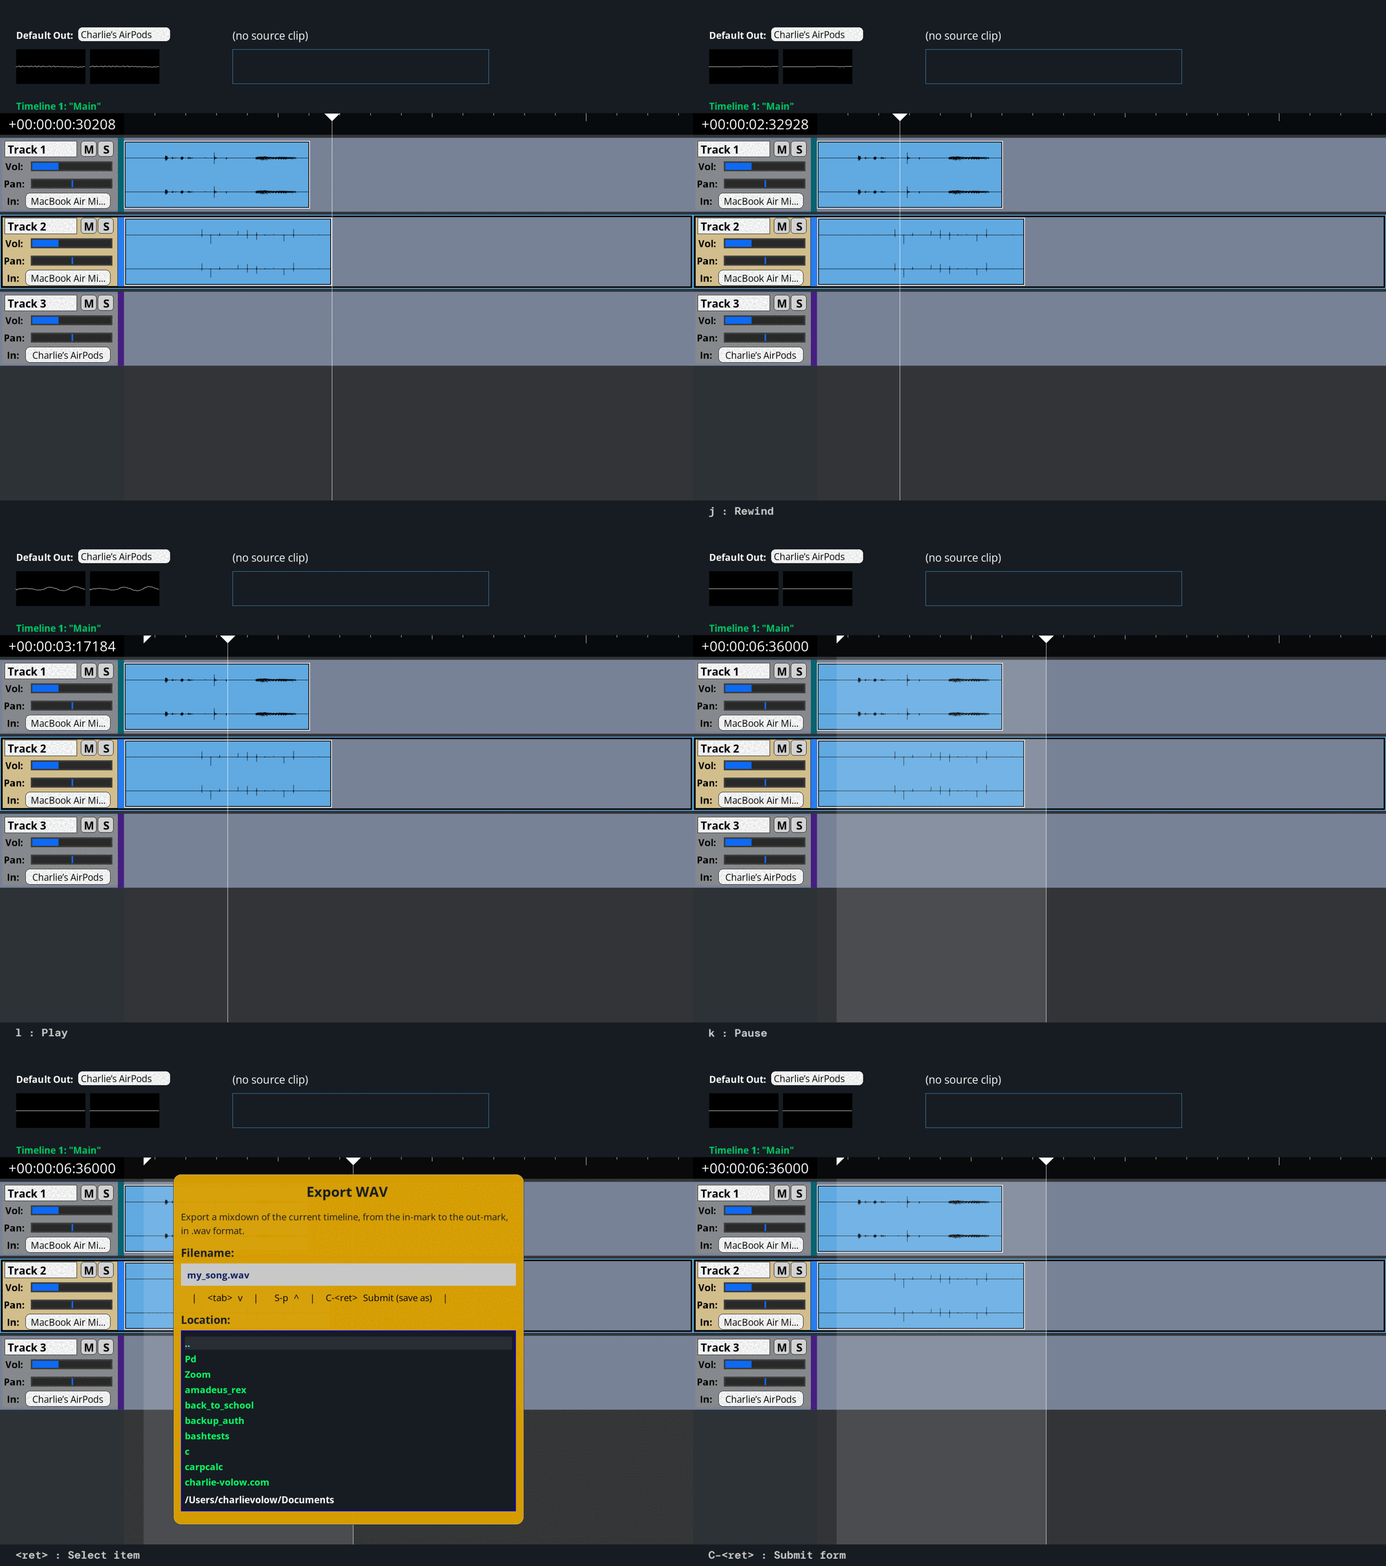
Now that you've created some multi-track audio, you might want to export it to a wav file to show your friends. First you'll need to place in and out marks on your timeline with i and o. Once you have placed them such that some portion of the timeline is marked, you can export to a wav file with S-w.
You will first be prompted to enter a file name. Hit tab or <ret> to apply the current name, and move down to the directory navigation pane. Then, use n and p to navigate through the filesystem to the directory where you want to save the file. Finally, use <tab> to move down to the "Save" button, and then <ret> to save the file with the current name, in the currently open directory. (Or, use C-<ret> to "submit the form" and save the file.)
If you want to revisit this project later, you can save a project file (.jdaw) with C-s.
You will be prompted to enter a project name (which MUST include the .jdaw extension), and can then hit <ret> or <tab> to move down to the directory navigation pane. Navigate to the location at which you want to save the project (with n and p), and submit the form with <tab> and then <ret>to complete saving.
At any time*, you can summon a menu with a list of available actions (and keyboard shortcuts) with C-m. The menu will display the functions available in the current mode (see "Input modes" below). Navigate with n, p, and <ret> to select. Use m (or h or <esc> to dismiss the menu.
Summoning these menus when in doubt might be the best way to learn the available keyboard shortcuts.
*except when editing a text field. I intend to fix this and other problems related to text entry soon.
Timeline navigation functions are all within easy reach of your right hand:
j : rewind (multiple taps to rewind fast)
k : pause
l : play (multiple taps to play fast)
In addition to the keyboard functions listed above, you can also adjust the playback speed dynamically (if already playing back) with the mousewheel or trackpad:
S-<scroll> : adjust speed (fine)
C-S-<scroll> : adjust speed (coarse)
h : move view left
; : move view right
, : zoom out
. : zoom in
C-<scroll> : zoom in or out
These zoom functions will center on the current playhead position. Using the mousewheel/trackpad to zoom will center the zoom on the current mouse position.
The track selector is how you indicate which track you are doing things to. The track console (left side) is highlighted in orange if the track is currently selected.
n : move selector down (next track)
p : move selector up (previous track)
<ret> : activate/deactivate current track
Activating tracks (as opposed to merely selecting them) is a way to do things that might normally be done to only one track to multiple tracks at once. For example, if you activate tracks 1, 2, and 3, and then hit r to record, you will wind up with three clips (more accurately, clip references) -- one on each track -- instead of one. The numerical keys (1, 2, 3 etc.) can be used to quickly activate or deactivate tracks 1-9 without using the track selector.
The "point" (as in "[do thing] at point" is the location in the currently active timeline, under the current playhead position, on the currently selected track. So, "grab clip at point" means "grab the top clip on the currently selected track that intersects with the current playhead position."
In and out marks must be set to export a mixdown to .wav, and can also be used as handy jump-to points.
You can also jump to the start of the timeline (t=00:00:00000) with S-u, which can be helpful if you get lost.
i : mark in
o : mark out
S-i : jump to in mark
S-o : jump to out mark
S-u : jump to t=0
When you move the track selector with n and p, the timeline will automatically refocus such that the selected track is visible. You can also scroll through tracks with a mouse or trackpad. Scrolling horizontally translates the timeline in the manner of h and ;.
Holding Cmd or Ctrl and scrolling on the timeline will zoom in or out.
r : start or stop recording
When you hit r, audio recording will begin on all activated tracks -- or, if no tracks are activated, on the currently selected track. Clips are created on each of these tracks beginning at the current playhead position. When you stop recording, these clips will be populated with the audio data you just recorded.
You can record from multiple audio devices at once, simply by setting different inputs on different tracks, activating each of those tracks, and hitting r.
C-t : add a track
C-<del> : delete the currently selected track
Caution
In the current jackdaw version (v0.2.0), deleting a track will permanently delete all of its data, as well as any audio clip data native to that track and all references to those clips.
If you are only ever doing things to one track at a time, you will never need to activate a track; you simply need to move the track selector (with n and p) to select your target track. However, if you would like to do things to multiple tracks at once, you can activate multiple tracks. Here are things you can do to multiple tracks at once:
- adjust volume
- adjust pan
- record audio
- grab clips
<ret> : Activate or deactivate the currently-selected track
` : Activate or deactivate all tracks
1 : Activate or deactivate track 1
2 : Activate or deactivate track 2
...
9 : Activate or deactivate track 9
Muted tracks will not be read during playback, or when exporting a .wav file.
If any track on the timeline is soloed, only tracks that have been soloed will be read. The S button will be red on any un-soloed tracks to indicate that they are effectively muted.
m : Mute currently selected track (or active tracks)
s : Solo currently selected track (or active tracks)
Track volume can be attenuated or boosted. Stereo tracks can be panned to the left or right. The pan implementation is fairly primitive; panning to either side will simply attenuate the opposite channel by an amount proportional to the pan amount.
Tip
These key combinations can be held down for continuous adjustment.
S-- : Volume down (selected or active tracks)
S-= : Volume up (selected or active tracks)
S-9 : Pan left (selected or active tracks)
S-0 : Pan right (selected or active tracks)
The track input can be set to any of the available system audio devices (e.g. built-in laptop microphone, extern microphone) or one of two special inputs, which are described below.
C-S-i : Set track input
In general, this document and the application itself merely refer to any chunks of audio data present on the timeline as "clips." You may, however, notice that some clips are green, while others are blue. Why?
Under the hood, a "clip" is a chunk of audio data that is associated with a project, but is not directly associated with a timeline or track. A "clip reference" (or "clipref") is the data object that represents that association. It specifies which track it appears on, which clip it references, and the start and end positions within that clip that describe the boundaries as represented on the timeline.
A given clip can have many clip references. The actual audio data associated with the clip is not duplicated; therefore, when copying clips or portions of clips using Source Mode, you are not actually copying any audio data; you are merely creating additional references to the clip.
Clip references that appear blue in the timeline are "anchored" to then clip itself; if you delete a blue clip reference, the source clip and all of its associated references will be deleted as well. Green clip references are just references, and deleting them will not delete any associated audio data.
Clips that have been "grabbed" can be deleted or moved around on the timeline.
g : Grab clips at point(s)
Using this function will grab any clips that intersect the playhead position on the currently selected track OR all active tracks. If all interesecting clips are already grabbed, the function will un-grab all clips.
A clip can also be "grabbed" with C-<click>.
C-k : Toggle drag clips
If clip dragging is enabled, an indication will appear in the status bar at the bottom of the screen indicating how many clips are currently grabbed.
Moving the track selector will pull all currently-dragging clips along with it.
S-c : Cut clips at point
This will cut any clips on the currently selected track at the current playhead position in two, so that you can independently move or otherwise modify each part.
Jackdaw provides an interface for extracting samples from an audio clip, and dropping references to those samples in your timeline.
C-1 : Load clip at point to source
If there is a clip at point, this function will load that clip to the source area near the top of the window.
S-1 : Activate or deactivate source mode
In source, you can play back, scrub through, and set marks in the clip that has been loaded into the source area. The marks you set here will determine which portion of the clip is dropped into your timeline when you:
b : Drop clip from source
This creates a new clip reference on your timeline, at the current playhead position, on the currently-selected track.
Every time you drop a clip into a timeline from the source area, jackdaw will save information about that drop. If you then drop a different clip into your timeline with b, you will be able to once again drop the previously-dropped clip with v. Another new drop will move the clip stored at v to c, so that you have unique clips that you can drop into your timeline with any of those three keys. Etc. for subsequent drops and x and z.
v : Drop previous clip from source (1)
c : Drop previous clip from source (2)
x : Drop previous clip from source (3)
z : Drop previous clip from source (4)
Jackdaw provides a way to use multiple workspaces in a single project. Each of these is a "timeline," which is just a collection of tracks with associated clips.
A-t : Create new timeline
A-l : Go to next timeline
A-j : Go to previous timeline
When creating a new timeline, you will be prompted to enter a name. Type the name, hit <tab>, and then <ret> to complete naming the timeline.
In the current version of jackdaw, the timelines are unconnected to one another, but all will be saved along with a project. In a future version, I intend to introduce a "timeline reference;" this will look like a clip, but the associated audio data will be a mixdown of another timeline in the same project, from some start position to some end position.
Jackdaw is capable of opening two types of files: .wav and .jdaw (project) files. This can be done at launch time on the command line:
$ jackdaw PATH_TO_FILEIt can also be done during runtime.
C-o : Open a file
If a .wav file is opened, it will be loaded as a clip to the currently-selected track, starting at the current playhead position. If a .jdaw file is opened, the current project will be closed and replaced with the project saved in the .jdaw file.
The .jdaw format (current version described in `jdaw_filespec/00.10) stores a jackdaw project, including all of its timelines, tracks, clips, etc.
C-s : Save project as
You will be prompted first to edit the current project file name. Please note that the file extension must be .jdaw or .JDAW and the program will not fix this for you. (I will fix this in a later version). Hit <tab> or <ret> to finish editing the name. Now, the directory navigation pane will be active, and you can use n, p, and <ret> to navigate through the filesystem to the directory where you would like to save the file. When satisfied, type <tab> and then <ret> (or just C-<ret> to save.)
Jackdaw will have access to all of the audio devices (speakers, microphones, etc.) that your system knows about. In addition, there are two special audio inputs that you can use to record audio onto a track.
Jackdaw is capable of using its own audio output as an audio input. This makes it very easy to create mixdowns on-the-go, or to record some of the fun sounds you can make by scrubbing through your timeline and dynamically adjusting the playback speed.
Note
This is an experimental feature.
Pure data (often "Pd") is a graphical audio programming environment developed by Miller Puckette. It is very similar to Max, which was also developed by Puckette, but, unlike Max, is free to download and use. Pure data can be used to create things like synthesizers and drum machines, as well as sound production programs that are too unusual to be designated as such.
Pd also provides a method for writing your own objects (called "externals") for use in the program. Jackdaw is capable of communicating with (and receiving audio from) Pd by means of an external called pd_jackdaw~. This external needs to be built and loaded into Pd.
I have provided the source code for pd_jackdaw~ here (pd_jackdaw/pd_jackdaw.c), but have not yet provided the means to build it or load it into Pd. If you are so inclined, you may figure out how to do this using pd-lib-builder.
The pd_jackdaw~ objects inlets are for the left and right channels of audio. If jackdaw is open and a pd_jackdaw~ object is created, the two programs will do a handshake (exchange a series of signals) before setting up a block of shared memory, which they use to exchange audio data. If DSP is enabled in Pd and a track input is set to "Pure data" in jackdaw, you should be able to record audio directly from Pd just as you would from a microphone.
- Summon menu : C-m
- Quit : C-q
- Undo : C-z
- Redo : C-y
- Save Project : C-s
- Open File (.wav or .jdaw) : C-o
- Start or stop screenrecording : A-S-p
- Next item : n, f
- Previous item : p, d
- Next section : C-n, C-<up>
- Previous section : C-p, C-<down>
- Choose item : <ret>, <spc>, k
- Column right : l
- Column left : j
- Move menu up : <up>
- Move menu down : <down>
- Move menu right : <right>
- go back (dismiss) : m, h, <esc>
- Play : l, e
- Pause : k, w, S-k
- Rewind : j, q
- Play slow : K-l, S-l
- Rewind slow : K-j, S-j
- Record (start or stop) : r
- Move track selector up : p, d
- Move track selector down : n, f
- Move view right : ;
- Move view left : h
- Zoom out : ,
- Zoom in : .
- Set In : i
- Set Out : o
- Go to In : S-i
- Go to Out : S-o
- Go to t=0 : S-u
- Set default audio output : C-S-o
- Add Track : C-t
- Activate/deactivate selected track : <spc>, <ret>
- Activate/deactivate all tracks : `
- Destroy selected track (permanent) : C-<del>
- Select track 1 : 1
- Activate track 2 : 2
- Activate track 3 : 3
- Activate track 4 : 4
- Activate track 5 : 5
- Activate track 6 : 6
- Activate track 7 : 7
- Activate track 8 : 8
- Activate track 9 : 9
- Mute or unmute selected track(s) : m
- Solo or unsolo selected track(s) : s
- Track volume up : S-=
- Track volume down : S--
- Track pan left : S-9
- Track pan right : S-0
- Rename selected track : C-r
- Set track input : C-S-i
- Add filter to track : C-S-f
- Grab clip at point : g
- Start or stop dragging clips : C-k
- Cut clip at point : S-c
- Delete selected clip(s) : <del>
- Load clip at point to source : C-1
- Activate Source Mode : S-1
- Drop clip from source : b
- Drop previously dropped clip (1) : v
- Drop previously dropped clip (2) : c
- Drop previously dropped clip (3) : x
- Drop previously dropped clip (4) : z
- Add new timeline : A-t
- Previous timeline : A-j
- Next timeline : A-l
- Write mixdown to .wav file : C-e, S-w
- Play (source) : l
- Pause (source) : k, S-k
- Rewind (source) : j
- Play slow (source) : S-l, K-l
- Rewind slow (source : S-j, K-j
- Set In Mark (source) : i, S-i
- Set Out Mark (source) : o, S-o
- Go to next item : n, f
- Go to previous item : p, d
- Go to next item (escape DirNav) : <tab>, S-n, S-f
- Go to previous item (escape DirNav) : S-<tab>, S-p, S-d
- Select item : <ret>, <spc>
- Dismiss modal window : m, h, <esc>
- Submit form : C-<ret>
- Escape text edit : <ret>, <tab>, <esc>
- Backspace : <del>
- Move cursor right : <right>, C-f
- Move cursor left : <left>, C-d, C-b
- Select all : C-a
...
[ LAST UPDATED 2024-06-23 SUNDAY ]
...

