Because of lack of time, i must discontinue this project. It will stay online, it will probably work out of the box. Maybe someone can take over development for this project?! Feel free to fork it.
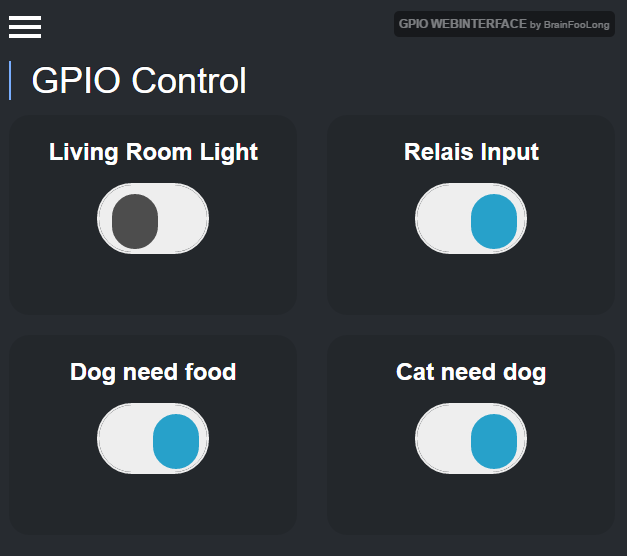
A easy to use webinterface to control all GPIO in/outputs of your raspberry pi or other device. Enable and disable GPIO just with one button directly with your smartphone, tablet or desktop browser.
If you like to buy some coffee, i will appriciate it. You can do this on Patreon or via PayPal
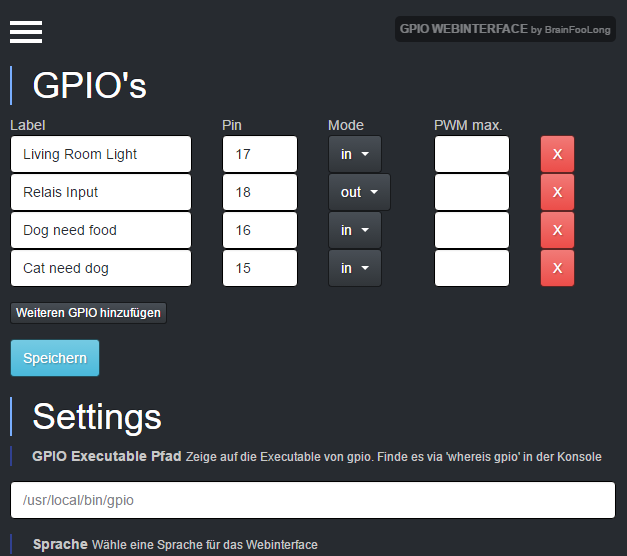
- Define GPIOs and watch the status
- Enable/Disable GPIOs with just one click
- Responsive design - Great for desktop, smartphone or tablets
- Multilanguage
Feel free to send pull requests. Create an issue for a new feature BEFORE you do some coding. We should talk about that before. Translations are pretty straight forward, you can just add them without an issue.
This interface requires wiringPi to be installed. The command gpio must be available. It's super easy to install, goto http://wiringpi.com/download-and-install/
It is strongly recommended to use it just with the php command line. Maybe it will not work when running with a webserver like apache or nginx. Just use it as described bellow. Only PHP is required. It is also PHP7 compatible. Try all, depending on your system some packages are not available but that is no problem.
sudo apt-get install php-cli
sudo apt-get install php-mbstring
sudo apt-get install php5-cli
sudo apt-get install php5-mbstring
Download/Clone/Unpack the whole script to a folder you like. Create a php webserver listening on port 4322, you can change the port to whatever you want. Start this with the same user that can execute the gpio executable. Please do not use apache or other server's to run the php script, it will probably not work.
php -S 0.0.0.0:4322 -t YOURPATHTSCRIPTFOLDER > /dev/null 2>&1 &
Open the webpage with http://IPTOYOURPI:4322
To enable autostart on reboot just add the following line to your crontab. Do this with the same user that can execute the gpio executable. No sudo required.
Add the following line to crontab with crontab -e to start the simple php webserver on reboot
@reboot php -S 0.0.0.0:4322 -t YOURPATHTSCRIPTFOLDER > /dev/null 2>&1 &
- If you have troubles with write permissions just give the
dataandtmpfolder the 777 permission.