ng2020-wechaty
Ng+ Developers Conference 2020 Keynote: Conversational AI, Chatbot, and Angular
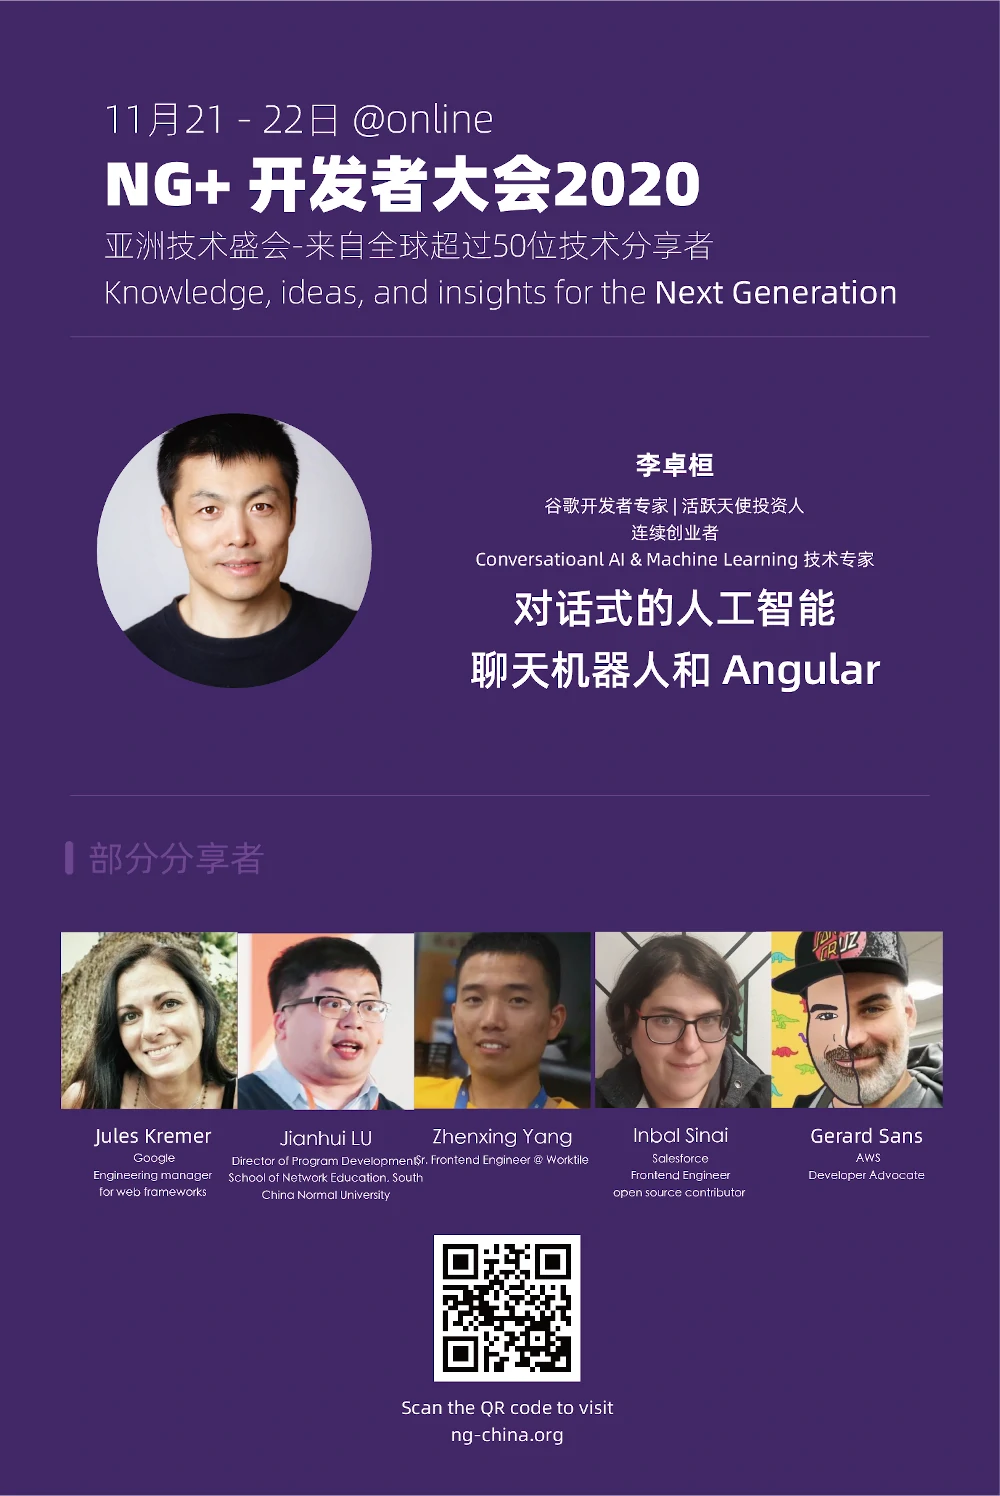
November 21 - 22 @online
Knowledge, ideas, and insights for the Next Generation
- ngChina 2020: https://ng-plus.dev
- ngChina 2019: https://ng-china.org
Slides

Google Slides https://docs.google.com/presentation/d/1Gd3D8bS6OifXDsdSe0x5i6XsP_uISX3W9tR8yBA0mYs/edit?usp=sharing
Requirements
- Wechaty Token
Wechaty Token: apply a token from Wechaty Puppet Service Providers
You can apply a Windows / Pad protocol token from our puppet service providers:
Create a Wechaty Hostie Token
Copy the following shell script and then paste it into the term of your server, to setup your Wechaty token:
export WECHATY_TOKEN=puppet_hostie_ng-plus-wechaty
# Set port for your hostie service: must be published accessible on the internet
export WECHATY_HOSTIE_PORT=8788

export WECHATY_PUPPET=wechaty-puppet-hostie
export WECHATY_PUPPET_HOSTIE_TOKEN=puppet_hostie_YOUR_TOKEN_AT_HERE
export WECHATY_LOG=verbose

docker run \
  --rm \
  -ti \
  -e WECHATY_LOG \
  -e WECHATY_PUPPET \
  -e WECHATY_PUPPET_HOSTIE_TOKEN \
  -e WECHATY_HOSTIE_PORT \
  -e WECHATY_TOKEN \
  -p "$WECHATY_HOSTIE_PORT" \
  wechaty/wechaty
Learn more: How to create your own Wechaty Hostie Token with the Web Protocol #1986 This step you will need a Wechaty Token for connecting to the Wechaty Puppet Service. Please read the issue wechaty/wechaty#1986 for how to make it by yourself.
Live Coding Explanation
We have four steps in our live coding, they are saved in four separate branches for easy loading and testing.
Step 1. ng new my-app
Branch: ng_china_2020_step_1_ng_new_my-app
npx --package @angular/cli ng new my-app
cd my-app
ng serve --open
Learn more from https://angular.io/guide/setup-local
Step 2. Wechaty
Branch: ng_china_2020_step_2_wechaty
npm i @chatie/angular brologapp.module.ts
import { WechatyModule } from '@chatie/angular'
@NgModule({
  imports: [
    WechatyModule,
    ...
  ],
  ...
app.component.html
<wechaty
  #wechaty
  token="puppet_hostie_ng-plus-wechaty"

  (heartbeat) = "onHeartbeat($event)"
  (scan)      = "onScan($event)"
  (login)     = "wechaty.startSyncMessage(); onLogin($event)"
  (message)   = "onMessage($event)"
>
</wechaty>
Step 3. TensorFlow.js Toxicity
Branch: ng_china_2020_step_3_toxicity
npm install @tensorflow/tfjs
npm install @tensorflow-models/toxicity

ng generate service toxicity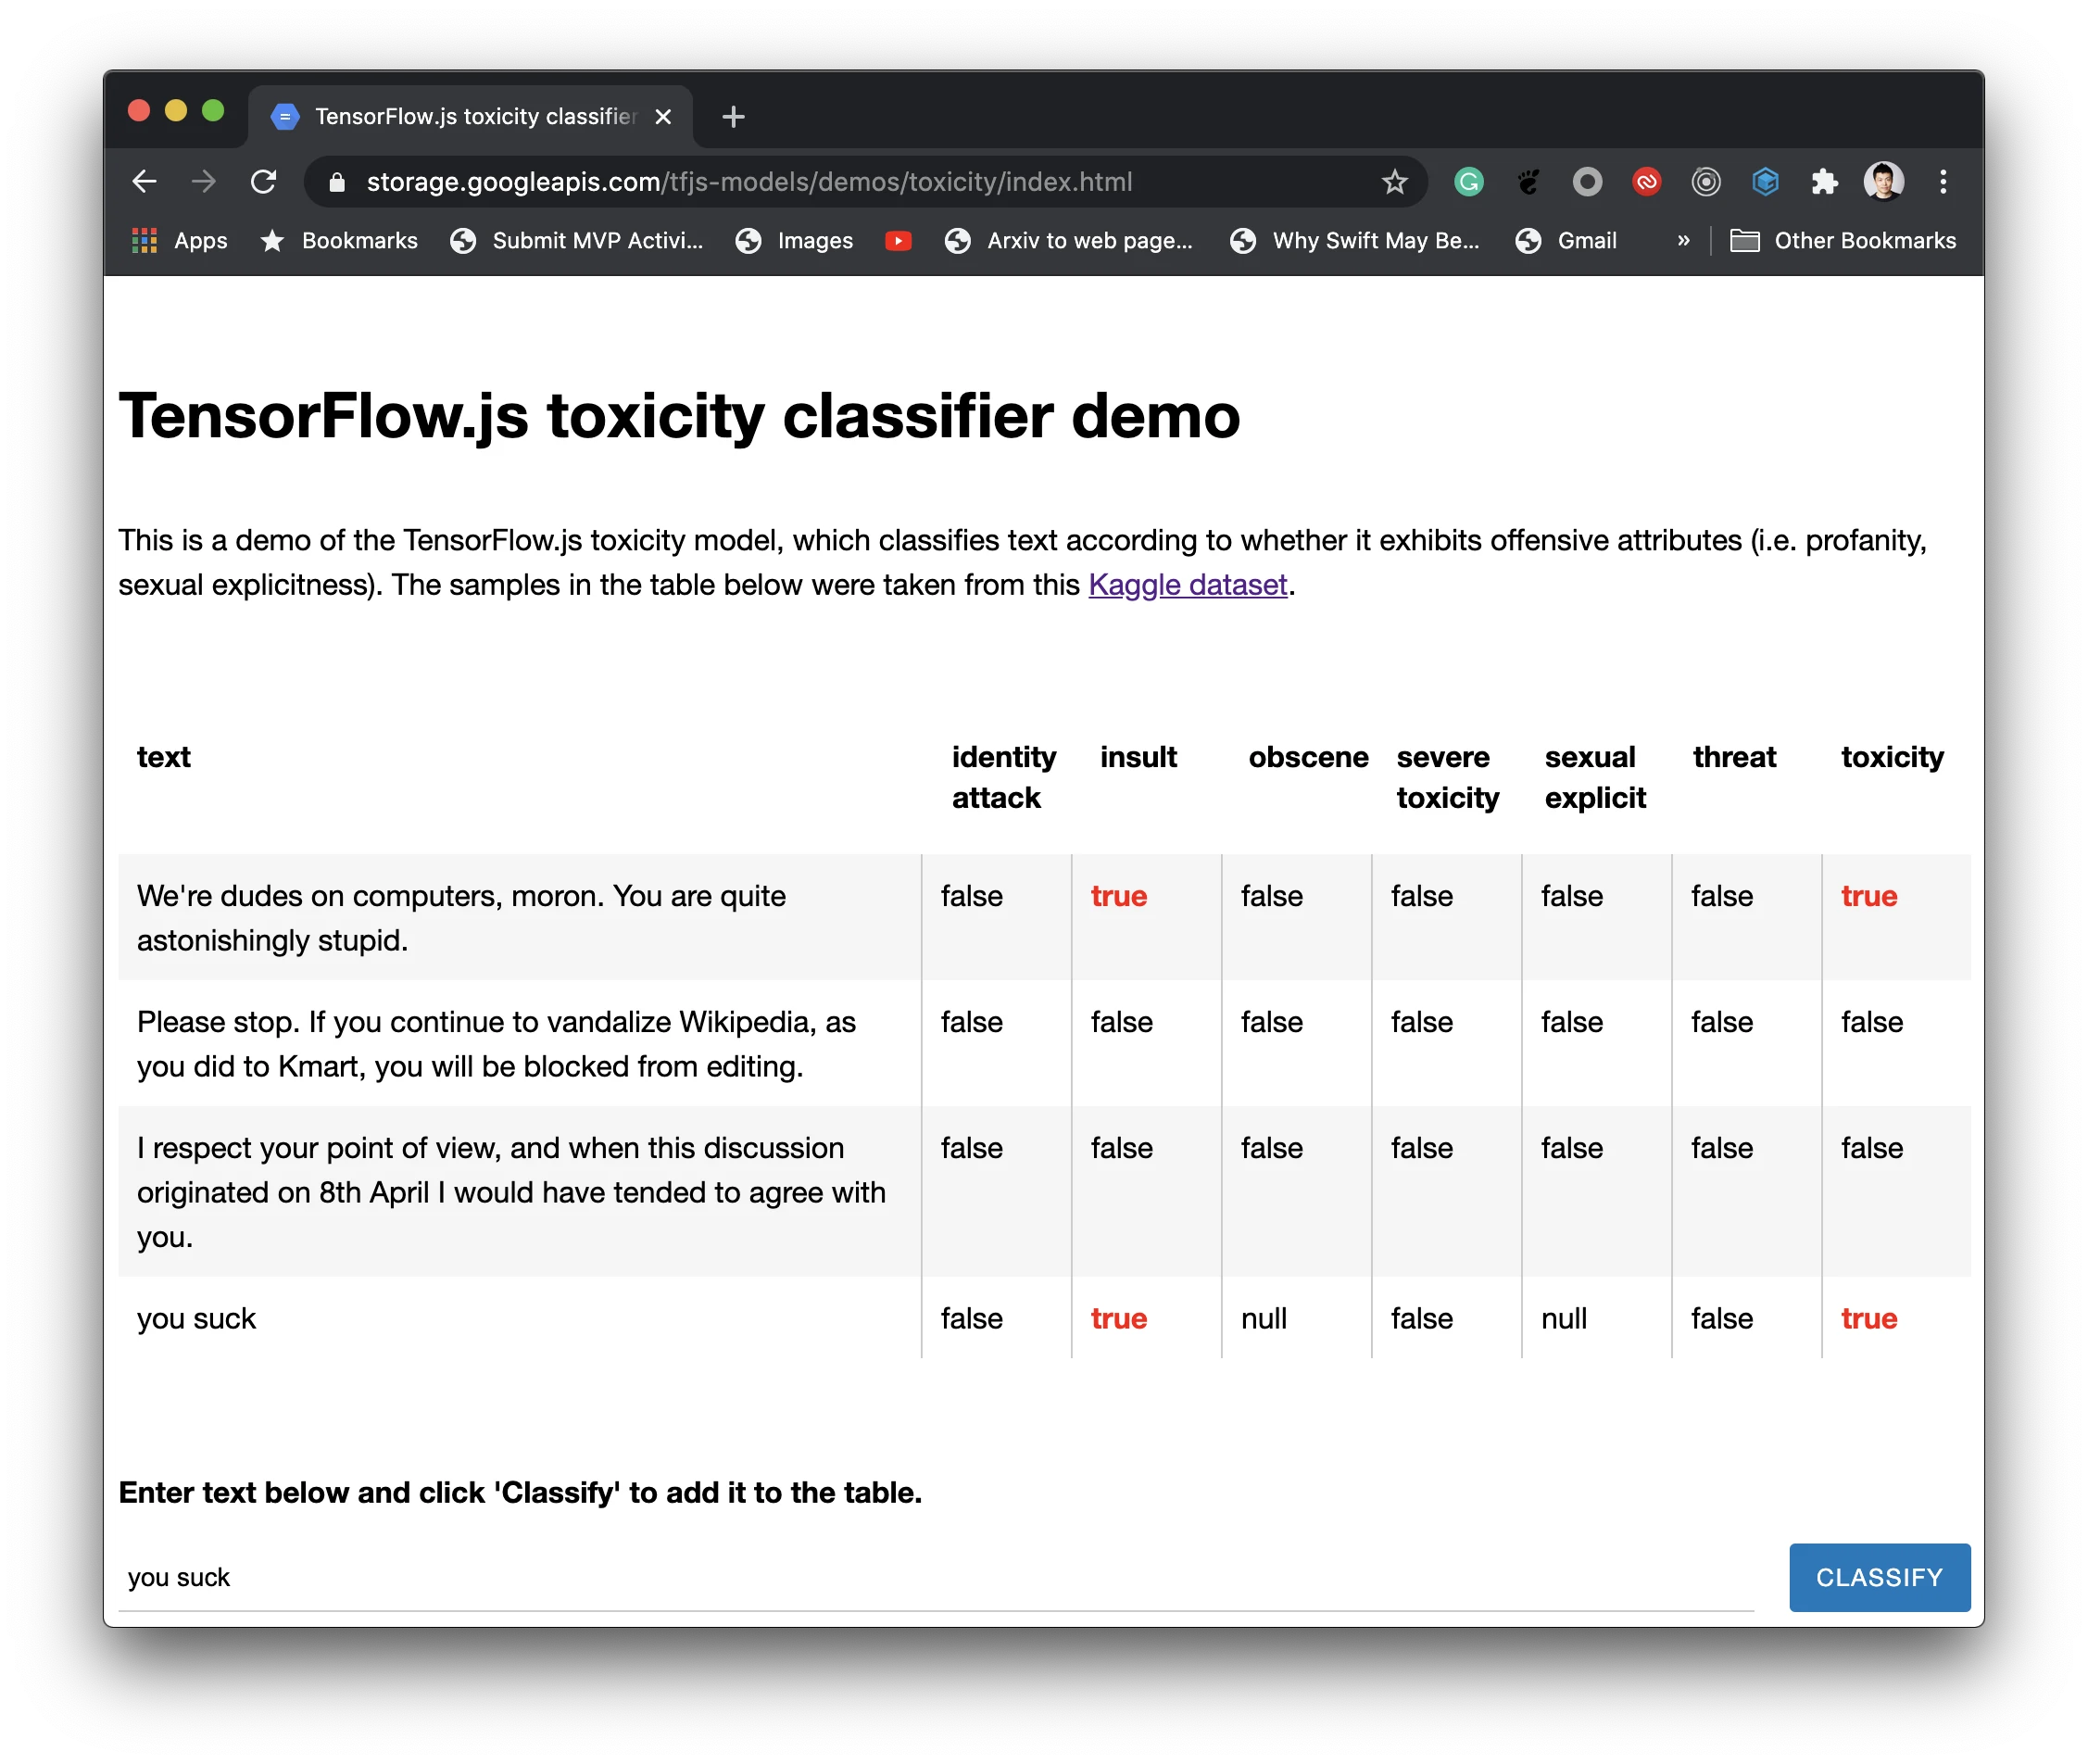
Learn more:
- TensorFlow.js models: toxicity classifier source
- TensorFlow.js toxicity classifier demo: This is a demo of the TensorFlow.js toxicity model, which classifies text according to whether it exhibits offensive attributes (i.e. profanity, sexual explicitness).
- Text classification using TensorFlow.js: An example of detecting offensive language in browser
The traffic light code is copy/pasted from this great tutorial: Stop in the Name of the Traffic Light
4. TensorFlow.js QnA
To be written.
Branch: step_4_tensorflow-models_qna
npm install @tensorflow-models/qna// to be writtenLearn more:
- TensorFlow.js models: Question and Answer source Use a pre-trained model to answer questions based on the content of a given passage.
- TensorFlow.js models: Question and Answer demo
- TensorFlow Blog: Exploring helpful uses for BERT in your browser with Tensorflow.js
Resources
- TensorFlow.js Tutorials
- TensorFlow.js Models
- TensorFlow.js Demos
- TensorFlow.js Examples
- TensorFlow.js Gallery
Author
Huan LI (李卓桓), Google Machine Learning Developer Expert, zixia@zixia.net

Copyright & License
- Docs released under Creative Commons
- Code released under the Apache-2.0 License
- Code & Docs © 2020 Huan LI <zixia@zixia.net>