Vote Chatbot for Zoom
This is a sample Chatbot app using the Zoom Chatbot NPM Package.
To run the completed Chatbot code locally or deploy it to a live server, continue reading below.
Local/Development Setup
To run the completed Chatbot locally, follow these steps,
-
In terminal:
$ git clone https://github.com/zoom/vote-chatbot.git$ cd vote-chatbot$ npm install$ touch .env -
Add this code to your
.envfile, replacing theRequiredtext with your respective Development Zoom Chatbot API credentials.client_id=Required client_secret=Required verification_token=Required bot_jid=Required slash_command=Required -
In terminal:
$ npm run startor$ nodemon(for live reload / file change detection)$ ngrok http 4000(ngrok turns localhost into live server so slash commands and user actions can be sent to your app) -
Open your ngrok https url in a browser, you should see this,
Welcome to the Vote Chatbot for Zoom! -
On your App Marketplace Dashboard, add your ngrok https url to your Whitelist URLs (App Credentials Page), Development Redirect URL for OAuth (App Credentials Page), and Development Bot Endpoint URL (Features Page). Make sure to match the path after your ngrok https url with the express routes in index.js.
In order to click the Save button on the Features page when adding a Slash Command and Development Bot Endpoint URL, you have to provide a Production Bot Endpoint URL. Feel free to use https://zoom.us as a placeholder.
After that, your app is ready to be installed!
-
On your App Marketplace Dashboard, go to the Local Test page and click Install. After you click the Authorize button, you should be taken to your redirect url and see this,
Thanks for installing the Vote Chatbot for Zoom! -
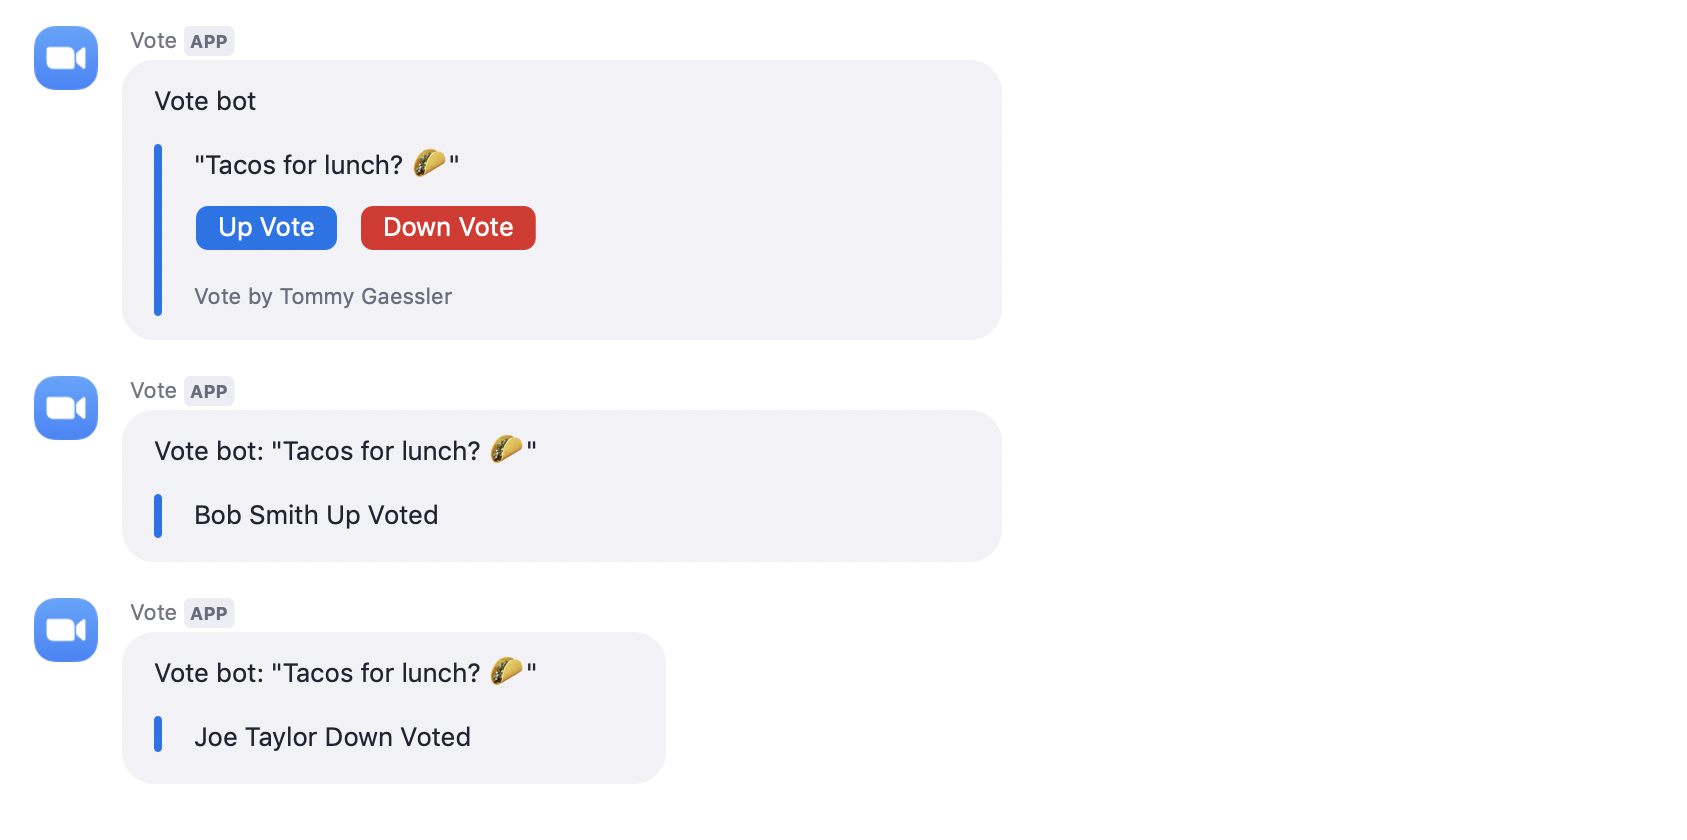
Now that your Chatbot is installed on your Zoom account, go to a Zoom Chat channel and type,
/vote Tacos for lunch?
Production Setup
To run the completed Chatbot on a live server, follow these steps,
-
Click the Deploy to Heroku Button,
-
Fill in your Production Zoom Chatbot API credentials in the Config Vars section.
-
Click Deploy app.
-
On your App Marketplace Dashboard, add your Heroku url to your Whitelist URLs (App Credentials Page), Production Redirect URL for OAuth (App Credentials Page), and Production Bot Endpoint URL (Features Page). Make sure to match the path after your Heroku url with the express routes in index.js.
-
On your App Marketplace Dashboard, go to the Submit page and click Add to Zoom. After you click the Authorize button, you should be taken to your redirect url and see this,
Thanks for installing the Vote Chatbot for Zoom! -
Now that your Chatbot is installed on your Zoom account, go to a Zoom Chat channel and type,
/vote Tacos for lunch?

Need Support?
The first place to look for help is on our Developer Forum, where Zoom Marketplace Developers can ask questions for public answers.
If you can’t find the answer in the Developer Forum or your request requires sensitive information to be relayed, please email us at developersupport@zoom.us.