Purpose
- Present an opinionated take on a water-cooled, medium/high-end gaming PC.
- Solicit feedback from nerd friends on this opinionated take.
- Act as a detailed parts list for McGarvey's new gaming PC build.
- Avoid some of the obvious mistakes Chinigo made during his recent gaming PC build.
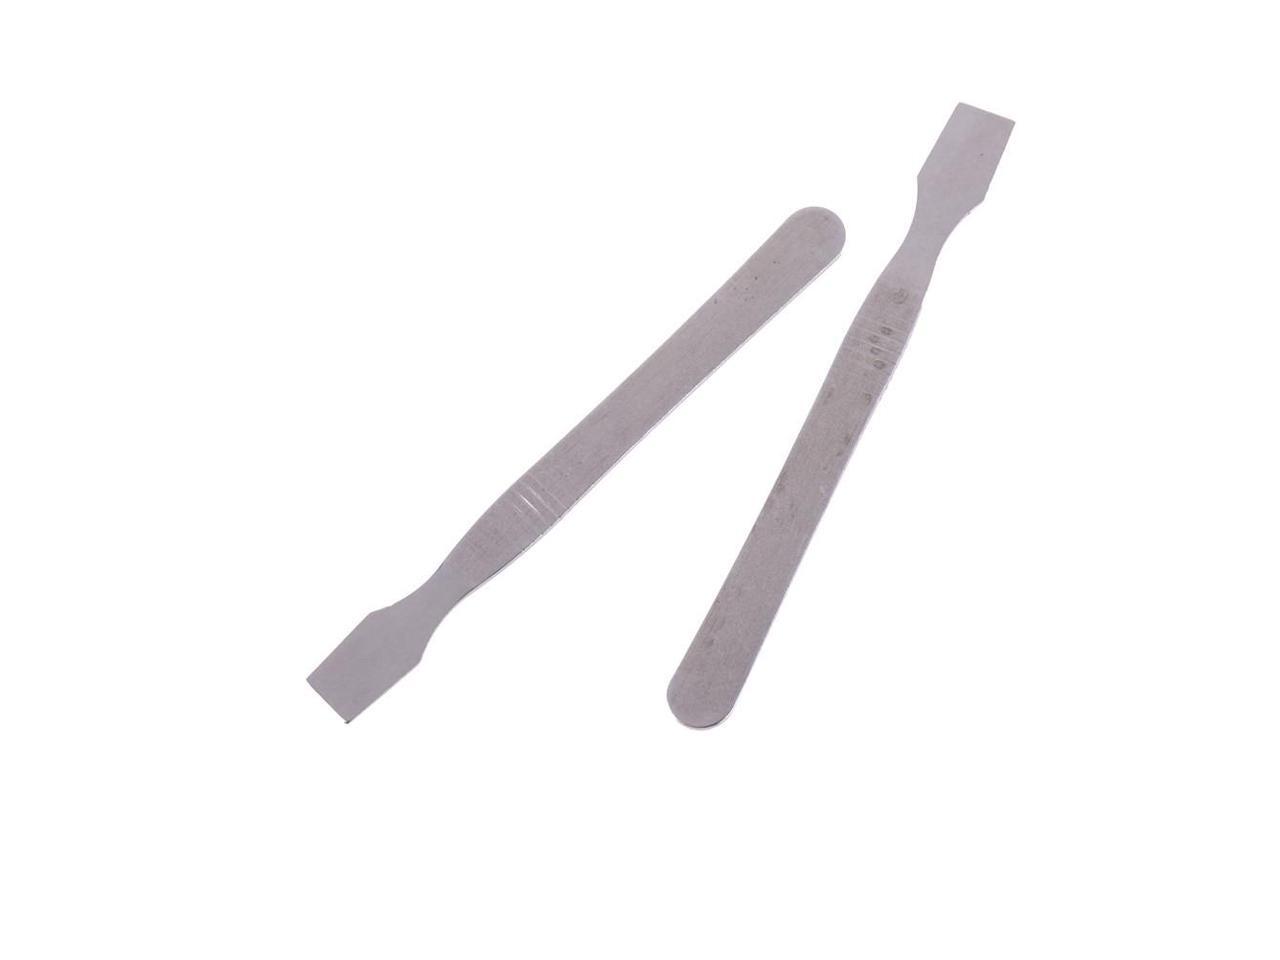
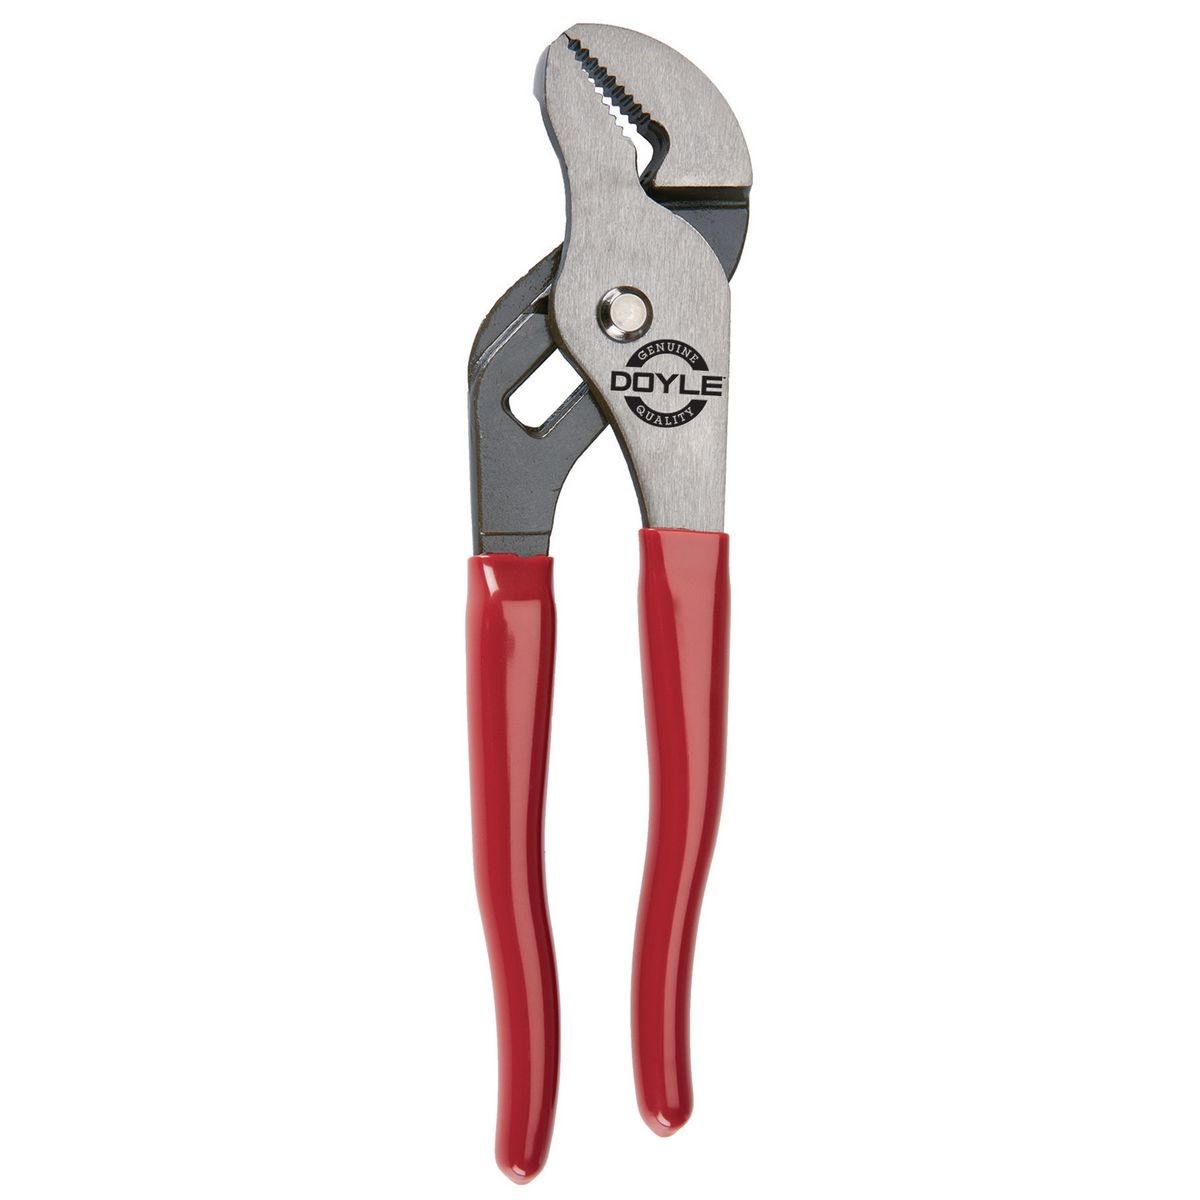
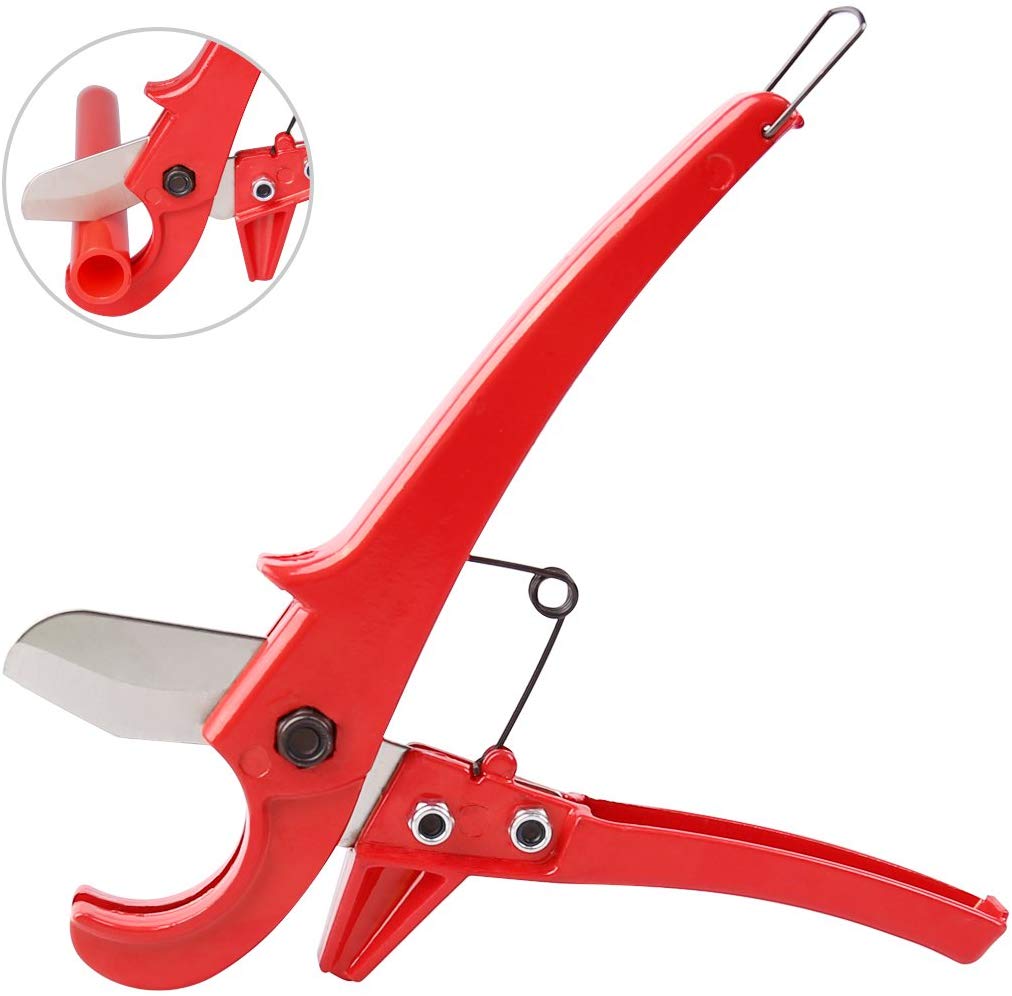
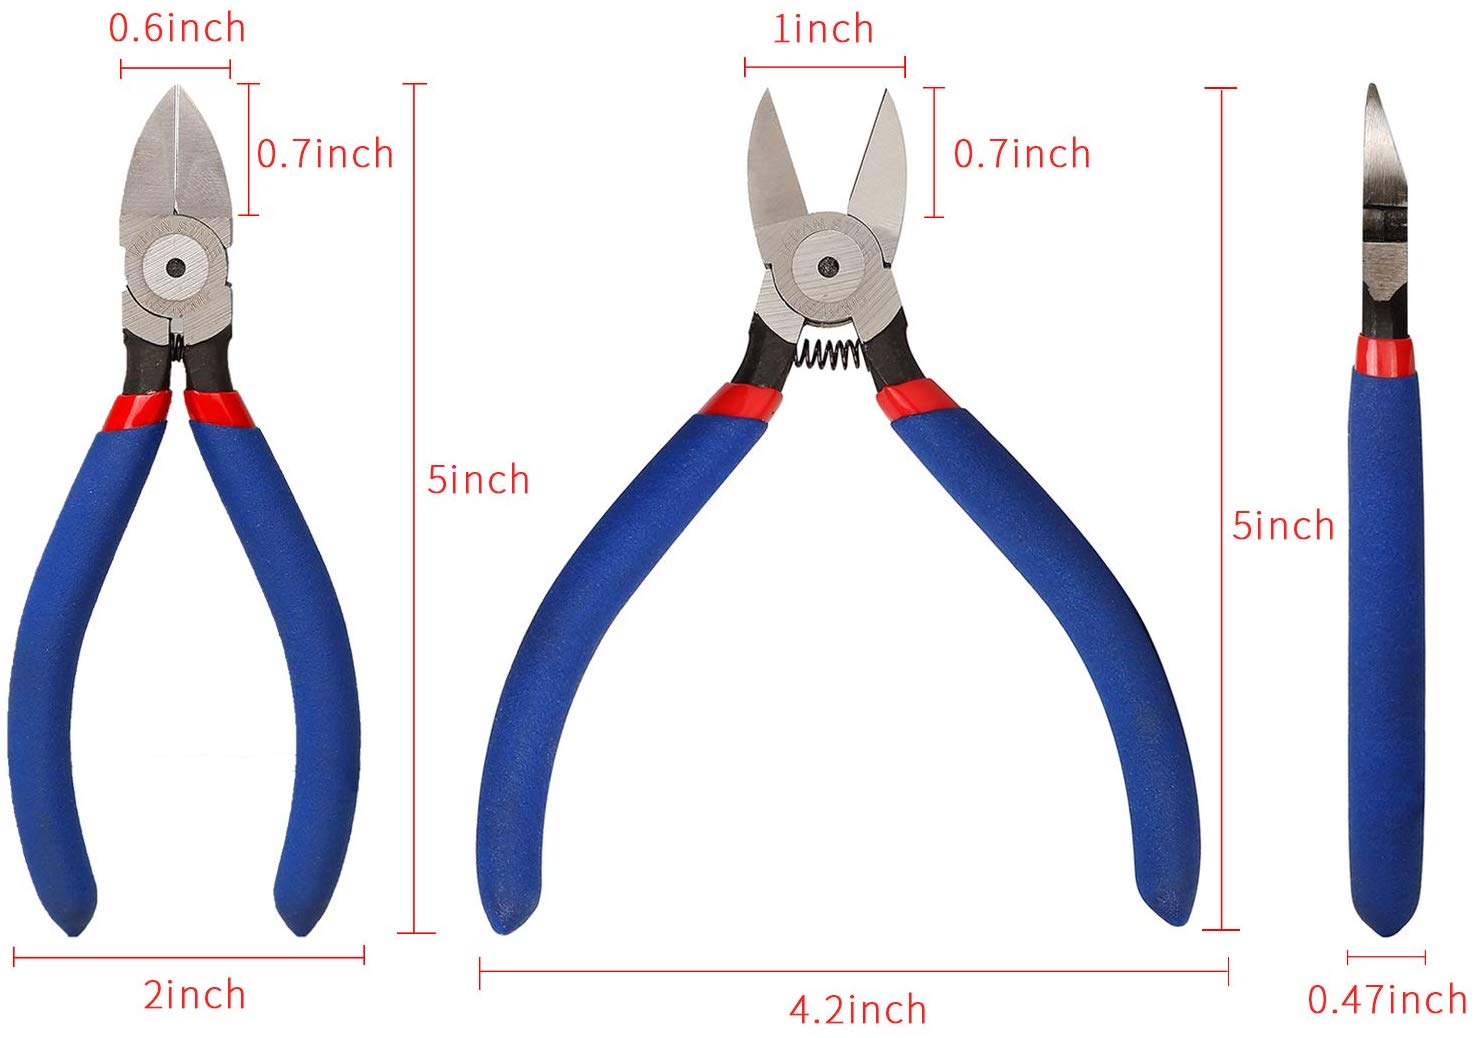
- Act as checklist for the tools Chinigo will need to loan to McGarvey.
- Act as checklist for steps to actually build the thing.
Parts
McGarvey's Picks
| Type | Item | Price |
|---|---|---|
| CPU | AMD Ryzen 9 3900X 3.8 GHz 12-Core Processor | $493.84 @ Amazon |
| Video Card | Gigabyte Radeon RX 5700 XT 8 GB GAMING OC Video Card | $399.99 @ Newegg |
| Motherboard | ASRock X570 Taichi ATX AM4 Motherboard | $295.99 @ Amazon |
| Memory | Corsair Vengeance LPX 16 GB (2 x 8 GB) DDR4-4266 Memory | $239.99 @ Amazon |
| Storage | Samsung 970 Evo 1 TB M.2-2280 NVME Solid State Drive | $169.99 @ Best Buy |
| Case | Lian Li PC-O11 Dynamic ATX Full Tower Case | $139.00 @ Adorama |
| Power Supply | Corsair RM (2019) 750 W 80+ Gold Certified Fully Modular ATX Power Supply | $109.99 @ Best Buy |
| CPU Cooler | Alphacool Eisbaer 360 63.85 CFM Liquid CPU Cooler | $174.95 @ Amazon |
| Reservoir | TBD | |
| Pump | TBD | |
| Radiator | TBD | |
| CPU water block | TBD | |
| GPU water block | TBD |
Components
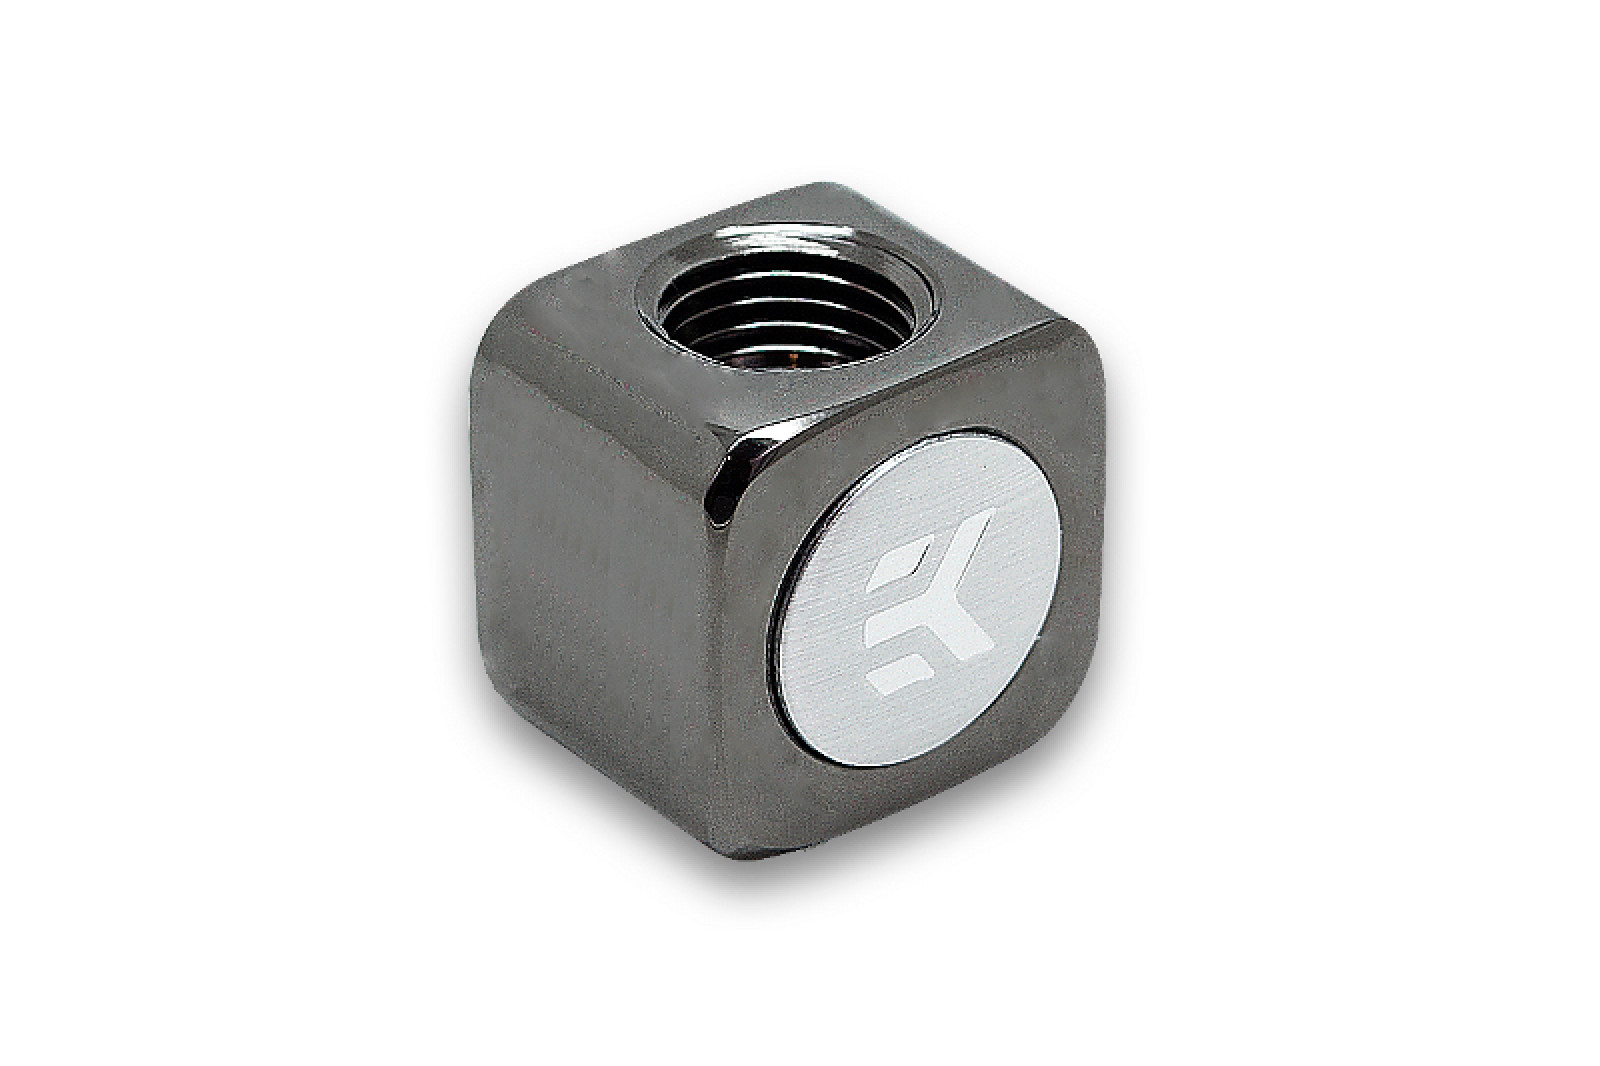
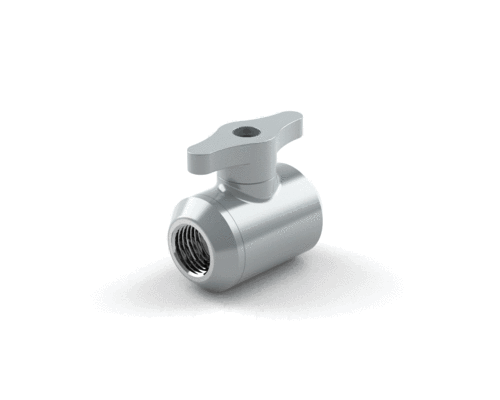
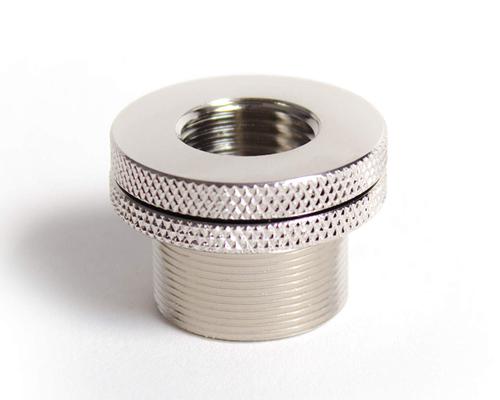
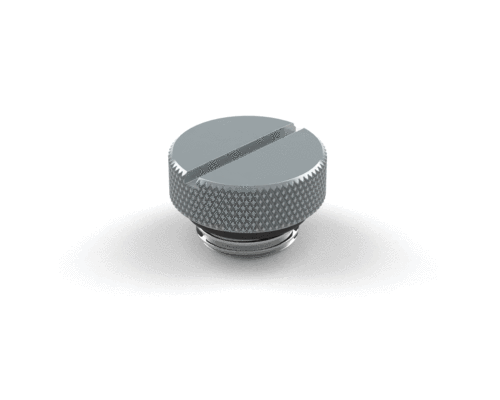
Fittings + Plumbing
All fittings need to match your tubing diameter (the component-side is a standard size, don't worry about it).
Tools
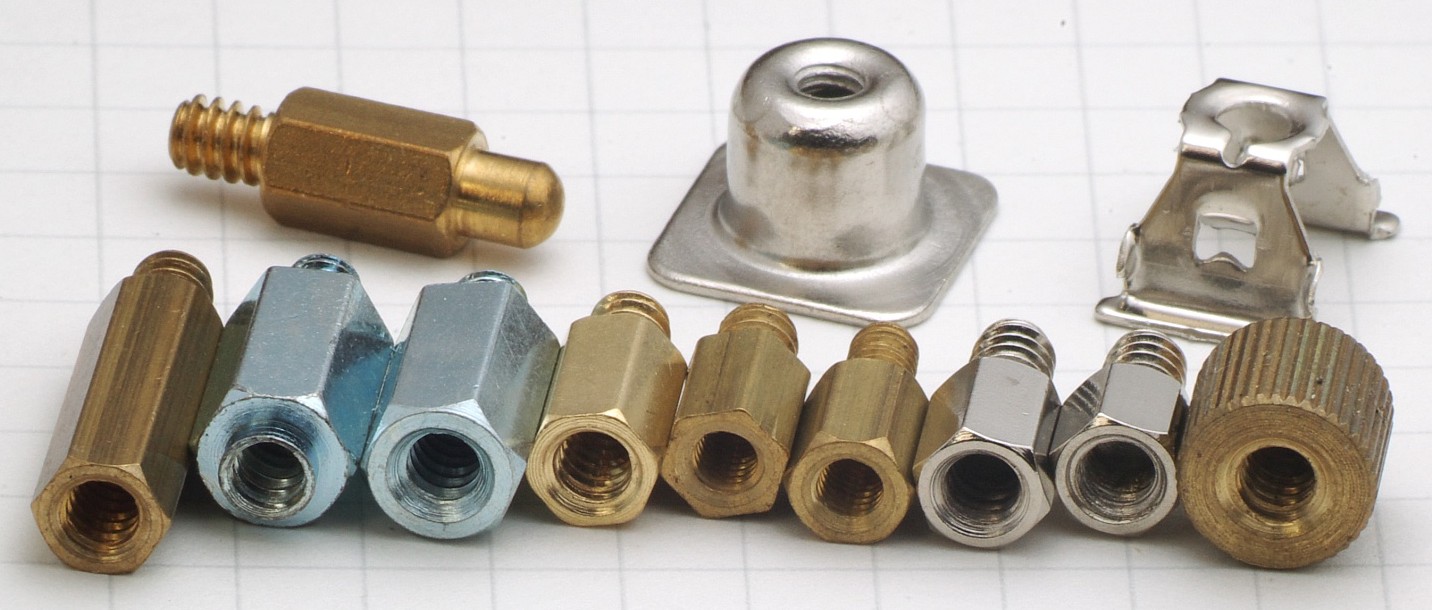
Hardware
Supplies
| Supply | Purpose | Chinigo has? | Notes |
|---|---|---|---|
| Thermal paste | Ensure good thermal transfer between CPU/GPU's IHS and cooler/water block | Y | Hopefully you're not slopping enough of it on to short a component, but get a nonconductive one anyhow just to be safe. Spreading the paste is a bit of an art. |
| Q tips | Cleaning thermal paste off chip | Y | You'll need to strip the thermal paste off at least once – when you temporarily mount the CPU's air cooler, before you've tested your GPU water cooling. Also if you screw up. |
| Paper towels | Cleaning thermal paste | N | Get your own damned paper towels. |
| Gauze | Cleaning thermal paste | N | Good for a final pass because, unlike paper towels, gauze doesn't leave any lint behind. |
| Rubbing alcohol | Cleaning thermal paste | Y | Ok, now this I have way too much of. I accidentally bought four cases of rubbing alcohol off Amazon instead of four bottles. |
| 1 gal distilled water | Flush loop | N | |
| Dilute acetic acid (white vinegar) | Flush loop | N | For a copper radiator. Other metals may require different solvents. |
| Dilute sodium bicarbonate (baking soda) | Neutralize acetic acid | N | Don't want that vinegar hanging around to corrode after your rinse. |
| 1 gal premixed coolant | Coolant | N | Don't mix and match: different brands may have incompatible chemistries. |
| OR mix your own! | Coolant | N | Distilled water + biocide + anti-corrosive. |
Steps
1. Dry fit
- Mount all the components in case to get a sense of possible layouts, fan placements, clearances, tube routing, cable routing, etc.
2. Core components test
- Mount motherboard in case.
- Mount CPU.
- Mount air cooler.
- Seat one stick RAM.
- Hook up PSU temporarily.
- Boot test (success = BIOS screen).
3. Additional components test
- Seat NVMe.
- Seat GPU.
- Seat all RAM.
- Mount SSD.
- Run cables.
- Hook up PSU temporarily.
- Boot test with video hooked up to GPU. (Success = BIOS aware of drives and video comes out of GPU.)
4. Mount GPU water block
- Remove factory housing, disconnect fan.
- Clean off factory thermal paste.
- Cut & place thermal pads.
- Spread thermal paste.
- Mount water block.
- Connect compression fittings.
- Seat GPU.
5. Mount CPU water block
- Remove air cooler.
- Clean off old thermal paste.
- Spread thermal paste.
- Connect compression fittings.
- Mount water block.
6. Flush radiator
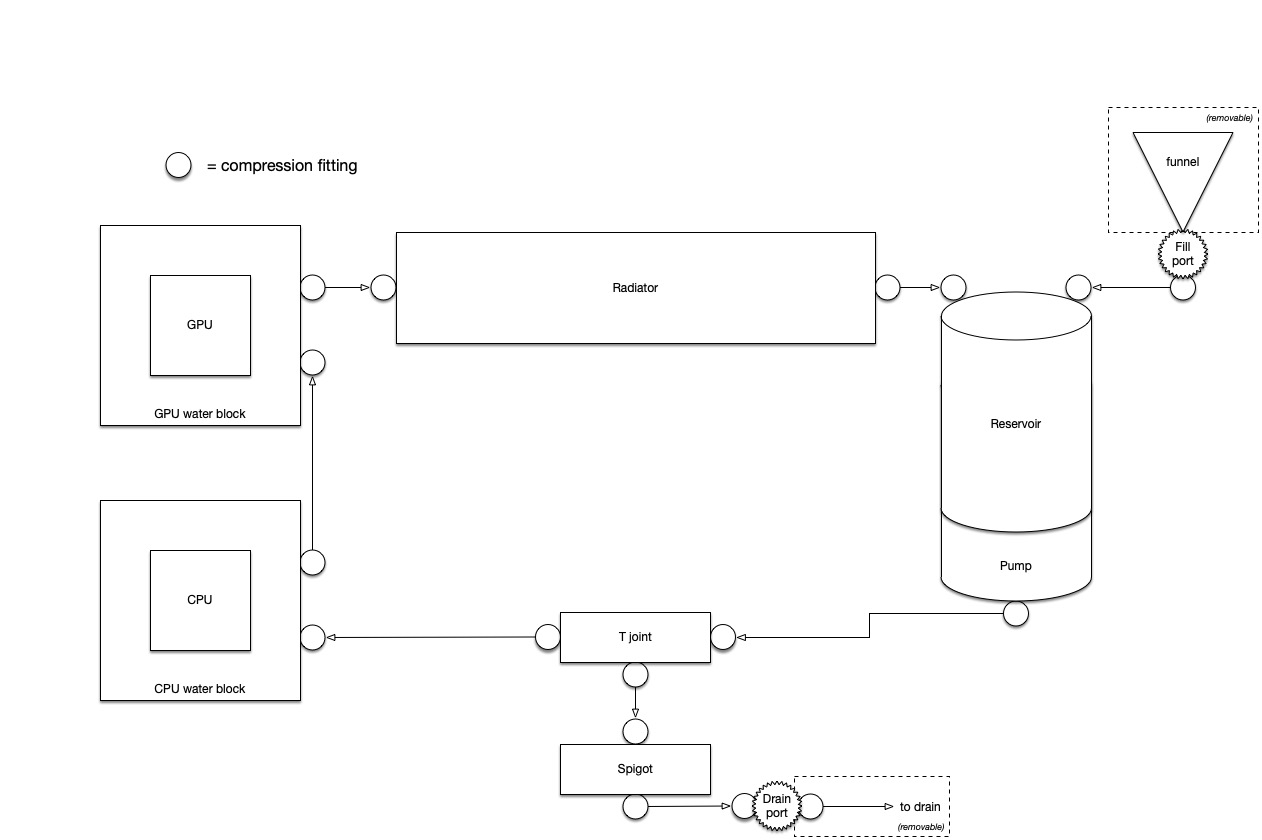
- Outside of case (or temporarily mounted, whatever's easier), run tubing between radiator and pump/reservoir. Plumb in a T joint, a spigot, and a drain tube.
- Mount motherboard, CPU w/air cooler, 1 stick RAM.
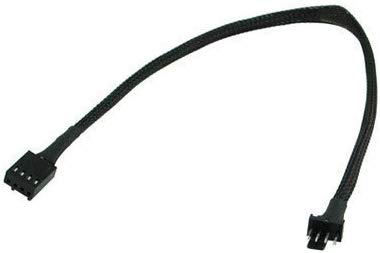
- Connect power supply to motherboard, and pump to CPUFAN1.
- Fill reservoir with dilute acetic acid (5% - 10%). Warm is good, but not necessary: time can substitute for temperature. Def don't want boiling!
- Boot to BIOS, run pump for an hour or so.
- Open spigot, drain most fluid with pump (but never run pump dry!!), refill w/dilute bicarbonate solution.
- Flush loop once with dilute bicarbonate solution to neutralize. (Never run pump dry!!)
- Flush loop with distilled water until clear (say, 3x). (Never run pump dry!!)
- Drain loop most of the way with pump. Drain loop completely by tilting and shaking. (Never run pump dry!!)
- Disconnect everything.
7. Cooling system
- Remove all components except CPU & 1 stick RAM.
- Mount reservoir & pump.
- Screw fill port and drain port into case.
- Mount radiator fans to radiator.
- Mount additional case fans.
- Mount radiator to case.
- Cut & run flex tubing between components. Hand tighten compression fittings only, but tighten them good!
- Plumb spigot to dedicated pump drain outlet (if pump has one), or add a T joint in the outlet line (if not).
- Plumb spigot outlet to drain port.
- Plumb fill port to top of reservoir.
- Fill reservoir via fill port.
- Boot to BIOS. Be ready to add coolant as pump runs: the coolant level will drop as the fluid in the reservoir gets sucked into the loop. (Never run pump dry!!)
- Run pump for a while to confirm no leaks. Note level of coolant in reservoir w/masking tape, drop tissue or construction paper across bottom of case so you'll see any drips. Confirm everything's dry and coolant level hasn't moved after an hour or so.
8. Full system test
- Seat all components again.
- Run cables. Don't lock them down yet.
- Connect video output to onboard, disconnect GPU power (you don't want to run the GPU until you can monitor its temp, in case you fucked up GPU water block).
- Boot to BIOS.
- Configure fan curves from BIOS.
- Confirm BIOS aware of all components.
- Keep an eye on CPU temps while you're poking around. They should be nominal, this is as low a load as system will ever encounter.
9. Install Windows
- Install Windows.
- Install latest Radeon drivers.
- Install FPSMonitor, copy Chinigo's config.
- Install Passmark or something to generate a buncha CPU and GPU load
10. GPU test
- Connect GPU power, connect video out to GPU.
- Boot to Windows.
- Monitor GPU & CPU temps as you run the full Passmark suite. Slam it with load to establish temps under max thermal load.
11. Final touches
- Lock down wiring.
12. Overclock GPU
- I got a 4% overall boost to clock speed without too much effort. Surprisingly straightforward.
- Confirm temps are acceptable w/increased thermal load due to overclocking.
13. Overclock CPU
- GPU is likely the bottleneck for most graphically-intensive games, but why not OC the CPU too? You've got oodles of cooling capacity to spare.
