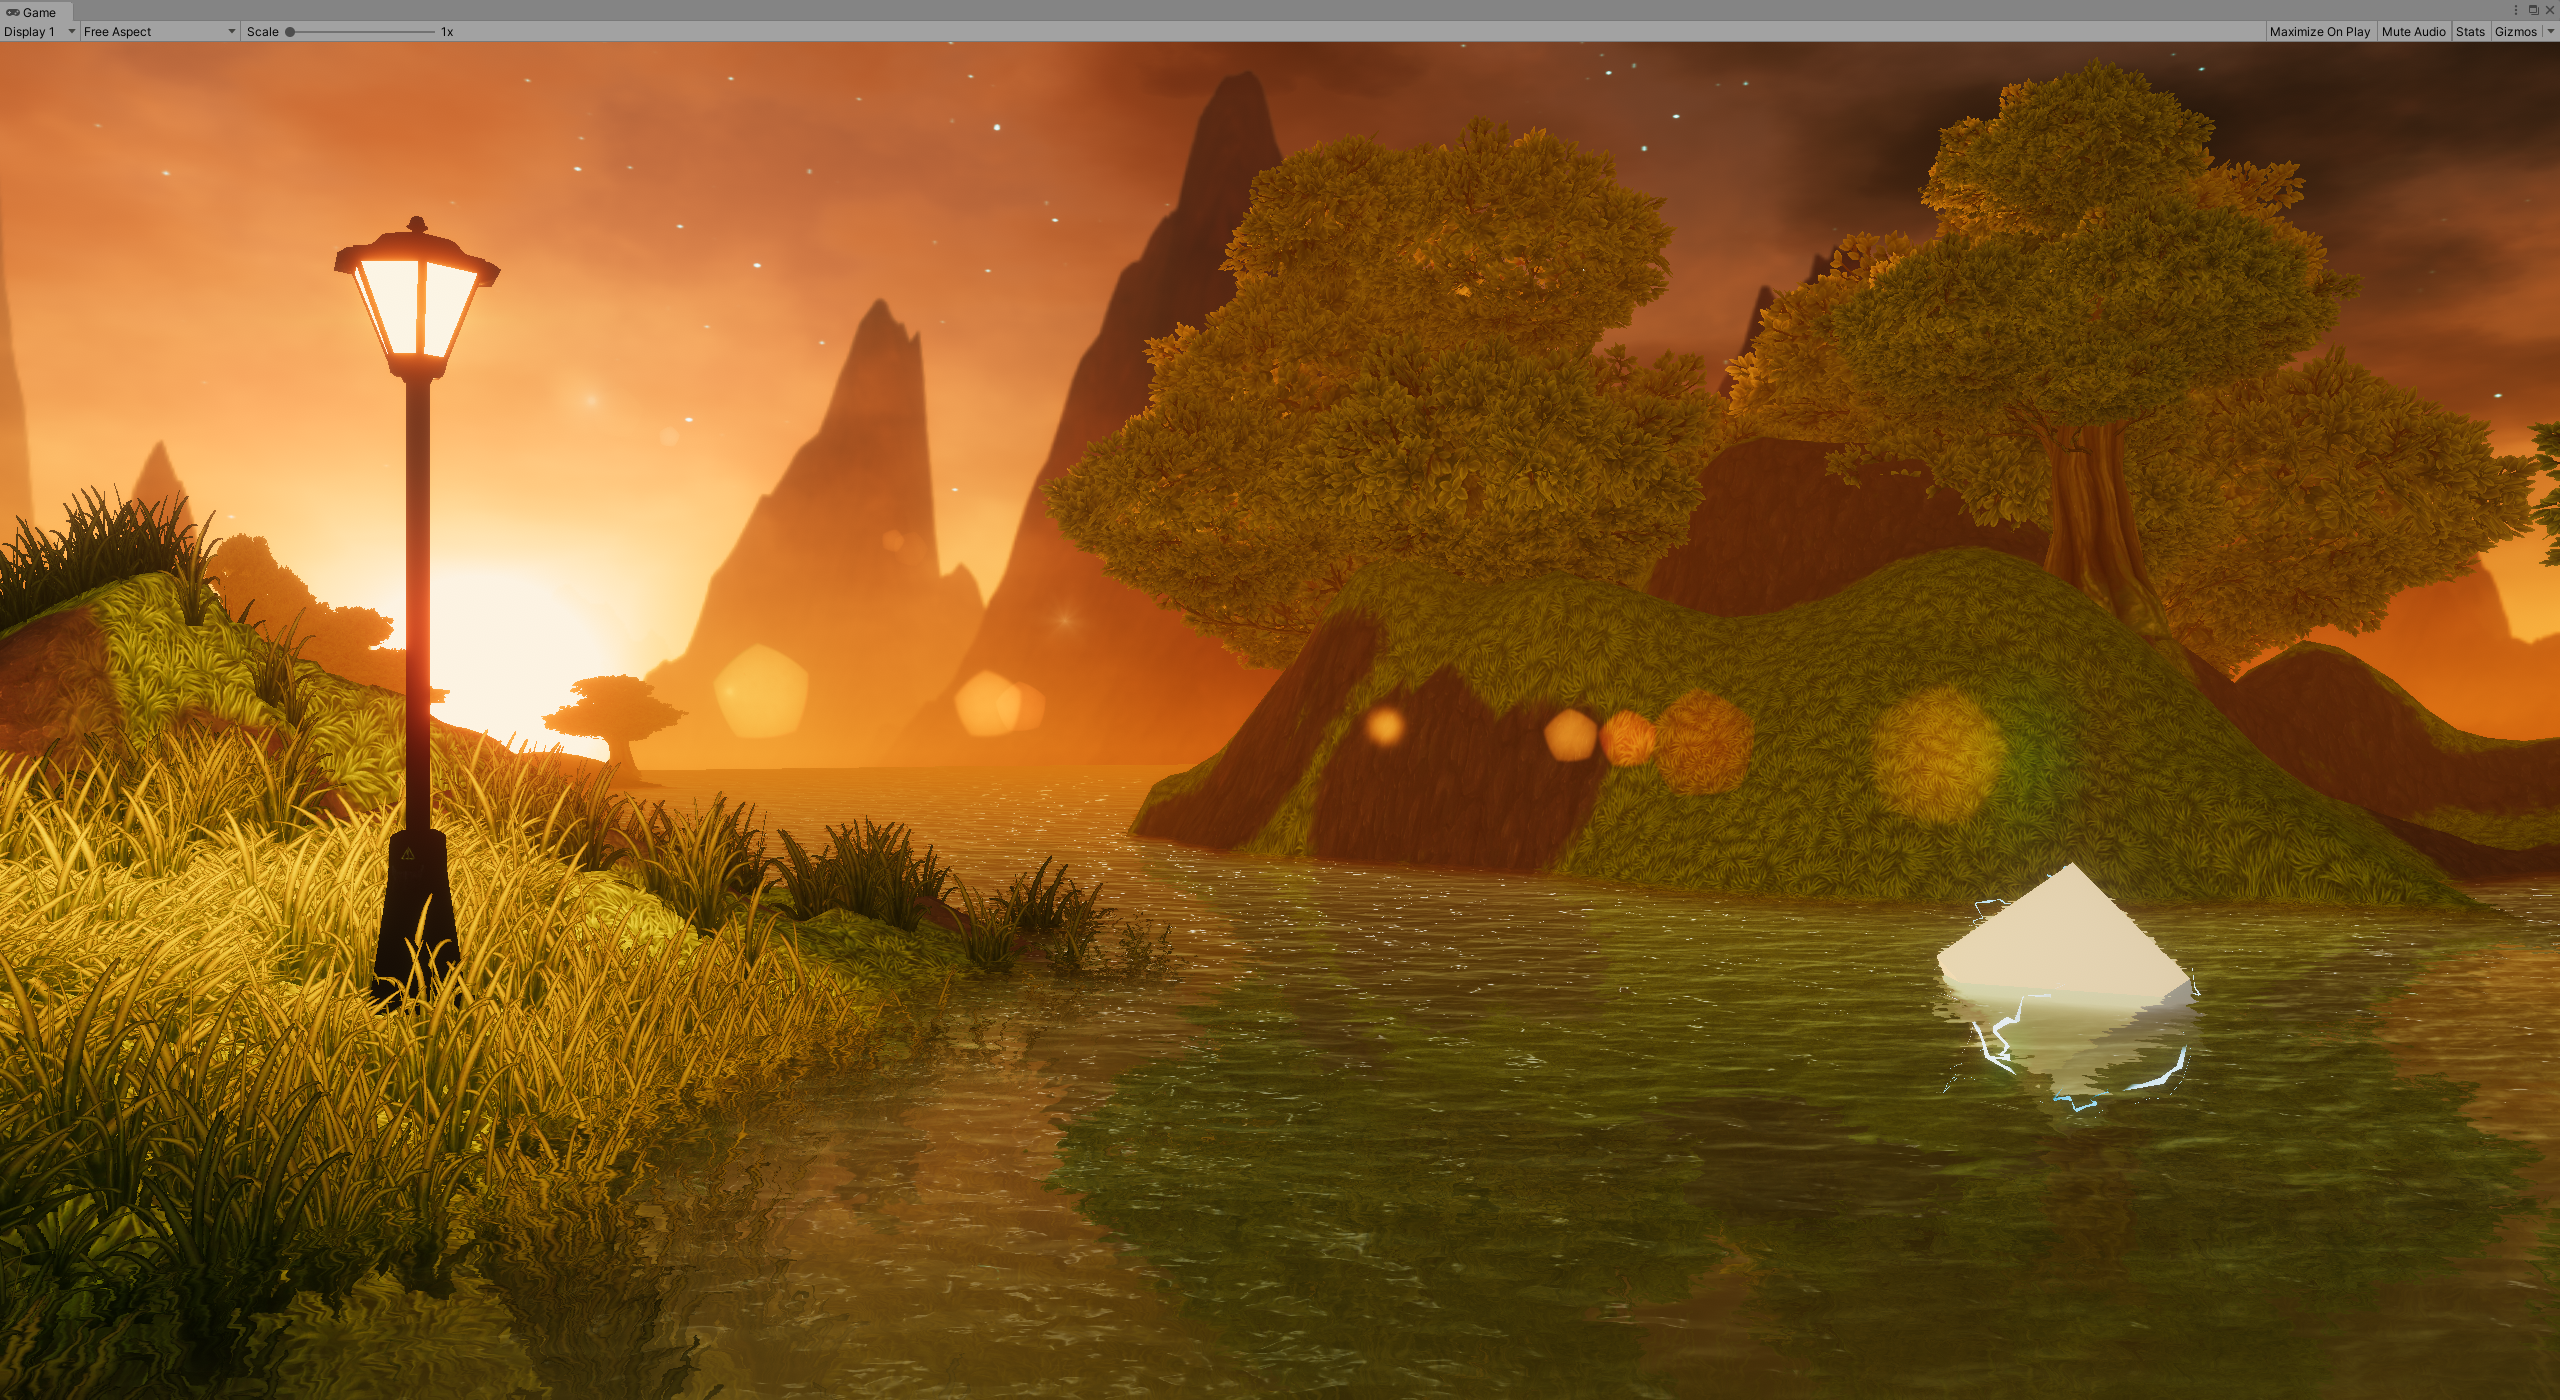
This is a Lens flare render system by render quad meshes in front of your camera. So it can be used in any render pipeline.
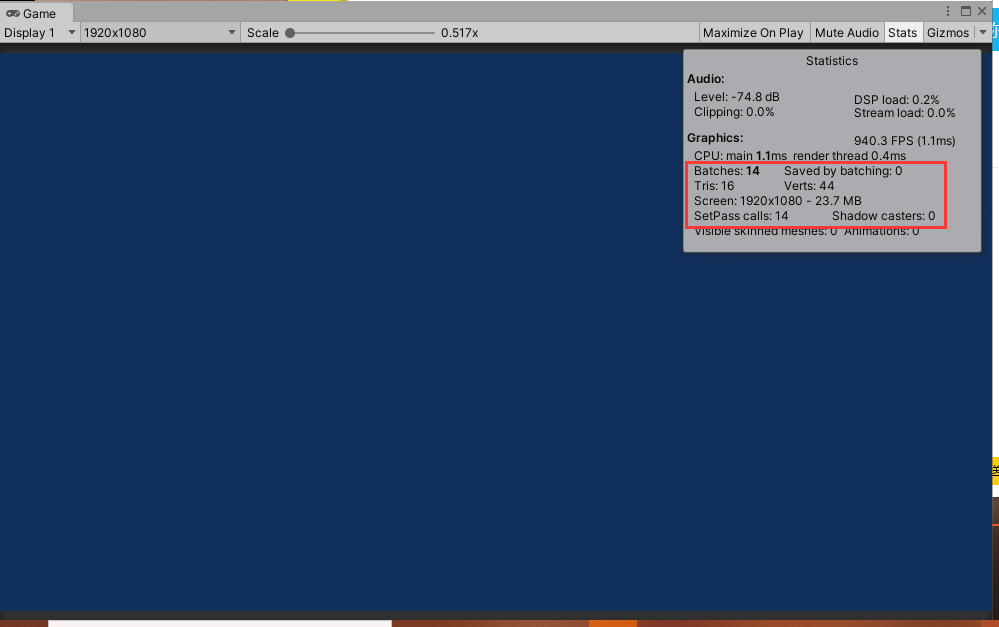
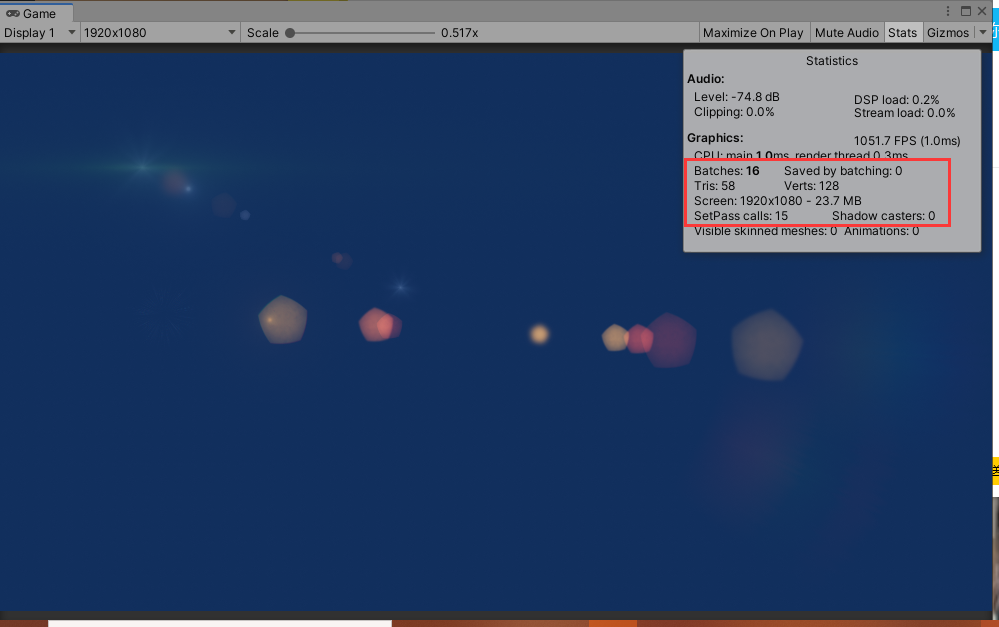
These system support multiple lens flares at the same time, and each flare line cost one draw call.
In this version, flare atlas is separated by Sprite Editor, you need to change the "Texture Type" setting of atlas to "Sprite(2D and UI)", and change "Sprite Mode" setting to "Multiple",then separate the atlas to several sprite cell by yourself.
Download this repository to your computer.
You should take care that this solution based on URP(with default settings, but it can use in build-in render pipeline by change some code)
Open the project you can see these Files :

Move your cursor to project view, right-click and find the option: Create URPFlareData to create a new flare data.

Then you can see the default settings in Inspector view when the asset was chosen.

There are 4 global properties to set flare asset.

Choose the flare atlas you need.
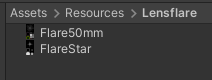
Caution: In the latest version, the flare texture must be saved in Resources folder, or it will not be loaded. I'm still trying to find a more convenient way.
Lens flare will change the sprite scale while they are fading in or fading out
Lens flare will change the sprite Alpha while they are fading in or fading out
There are several prepared model to slicing atlas, you are easily to find the difference between them. Choose the right one so that your atlas will not be separated incorrectly. Other implementation methods are in research.
Lens flares based on a series of lined up sprites. So that we need to set every sprite pieces in flare assets. Click the separated atlas piece to create new flare piece. You can see following settings added in Inspector view.

This solution search piece by setting index.you will find the index of every blocks on the board if you haven't chosen a sprite atlas. You can change this option to switch the piece you will use.
If chosen, this piece will rotate along with light source while it is moving in view.
If chosen, this piece will be influenced by the color and intensity of light source;
It controls the position where this piece will finally shown on screen.
The value based on the distance between light source and the center of display screen.
value = -1, this piece will coincide with the light source.
value = 0, this piece will coincide with the center of display screen.
You can overlying a color to change the result of this piece( coexistence with light source color)
This piece shown on the screen based on this property.
Click to remove this piece from flare pieces list.

Add URPFlareLauncher component to your game object. There are some settings based on light source, so that it requires Light component.
Now you can see launcher settings.

If the light source is directional light, set it true, otherwise set it false. This option will determine whether the flare will disappear or not if you are far away from the light source.
the intensity of light will influence the intensity of flare on this light source if you set it true.
Set the flare asset you want to use for this light source, it can't be null

Add URPLensFlare component to your camera, now you can see flare render settings.

There will render some line between real flare position and camera in scene view
Set a material to render your flare. Be sure that it is just used for flare, and in default settings, there must be a property called _BaseMap (you can change the name in URPLensFlare.cs, line 34, change the name in brackets to match your shader, and it will show that this system can run correctly in buildin render pipeline if you set matched properties in your shader. ).
Also you should known that lens flares are some transparency mesh, we need to set the render in transparent queue and in additive blend mode to show correctly. Be sure your shader in this material can make correct settings.
I recommend you to use Universal Render Pipeline / Particles / Unlit shader.
It shows how much time will cost to disappear the flares after light source disappeared from screen.