❗ SuperVessel upgrade is coming ❗
Start Date: 9-Jan-2019 8:00 am EST
End Date: 18-Jan-2019 8:00 am EST (All data will be deleted)
The hardware and software in NY site will be updated to the latest version, all users' dataset will be CLEANED.
Please back up important data immediately, all data will be permanently deleted after January 18th.
If you have any problems after this time frame with regard to connectivity, or if you have any questions regarding the >maintenance at any point, please mail to help@ptopenlab.com .
We appreciate your patience during this work and welcome any feedback.
Thank you.
Read this in other languages: 日本語.
In this Code Pattern, we will use PowerAI Vision Object Detection to detect and label objects, within an image, based on customized training.
This example can easily be customized with your own datasets.
An example dataset has been provided with images of Coca-Cola bottles. Once we train and deploy a model, we'll have a REST endpoint that allows us locate and count Coke bottles in an image.
Deep learning training will be used to create a model for Object Detection. With PowerAI Vision, deep learning training is as easy as a few clicks of a mouse. Once the task has completed, the model can be deployed with another click.
PowerAI Vision presents REST APIs for inference operations. Object detection with your custom model can be used from any REST client and can also be tested in the PowerAI Vision UI.
When the reader has completed this Code Pattern, they will understand how to:
- Create a dataset for object detection with PowerAI Vision
- Train and deploy a model based on the dataset
- Test the model via REST calls

- User uploads images to create a PowerAI Vision dataset
- User labels objects in the image dataset prior to training
- The model is trained, deployed and tested in PowerAI Vision
- User can detect objects in images using a REST client
- IBM Power Systems: A server built with open technologies and designed for mission-critical applications.
- IBM PowerAI: A software platform that makes deep learning, machine learning, and AI more accessible and better performing.
- IBM PowerAI Technology Preview: A complete ecosystem for labeling datasets, training, and deploying deep learning models for computer vision.
- Artificial Intelligence: Create apps that accelerate, enhance, and scale the human expertise.
- Node.js: An open-source JavaScript run-time environment for executing server-side JavaScript code.
This Code Pattern was built with the PowerAI Vision Technology Preview v3.0.
-
To try the preview using the
SuperVesselcloud, login or register here. -
If you have Power Systems and want to download an installer to deploy the preview on your own systems, register here.
NOTE: The steps and examples in this README assume you are using SuperVessel. For example, some URLs use
ny1.ptopenlab.com.
- Clone the repo
- Login to PowerAI Vision
- Create a dataset
- Create tags and label objects
- Create a DL task
- Deploy and test
- Run the app
Clone the powerai-vision-object-detection locally. In a terminal, run:
git clone https://github.com/IBM/powerai-vision-object-detection
If you are using SuperVessel, login here: https://ny1.ptopenlab.com/AIVision/index.html
PowerAI Vision Object Detection discovers and labels objects within an image, enabling users and developers to count instances of objects within an image based on customized training.
To create a new dataset for object detection training:
-
From the
My Data Setsview, click theAdd Datasetbutton and then selectFor Object Detectionin the pull-down.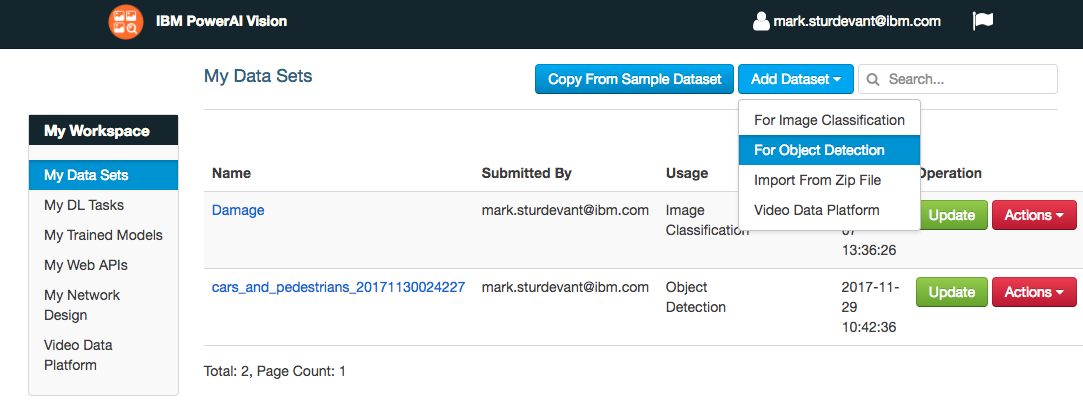
-
Provide a DataSet Name and click
Add Dataset.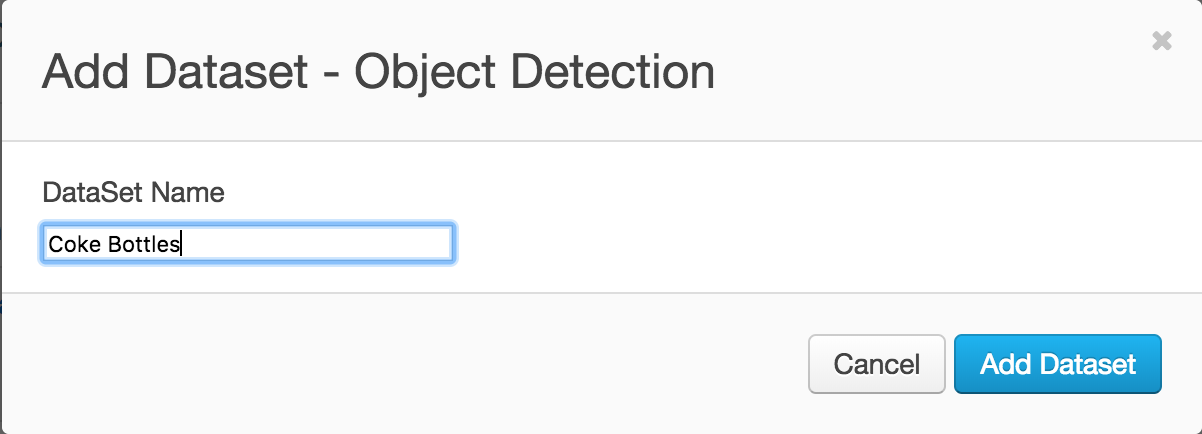
-
Upload one or more images using drag-and-drop or
Select some. You can use powerai-vision-object-detection/data/coke_bottles.zip from your cloned repo to upload many at once.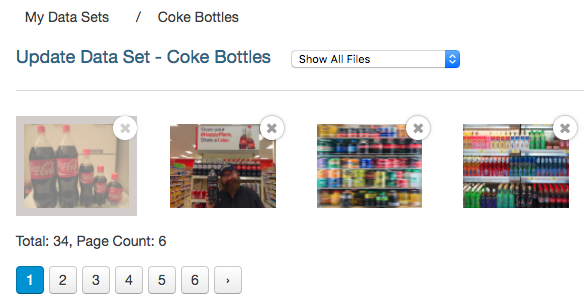
Note: If you are using your own zip file and do not see file thumbnails after the upload, then the upload failed. Use lowercase file names without special characters or spaces. You can also upload individual files or multi-select several at a time to determine which file caused the upload to fail.


-
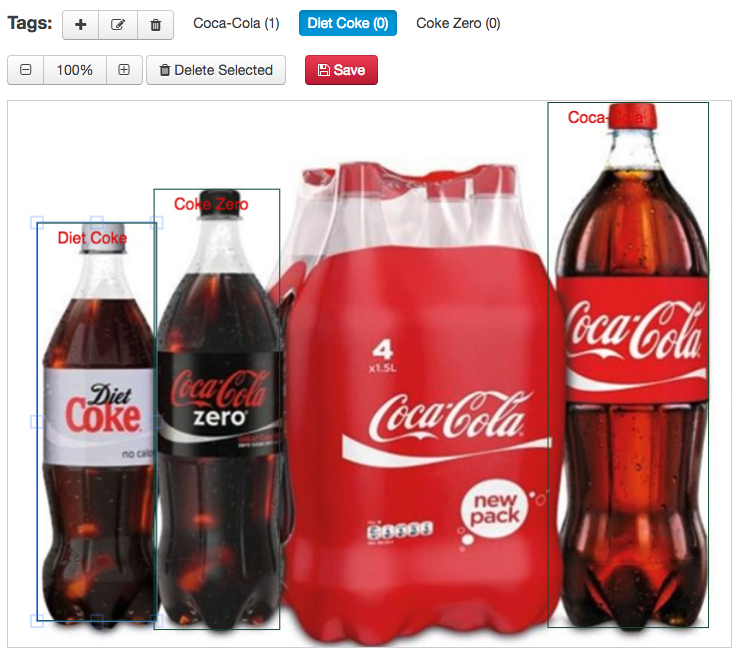
Create one or more tags by clicking the
+icon to add a new tag. Each tag will represent the training objects within the image based on specific use cases (e.g., "Coca-Cola", "Diet Coke", "Coke Zero"). -
Label the objects in each image by selecting a tag and dragging a bounding box around the object in the image. Press
Savewhen done with each image. -
Repeat this process for all tags and all images.
Note: You can import powerai-vision-object-detection/data/coke_bottles_exported.zip which was already labeled and exported.
Tip: Use the
Only Show Unlabeled Filespull-down to help you see when you are done. -
You can use the
Data Augmentationbutton to expand your dataset. Label the original images first and be sure to consider whether mirror images (horizontal or vertical) are appropriate for your use case. If you use data augmentation, a new expanded dataset will be created for you. -
Click
Export As Zip Fileto save a copy of your work. Now that you've spent some time labeling, this zip will let you start over without losing your work.

-
Click on
My DL Tasksunder My Workspace and then click theCreate New Taskbutton. Click onObject Detection. -
Give the Object Detector a name and make sure your dataset is selected, then click
Build Model.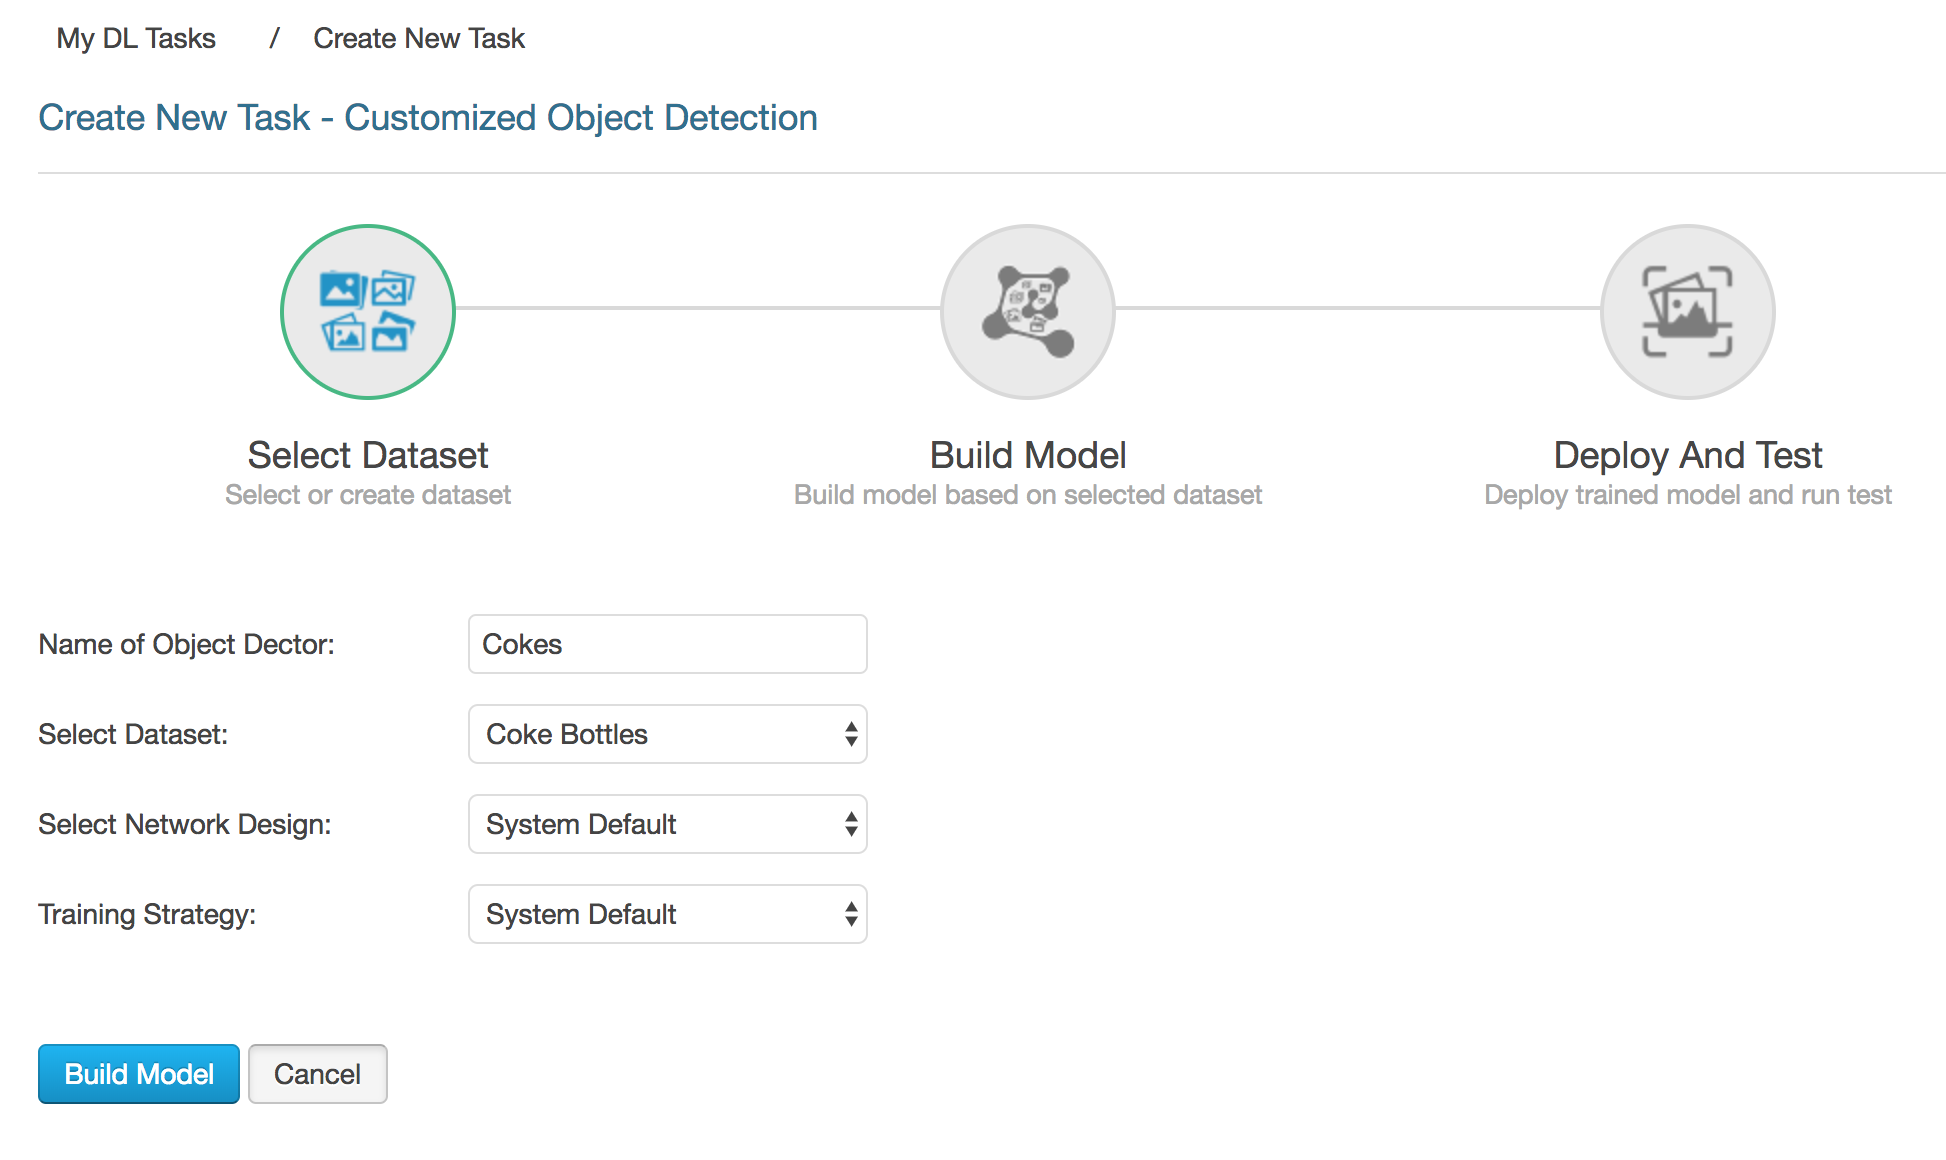
-
A confirmation dialog will give you a time estimate. Click
Create New Taskto get it started.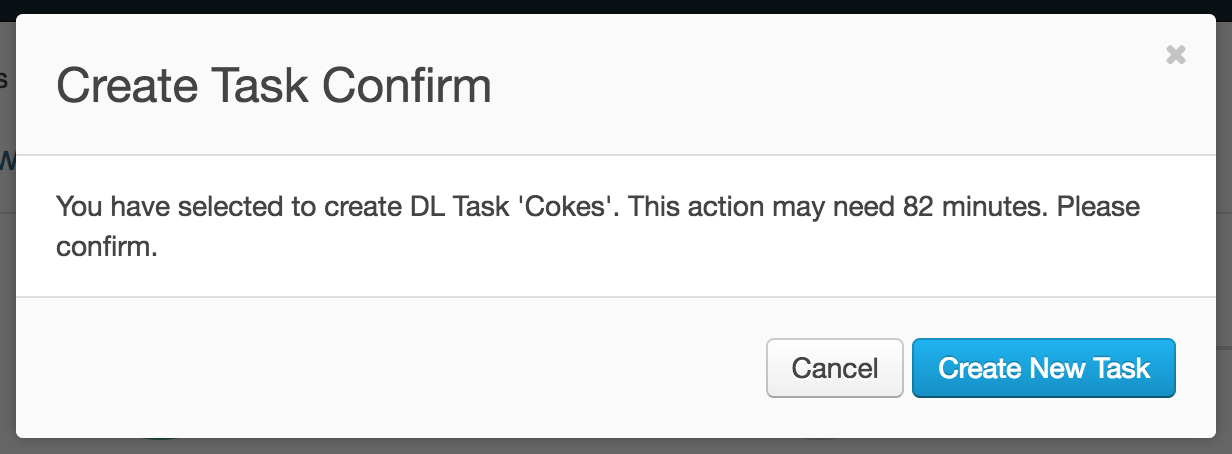


-
When the model is built, click on
Deploy and Test.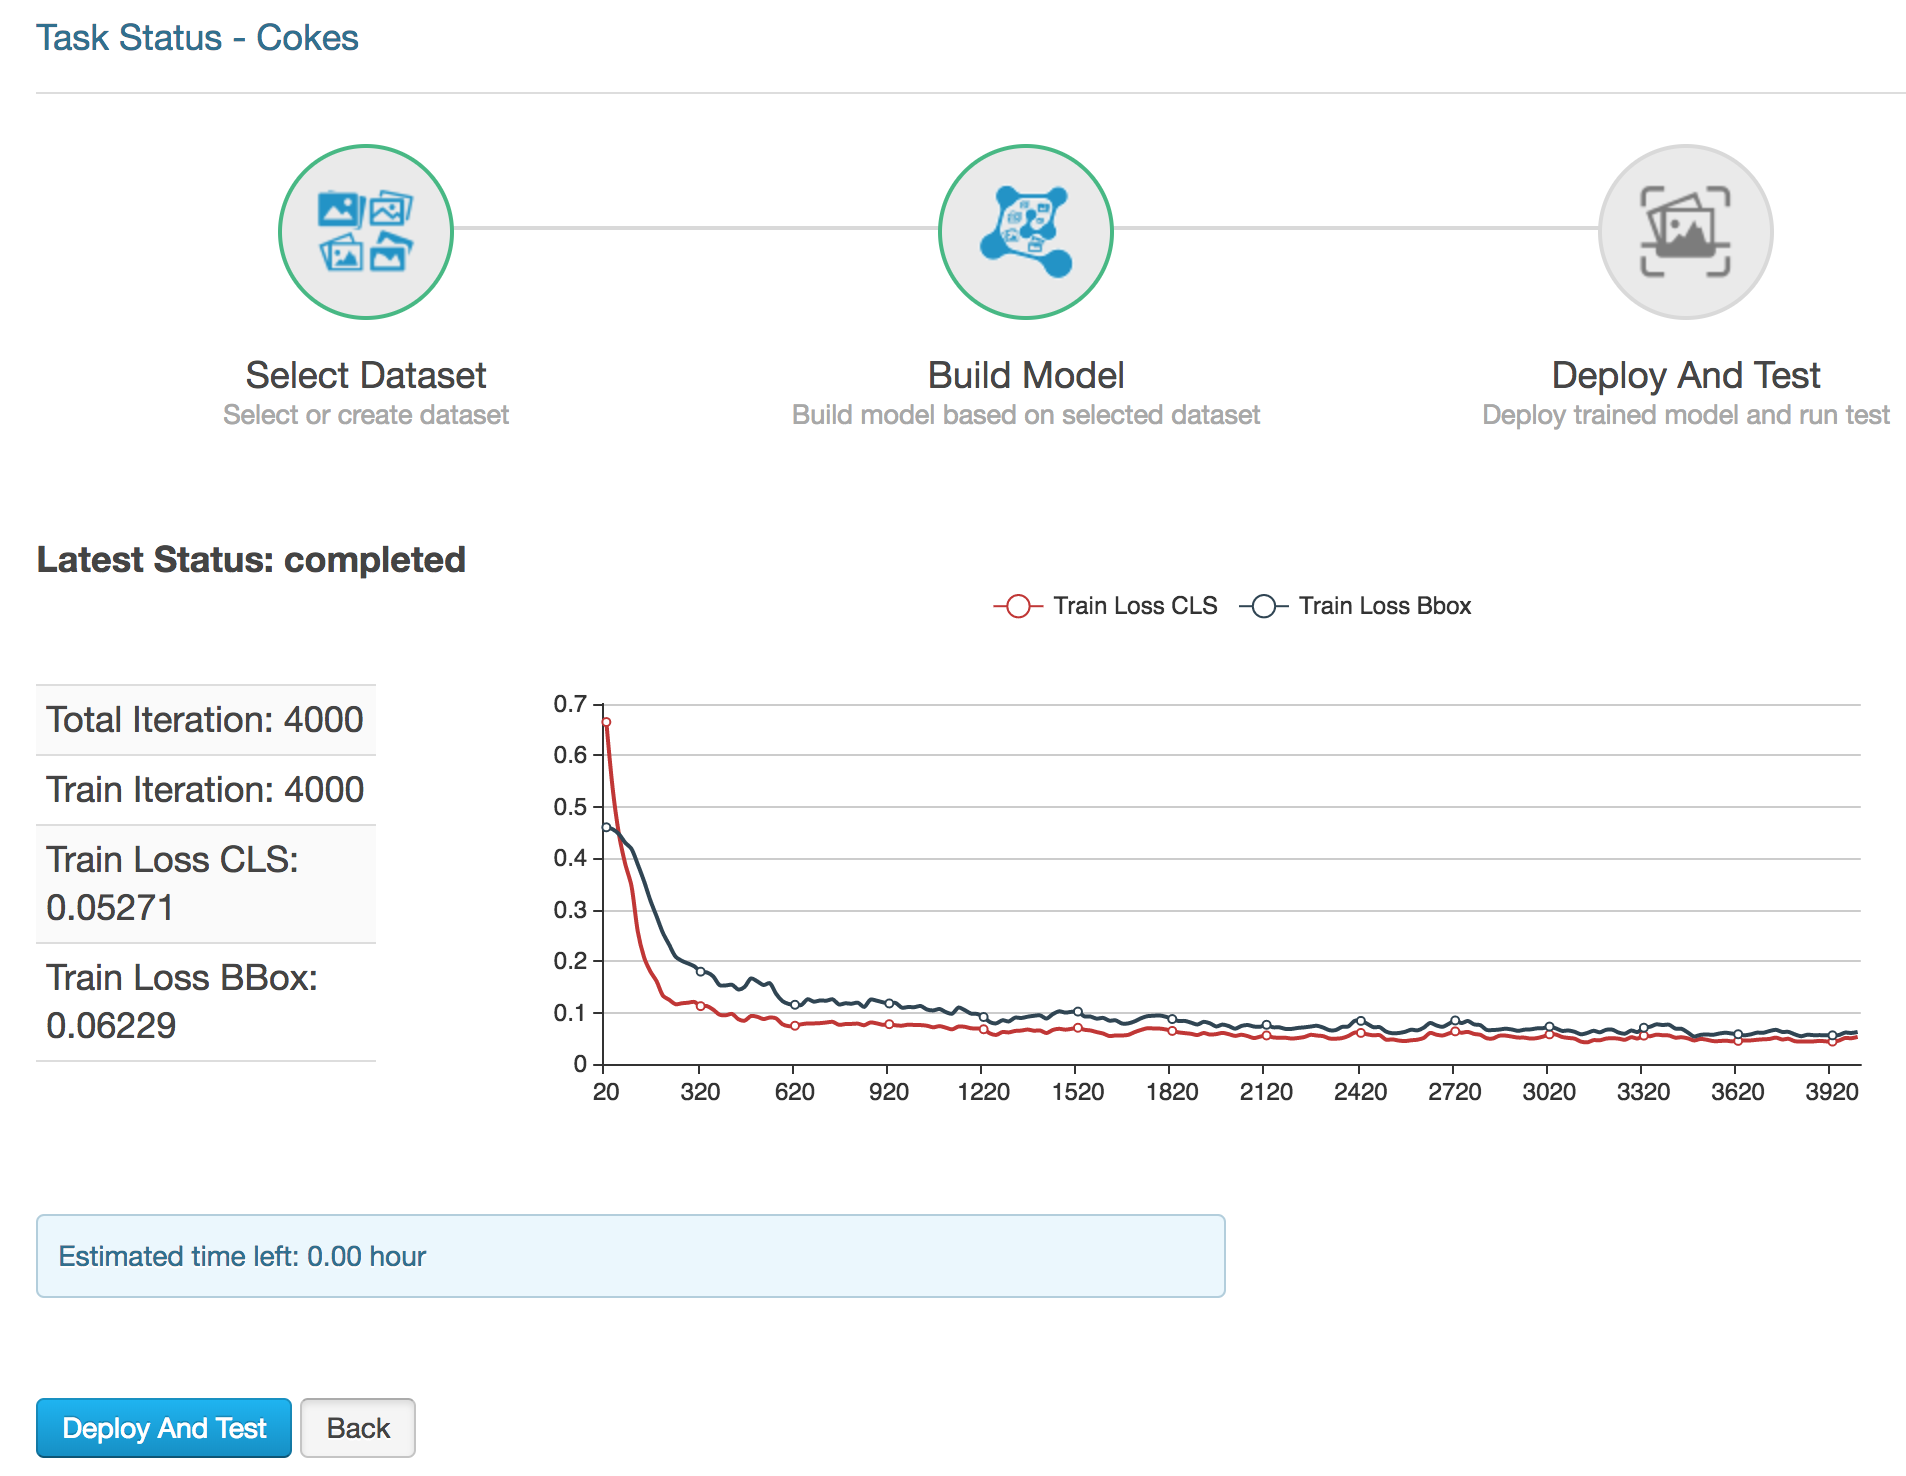
-
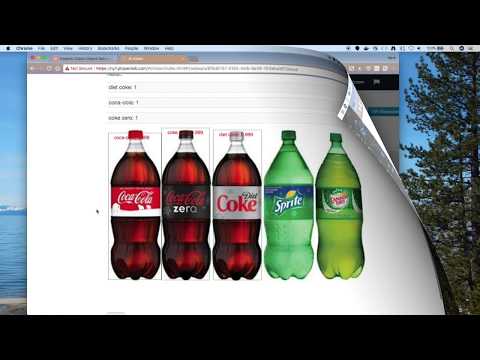
Test your model in the PowerAI Vision UI. Use
Select someto choose a test image. The result shows you how many objects were detected and the image is shown with bounding boxes, labels and confidence scores.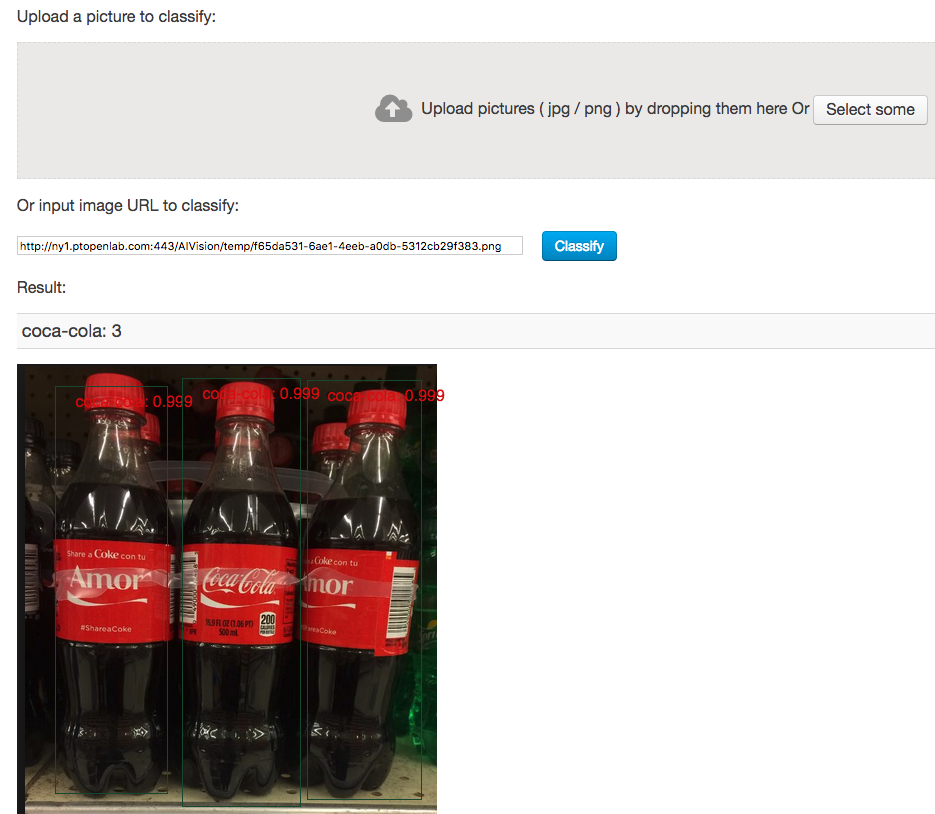
-
From a command-line, you can test your deployed REST endpoint using an image file and the
curlcommand. Notice the output JSON shows multiple bottles were detected and provides the confidence, label and location for each of them.Warning: this example used
--insecurefor convenience.$ curl --insecure -i -F files=@coke_bottle_23.png https://ny1.ptopenlab.com/AIVision/api/dlapis/9f9d6787-0183-4a1b-be49-751b6ca16724 HTTP/1.1 100 Continue HTTP/1.1 200 OK Server: nginx/1.9.13 Date: Thu, 14 Dec 2017 21:58:26 GMT Content-Type: application/json Content-Length: 508 Connection: keep-alive Access-Control-Allow-Origin: * Access-Control-Allow-Headers: origin, content-type, accept, authorization Access-Control-Allow-Credentials: true Access-Control-Allow-Methods: GET, POST, PUT, DELETE, OPTIONS, HEAD Access-Control-Allow-Origin: * { "classified" : [ { "confidence" : 0.9986369013786316 , "ymax" : 578 , "label" : "coca-cola" , "xmax" : 755 , "xmin" : 588 , "ymin" : 29} , { "confidence" : 0.9954010248184204 , "ymax" : 592 , "label" : "coca-cola" , "xmax" : 601 , "xmin" : 437 , "ymin" : 10} , { "confidence" : 0.8161203265190125 , "ymax" : 567 , "label" : "coca-cola" , "xmax" : 426 , "xmin" : 259 , "ymin" : 17}] , "imageUrl" : "http://ny1.ptopenlab.com:443/AIVision/temp/5a26dd3b-d8ba-4e01-8b93-5a43f28e97c7.png" , "result" : "success"}


An example web app demonstrates how to upload a picture, use the trained and deployed model, and display the detected objects by drawing bounding boxes and labels on the image. The functionality is similar to the above testing, but the code is provided for you to customize.
Use the Deploy to IBM Cloud button OR Run locally.

-
Press the above
Deploy to IBM Cloudbutton, clickCreate+to create an IBM Cloud API Key and then click onDeploy. -
In Toolchains, click on Delivery Pipeline to watch while the app is deployed.
-
Use the IBM Cloud dashboard to manage the app. The app is named
powerai-vision-object-detectionwith a unique suffix. -
Add your PowerAI Vision API endpoint:
- Click on the app in the IBM Cloud dashboard.
- Select
Runtimein the sidebar. - Hit
Environment variablesin the middle button bar. - Hit the
Addbutton. - Add the name
POWERAI_VISION_WEB_API_URLand set the value to the web API that you deployed (above). - Hit the
Savebutton. The app will restart automatically. - Click on
Visit App URLto use the app.
Use your cloned repo to build and run the web app.
NOTE: These steps are only needed when running locally instead of using the
Deploy to IBM Cloudbutton.
-
Copy the env.sample to .env. Edit the file to set the URL to point to the web API that you deployed (above).
-
Assuming you have pre-installed Node.js and npm, run the following commands:
cd powerai-vision-object-detection npm install npm start -
Use a browser to go to the web UI. The default URL is http://localhost:8081.
-
Use the
Choose Filebutton to choose a file. On a phone this should give you an option to use your camera. On a laptop, you choose an image file (JPG or PNG). -
Press the
Upload Filebutton to send the image to your web API and render the results.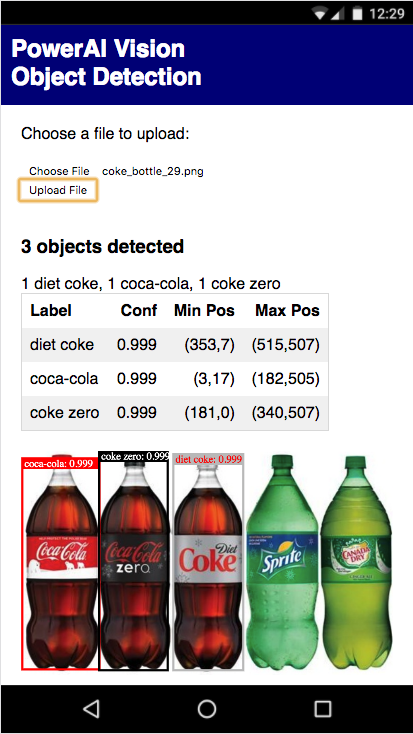
-
The UI will show an error message, if you did not configure your POWERAI_VISION_WEB_API_URL or if your API is not deployed (in SuperVessel you can quickly redeploy every hour).

- Demo on Youtube: Watch the video
- Object Detection: Object detection on Wikipedia
- PowerAI Vision: Deep Learning and PowerAI Development
- TensorFlow Object Detection: Supercharge your Computer Vision models with the TensorFlow Object Detection API
- AI Article: Can Artificial Intelligence Identify Pictures Better than Humans?
- From the developers: IBM PowerAI Vision speeds transfer learning with greater accuracy -- a real world example
- Artificial Intelligence Code Patterns: Enjoyed this Code Pattern? Check out our other AI Code Patterns.
- AI and Data Code Pattern Playlist: Bookmark our playlist with all of our Code Pattern videos
- PowerAI: Get started or get scaling, faster, with a software distribution for machine learning running on the Enterprise Platform for AI: IBM Power Systems
This code pattern is licensed under the Apache License, Version 2. Separate third-party code objects invoked within this code pattern are licensed by their respective providers pursuant to their own separate licenses. Contributions are subject to the Developer Certificate of Origin, Version 1.1 and the Apache License, Version 2.