![]()
一亩三分地 自动签到、答题
一分钟快速设置,无 aws 依赖,验证码自动识别,一次性设置后再无需手动操作
-
程序会自动识别验证码
-
程序会在指定的时间每天运行一次,一次配置,永远执行,设好后就再不用管
-
配置简单,一分钟搞定,使用 github action 模式,不依赖 github 以外的东西,只要 fork 本repo后设置 repo secret 即可
-
支持多用户签到,批量用户签到,把用户名密码加到
USERS数组中即可
下面几种执行模式任选一种即可。
-
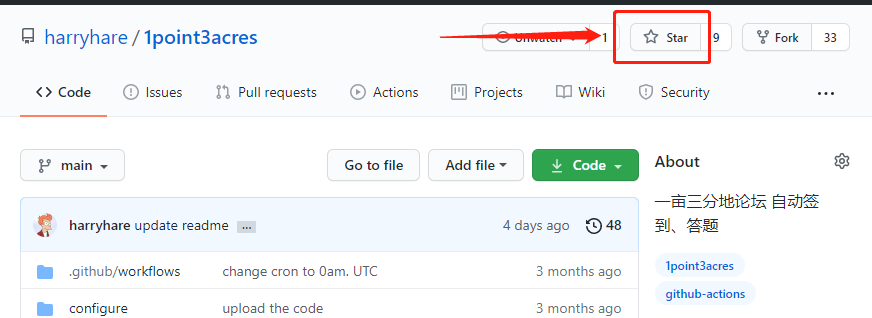
fork 这个repo
-
增加一个 repo secret:
USERS, 格式如下,需代入你的用户名密码,[{'username':'replace_with_your_username','password':'replace_with_your_password'}]用户名一般是邮箱,就是你登录的时候填的那个东东
-
enable github action
-
做完上面的步骤,就完成了所有操作,github 会在每天的 北京时间9:00.am(UTC 1:00am.) 左右自动执行签到和答题程序。
如果你想验证下用户名密码是否设置正确,可以到 git action 页面手动执行, 查看log中是否有"签到成功"
如果已经答题或者已经签到,会显示"已答题" 或者 "已签到",同样表示设置已成功。
github 每天自动执行的log 也可以在这里看到。
-
好用请给个星


-
随便选(建)一个github repo
-
创建 一个 repo secret :
USERS, 格式如下,需代入你的用户名密码[{'username':'replace_with_your_username','password':'replace_with_your_password'}] -
创建 workflow
 name: 1point3acre get credits with docker
 on:
   workflow_dispatch:
   schedule:
     - cron: '30 0 * * *'
 jobs:
   _1point3acres:
     runs-on: ubuntu-latest
     name: get credits
     steps:
     - name: run docker
       id: checkin
       uses: harryhare/1point3acres@main
       with:
         users: ${{ secrets.USERS }}
     - name: get the result
       run: echo "${{ steps.checkin.outputs.result }}"
- 修改 configure/data.json,用你的用户名密码替换文件中的相应字段
- aws 创建 docker registry, 修改 makefile 的 image 地址
- 根据 aws 提示,docker login,然后 make build && make push
- aws 创建 lambda,选择第一步创建的 image,设置trigger
-
修改 configure/data.json,用你的用户名密码替换文件中的相应字段
-
安装依赖 以 ubuntu 为例,其他系统请用相应的方式安装依赖
sudo /bin/bash prepare.sh
-
crontab
crontab -e15 0 * * * python3 /replace_with_path_to_repo/service.py 2>&1 1>/dev/null