A template by @DaBretema

-
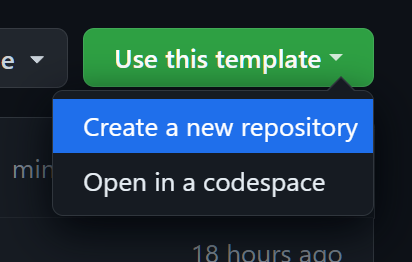
Use Github Template to create a new repository from this
-
Clone YOUR repo and begin to code!
# Clone
git clone git@github.com:<your-user>/<your-repo>.git

# Install packages
pnpm install

# Happy coding!

# Clone
git clone git@github.com:DaBretema/my-website.git --depth 1
cd my-website
rm -rf .git

# Set up your repo (first you have to create your repo on github)
git remote add origin git@github.com:<your-user>/<your-repo>.git
git add -A
git commit -m "my awesome first commit"
git push

# Install packages
pnpm install

# Happy coding!Inside of your Astro project, you'll see the following folders and files:
/
├── .vscode/
├── public/
│   └── favicon.svg
├── src/
│   ├── components/
│   │   └── Card.astro
│   ├── layouts/
│   │   └── Layout.astro
│   └── pages/
│       └── index.astro
├── package.json
├── .editorconfig
├── .eslintignore
├── .eslintrc
├── .gitignore
├── .npmrc
├── .prettierrc.cjs
├── .astro.config.mjs
├── .tailwind.config.cjs
├── .tsconfig.json
└── README.md
Astro looks for .astro or .md files in the src/pages/ directory. Each page is exposed as a route based on its file name.
There's nothing special about src/components/, but that's where we like to put any Astro/React/Vue/Svelte/Preact components.
Any static assets, like images, can be placed in the public/ directory.
All commands are run from the root of the project, from a terminal:
| Command | Action |
|---|---|
pnpm install |
Installs dependencies |
pnpm run dev |
Starts local dev server at localhost:3000 |
pnpm run build |
Build your production site to ./dist/ |
pnpm run preview |
Preview your build locally, before deploying |
pnpm run astro ... |
Run CLI commands like astro add, astro check |
pnpm run astro -- --help |
Get help using the Astro CLI |
Feel free to check Astro documentation or jump into their Discord server.
- Add support for automatic Uppercase HEX colors in CSS