Udacity Cloud Developer Nanodegree
Udagram is a simple cloud application developed alongside the Udacity Cloud Engineering Nanodegree. It allows users to register and log into a web client, post photos to the feed, and process photos using an image filtering microservice.
To design, deploy and operate a cloud native photo sharing application.
You need to install:
Docker
AWS CLI
Eksctl
AWS-iam-authenticator
Kubectl
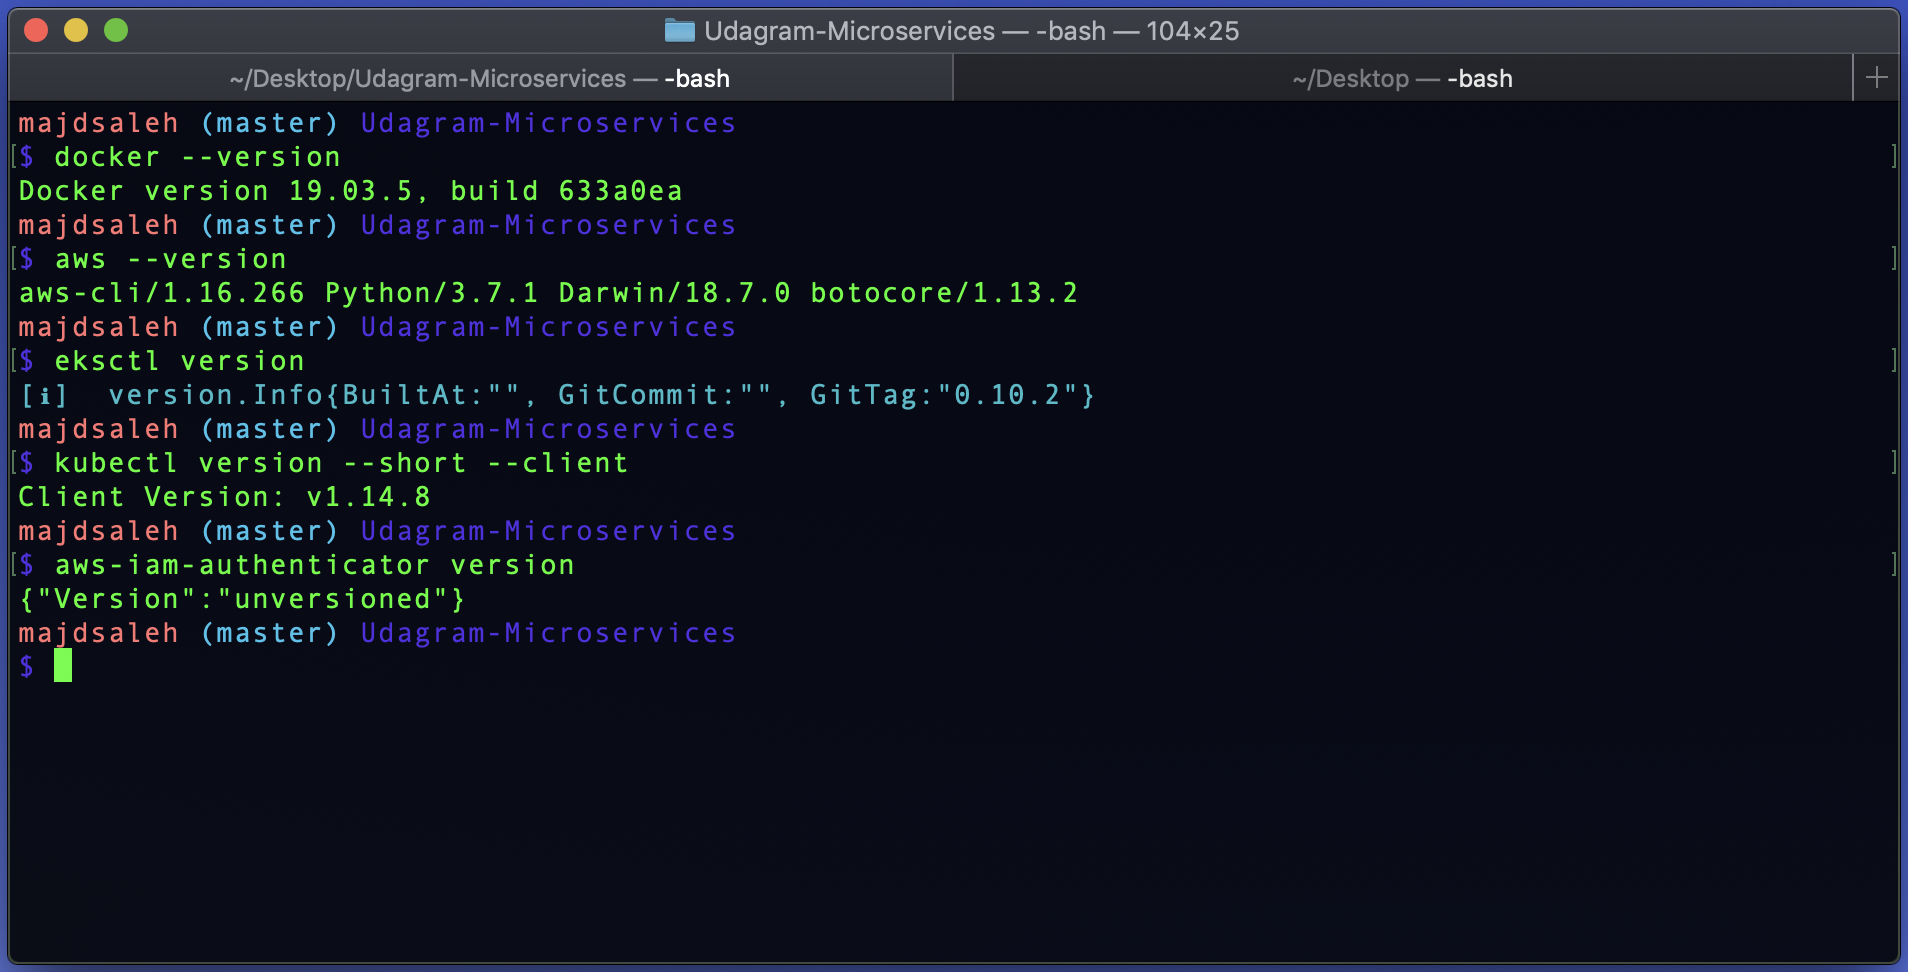
Test that your installation was Successful with the following commands:
docker --version
aws --version
eksctl version
kubectl version --short --client
aws-iam-authenticator version
Open your bash profile to store your application variables at OS level to use them within and across applications:
open ~/.profile
Copy and Paste the bash scripts bellow with your values:
export POSTGRESS_USERNAME=your postgress username;
export POSTGRESS_PASSWORD=your postgress password;
export POSTGRESS_DB=your postgress database;
export POSTGRESS_HOST=your postgress host;
export AWS_REGION=your aws region;
export AWS_PROFILE=your aws profile;
export AWS_BUCKET=your aws bucket name;
export JWT_SECRET=your jwt secret;
Source your .profile to execute your bash scripts automatically whenever a new interactive shell is started:
source ~/.profile
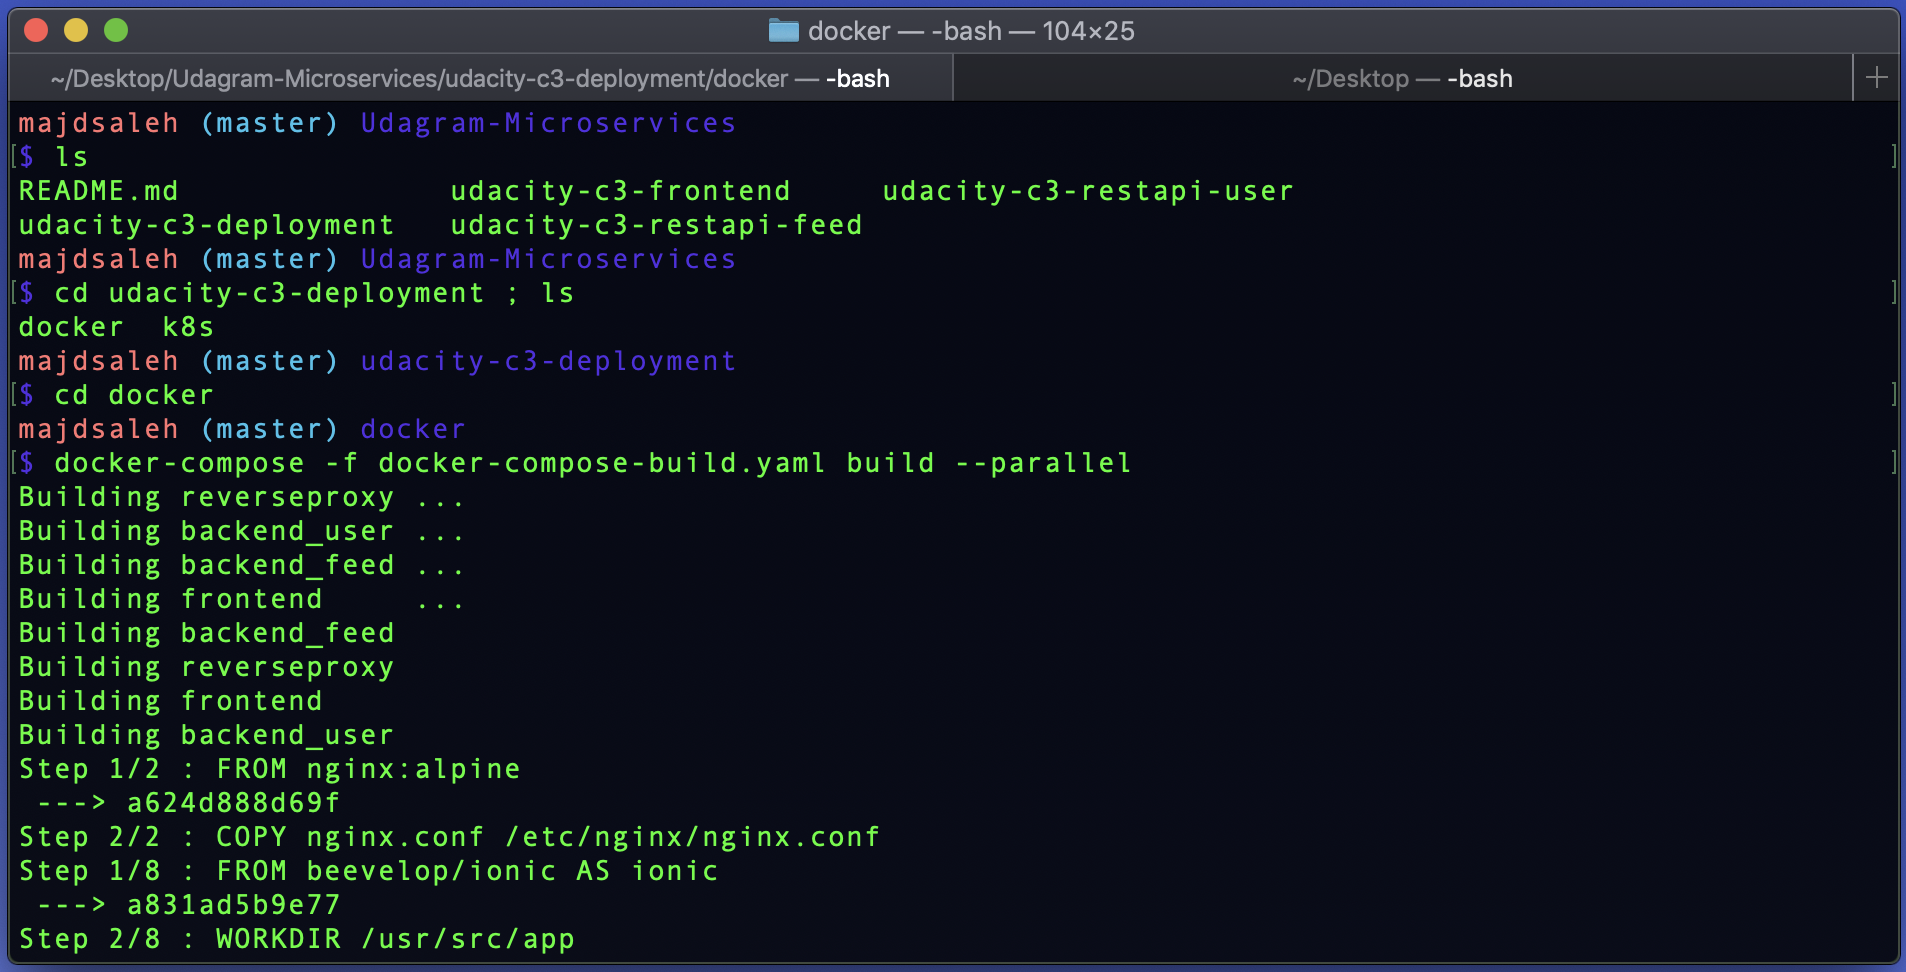
Build the images:
docker-compose -f docker-compose-build.yaml build --parallel
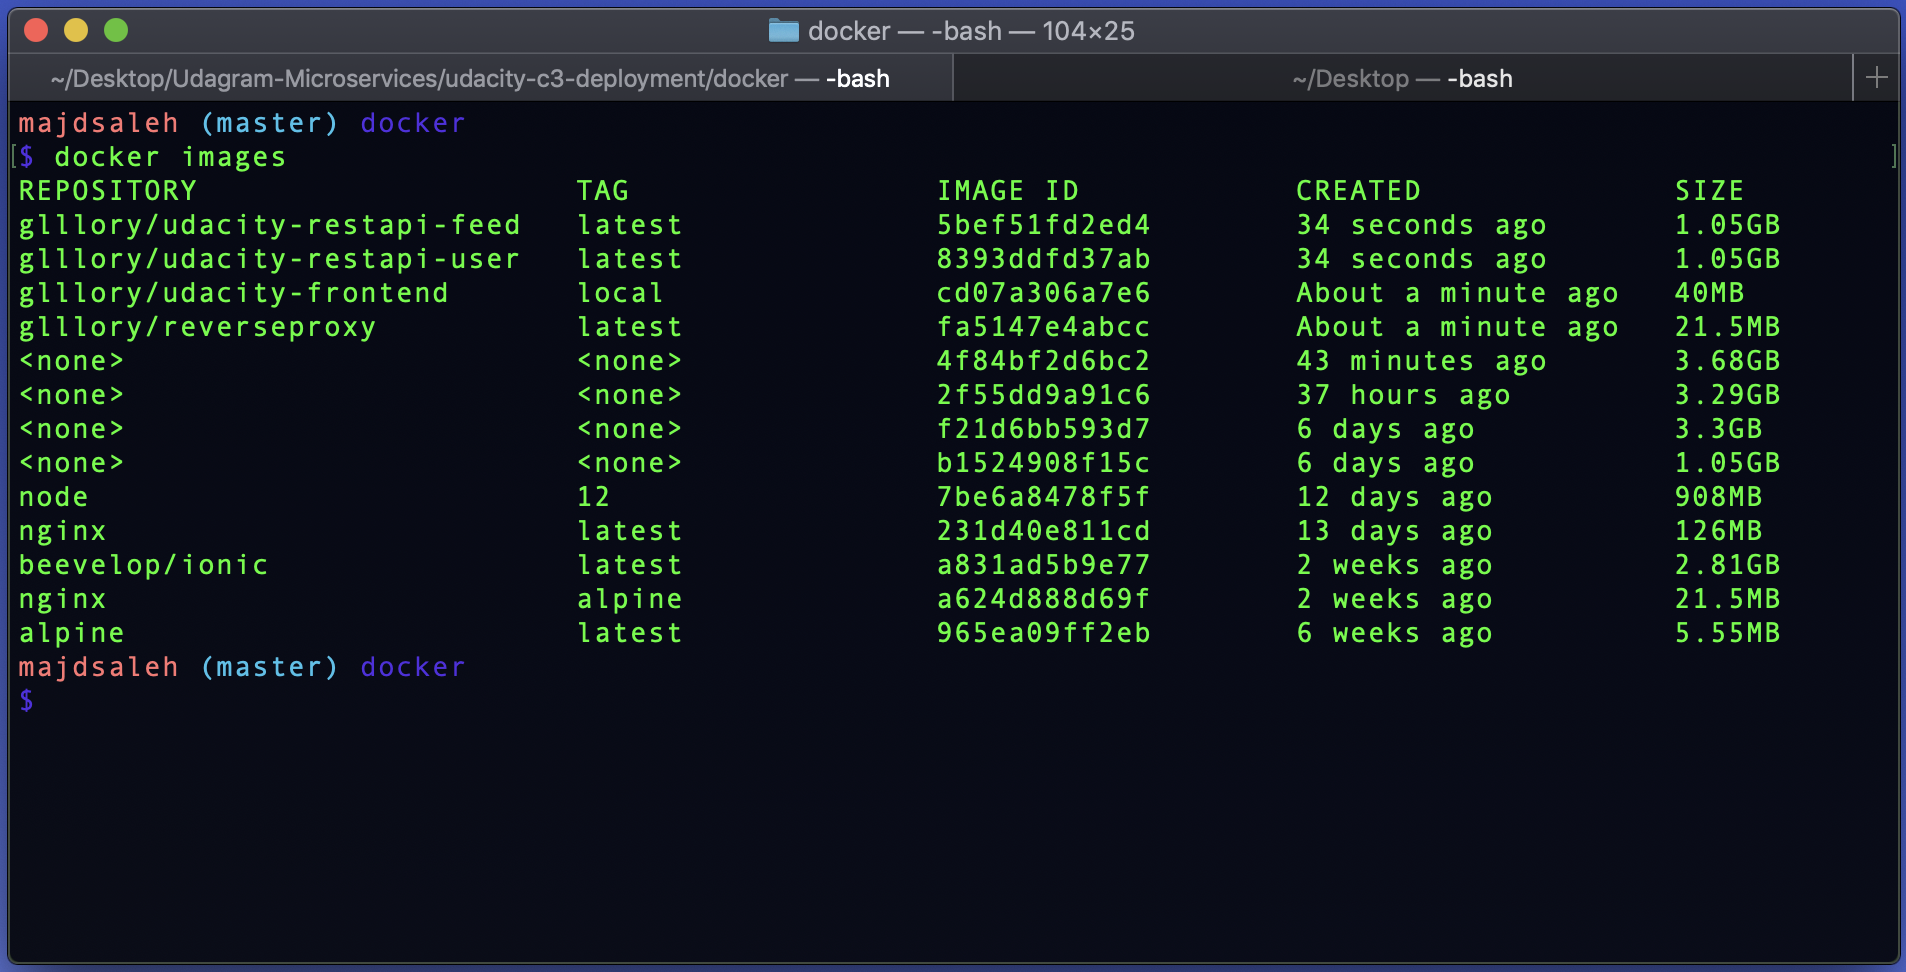
List your docker images to check if they have been built:
docker images
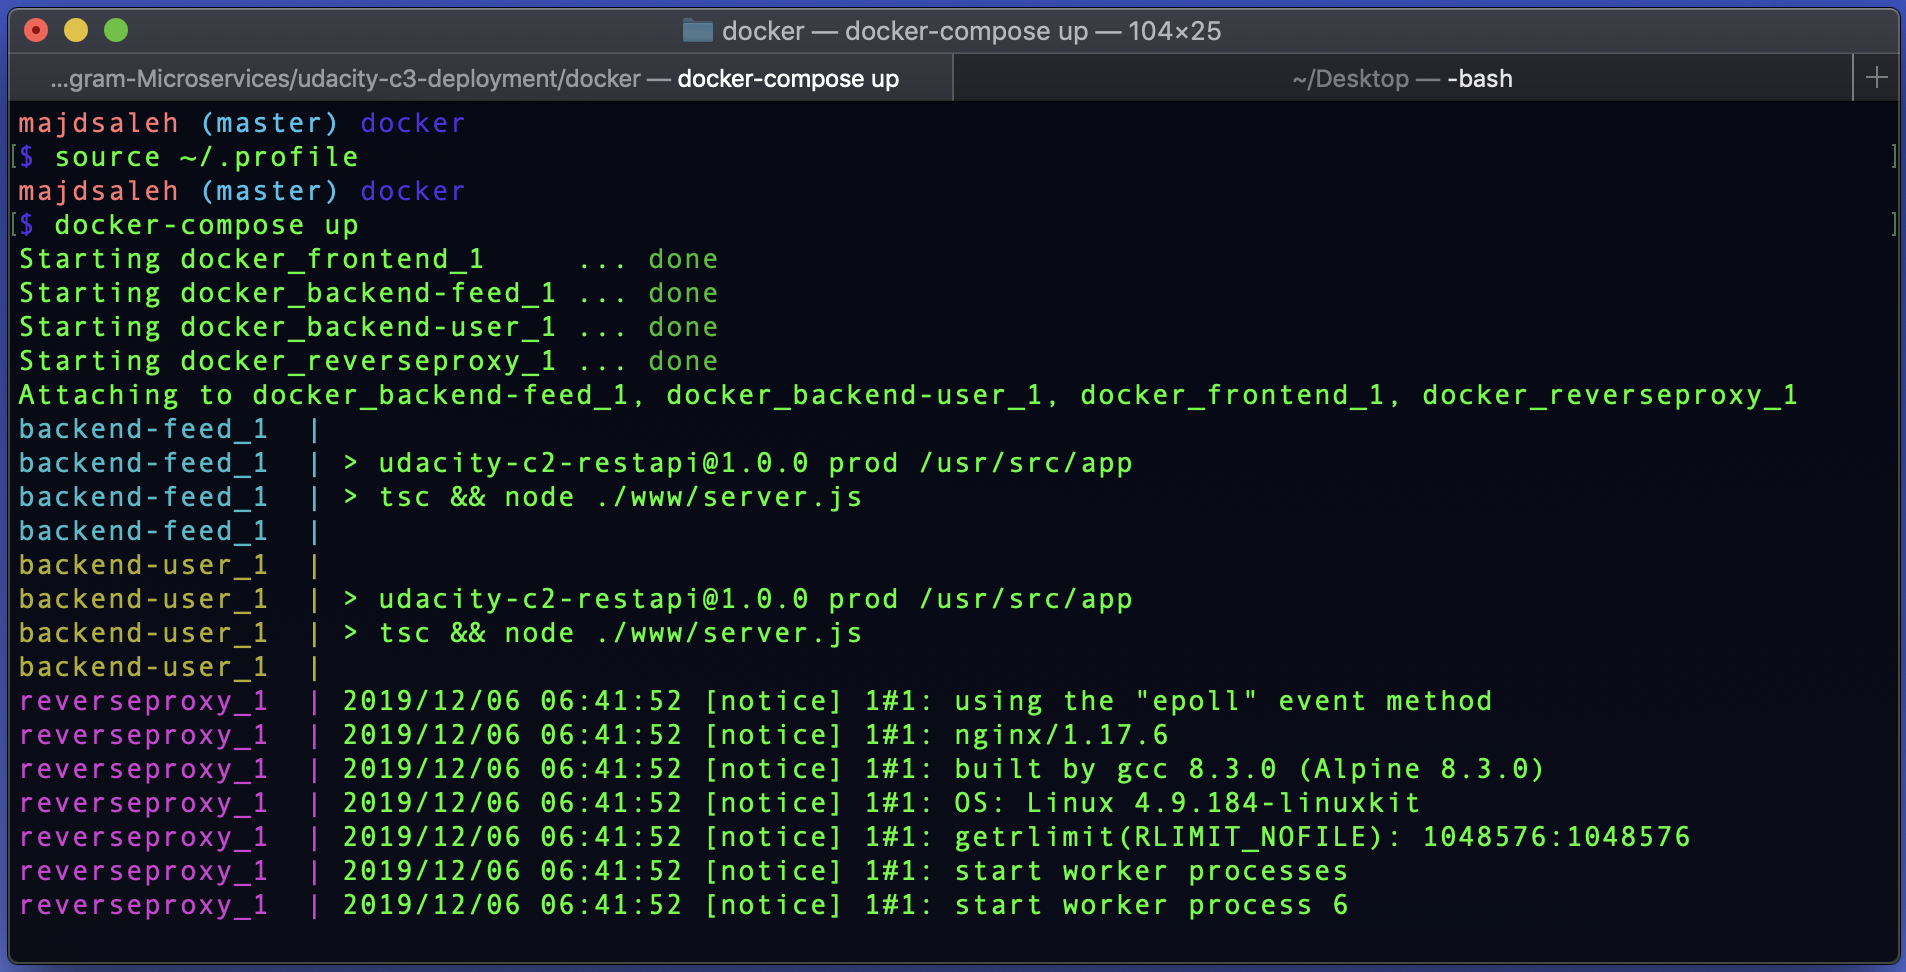
Run your docker containers:
docker-compose up
To exit run control + C
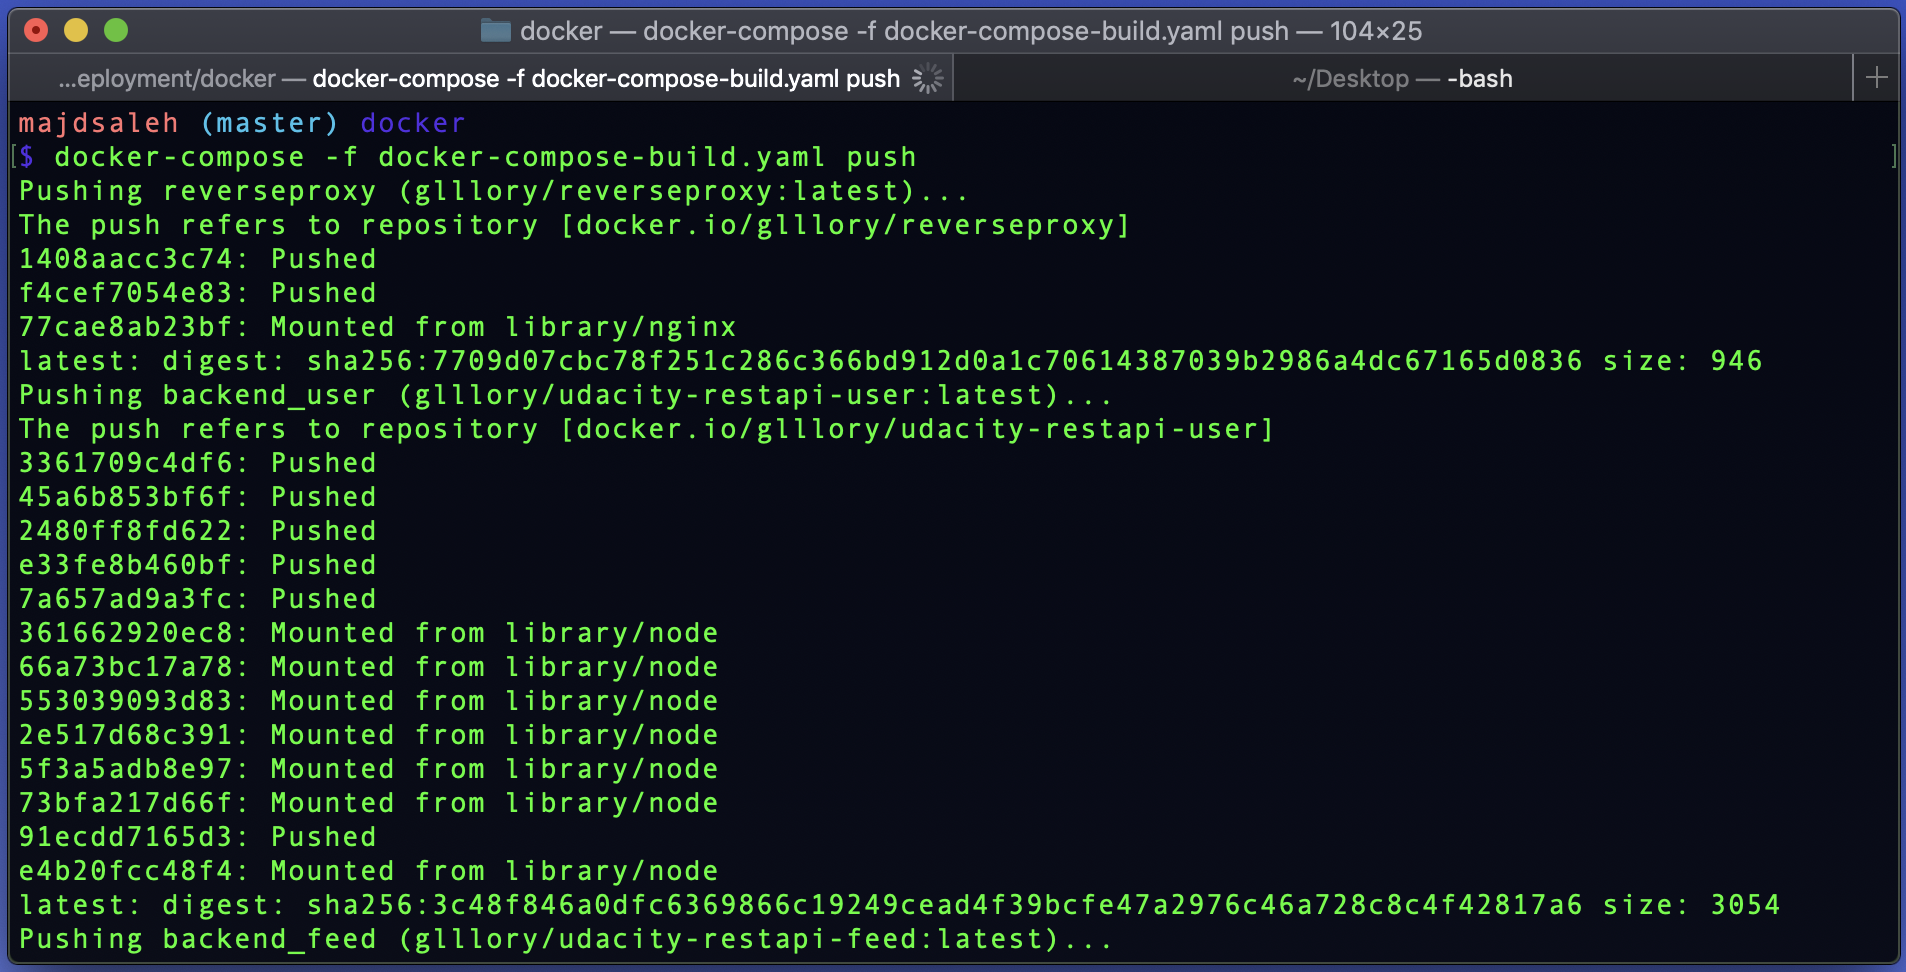
Push your docker images:
dcoker-compose -f docker-compose-build.yaml push
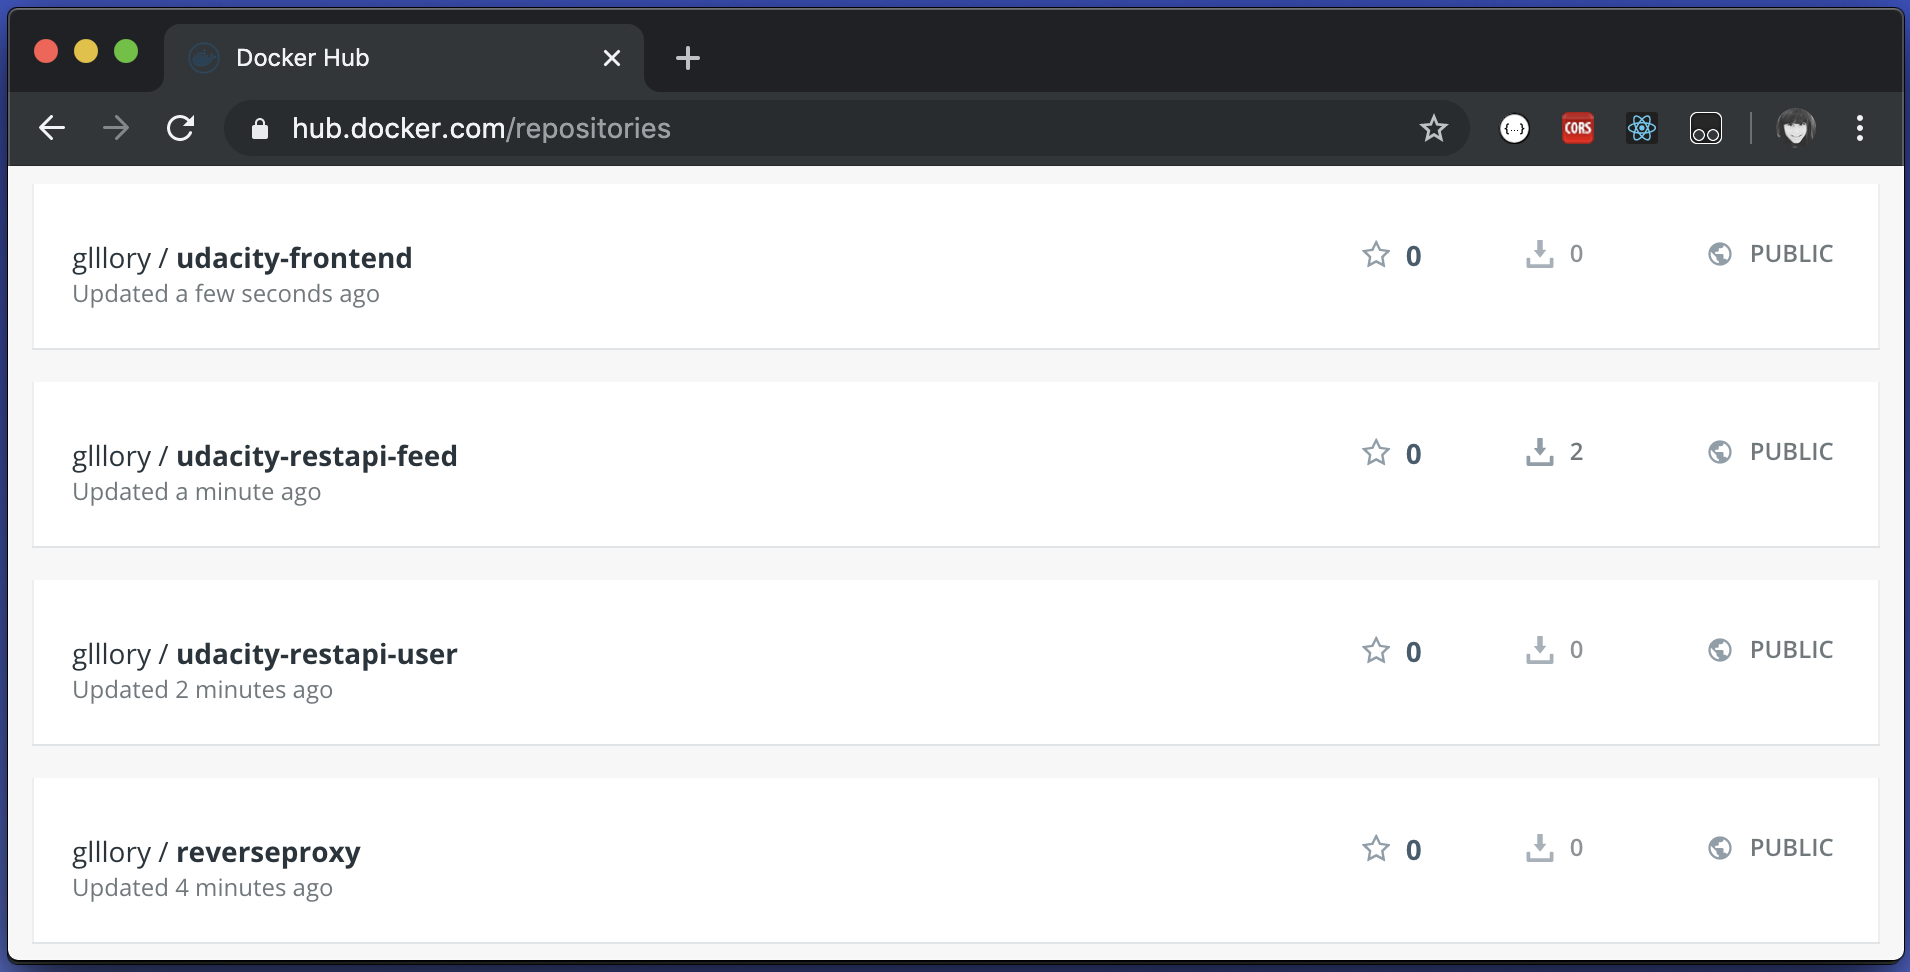
Check your Docker Hub, if the images reach on there:
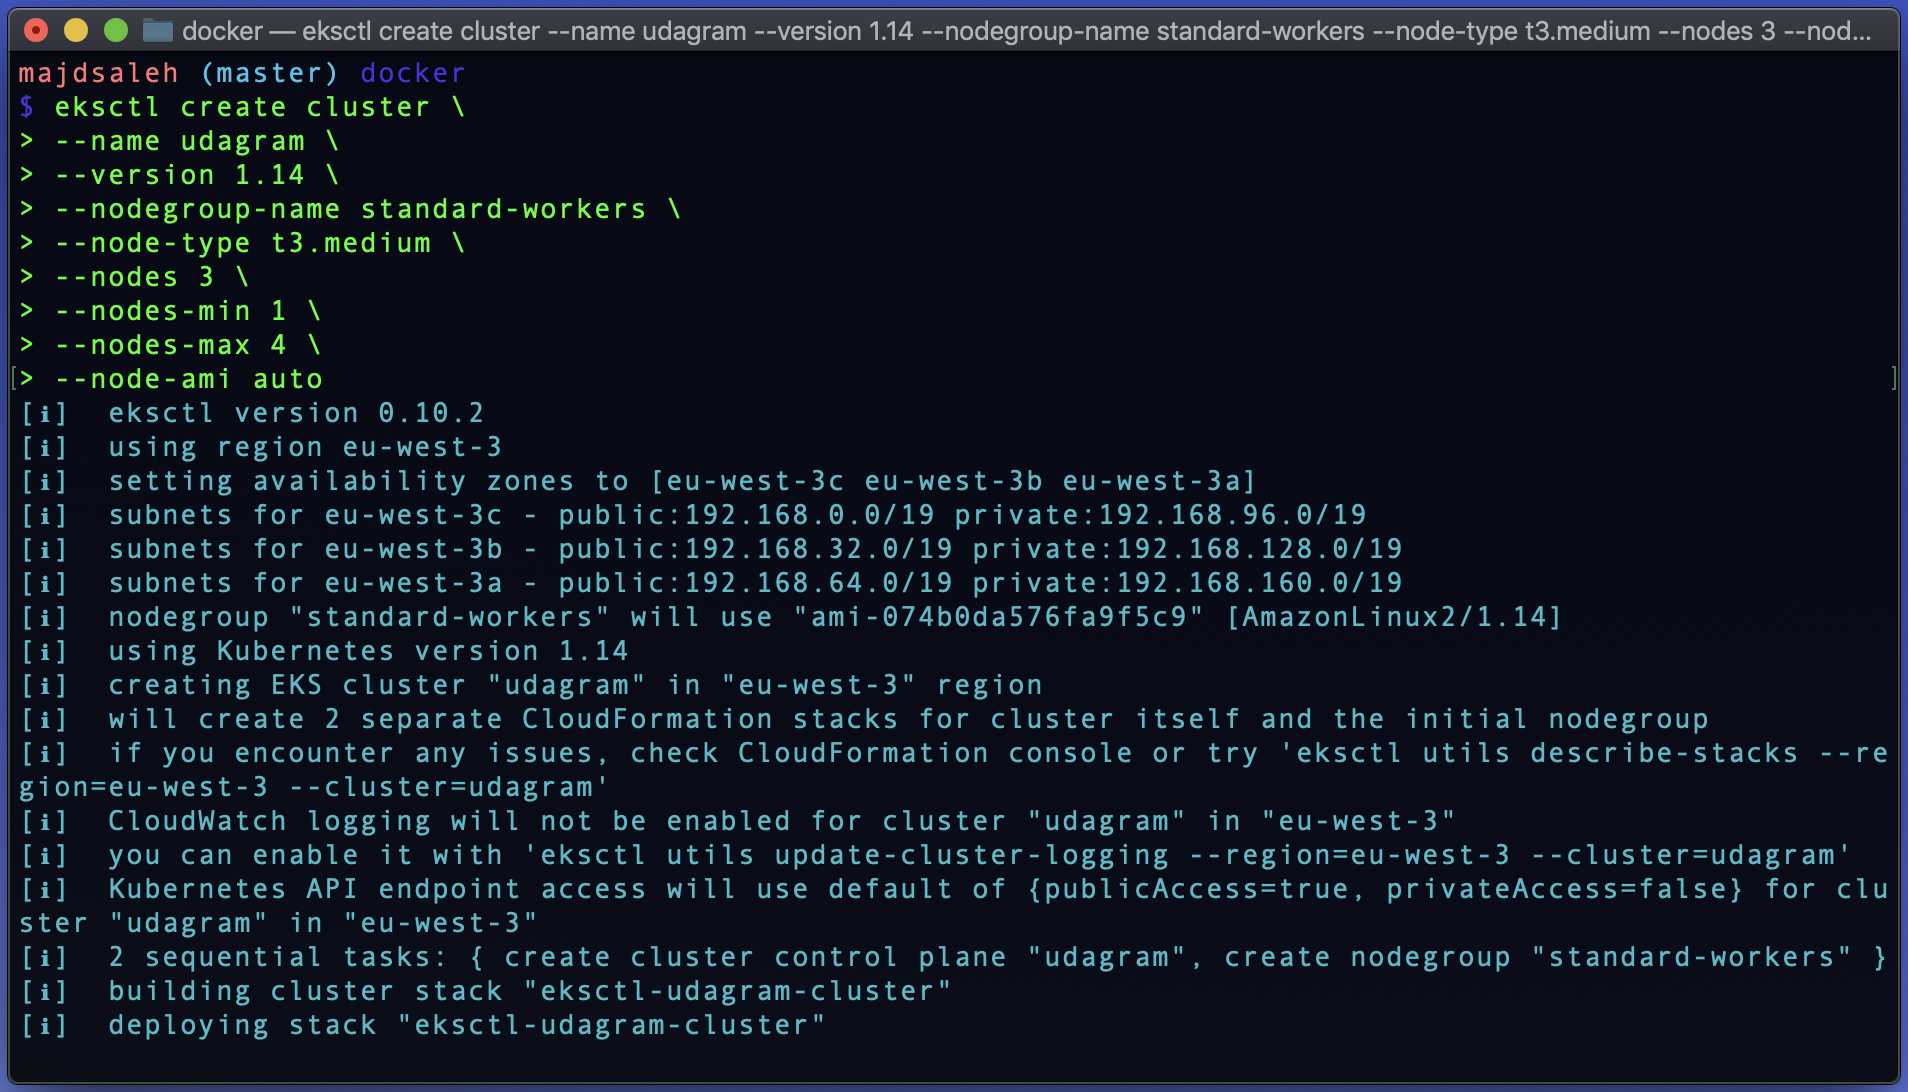
Copy and Paste the bash scripts bellow with your cluster name and configration variables:
eksctl create cluster \
--name "ClusterName" \
--version 1.14 \
--nodegroup-name standard-workers \
--node-type t3.medium \
--nodes 3 \
--nodes-min 1 \
--nodes-max 4 \
--node-ami auto
Encrypt your database username and password using base64 using the following commands:
echo POSTGRESS_PASSWORD | base64echo POSTGRESS_USERNAME | base64
Encrypt your aws file using base64 using the following commands:
cat ~/.aws/credentials | base64
Add these values in the appropriate places in your env-secret.yaml, aws-secret.yaml, and env-configmap.yaml.
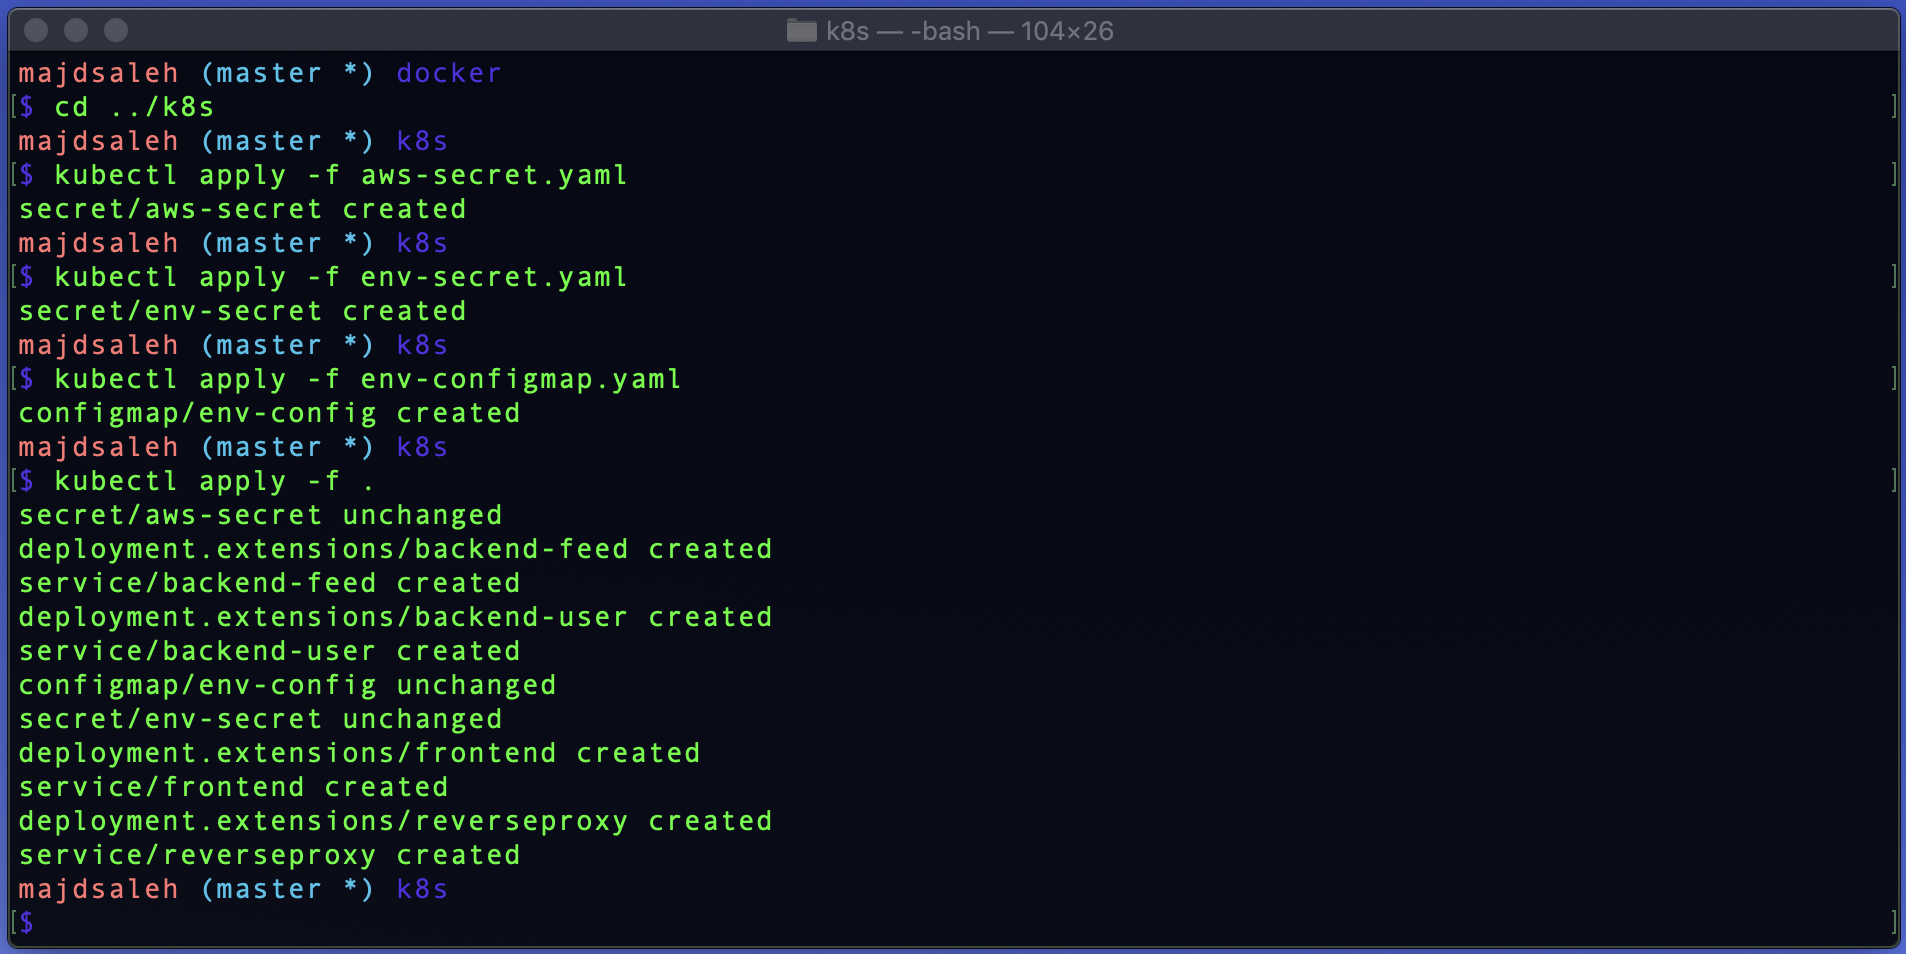
Load secret files:
kubectl apply -f aws-secret.yamlkubectl apply -f env-secret.yamlkubectl apply -f env-configmap.yaml
Apply all other yaml files:
kubectl apply -f .
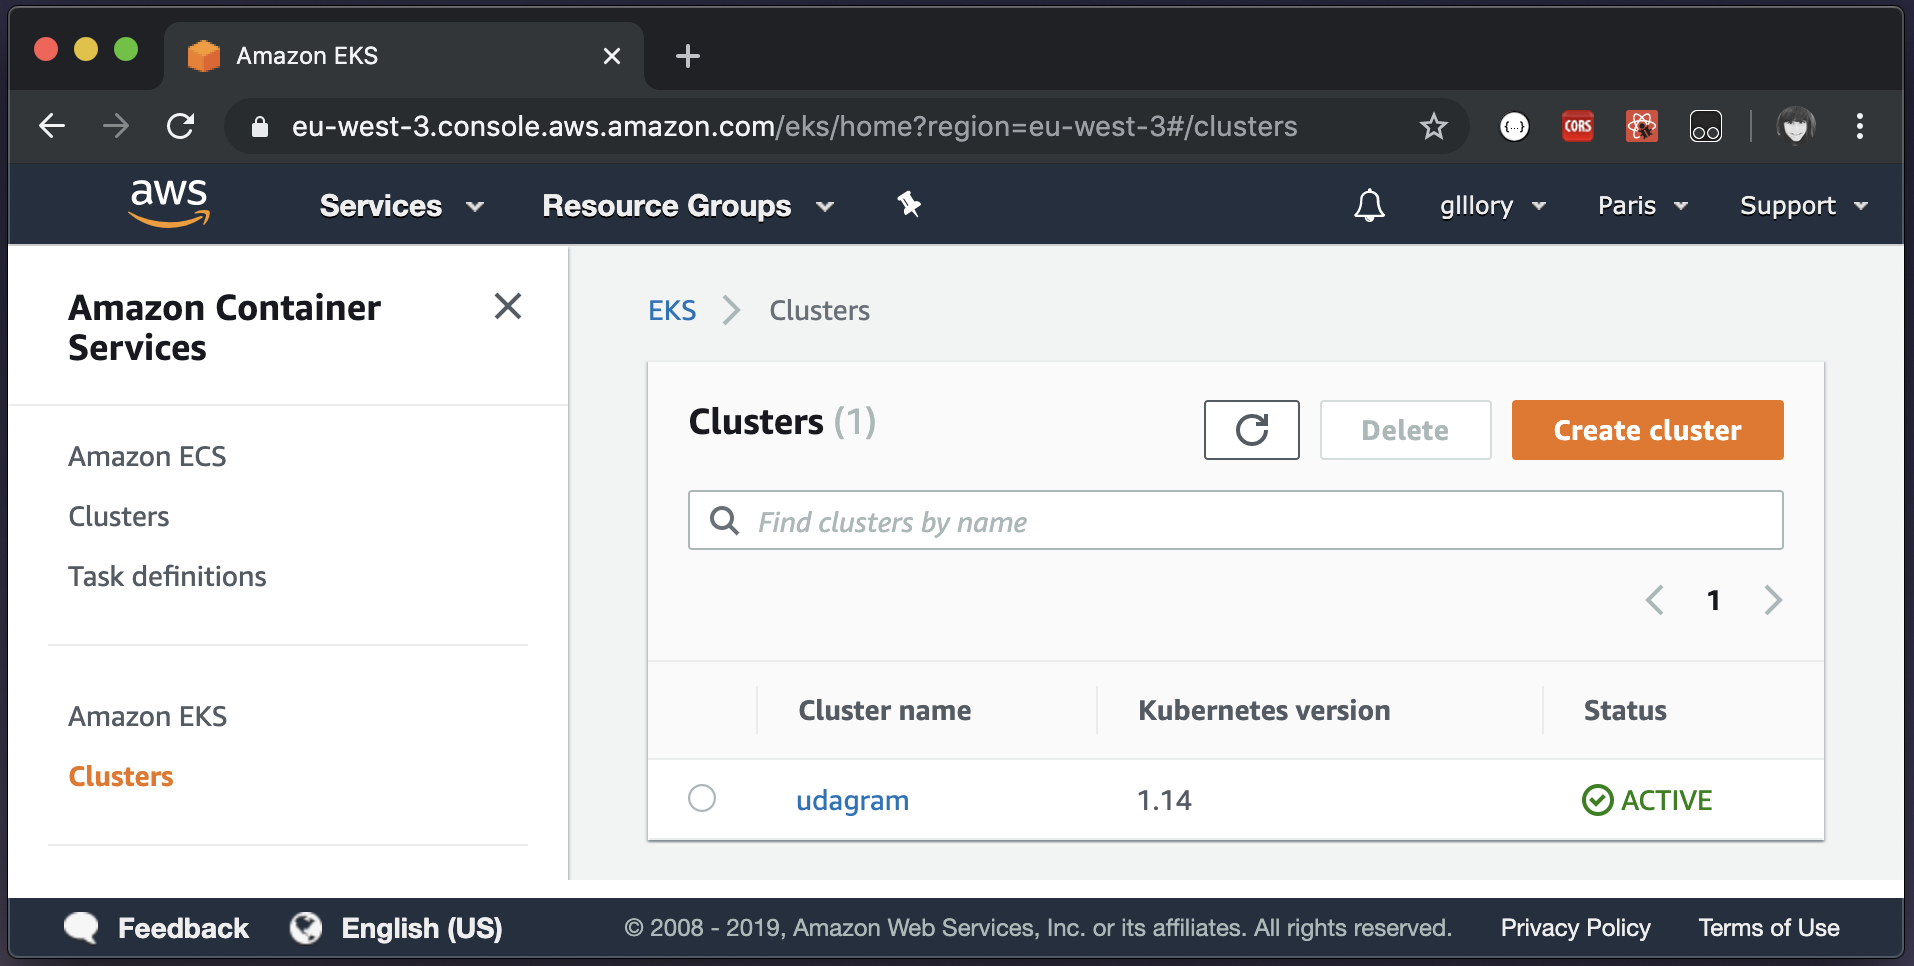
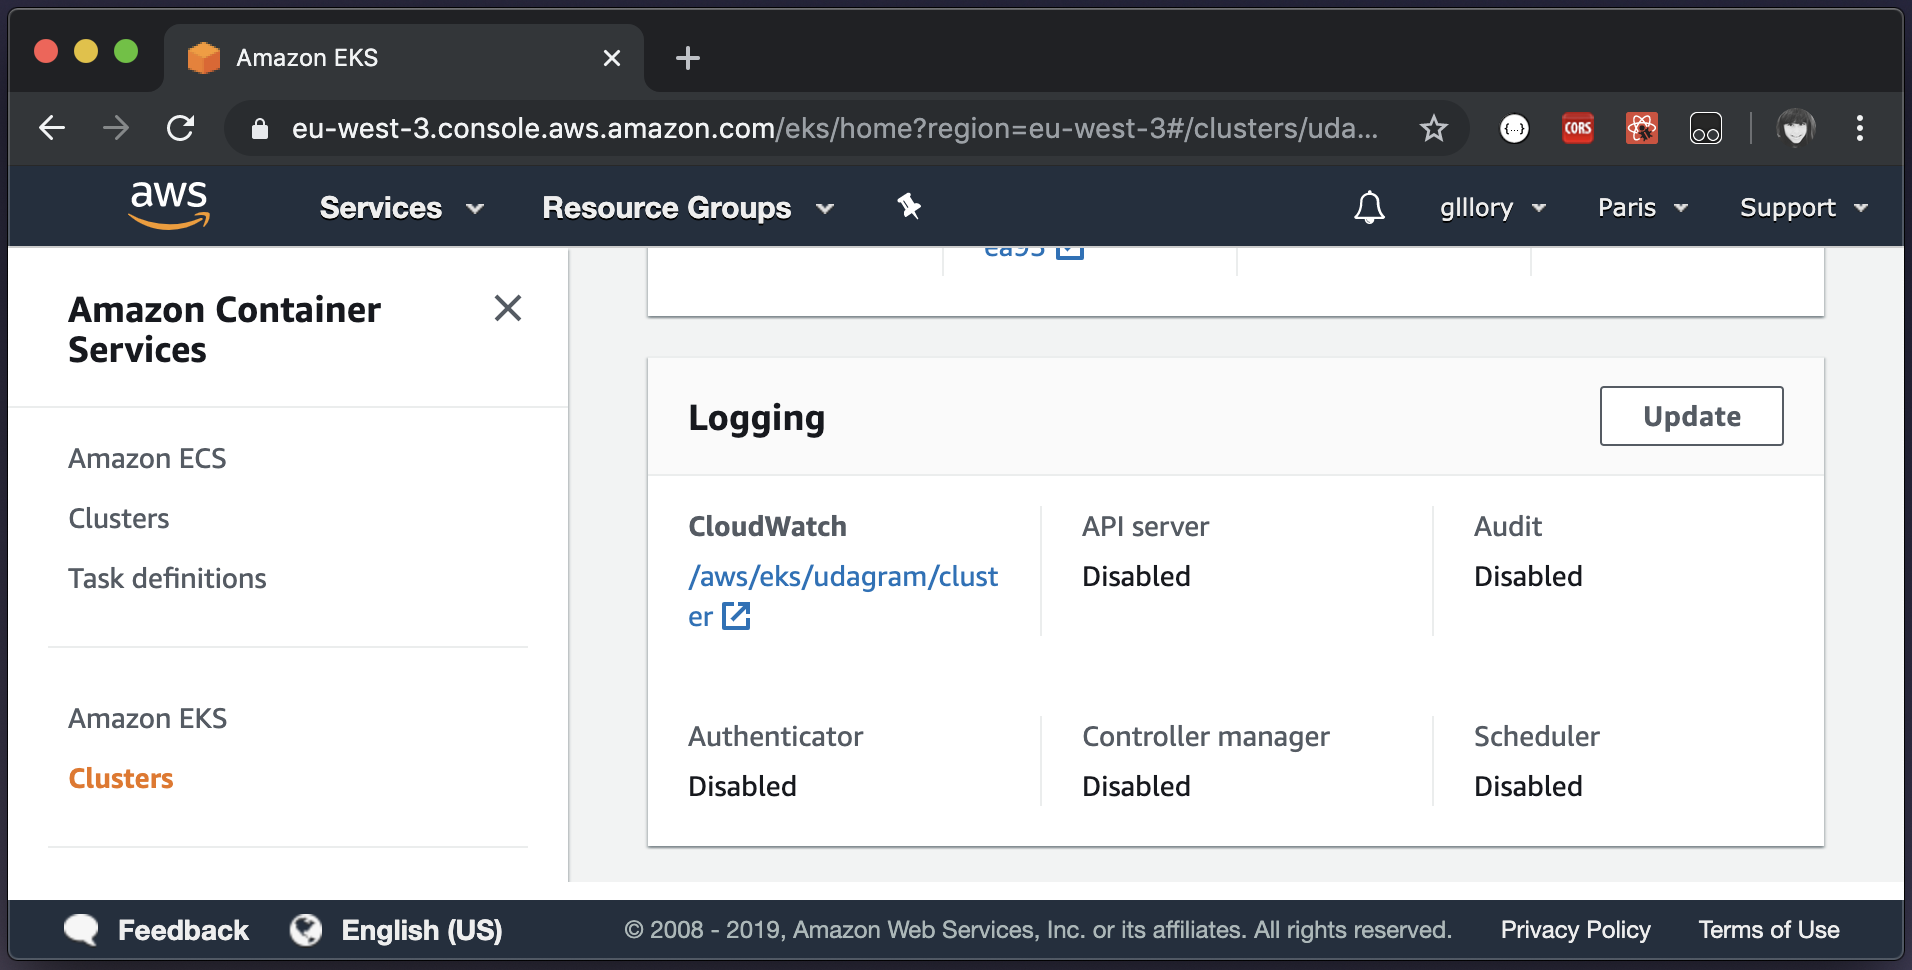
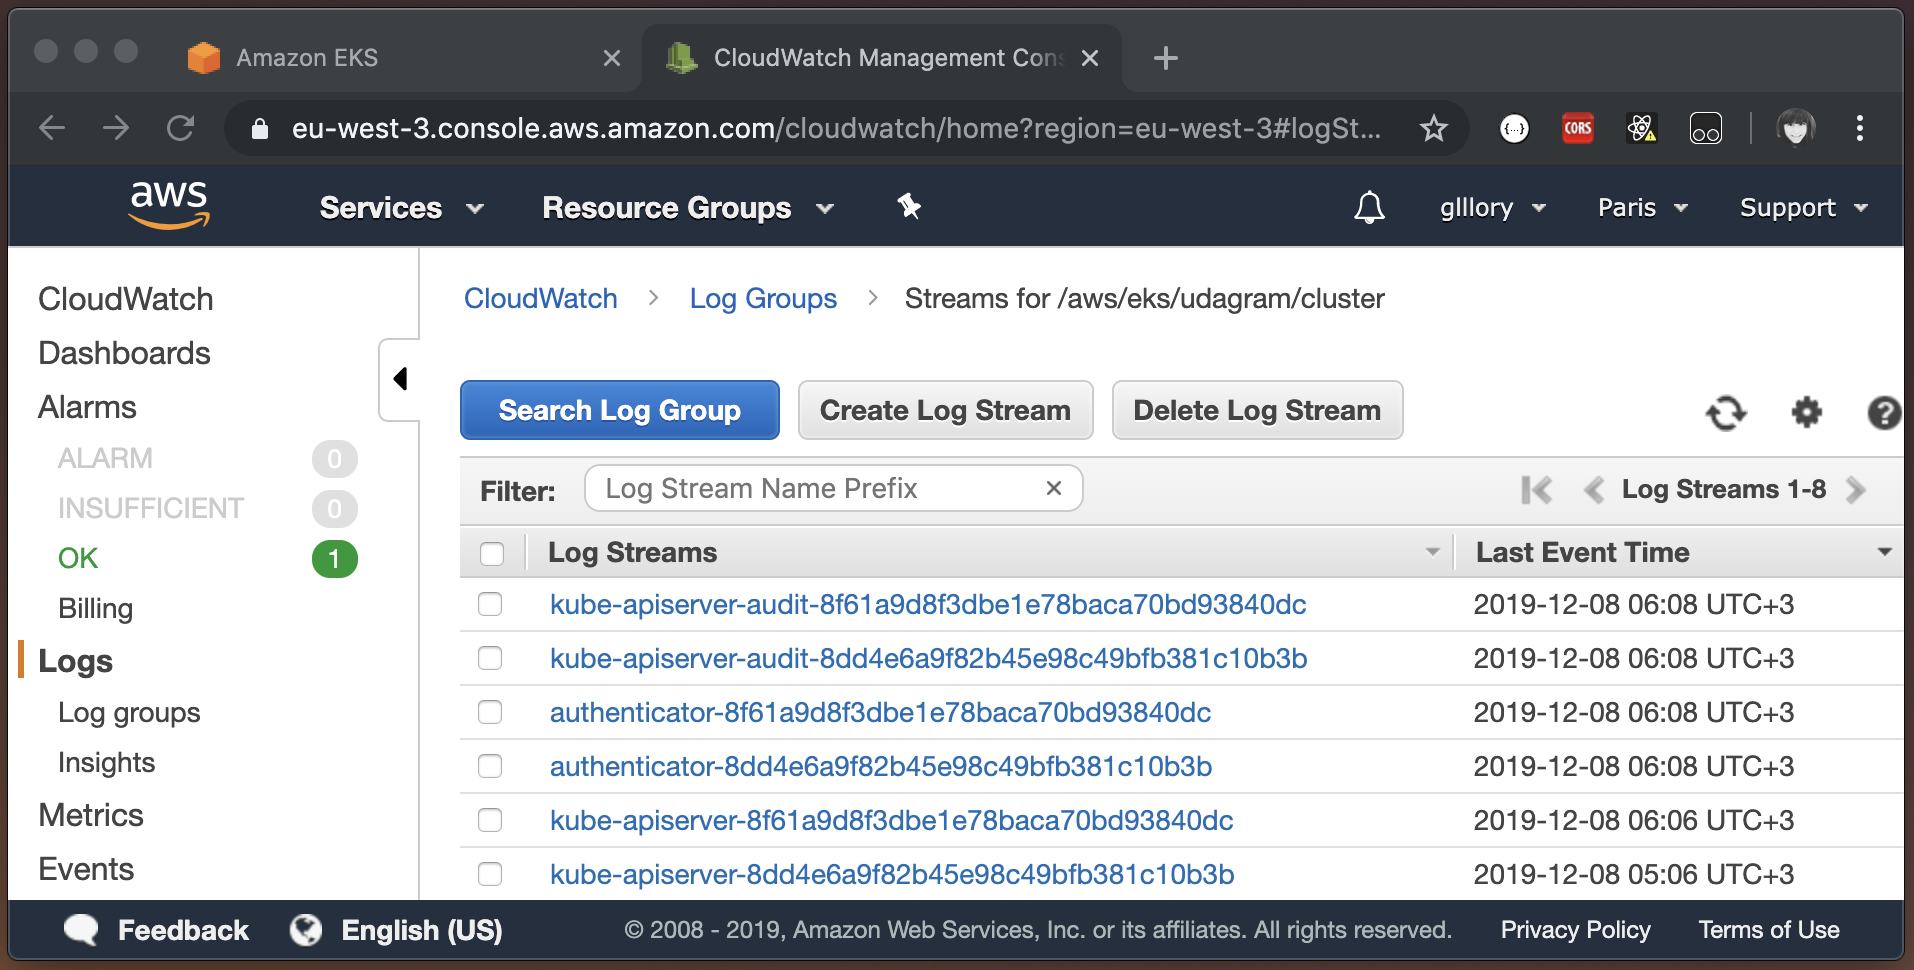
The application is monitored by Amazon CloudWatch, Amazon EKS control plane logging provides audit and diagnostic logs directly from the Amazon EKS control plane to CloudWatch Logs in your account. These logs make it easy for you to secure and run your cluster.
To Enabling Control Plane Logs:
- Open the Amazon-EKS console.
- Choose the name of the cluster to display your cluster information.
- Under Logging, choose Update.
- For each individual log type, choose whether the log type should be Enabled or Disabled. By default, each log type is Disabled.
- Choose Update to finish.
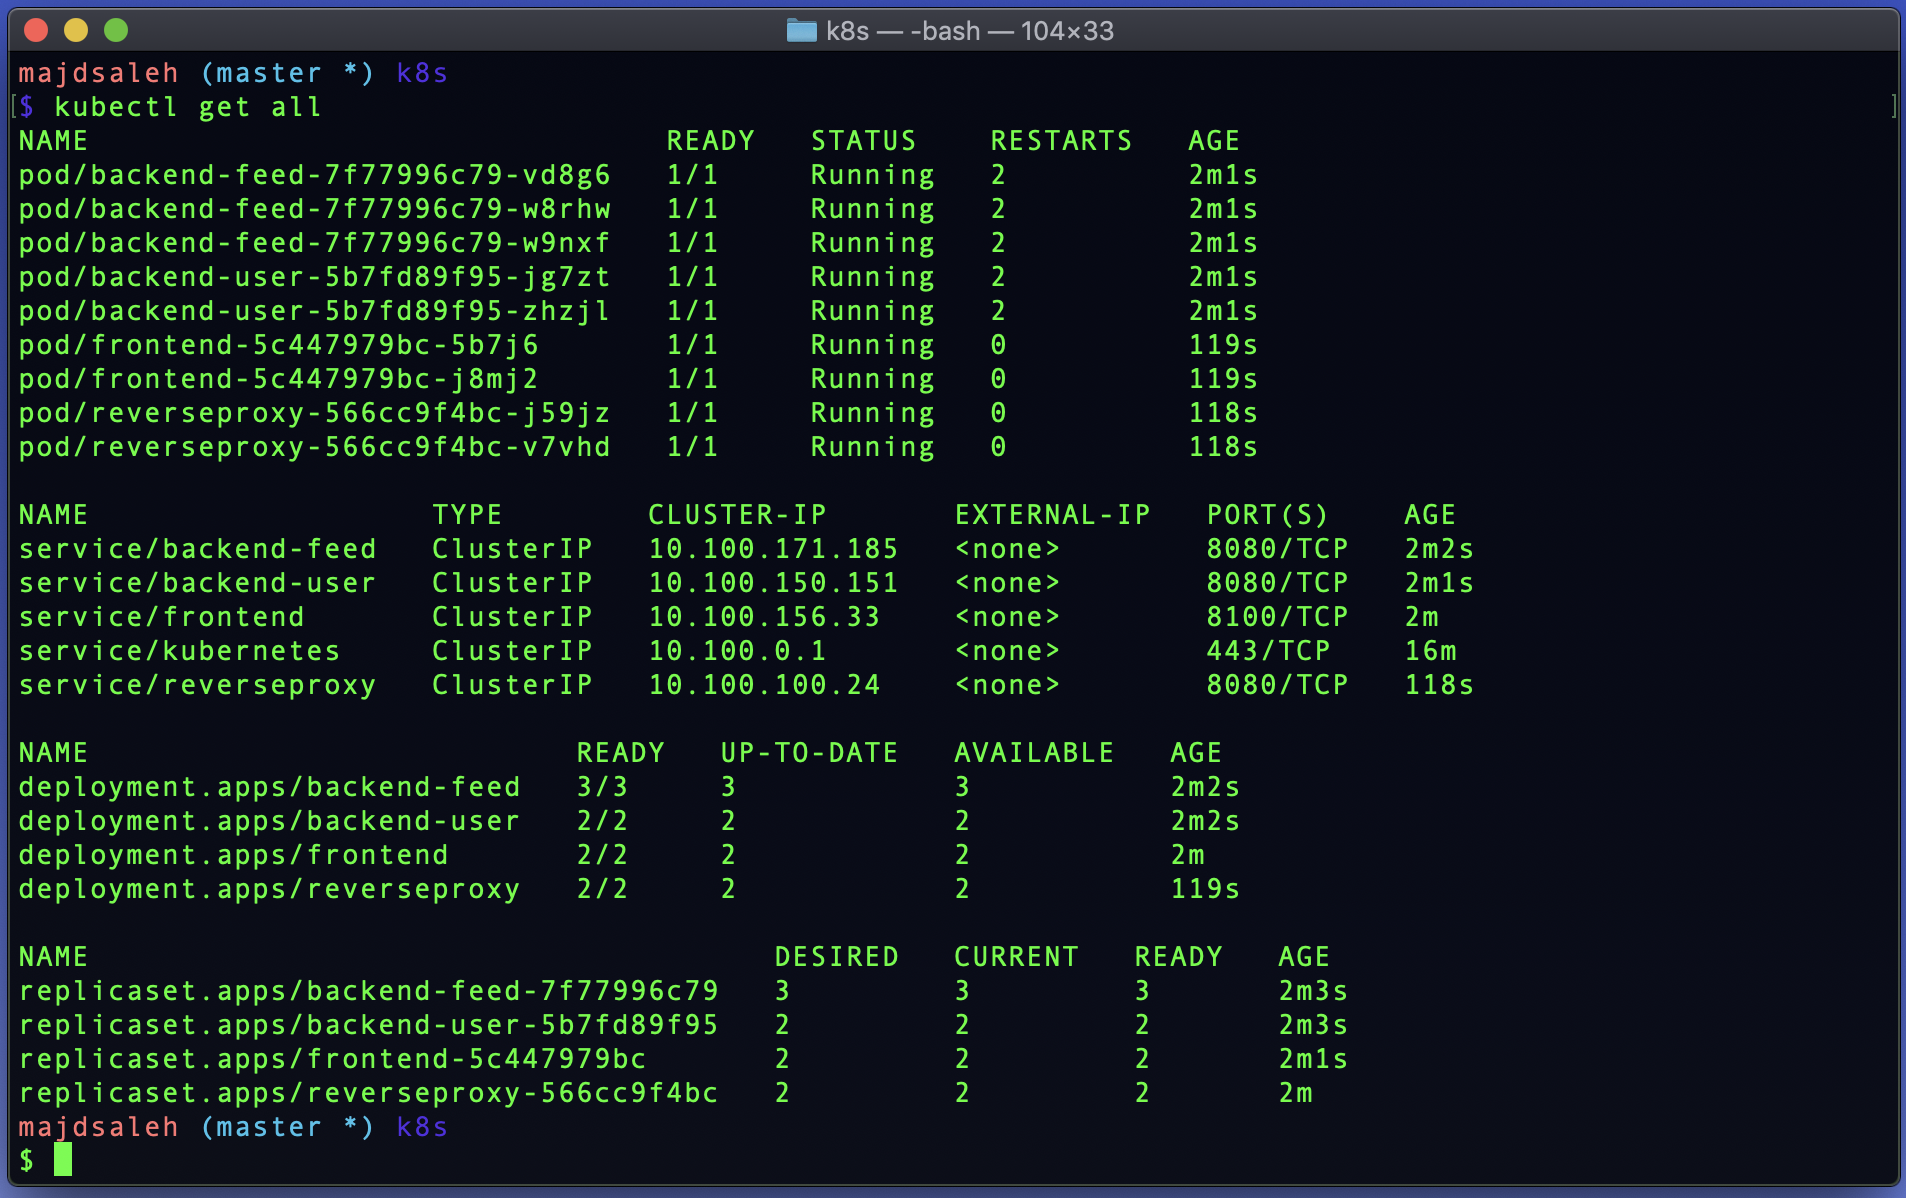
kubectl get all
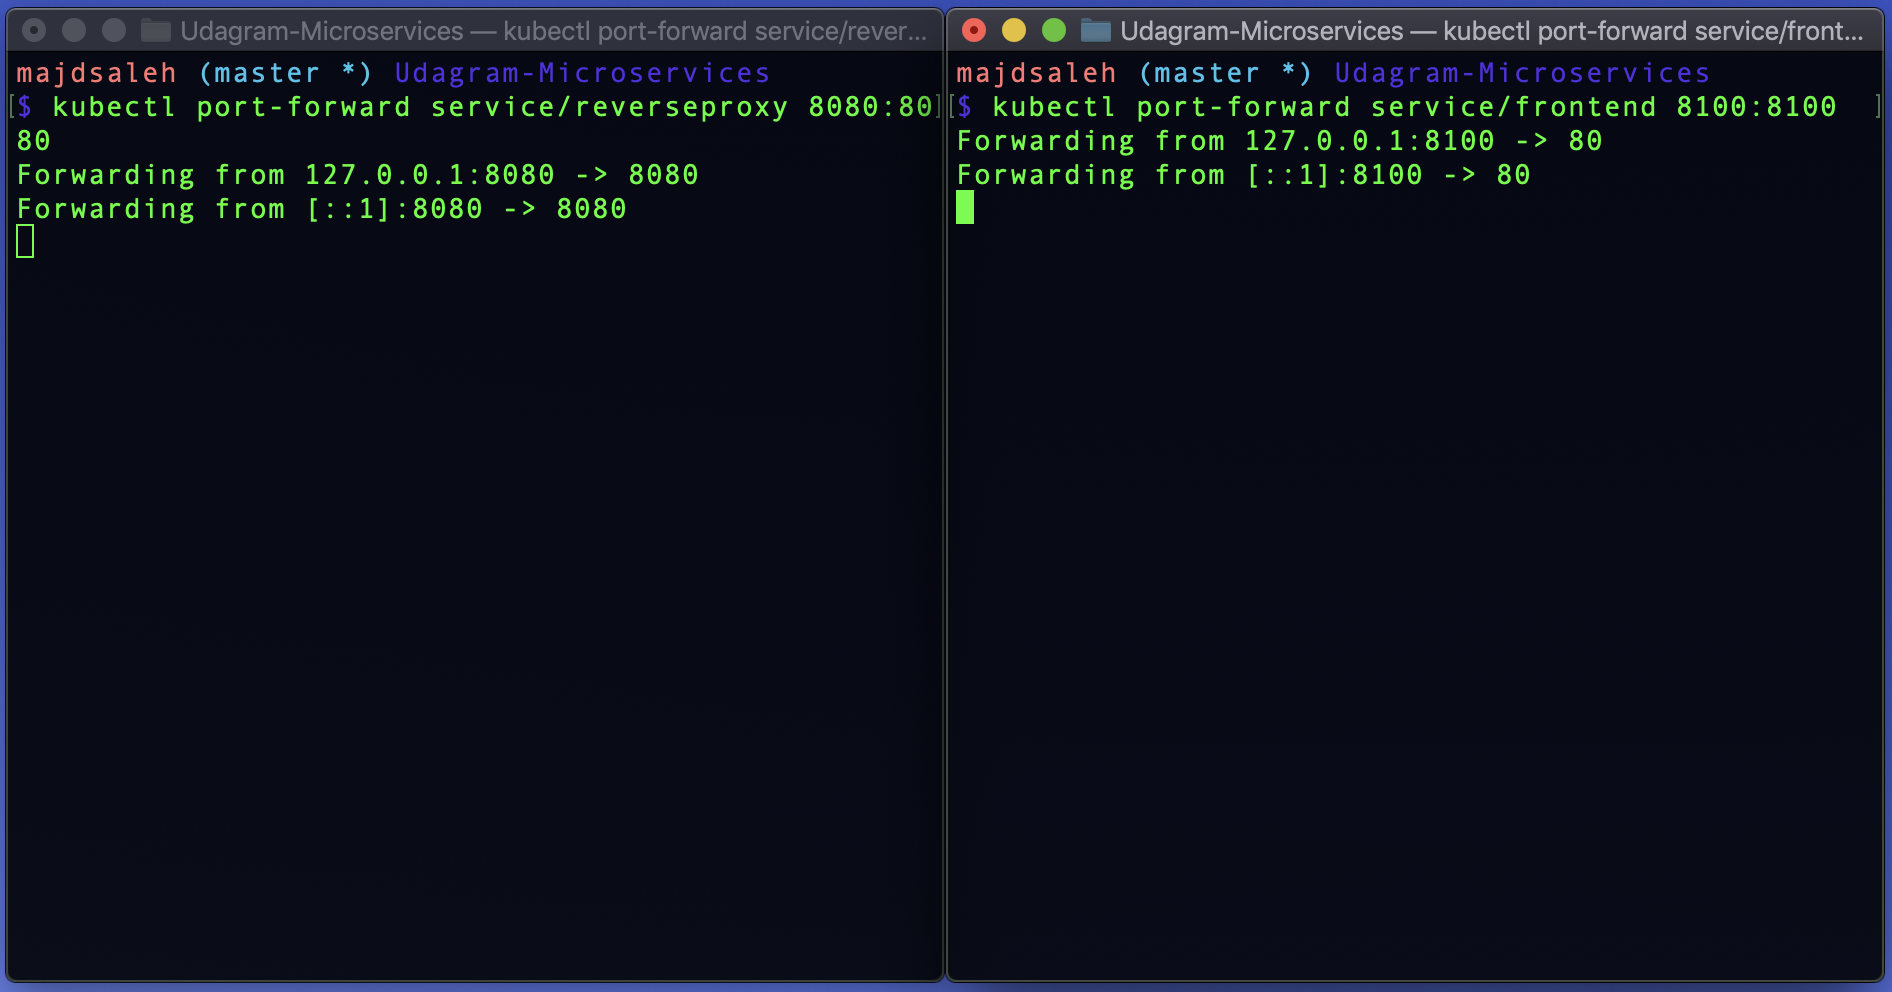
Use Port Forwarding to the Frontend and Reverse Proxy services:
Note: The port forwarding must be done in Separate terminals, to run both servises at the same time.
kubectl port-forward service/frontend 8100:8100
kubectl port-forward service/reverseproxy 8080:8080
- Sign up for TravisCL and connect your Github application repository to TrivisCL.
- Add
.travis.ymlfile to the root of the application. - Copy and paste the following code into your
.travis.ymlfile:
language: minimal

services: docker

env:
  - DOCKER_COMPOSE_VERSION=1.23.2

before_install:
  - docker -v && docker-compose -v
  - sudo rm /usr/local/bin/docker-compose
  - curl -L https://github.com/docker/compose/releases/download/${DOCKER_COMPOSE_VERSION}/docker-compose-`uname -s`-`uname -m` > docker-compose
  - chmod +x docker-compose
  - sudo mv docker-compose /usr/local/bin
  - curl -LO https://storage.googleapis.com/kubernetes-release/release/$(curl -s https://storage.googleapis.com/kubernetes-release/release/stable.txt)/bin/linux/amd64/kubectl
  - chmod +x ./kubectl
  - sudo mv ./kubectl /usr/local/bin/kubectl

install:
  - docker-compose -f udacity-c3-deployment/docker/docker-compose-build.yaml build --parallel
-
Add your environment variables to the project repository in TravisCL by selecting the setting option.
-
Commit and Push your changes to trigger a Travis CI build.
Travis only runs builds on the commits you push after you’ve added a
.travis.ymlfile.
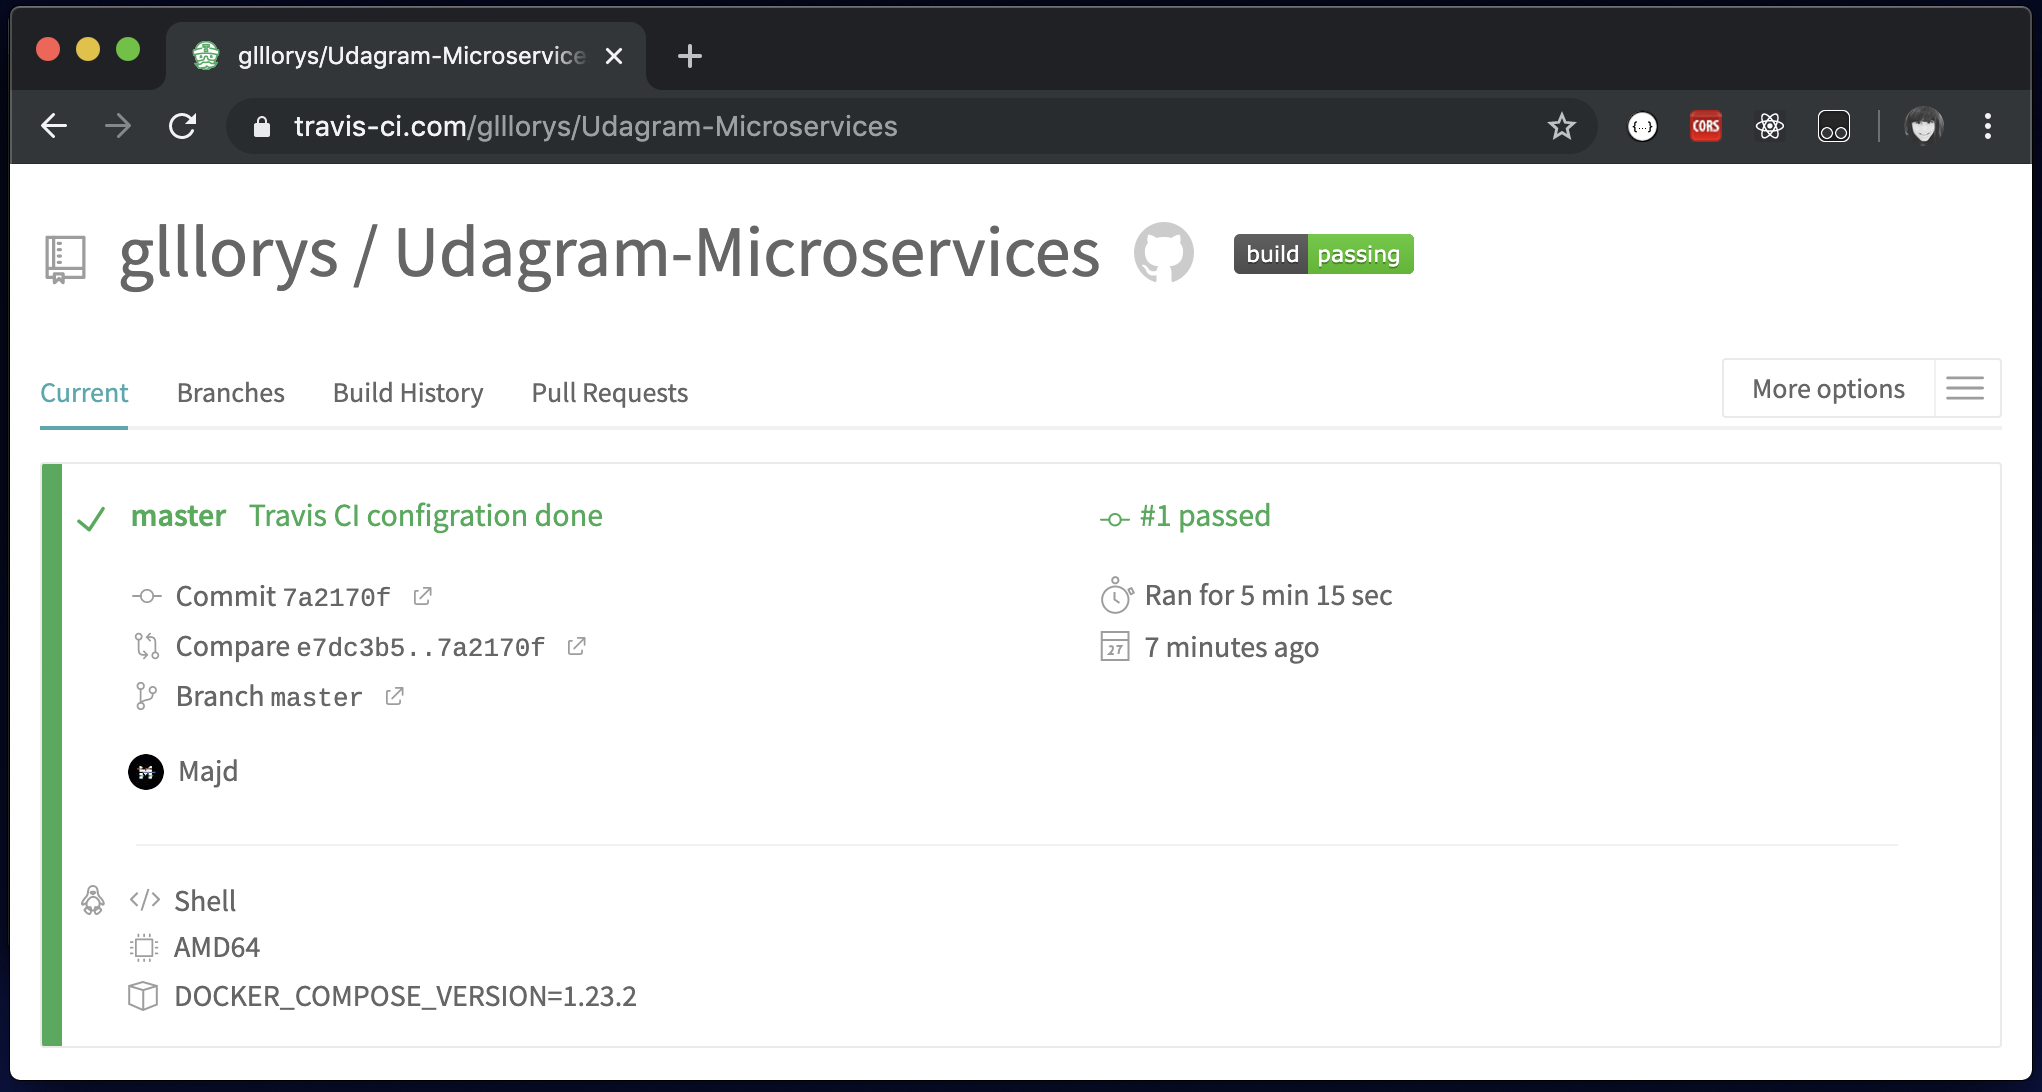
- Check the build status page to see if your build passes or fails according to the return status of the build command by visiting TravisCL and selecting your repository.
