Automatically import transactions to YNAB (You Need a Budget) in real-time!
YNAB is great, but manually entering your transactions is kind of a bummer. Auto-import is great, but I'm not crazy about giving up my bank account username and password. And having to wait a few days for transactions to clear before they can be imported also isn’t ideal. File-based import gets the job done but is quite the hassle.
Wouldn’t it be great – magical, even – if YNAB could automatically import all your transactions in real-time with no effort on your part? Thanks to the fantabulous YNAB API, this is now possible!
After a quick one-time setup, any credit card transaction will automatically appear in YNAB mere seconds after the purchase.
Click the image to watch a demo purchase!
The idea sprung into mind after reading this article on the secret API of banks. Banks, especially in the US, are not as gracious as YNAB and do not provide an API for developers. But, there’s a workaround. We’re all familiar with the email letting us know when there’s been a charge greater than $100, for example, alerting us to possible credit card theft. It turns out you can set this threshold to $0 and receive an email about every transaction. All that’s left is to programmatically parse the email to find the relevant information and submit it to YNAB! And don’t worry, you’ll set up a separate email for these notifications so your inbox won’t be bombarded with notifications.
The whole stack runs on Amazon Web Services. Simple Email Service receives a notification email, saves it to S3, and triggers a particular lambda function tailored to whichever bank the notification came from. The lambda function retrieves the email from S3, parses it for transaction data (account, payee, amount, date), and writes that data to a DynamoDB table. The table has a stream enabled, which triggers another lambda function when the table is updated. The function reads the transaction data from the stream and posts the transaction to YNAB using their API.
All of the above can be deployed from a CloudFormation template. That template references the files in this repository for the lambda function code. The deploy script packages these files into S3 objects that the template can reference and then deploys the template.
| Bank | Date Last Verified |
|---|---|
| Alliant | May 16 2019 |
| Associated | May 16 2019 |
| Chase | Oct 21 2022 |
| Citi | Oct 21 2022 |
| Discover | Oct 21 2022 |
| US Bank | Oct 29 2019 |
| Wells Fargo | Oct 21 2022 |
After this one-time setup, all future imports are automatic.
Go to https://aws.amazon.com/ and create an account. It's a best practice to create separate AWS accounts for separate projects, so I recommend creating a new account even if you already have one.
Register a domain using Amazon Route 53 ($12/year for a .com domain) if you don’t already have one. If you already have a domain name (with any domain registrar, not just Amazon Route 53), you can use that instead. I recommend Amazon Route 53 if you’re registering a new domain because it makes the next step a bit easier.
Follow these instructions. No need for DKIM signing.
You can find instructions for specific banks in the docs/bank_instructions directory.
Login to your YNAB account. Add the last 4 digits of your card number to your YNAB account notes section. E.g. if your last 4 digits are 1234, it should look like this:

It’s okay to have other information in the notes section, but the digits have to be in there somewhere.
If you don't have the AWS CLI installed already, do so by following these instructions. Once installed, you'll need to configure the CLI to work with the AWS account you created in Step 1. See this page for configuration instructions.
If you don't have python3 installed and available on your PATH, you'll need to do that first. Once you have Python installed, clone this repository and run chmod +x deploy.sh followed by ./deploy.sh -b <budgetId> -t <personalAccessToken> -d <domain>.
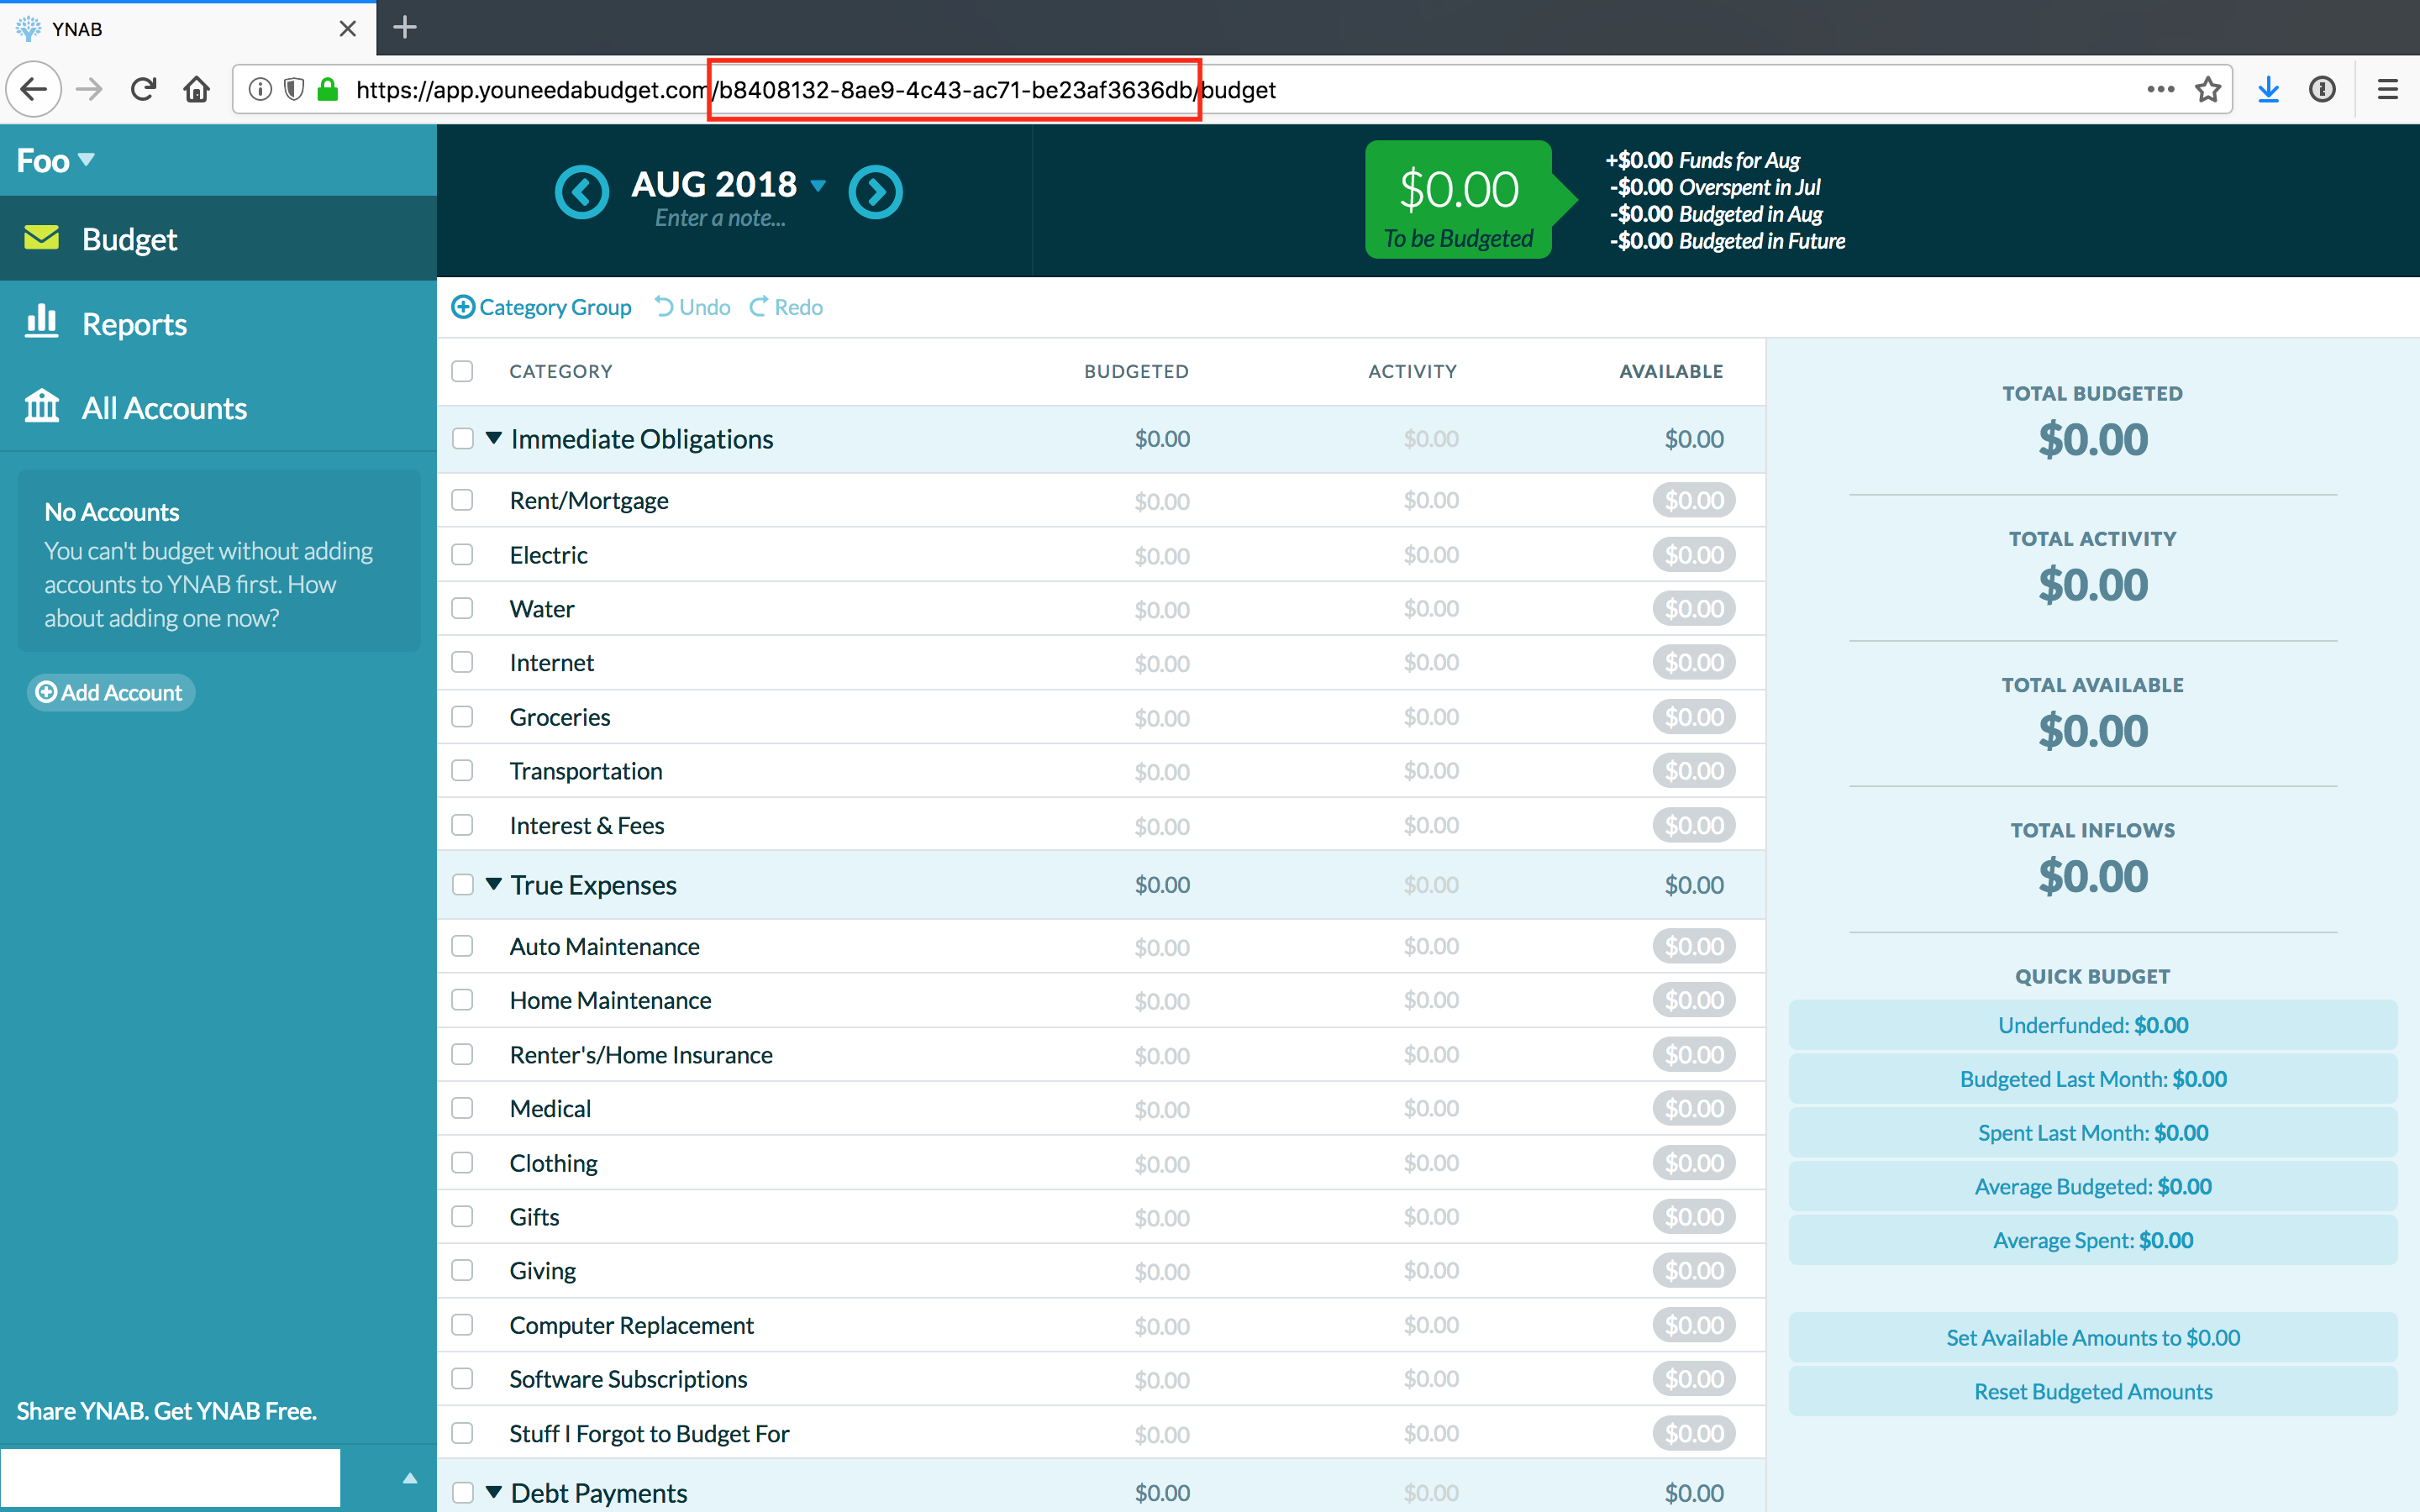
Replace <budgetId> with the ID of the budget you want to import transactions into. Your budget ID can be found in the URL when you're looking at that budget in YNAB.
Replace <personalAccessToken> with your YNAB personal access token. Here are instructions for finding your token. Note that that page says, "You should not share this access token with anyone or ask for anyone else's access token. It should be treated with as much care as your main account password." It's okay for you to submit your token here because the live import infrastructure you're setting up exists on your very own personal Amazon Web Services account that you alone have access to. Everyone who follows these directions is setting up their own live import system that they control, there is no central live import system that stores people's tokens... that would be bad!
Replace <domain> with the domain you verified with Amazon Simple Email Service. Include the ".com" (or other TLD), e.g. "example.com".
That's it! Automatic credit card imports with no effort on your part are now setup.
Other than the cost of a domain ($12/year with Amazon Route53), absolutely free up to 1,000 transactions/month! I doubt anyone regularly uses their credit cards more than 33 times a day, but if you do, it’ll only cost a few cents.
Nope! The beauty of this solution is that the entire infrastructure is hosted on your very own Amazon Web Services account that you alone have access to.
See this table of supported banks. Right now only credit card transactions are supported. I hope to add support for debit card transactions, ATM withdrawals and deposits, bank transfers, and direct deposits in the future.
To incorporate changes made to this repository after you set up your system on AWS, simply git pull the latest changes and run the deploy.sh script again. If you run into issues, deleting your CloudFormation stack before running the deploy script is foolproof.