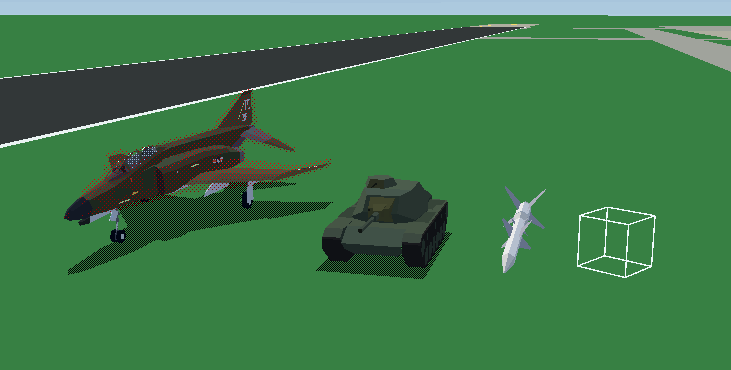
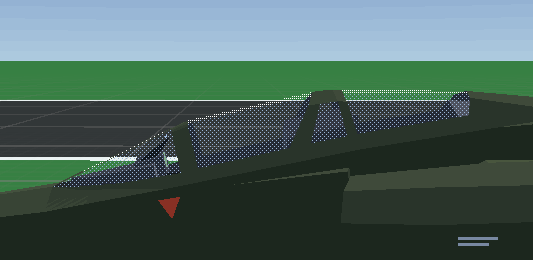
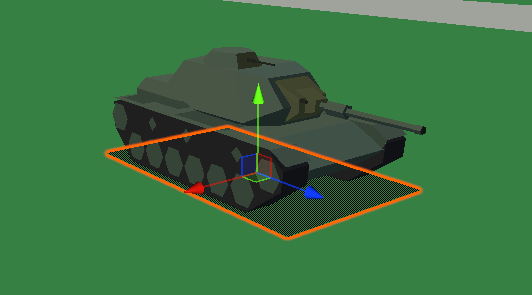
This is a Unity project designed to help make the addition of new assets into the game Tiny Combat Arena easier. It uses the same shaders and environment as the real game, allowing you to preview exactly what your model will look like, and correct any mistakes with the model before importing it into the game.
This project is built on Unity 2020.3.30f1. While any 2020.3 LTS version should work, it's highly recommended to stick with 2020.3.30f1, as it's what the game is built on.
Download the required Unity version here.
This is the recommended way as it's easiest to update.
- Check out this repository
- Using Unity Hub, add the repository as a project
- Open the project through Unity Hub
- Download Unity 2020.3.30f1
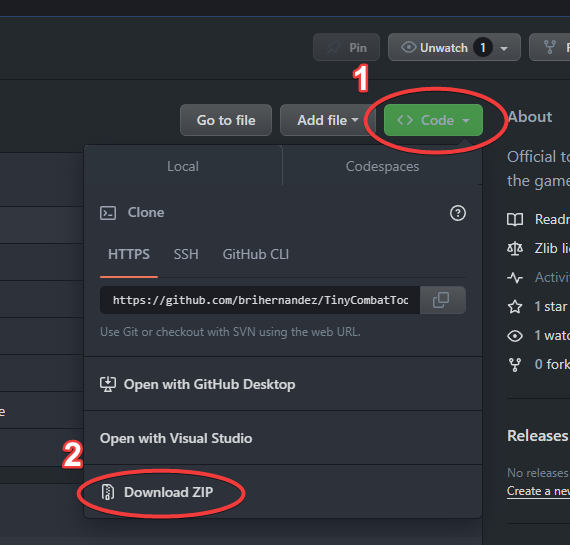
- Click on the Code button on this GitHub page
- Download the Zip file of the project
- Extract the
TinyCombatTools-masterfolder to some directory - Using Unity Hub, add the repository as a project
- Open the project through Unity Hub
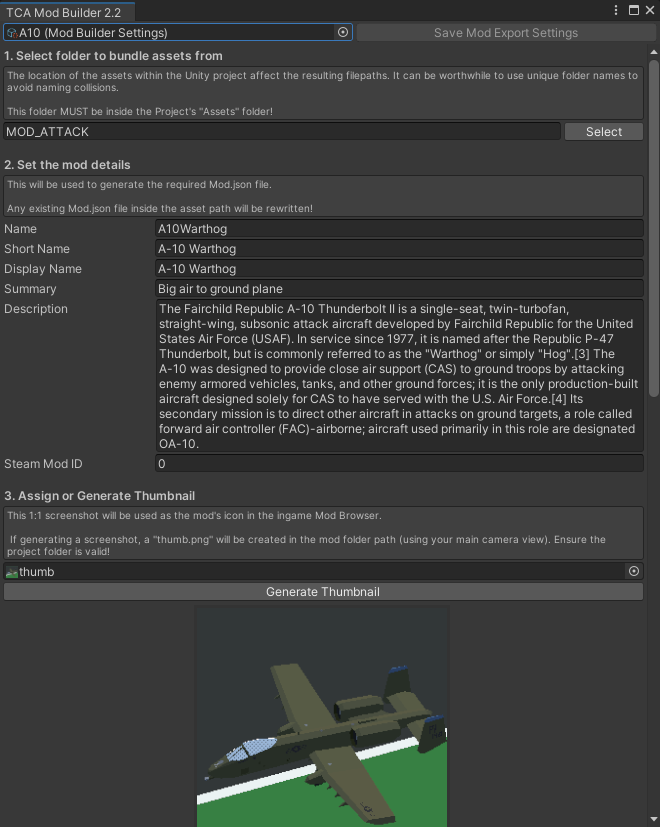
The main feature of this toolset is the TCA Bundler. It allows the creation of asset bundles that can be loaded by Tiny Combat Arena's mod system. The instructions for how to use them are contained within the tool itself.
For this example, the exported bundle will simply be named assets, but the name can be anything
you choose.
- Open the
DemoScenescene to view examples in their native environment - Open the TCA Bundler from the dropdown menu
Tiny Combat Arena -> Open Asset Bundler - Follow the export process in the TCA Bundler tool
- Put the exported
assetsfile into your mod's directory (TinyCombatArena/Mods/(YourMod)) - In your mod's
Mod.json, add an entry underAssetsfor the newly exportedassetsfile - Referencing
assetlist.json, apply asset paths where desired
Example Mod.json with the new assets file in use:
{
  "Name": "A-10",
  "DisplayName": "A-10 Mod",
  "Description:": "Adds the A-10A",
  "Assets": [
    "assets"
  ]
}
Multiple asset bundles can be used if so desired. On game start, this mod will now load the assets bundle and any assets inside of it. Once the assets have been exported, an assetlist.json will have also been created. This file contains all the directories that can be referenced in the JSON data files.
A typical assetlist.json will look something like this:
assets/mod/aircraft/a10a/a10a.fbx
assets/mod/aircraft/a10a/a10mat.mat
assets/mod/aircraft/a10a/a10palette.png
assets/mod/aircraft/a10a/a10aanimator.controller
In the below example usage in an aircraft definition, notice how the ModelPath and AnimatorPath use the full filenames. The full path as listed in assetlist.json must be used, including extensions!
"Name": "A10A",
"DisplayName": "A-10A",
"DotColors": [130, 141, 154],

"ModelPath": "assets/mod/aircraft/a10a/a10a.fbx",
"AnimatorPath": "assets/mod/aircraft/a10a/a10aanimator.controller",
"SpawnOffset": -1.875,
"SpawnRotation": 4.1,Below is various technical data to help format and export your models using the game's built in shaders and materials.
It is critical that a model and its child meshes have their axes set up in Unity such that:
- X: Right
- Y: Up
- Z: Forward
These axes must point in these directions when the mesh is "at rest", meaning with no rotations applied to it other than what might be intended. Check the F-4E rotations and pivots for a fairly complex example of what a model's rotations and axes should look like.
To accurately gauge the object orientations, ensure you have handle settings on Pivot and Local!
If the pivots and orientations are not correct, then the model and other gameplay behaviors will not work correctly. One of the biggest advantages of this tool existing inside a Unity project is that you can see exactly what your axes will look like before you export them into the game.
How you achieve this will depend on your export process and import settings, but the important thing is that in Unity, if you click on a mesh or dummy object, it shows the correct axes.
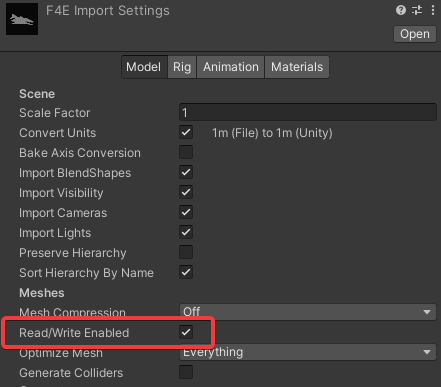
Models must have their meshes marked as Read/Write Enabled in order to import into the game correctly. Various bits and pieces get shuffled around at runtime, and without this setting enabled it can cause errors when aircraft and vehicles are initialized.
- For most materials, use the TinyDiffuse shader
- Configure color, emission, and texture
- Color: For most materials with a texture, set this white. A color can be used to modify the texture color, or to color an untextured material.
- Emission: For most materials, set this black. Emission allows a material to be a bright color regardless of lighting. Best used for things such as lights. See the
F4EmissiveMatfor an example. - Texture: Image to be used for texturing the object. TCA uses palette textures, but this purely a stylistic choice.
- Ensure that
Enable GPU Instancingis checked for optimized rendering.
LightSteps: How much fidelity the shading has. By default this is 8 and should be left on 8 for consistency. Higher values result in smoother shading. Lower values result in more coarse shading.
Offset: Specialty option for the renderer to prefer drawing this material in front of other objects. Sometimes used for things such as runway markings or "decal" geometry. Should be left on 0 in the huge majority of cases.
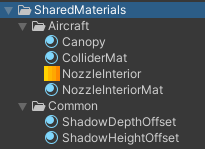
Shared Materials are materials which are common among many different objects. These are found in Assets/TinyCombatTools/Content/SharedMaterials.
While it's not strictly required that you use these common materials, it's generally advised in order to maintain commonality with rest of the game. E.g. use the Canopy material for the canopies of your aircraft.
When exporting your assets do not include these materials in the mod export folder. As long as they reference the shared materials, they will map correctly once imported.
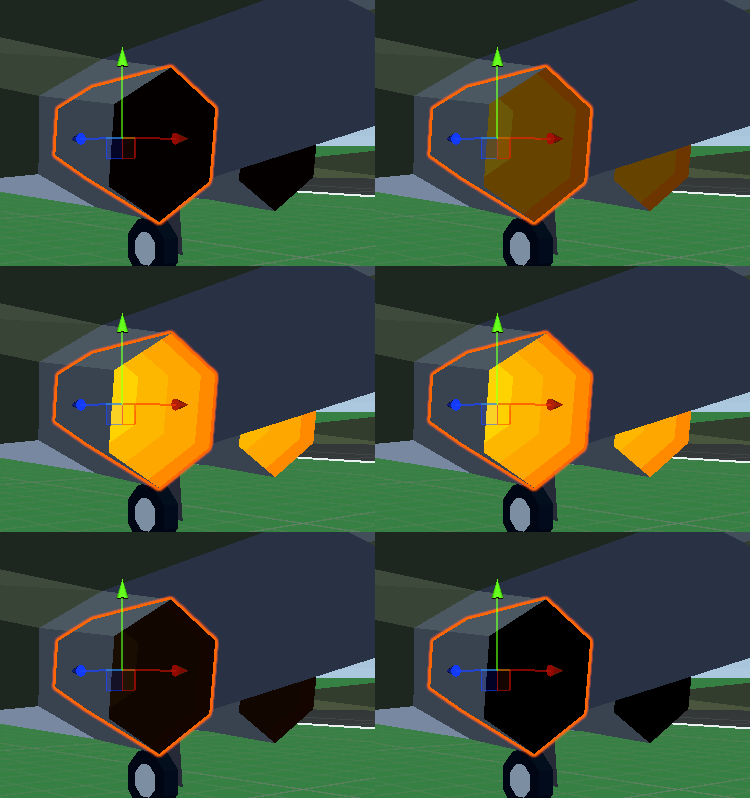
"Nozzle interiors", which are what's used to represent the glowing of the inside of the nozzle when the afterburner is active, have specific requirements that must be met in order to work correctly.
- Must be its own mesh (see image above)
- Must have only one material on it
The way it works is that the assigned material will modify the color property to create the effect. When not afterburning, the material will have a black color assigned. When afterburnering, the color will smoothly ramp up to white. When combined with a white emissive value and texture, you get the afterburner effect in Tiny Combat Arena.
For convenience, both the nozzle interior texture and material are provided in Assets/TinyCombatTools/Content/SharedMaterials. It's recommended that you use the material provided for your afterburners, and UV map the nozzle interiors of your mesh accordingly.
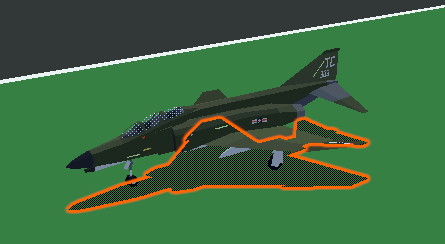
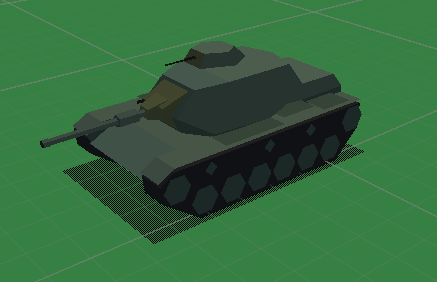
These two shared materials are the most commonly used materials for shadows. As a convention, aircraft shadows use the ShadowDepthOffset material, while vehicles use the ShadowHeightOffset material.
It's highly recommend you use these two shared materials for shadows rather than creating your own.
Stores/munitions do not use shadow meshes. They are generated dynamically at runtime.
The TinyDiffuse shader is the bread and butter of Tiny Combat Arena. It drives the shading of nearly object in the game and automatically handles the game's unique lighting, coloring, and shading.
Anything that's not a specialty material (i.e. canopies and shadows) should be using this shader.
TinyCanopy is the shader used for all cockpit canopies in the game. The Canopy material as mentioned in Shared Materials is the default implementation that nearly every single aircraft in the game uses.
While everything in Tiny Combat is flat shaded, it's recommended for the canopy mesh to be smooth shaded. This allows for the shader to create the smooth highlight contour seen on the top of the canopy.
The shader used for shadows for all non-static objects in the game. (Static objects use a separate shadow shader that is not included.) The shadows are dithered when viewed up close, but when viewed from afar become solid to ensure they remain visible.
In order to remain visible when coplanar with the ground, the shadows have two means of "cheating" to make sure they are drawn on top. The HeightOffset simply offsets them vertically, while the DepthOffset instead pulls them forwards towards the camera.
It's highly recommended that you use the ShadowDepthOffset and ShadowHeightOffset as described in the Adding shadows section.
- Renamed the
Materialsfolder toSharedMaterials - Removed the
TCADefaultmaterial - Changed WireExample's material to the
V750Mat
- First release
