This tutorial is going to help you learn the basics about JCL, through a modern way, using the tools that you are used to, to practice locally on your machine using scripts to track your progress.
To follow this you need to have:
- Git - https://git-scm.com/book/en/v2/Getting-Started-Installing-Git
- NodeJS - https://nodejs.org/en/download/
- VSCode(Or any other editor) - https://code.visualstudio.com/download
- IBM Z Open Editor - https://ibm.github.io/zopeneditor-about/
Scripts included:
verify-1.js - checks for Challenge 1
To get started fork this repository.
Clone the forked repository:
git clone git@github.com:<your-git-id>/jcl-study.git
Issue the following command to link your repository with the original one:
$ git remote add upstream git@github.com:billpereira/jcl-study.git
All challenges have their own branch that allows you to test if your solution would run without errors. Use git checkout to navigate through the challenge branches
git checkout CHALLENGE-n
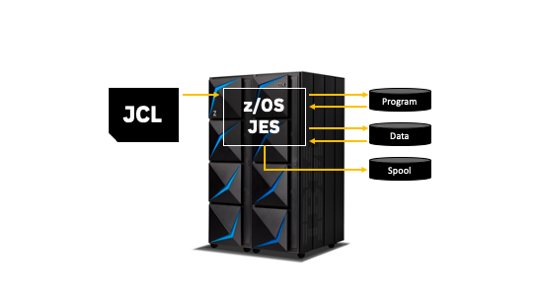
Through the JCL we can tell the system what programs to run, what files we are handling. This unit where we code our JCL is called Job.
When we submit our jobs, our JCL, once selected to run by a component called JES, will get the program to run, allocate any data needed, and at the end it may be deleted, stay in special area called spool or even saved for future reference.
The programs we call, has internal references to file names, which are opened for read/write operations. JCL will associate these references with the physical resources.
Our JCL Instructions, also called statements or cards, start with // on the first column and unless a information would be inside of quotes, it should be always uppercase.
The next 8 characters after // are used to name the statement.
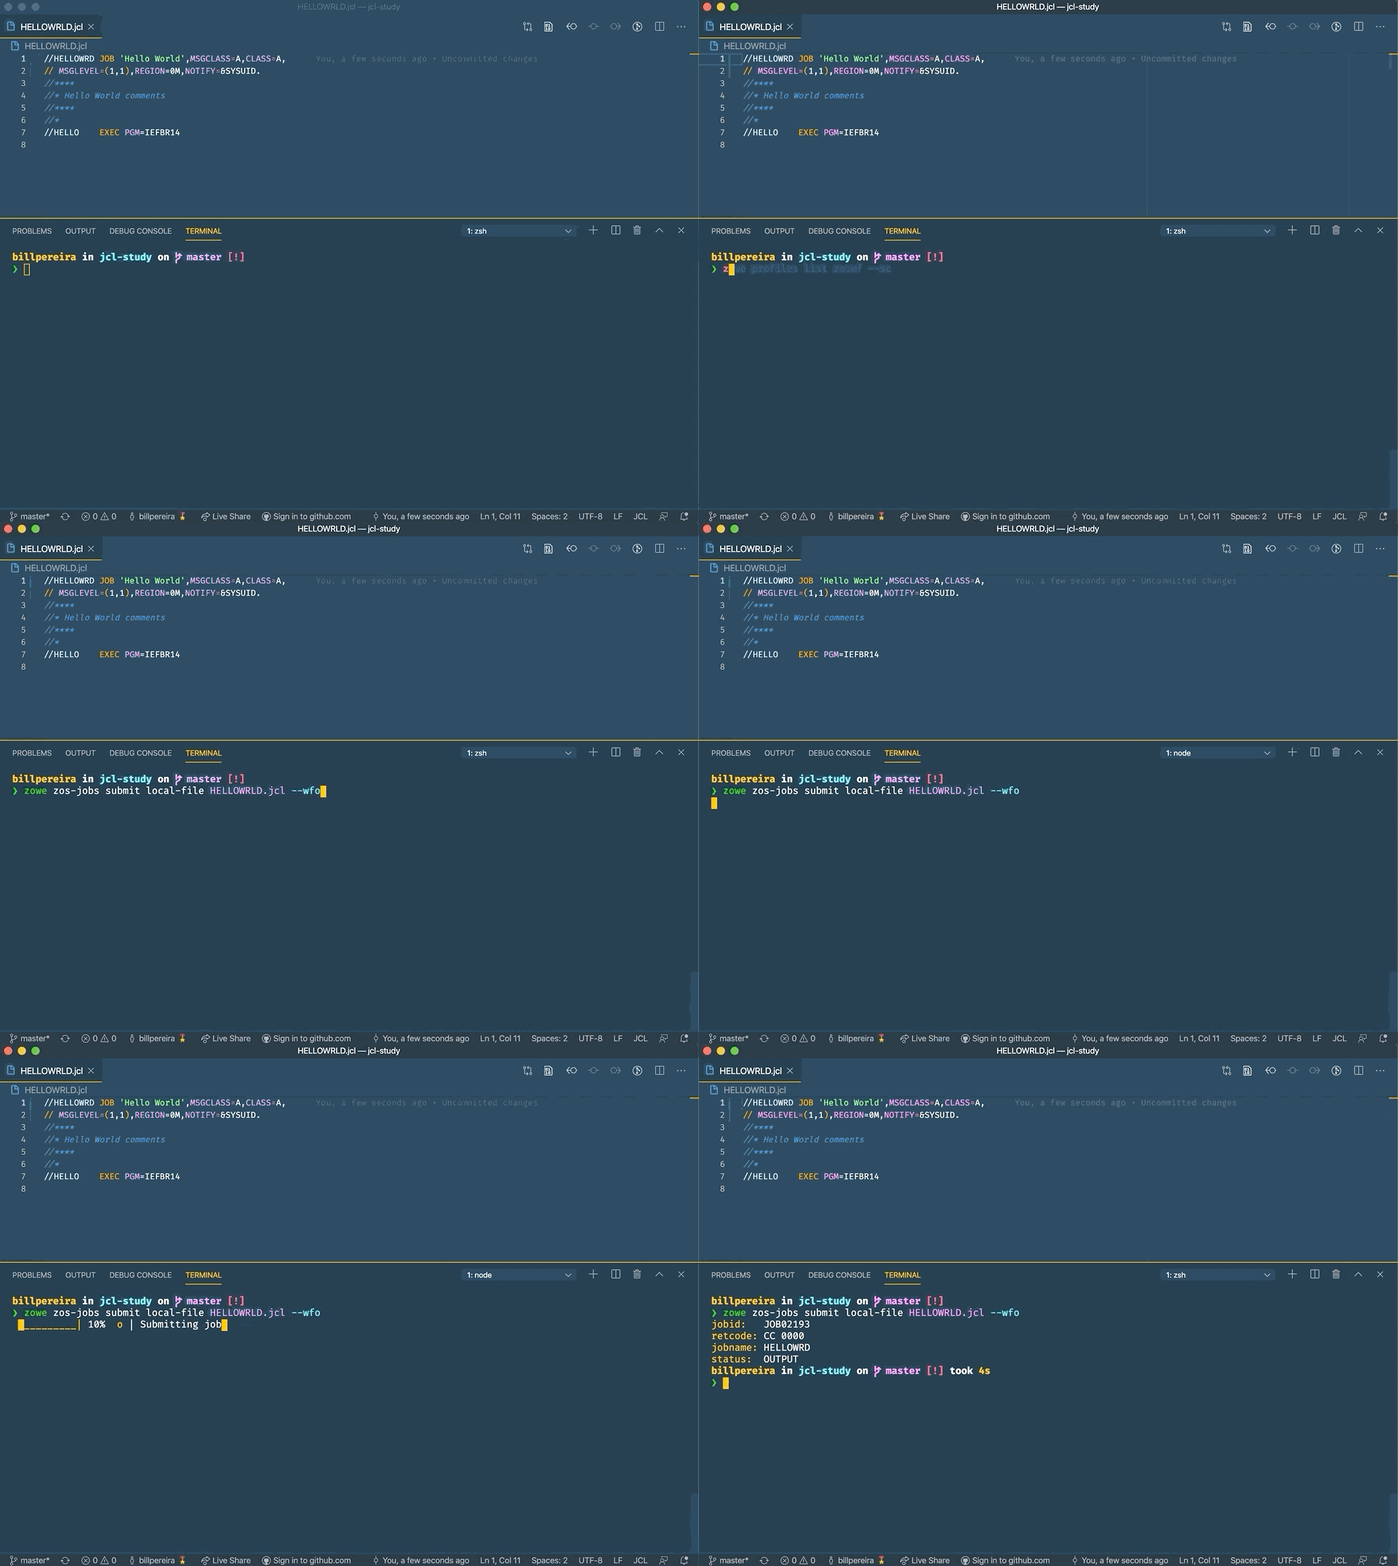
To Start let's create our first job, our HELLOWRLD. All jobs need to contain at least a JOB and a EXEC statement.
-
JOB word identify our JOB Statement, it marks the beginning of our job and assigns a name to it
- (#ACCT) - This is a positional parameter, used for accounting, to identify for example the team/department responsible for this job
- 'Hello World' - We can assign a short description for our job.
- MSGCLASS - We saw before that when a job runs, it may be saved, may be on a spool area, this parameter is responsible to identify where the output execution will stay after execution
- CLASS - The job class can affect whether or how a job is executed
- MSGLEVEL - We are using the MSGLEVEL to print all statements and all messages related to them
- REGION - We use to say in which area of memory or job can run
- NOTIFY - Here we are using variable
SYSUIDto when this job completed inform who submitted it about its completion - SYSAFF - Sometimes we have more systems available working together on what we call as JES Complex, so we can inform in which system it needs to run
-
EXEC word identify our EXEC Statement, we also call each of this as Steps, it identify a program or a procedure to be executed
- PGM - On our exec, we are calling a program an utility, called
IEFBR14. - IEFBR14 - It is a placeholder that returns the exit status zero, similar to the true command on UNIX-like systems.
- PGM - On our exec, we are calling a program an utility, called
In a real world we would already be able submit our job:
Create a JCL named HELLOJOB with accounting information to #JCLGIT, where all messages from execution goes to message class X. It needs a step called STEP1 that will call IEFBR14.
To validate your solution run the following command:
node scripts/verify-1.js


