You can find the videos located inside the public folder!
- Vercel AI SDK Example: Added an example demonstrating the usage of the new Vercel AI SDK with the
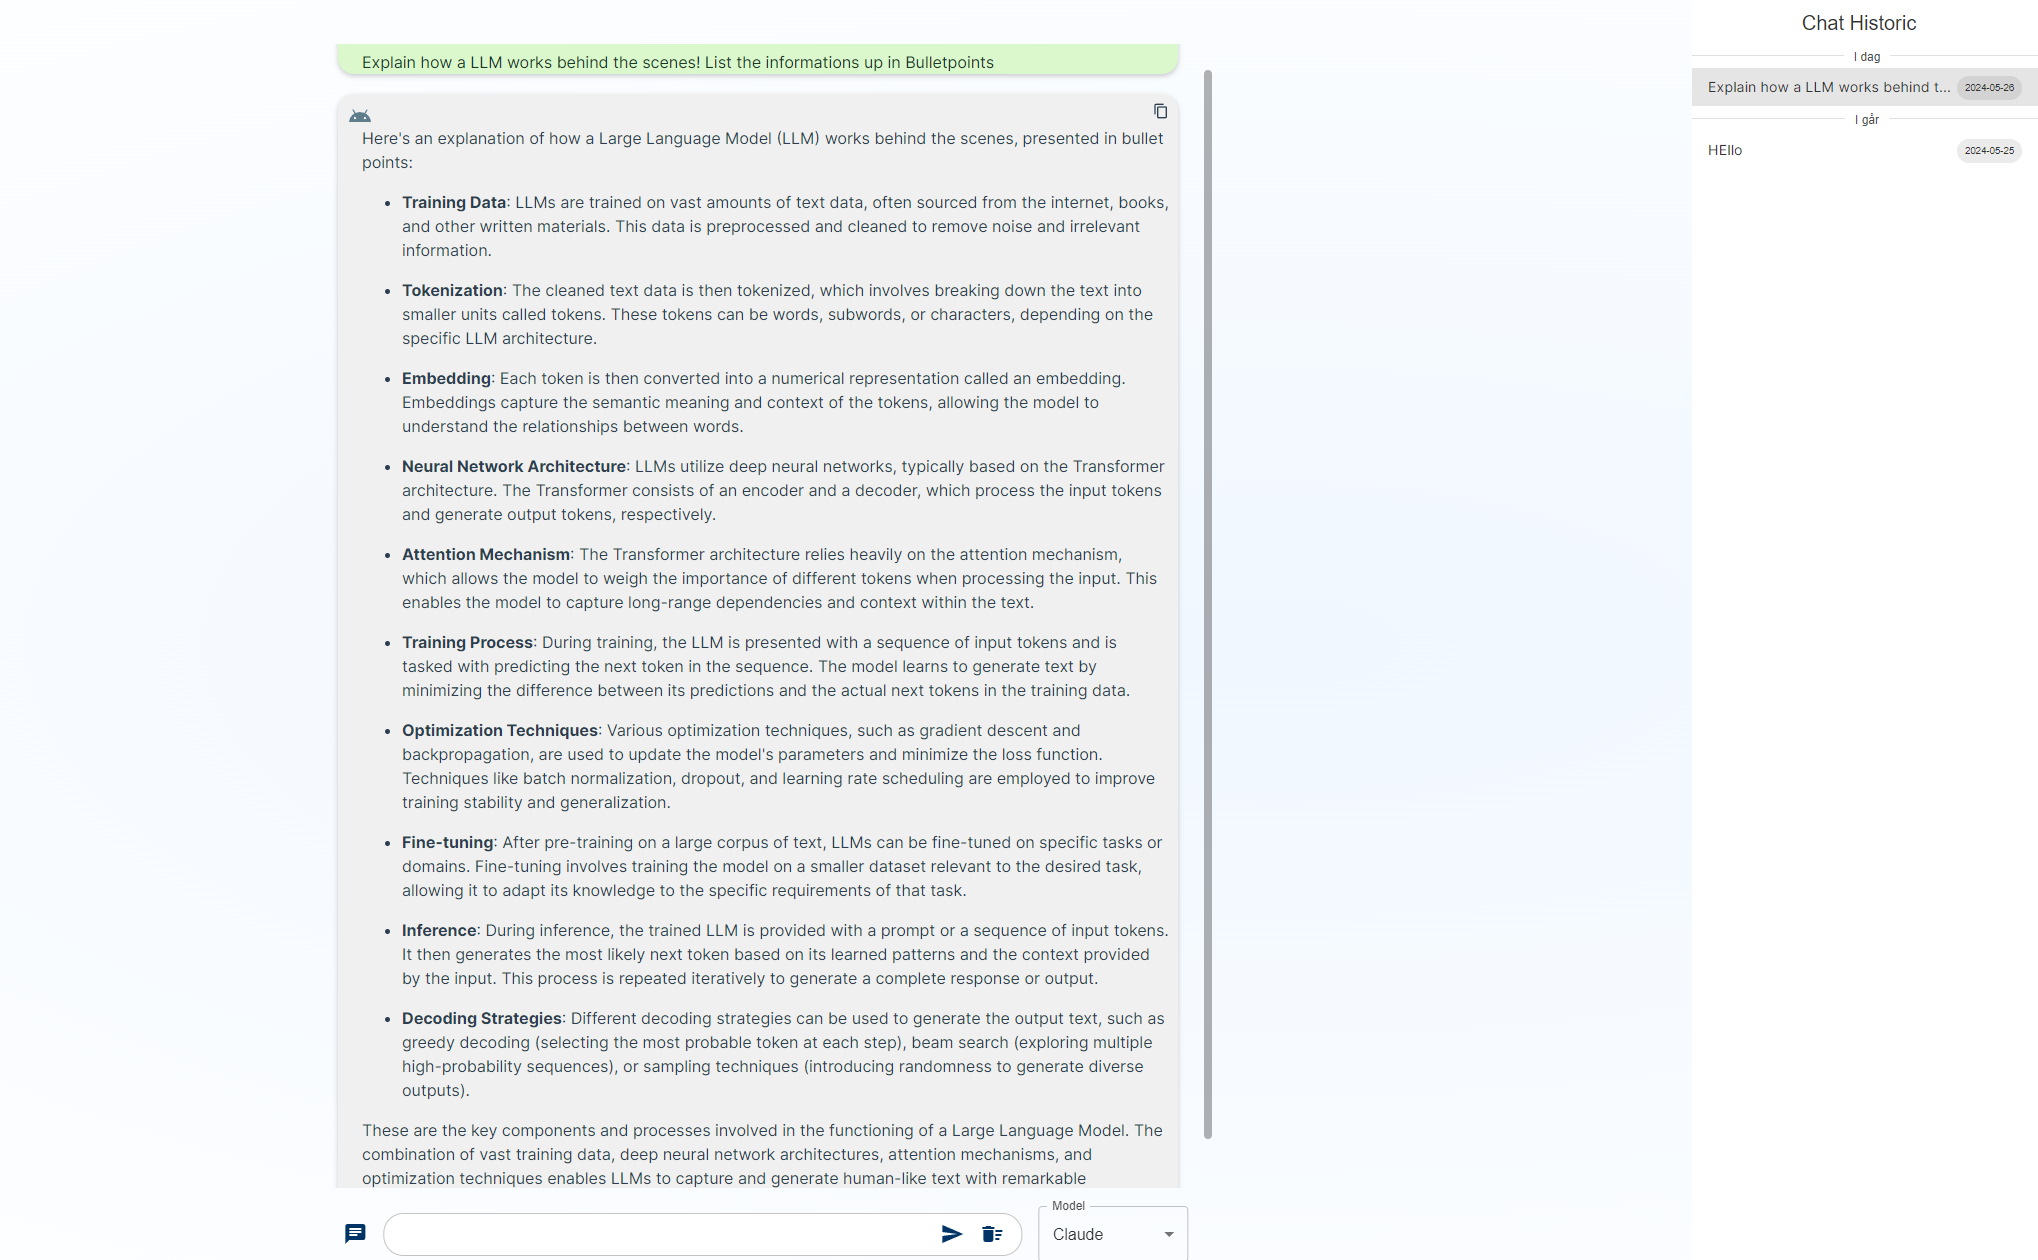
use serverdirective. This example showcases how to create a Server Action to query a language model and update the frontend UI accordingly. - Chat History: Implemented a chat history feature that allows users to view and interact with their previous conversations. The chat history is seamlessly integrated into the user interface, enhancing the overall user experience.
- Streaming UI Feature: Introduced a real-time streaming UI feature that enables users to see the AI-generated responses as they are being generated. This feature provides a more engaging and interactive experience, mimicking a natural conversation flow.
- useSWR Package Integration: Implemented the useSWR package to demonstrate how to efficiently handle server actions and data fetching. The useSWR package provides a simple and powerful way to manage server state, ensuring optimal performance and user experience.
- Vercel AI SDK Integration: Migrated from Langchain to the Vercel AI SDK for a more streamlined and efficient integration with AI models. The Vercel AI SDK provides a simpler and more straightforward approach to interacting with AI models, reducing unnecessary complexity in the codebase.
- Langchain Dependency: Uninstalled Langchain to simplify the codebase and reduce unnecessary complexity. While Langchain provided useful functionality, it was deemed redundant given the capabilities of the Vercel AI SDK. An example of the previous Langchain integration can still be found in the
exampleWithLangchain.mdfile in the package folder for reference.
- Memoized Message Component: Implemented memoization for the
Messagecomponent usingReact.memo. This optimization helps prevent unnecessary re-renders of theMessagecomponent by only re-rendering when its props change. Memoization improves performance by reducing the number of re-renders, especially in scenarios with large amounts of messages and frequent updates, such as streaming.
-
Enhanced Chat List Deletion: Improved the chat list deletion process with robust checking and validation using Zod. When a chat is deleted, only the associated tag is revalidated, optimizing cache management and avoiding unnecessary clearing of the entire cache for the
aichatcomponent. -
Upgraded Chat Component: Enriched the chat component with a range of new features and enhancements:
- Expanded support for multiple AI models, including GPT-3.5, GPT-4, and Claude AI Opus, catering to diverse user preferences.
- Implemented a responsive design that dynamically adjusts the chat width and size based on screen size, responsize screensize across devices.
- Added a convenient "scroll to top" button for effortless navigation within lengthy chat conversations.
- Improved error handling and introduced user-friendly error messages to guide users and maintain a smooth interaction flow.
- Enabled copy-to-clipboard functionality for assistant messages, allowing users to easily capture and share AI-generated responses.
- Enhanced code block rendering with syntax highlighting and language detection, providing a visually appealing and readable format for shared code snippets.
- Upgraded the chat input area with multiline support, retry and stop buttons, and optimized integration with the selected AI model, enhancing the overall user input experience.
- Swipeable Chat List Drawers: Introduced swipeable chat list drawers, enhancing the mobile user experience by providing intuitive navigation and management of chats.
- Claude AI Opus Integration: Expanded the available AI models by integrating Claude AI Opus, offering users an additional option for their chat interactions.
- Abort Signal Handling: Implemented abort signal functionality, allowing users to gracefully cancel ongoing chat requests, improving overall application responsiveness.
- Partial Chat Save: Developed a robust partial chat save mechanism. In the event of a user aborting the chat mid-stream or a stream failure, the application now stores the generated content up to that point, minimizing data loss and ensuring a more reliable user experience.
- Optimized Drawer Rendering: Enhanced drawer rendering performance for users with numerous chats by leveraging
useMemoto minimize unnecessary re-renders, resulting in a smoother and more efficient user interface. - Optimized UseChat Component: Improved the
UseChatcomponent's responsiveness and performance across various screen sizes, providing a consistent and optimized user experience.
- Latest AI Package: Upgraded to the most recent AI package from Vercel, leveraging the latest advancements in artificial intelligence technology.
- Langchain Upgrade: Updated to the newest version of Langchain, enhancing the integration and communication between the application and AI models.
- Chat History Feature: Introduced chat history feature, enabling users to easily access and reference their previous conversations.
- Mobile-Friendly Chat: Implemented a responsive chat interface that dynamically adapts its width and size based on the user's screen size, ensuring optimal usability across various devices.
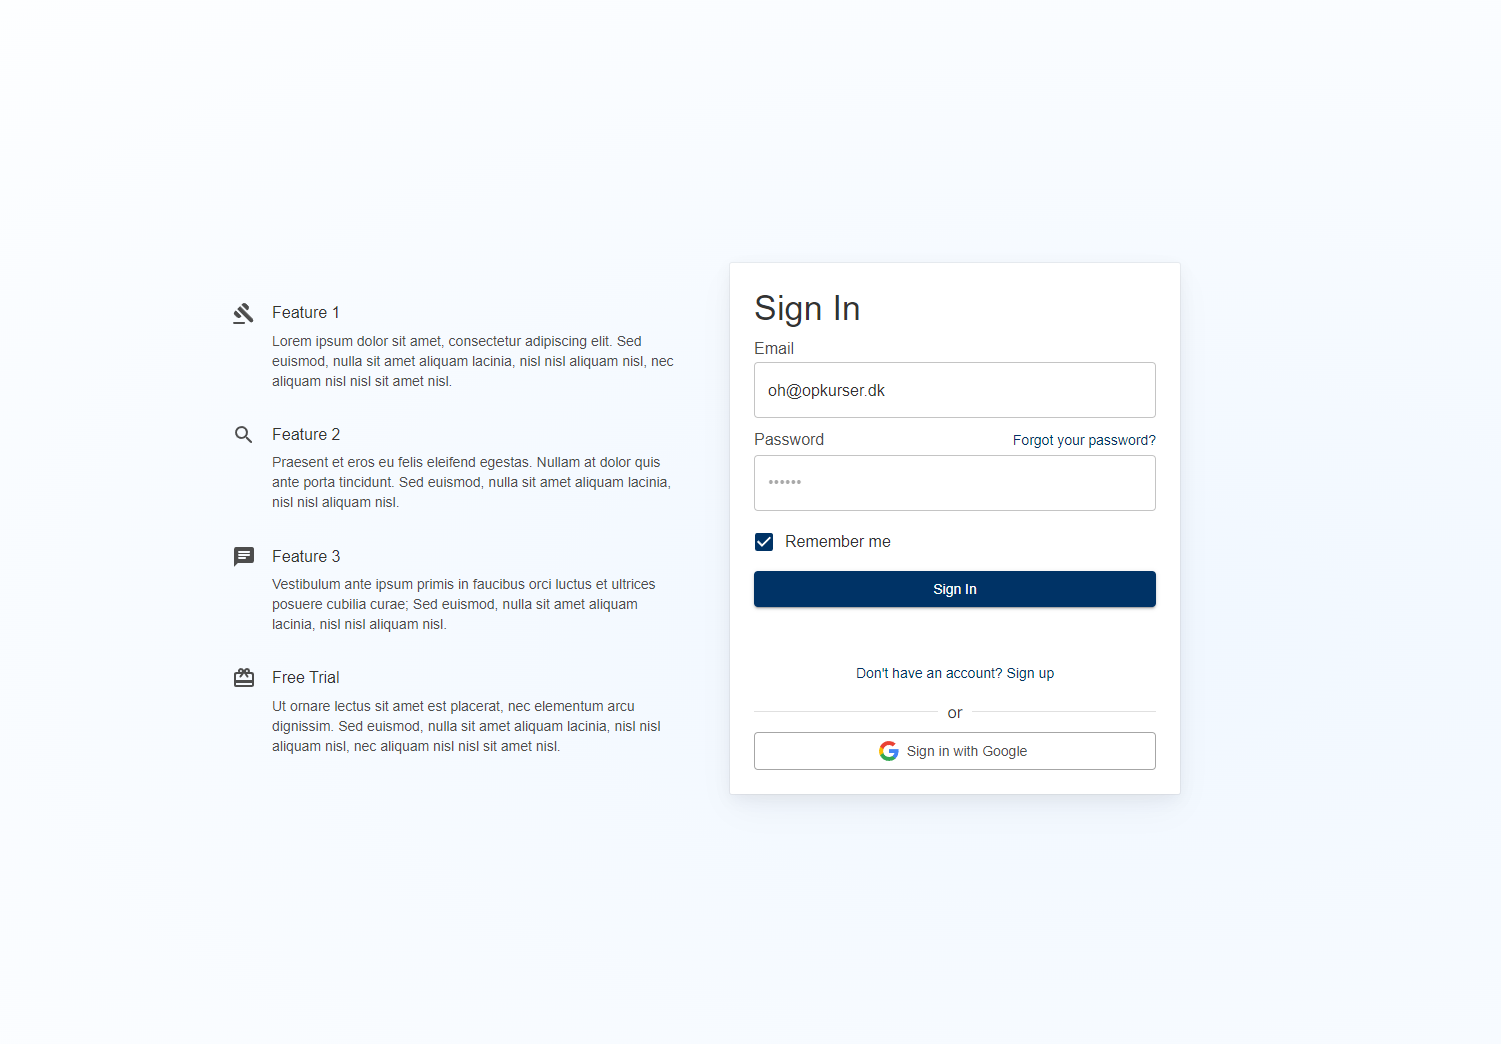
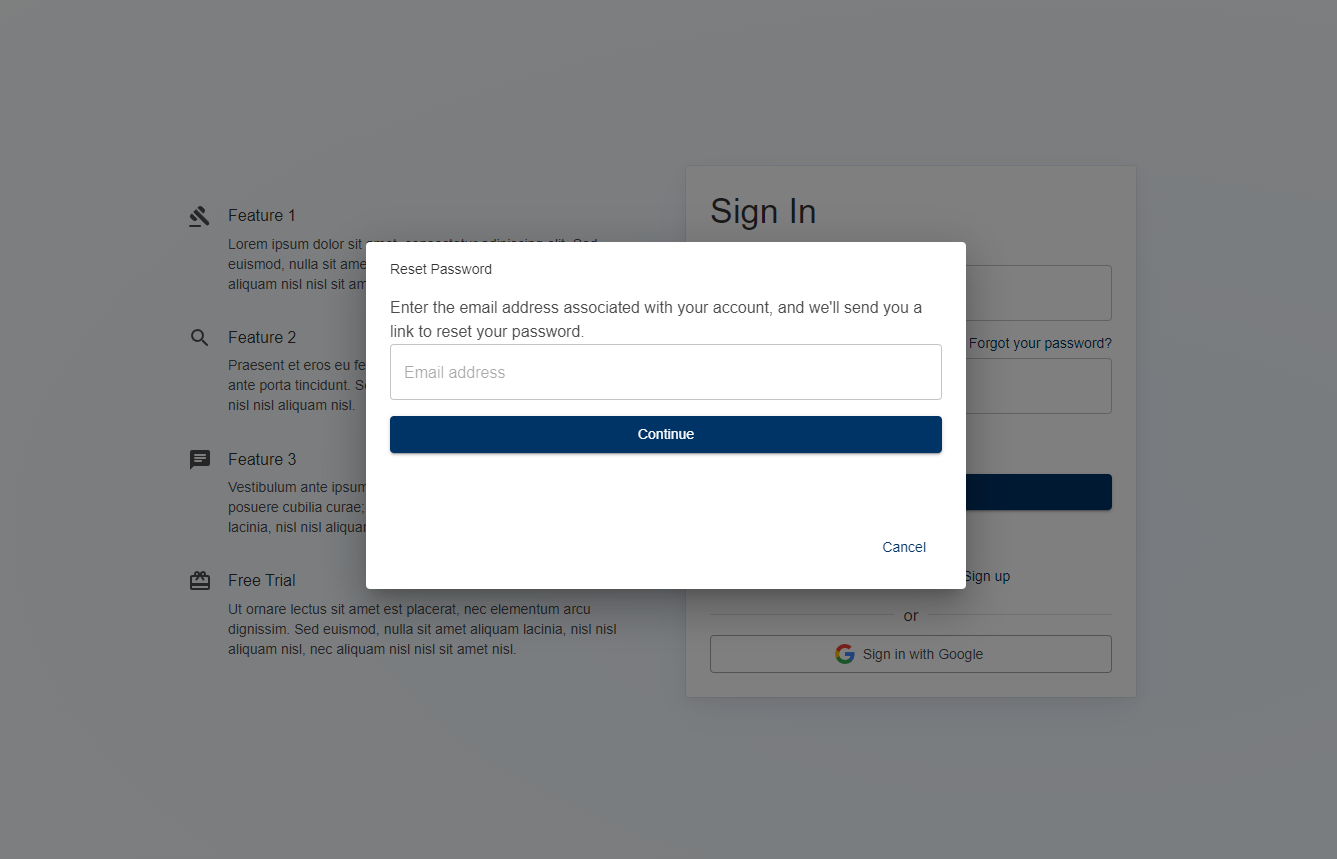
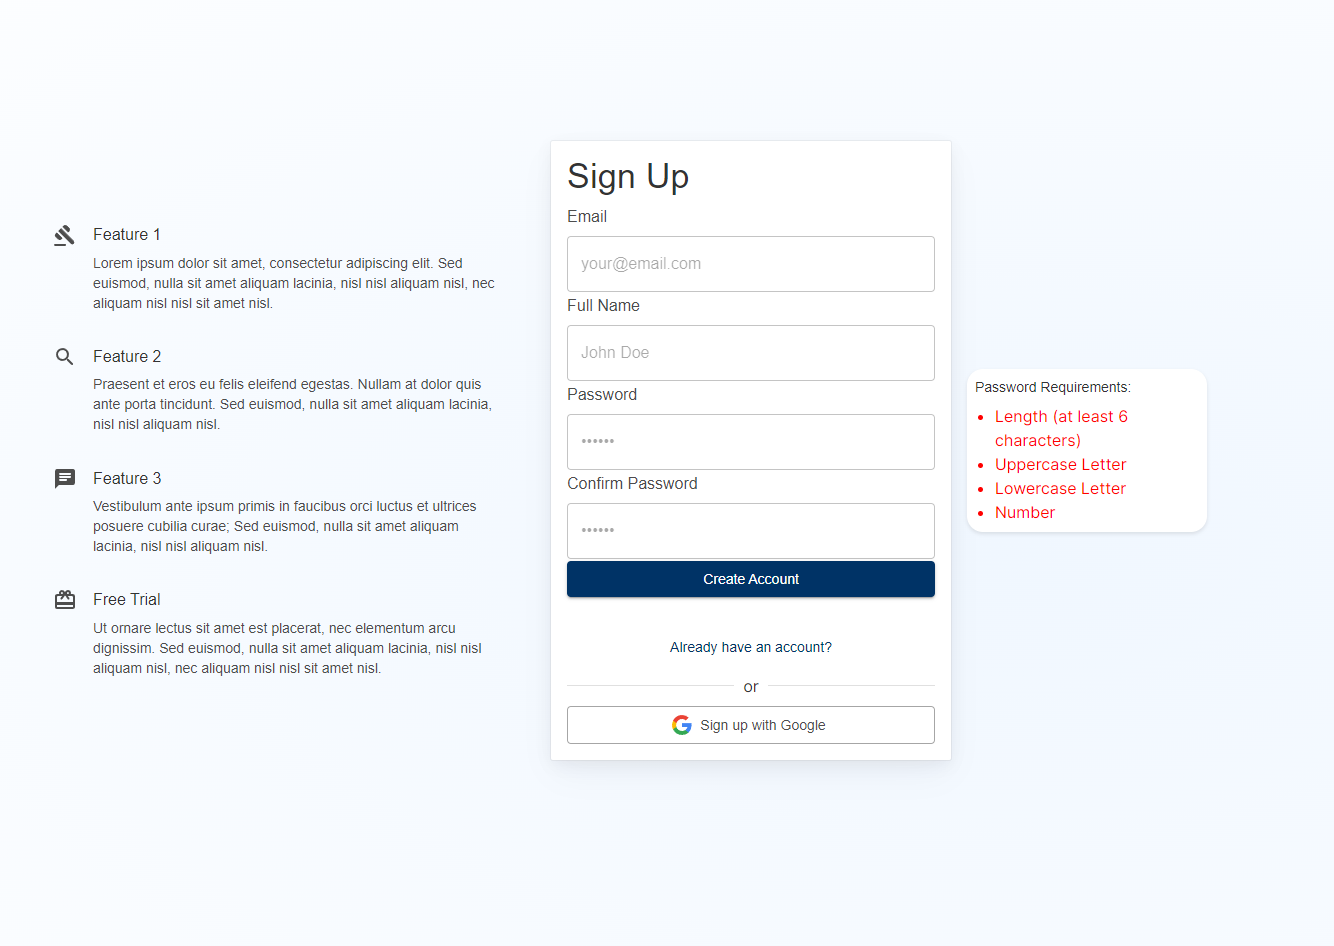
- Modern Authentication Pages: Revamped the
/authpage with a sleek and professional design for sign-in, sign-up, and password reset flows, elevating the overall user experience and visual appeal.
- Features
- Getting Started
- Usage
- Email Templates
- Chat Interface Integration
- License
- Acknowledgements
- Packages Used
- Robust Authentication: Utilize Supabase's comprehensive auth capabilities alongside SSR for enhanced security.
- Performance: Leverage server-side rendering for faster load times and improved user experience.
- Next.js Integration: Specifically designed for easy integration with Next.js 14 projects.
- A Supabase account
- An existing Next.js project setup
-
Clone the Repository
git clone https://github.com/ElectricCodeGuy/SupabaseAuthWithSSR.git
-
Navigate to the Project Directory
cd SupabaseAuthWithSSR -
Install Required Packages
npm install
Before launching your application, you must configure the database schema within Supabase.
-
Create the Users Table
create table users (
  -- UUID from auth.users
  id uuid references auth.users not null primary key,
  full_name text,
);
This SQL statement creates a
userstable with columns for storing user data such asid,full_name. Theidcolumn is a foreign key referencing theauth.userstable. -
Enable Row Level Security (RLS)
alter table users enable row level security;
create policy "Can view own user data." on users for select using (auth.uid() = id);
create policy "Can update own user data." on users for update using (auth.uid() = id);
These SQL statements enable Row Level Security (RLS) on the
userstable and create policies to allow users to view and update their own data. -
Create a Trigger Function
create function public.handle_new_user()
returns trigger as $$
begin
  insert into public.users (id, full_name)
  values (new.id, new.raw_user_meta_data->>'full_name');
  return new;
end;
$$ language plpgsql security definer;
This SQL function is a trigger function that automatically inserts a new user entry into the
public.userstable when a new user signs up via Supabase Auth. It extracts theid,full_namefrom theauth.userstable and inserts them into the corresponding columns in thepublic.userstable. -
Create a Trigger
create trigger on_auth_user_created
  after insert on auth.users
  for each row execute procedure public.handle_new_user();
This SQL statement creates a trigger named
on_auth_user_createdthat executes thepublic.handle_new_user()function after each new user is inserted into theauth.userstable. -
Sign Up for an Account
- Navigate to
http://localhost:3000/authin your web browser. - Use the sign-up form to create an account. Ensure you use a valid email address that you have access to, as you'll need to verify it in the next step.
- Navigate to
-
Verify Your Email
- After signing up, Supabase will send an email to the address you provided. Check your inbox for an email from Supabase or your application.
- Open the email and click on the verification link to confirm your email address. This step is crucial for activating your account and ensuring that you can log in and access the application's features.
To store error feedback data, execute this SQL query in your Supabase SQL editor:
CREATE TABLE error_feedback (
    id BIGSERIAL PRIMARY KEY,
    feedback TEXT NOT NULL,
    category TEXT,
    errorMessage TEXT,
    errorStack TEXT,
    created_at TIMESTAMPTZ DEFAULT NOW()
);
This table will store feedback messages, their categories, any associated error messages, and the error stack trace to help with debugging.
-
Enable RLS for the
error_feedbacktable:- Navigate to
Authentication>Policiesin your Supabase project dashboard. - Select the
error_feedbacktable and enable RLS.
- Navigate to
-
Create an RLS policy for inserts (Optional):
- If you want to restrict who can insert data into this table, you can create a policy.
- Click "New Policy", provide a name like
Allow feedback insertion. - Set the Policy Definition to allow
INSERToperations. - For the Using expression, you could use
(auth.role() = 'authenticated')to only allow authenticated users to insert feedback. - Leave the Check expression as is if no further restrictions are needed or adjust according to your requirements.
- Ensure the Policy Command is set to
INSERT.
Configure your environment by renaming .env.local.example to .env.local and updating it with your Supabase project details:
NEXT_PUBLIC_SUPABASE_URL: Your Supabase project URL.NEXT_PUBLIC_SUPABASE_ANON_KEY: Your Supabase anon (public) key.
Optional variables for extended functionality:
SUPABASE_SERVICE_ROLE_KEYSUPABASE_ACCESS_TOKENNEXT_PUBLIC_CLIENT_IDCLIENT_SECRET
For third-party auth configurations, include:
GITHUB_CLIENT_IDGITHUB_SECRET_IDGOOGLE_CLIENT_IDGOOGLE_SECRET_ID
For Openai, Perplexity and Upstash/Redis
PERPLEXITY_API_KEY=OPENAI_API_KEY=UPSTASH_REDIS_REST_URL=UPSTASH_REDIS_REST_TOKEN=
📖 Follow the provided examples to integrate Supabase Auth with SSR in your Next.js project.
To ensure that the authentication flow works correctly with the API routes provided in this codebase, please update your email templates in the Supabase project settings according to the templates provided below:
When users sign up, they'll receive an email to confirm their account. The template should look like this:
<!doctype html>
<html>
  <head>
    <title>Confirm Your Signup</title>
    <!-- Add styles and head content here -->
  </head>
  <body>
    <div class="container">
      <div class="header">
        <h1>Welcome to You Company Name</h1>
      </div>

      <h2>Confirm your signup</h2>
      <p>Follow this link to confirm your user:</p>
      <a
        href="{{ .SiteURL }}/api/auth/callback?token_hash={{ .TokenHash }}&type=email"
        >Confirm your email</a
      >

      <div class="footer">
        <p>
          For any queries, reach out to us at
          <a href="mailto:support@nordiskapihub.com"
            >support@YourCompanyName.com</a
          >
        </p>
      </div>
    </div>
  </body>
</html>
Invite User Email When you invite new users to your platform, they should receive an invitation like this:
<h2>You have been invited</h2>
<p>
  You have been invited to create a user on {{ .SiteURL }}. Follow this link to
  accept the invite:
</p>
<a
  href="{{ .SiteURL }}/api/auth/callback?token_hash={{ .TokenHash }}&type=invite&next=/auth-password-update"
  >Accept the invite</a
>
Magic Link Email For passwordless login, the magic link email template should be set as follows:
<h2>Magic Link</h2>
<p>Follow this link to login:</p>
<a
  href="{{ .SiteURL }}/api/auth/callback?token_hash={{ .TokenHash }}&type=email"
  >Log In</a
>
Confirm Email Change When users need to confirm their new email, use the following template:
<h2>Confirm Change of Email</h2>
<p>
  Follow this link to confirm the update of your email from {{ .Email }} to {{
  .NewEmail }}:
</p>
<a href="{{ .ConfirmationURL }}">Change Email</a>
Reset Password Email For users that have requested a password reset:
<h2>Reset Password</h2>
<p>Follow this link to reset the password for your user:</p>
<a
  href="{{ .SiteURL }}/api/auth/callback?token_hash={{ .TokenHash }}&type=recovery&next=/auth-password-update"
  >Reset Password</a
>This project includes integration with OpenAI and Perplexity API endpoints for powering an advanced chat interface. Users can interact with an AI model, with the option to switch between different models or APIs for varied responses.
Chat conversations are stored and managed using Upstash Redis, allowing for efficient retrieval of chat history. This ensures users can access previous conversations, enhancing the chat experience.
To integrate the chat features:
-
Set Up API Routes: Create API routes in your Next.js project for interacting with OpenAI and Perplexity API.
-
Configure Upstash Redis: Set up Upstash Redis for storing chat conversations. Ensure environment variables for Upstash Redis are correctly configured.
-
Update the Chat Interface: Utilize the provided chat interface component, adjusting the API endpoint based on the selected model type.
🔖 Licensed under the MIT License. See LICENSE.md for details.
- 🎉 A special thank you to the Supabase team for developing such a versatile and user-friendly tool. Their commitment to making database interaction seamless and efficient has greatly enhanced this project.
- 🛠 Appreciation goes to TypeScript for its powerful type system that makes JavaScript code safer and easier to understand. This project leverages TypeScript to ensure code reliability and maintainability.
- 🌐 Thanks to Vercel for their innovative platform and tools like
@vercel/ai, which simplify the deployment process and enhance the integration of AI features into web applications. - 🤖 Gratitude to Langchain for their toolkit that makes it easier to build language AI applications, enabling this project to integrate complex AI functionalities with ease.
- 💡 This project also benefits from the innovative
@supabase/ssrpackage, which seamlessly integrates Supabase authentication with Next.js server-side rendering, providing a robust foundation for secure and efficient user authentication.
Each of these contributions has been invaluable in creating a comprehensive, secure, and user-friendly application. Thank you for your tools, services, and the community support that makes projects like this possible.
- 🧰 Material-UI (
@mui/material,@mui/icons-material): Provides a comprehensive suite of UI tools for React applications. - 🎨 @emotion/react, @emotion/styled, @emotion/cache: CSS-in-JS libraries used for styling components in a more expressive and dynamic way.
- 🚀 @supabase/supabase-js, @supabase/ssr: Official Supabase client for JavaScript, enabling interaction with Supabase services including authentication, database queries, and more, with support for server-side rendering.
- 🖼 Next.js (
next): A React framework for building server-rendered applications, static websites, and more. - ⚛️ React (
react,react-dom): A JavaScript library for building user interfaces. - 🆕 @mui/material-nextjs: An experimental package for integrating Material-UI with Next.js projects.
- 🤖 Langchain (
langchain): A toolkit for building language AI applications, simplifying the integration of large language models. - 🧠 AI by Vercel (
@vercel/ai): Provides easy access to AI tools and models directly within the Vercel platform. - 📝 React Markdown (
react-markdown): A component to render Markdown text in React applications, used for formatting chat messages.
Each package plays a crucial role in building, styling, and securing the application, ensuring a seamless user experience and robust functionality.
