This project leverages the power of deep learning to classify signals collected by the Search for Extraterrestrial Intelligence (SETI) initiative. By customizing the InceptionV3 neural network architecture, the model achieved impressive results, with 94% accuracy in training, 88% in validation, and 87% in testing. The development and experimentation were meticulously tracked using MLflow, ensuring robust and reproducible results. This AI-driven solution enhances the classification of potential extraterrestrial signals, contributing to the ongoing efforts in the search for intelligent life beyond Earth. This approach not only improves the accuracy of signal identification but also paves the way for further research and innovation in astrobiology.
Note: The project is deployed to huggingface spaces for demo purpose. The huggingface spaces may be down if not used, and it might take a couple of minutes to startup initially.
-
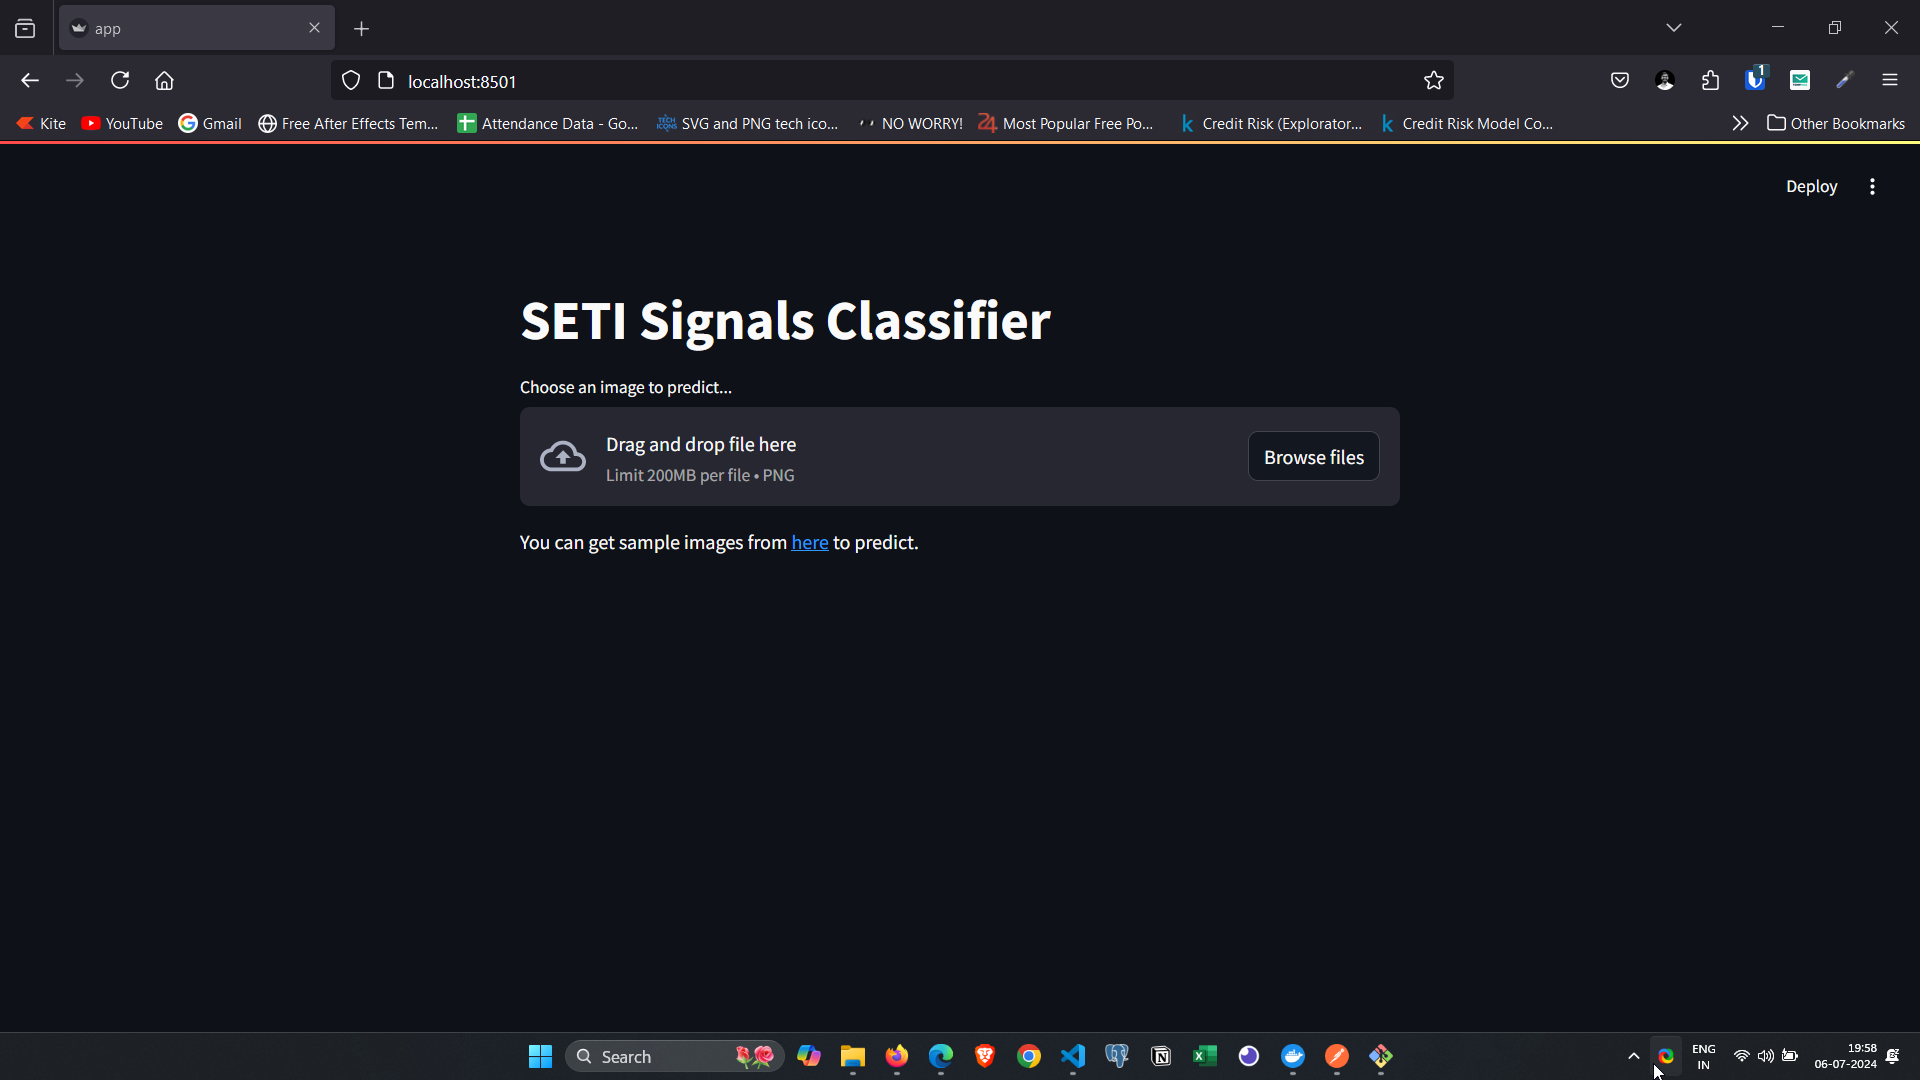
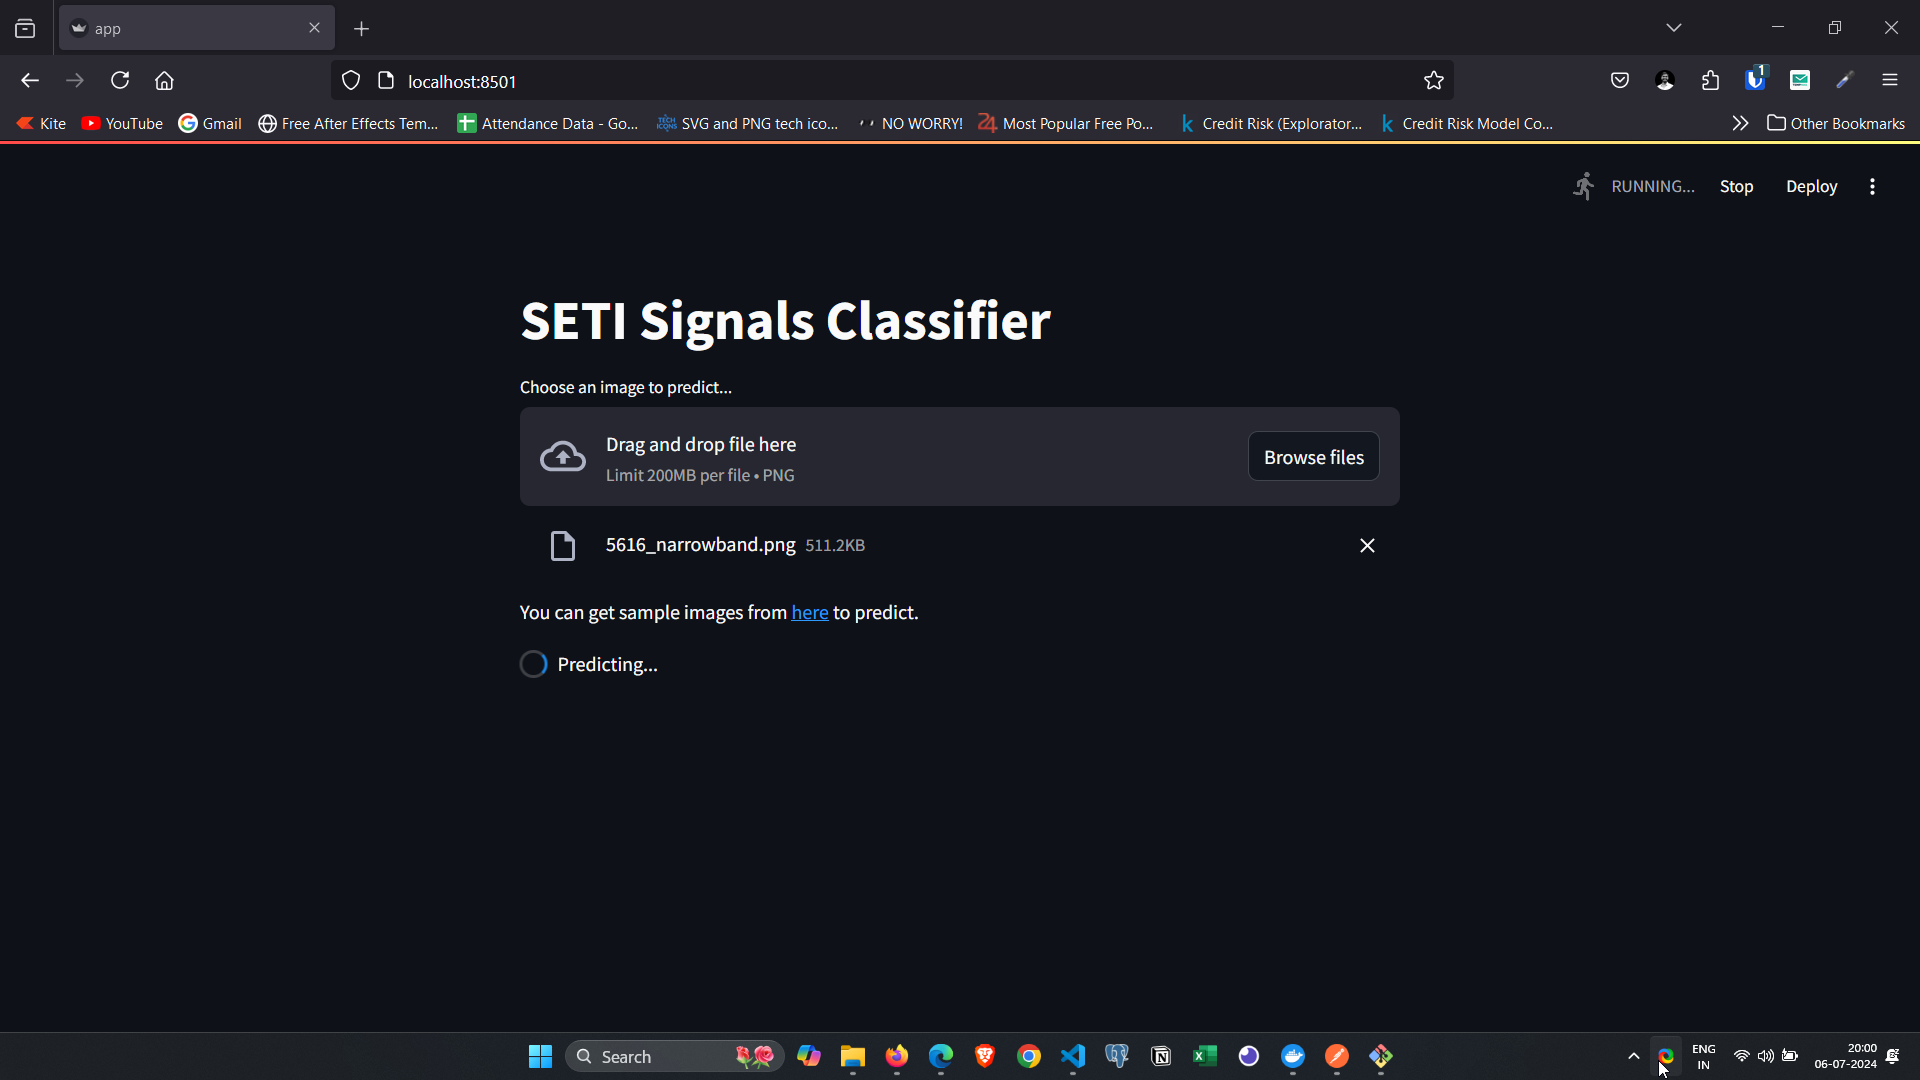
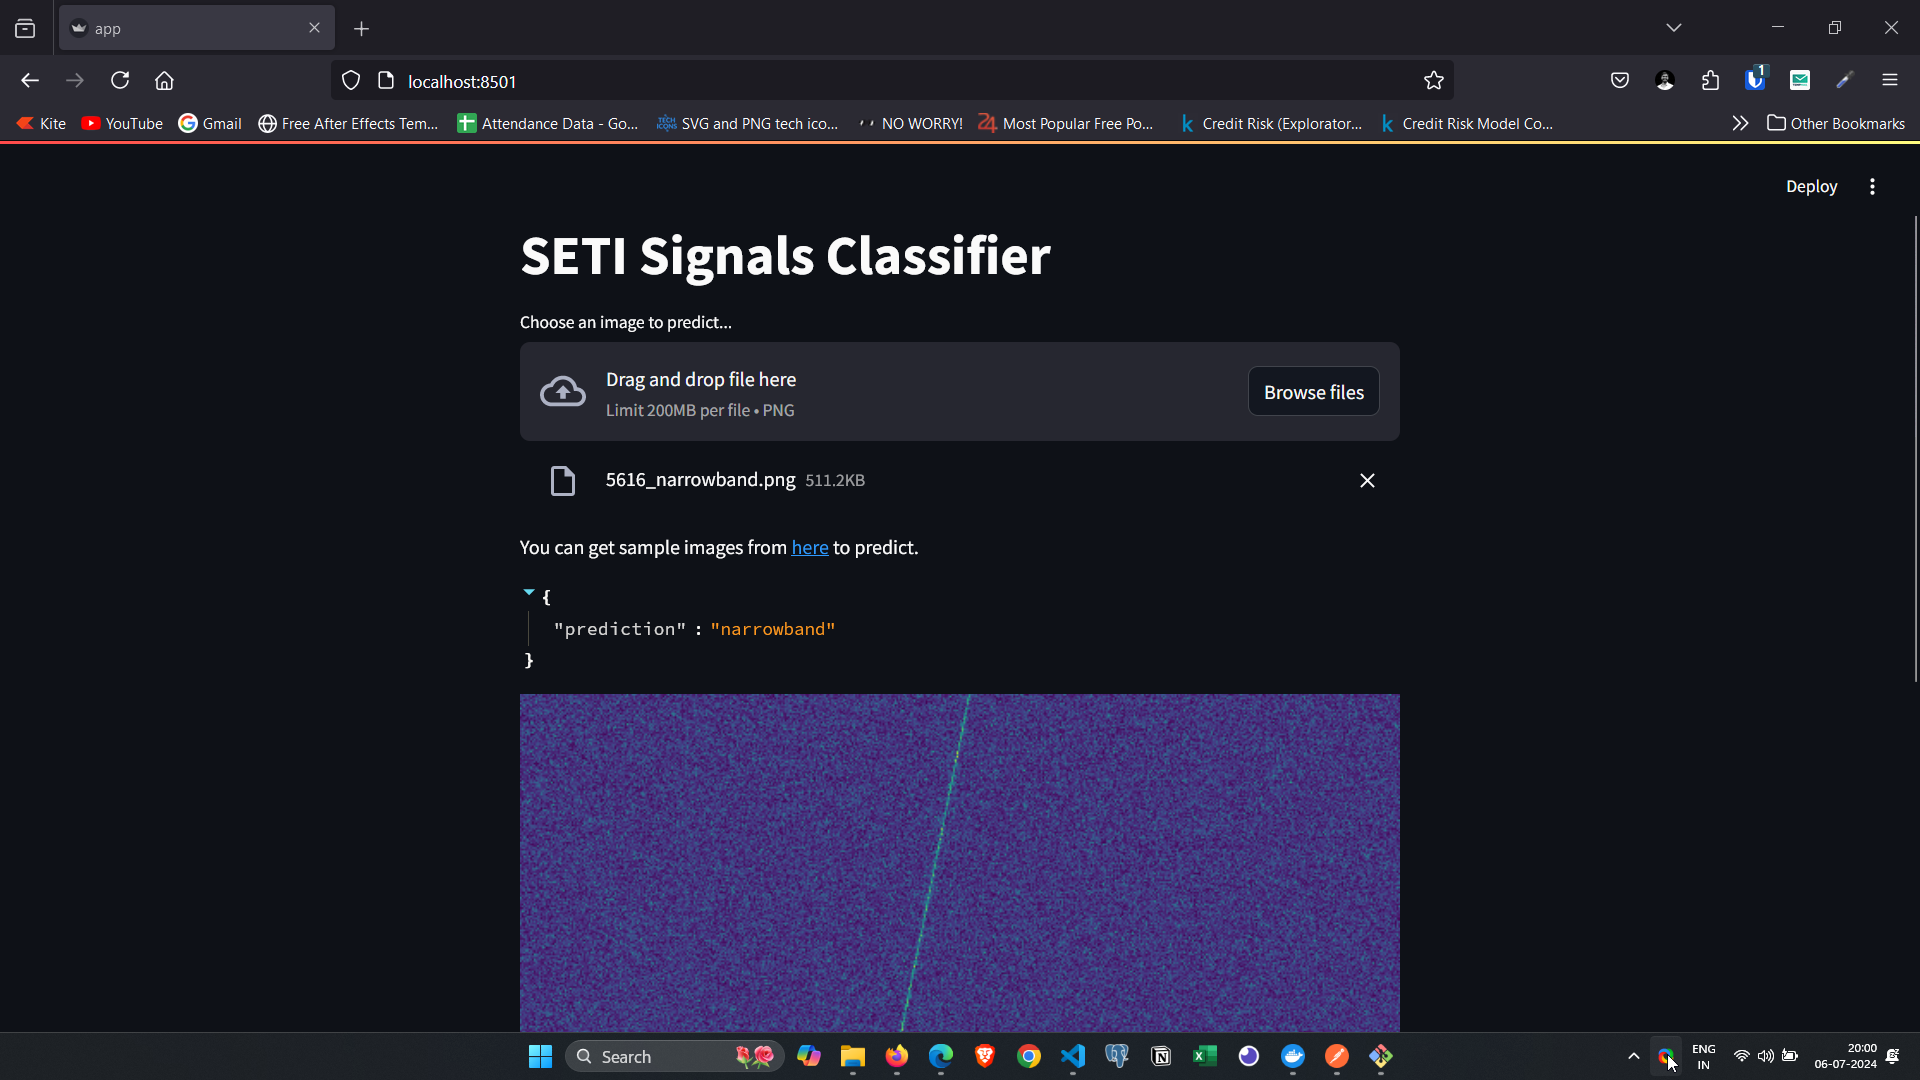
You can click here to check the live demo of the streamlit app. Screenshots of the streamlit app are provided below.
-
The model has also been deployed to Docker hub. You can follow the below steps to pull and run Docker Image locally.
-
To run the docker container locally, use the following commands in your terminal after starting the Docker engine:
docker pull bhuvaneshprasad/seti-signals-classifier:1.0.1
docker run --name seti-signals-classifier -d -p 7384:7384 -p 8501:8501 bhuvaneshprasad/seti-signals-classifier:1.0.1- After running the above commands, the app will be accessible at http://localhost:8501 and will look like this:
- You can upload a sample image from here into the running app to get the prediction:
- While the docker container is running you can check the fastapi docs at http://localhost:7384/docs or http://localhost:7384/redoc
1. How to develope a deep learning project from scratch.
2. How to customize and fine-tune models like InceptionV3 improves performance for specific tasks.
3. How to use MLFlow for effective tracking and repoducibility.
4. Effectively using version control systems like github and DVC.
-
Upon training the model and evaluating the performance of the model, I got the accuracy of 94% accuracy in training dataset and about 87% on the unseen dataset.
-
The difference in accuracy between the training and unseen data is very less, so we can say that the model is able to perform with high accuracy.
-
The precision, recall and f1-scores are also impresive around 80-95% for individual classes and combined.
-
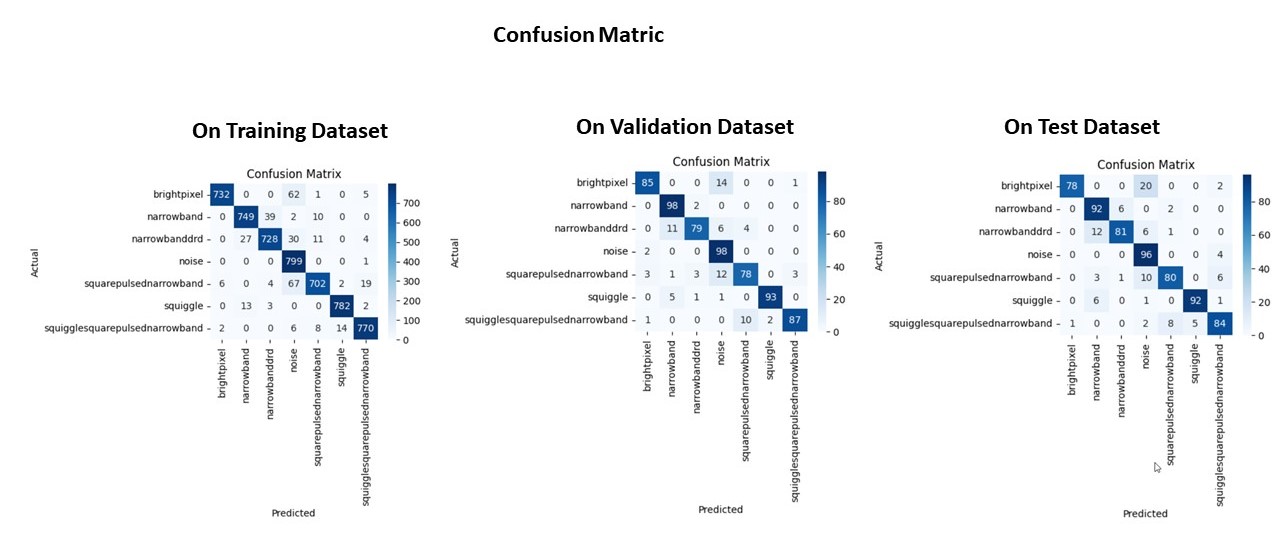
Below is the confusion matrix for the train, validation and test dataset.
- The diagonals shows the correct predictions made by the model and they are all high, indicating a good and consistent performance across datasets and classes.
-
Install Python
-
Install Git and setup GitHub
-
Fork this repository in your github account
-
Clone this repository
git clone https://github.com/bhuvaneshprasad/End-to-End-SETI-Classification-using-CNN-MLFlow-DVC
cd End-to-End-SETI-Classification-using-CNN-MLFlow-DVC- Create a virtual environment and activate it
python -m venv venv
venv\Scripts\activate- Install dependencies
pip Install -r requirements.txt-
Get Kaggle API, as the dataset is hosted on Kaggle. The Kaggle API will be in .json format. Copy that file to the root directory of this project.
-
Create an account in Dagshub, as the MLFlow will be hosted on dagshub. Then click on Create > New repository > Connect a repository on the dagshub panel and connect your forked repository.
-
Once the github repo is connected in the dagshub, click on remote > experiemnts and copy MLFlow Tracking Remote link.
-
Create a .env in the root directory of the project and paste the mlflow tracking link copied earlier as below
MLFLOW_URI=${your_mlflow_tracking_url}-
Update the same in config/config.yaml file in the project for "dagshub_uri:"
-
Now go to dagshub, click on your profile picture > your settings > token. You can copy your access token or generate a new one and copy. Now get back to .env file and copy as below
MLFLOW_TRACKING_USERNAME=${your_github_username}
MLFLOW_TRACKING_PASSWORD=${your_dagshub_access_token}- If you have followed the above steps, you have succesfully setup the project and you are ready to run the project.
- Once the setup is succesfully done, open the terminal, change directory to root directory of the project and make sure the virtual environment is active and then you can follow one of the below 2 method to download the dataset, and train the model.
- Using DVC (recommended):
-
DVC is recommended as it will make sure that it runs only if there is any change detected. Otherwise you'll be download the dataset, training it every time you run main.py file.
-
Run below command in the terminal to start the training pipeline.
dvc repro- Using main.py file:
-
Use this method if you are running this project for the first time else use the dvc method as mentioned above.
-
Run the below command in the terminal to start the training pipeline.
python main.py- Upon running the above your model will start training and you may see the model metrices in you MLFlow dashboard. The model performace is shown as below for this SETI Signals classification model.
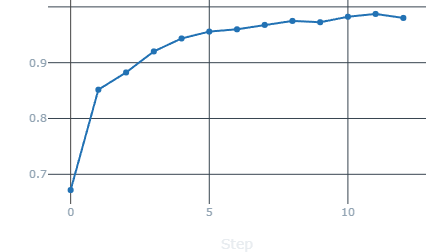 Accuracy |
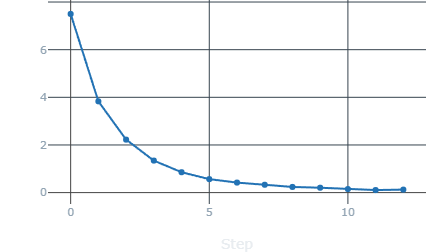 Loss |
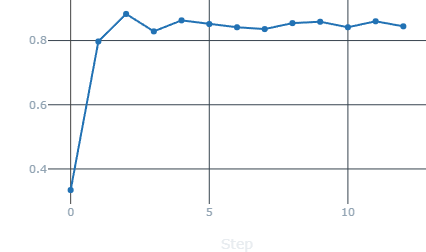 Validation Accuracy |
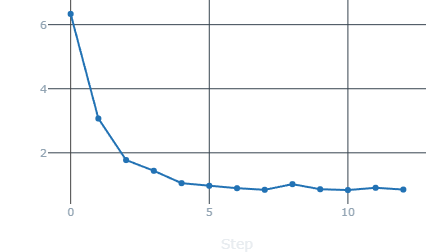 validation Loss |
- Looking at the above images, we can see that the accuracy on training and validation datasets after each epoch is steadyly growing without any spike, implying a good model. Same with loss, and validation loss, both are consistently decreasing towards 0.
-
The model training mentioned earlier will take time based on your system configuration like cpu, gpu, ram. Once the model is trained, you'll find the artifacts folder in your root directory containing the dataset, base model, updated base model and model.keras in their respective folders.
-
The trained model will be located at artifacts/model_training/model.keras
-
You can use this model.keras to do Prediction on the test dataset or follow below instructions.
-
If you want to do prediction for individual images then you can run it via FastAPi as mentioned in API Reference.
-
Else run the below command in your terminal
python prediction.py-
If you get any error while executing above prediction.py then open that file and correct the model and test folder paths.
-
After succesfull execution you'll see the model metrics on your terminal.
-
To predict the class for individual picture you can you the fastapi added in app.py
-
To use it, make sure you are on the root of your project in your terminal and virtual environment is active. Now enter below command
uvicorn app:app --port 7384 --reload-
This will run the api on your localhost:7384
-
Open the postman app or any other api testing app and use below end point to get the data
- On your postman app, set method as POST and enter url as http://localhost:7384/predict, then click on body and select file as key and select the image using the icon in value and then click send.
POST /predict| Body | Type | Description |
|---|---|---|
file |
file |
Required. .png file prefered |
- After sending your POST request, you'll receive a JSON response as below with the prediction.
{
    "prediction": "narrowband"
}- SETI Institute for publishing the data
- SETI Dataset on Kaggle


