Simple Sketch to display the printer state connected to Octoprint on a Neopixel (WS2812b or similar)
This is just a placeholder until a planned octoprint plugin is avialable. It polls the Ocotoprint REST API periodically via a HTTP GET request. There are some delay between the real state of the printer and the of the LED, this comes do the simple polling approch. Faster polling result in lower delay but also increases the load on the ESP and on the wifi or network in general (on Octoprint too).
Security Warning: This sketch sends unencrypted GET requests with the octoprint apikey in cleartext in the request header through your network. Although this isn't that big of a security risk though, if your octoprint is not visible to the internet (which i did not recommend anyway)
The color of the lamp will show you the status as follows:
-flash white: booting / connecting
-fade rainbow: Printer is ready
-fade yellow: Printer is printing
-fade blue: Print is paused
-fade red: error occurred
-red/blue: HTTP Code Unauthorized
-fade green: HTTP Code Conflict
It will also output small informations on the serial line.
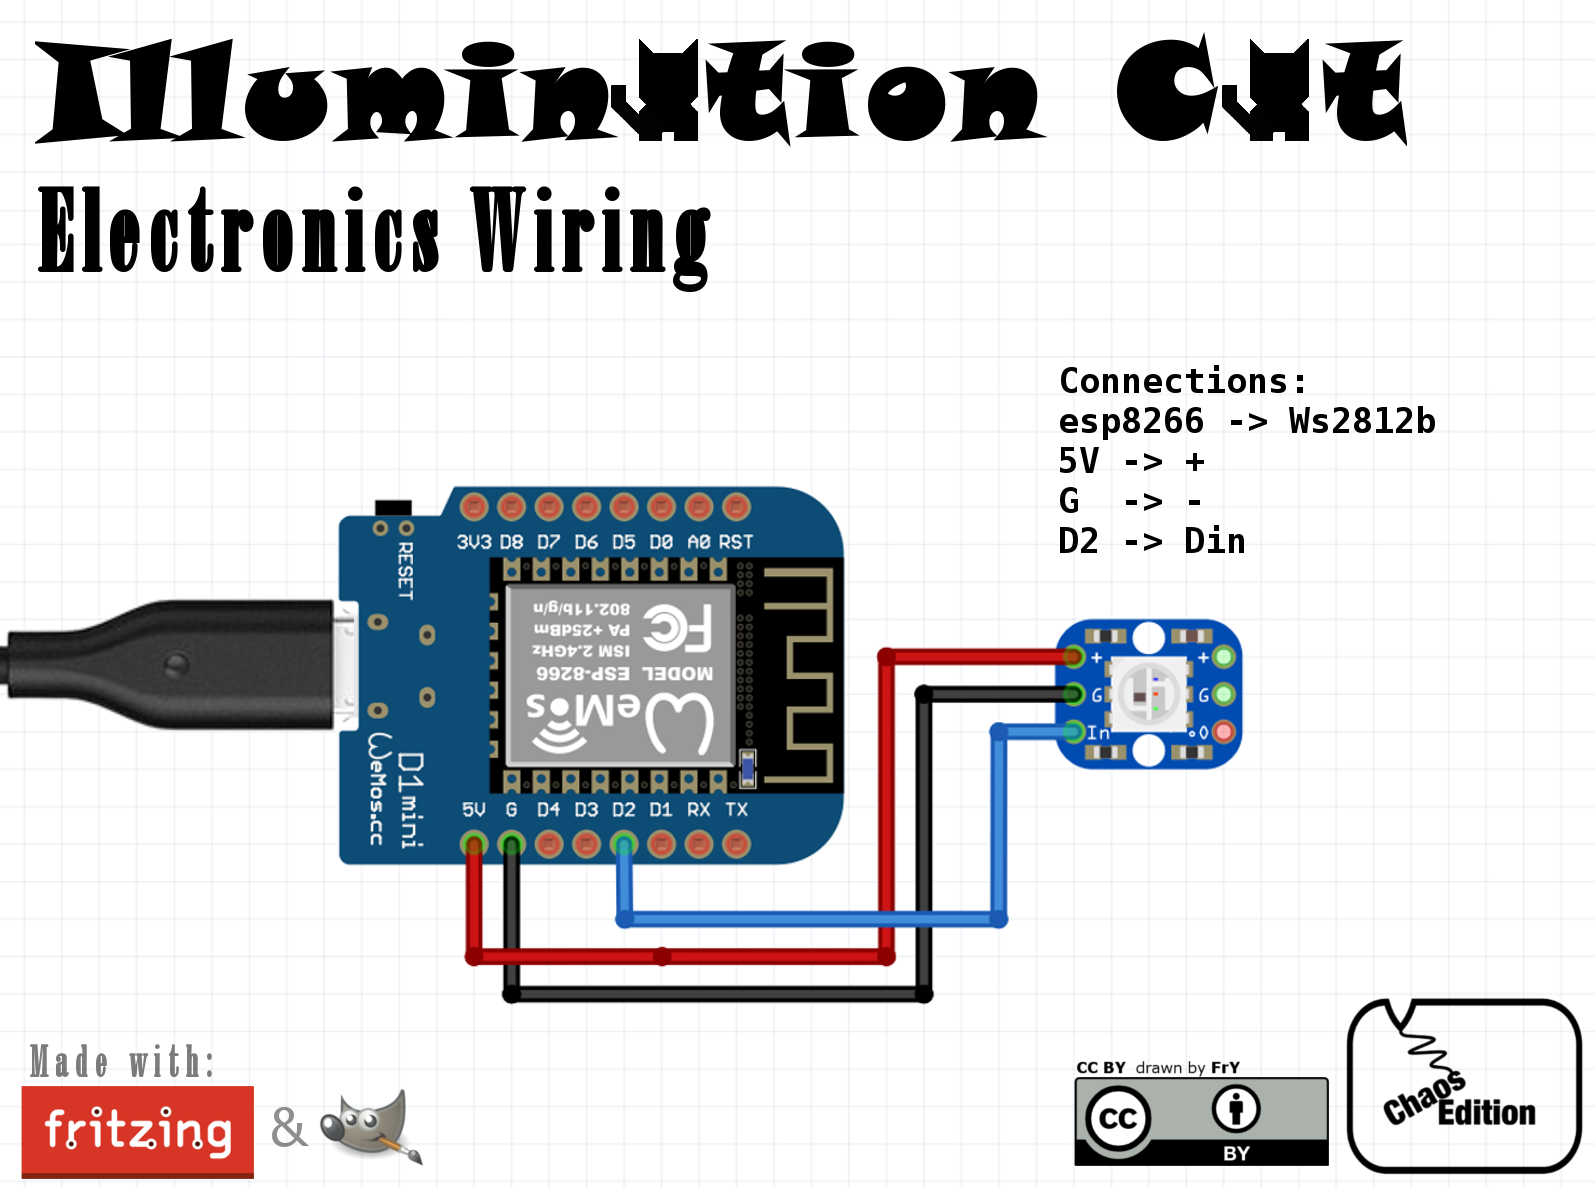
BOM:
- 1x Wemos d1 mini (or any esp8266 with 4Mb flash)
- 1x WS2812b RGB Led
- 1x Wires (3 cores, about 3-4cm)
- 1x Micro USB Cable and 5V Power supply
For best results using this Sketch in combination with the almighty Illumination Cat found on thingiverse is recommended.
https://www.thingiverse.com/thing:2974862
The Software is written especially for the ESP8266 from Espressif, using the Arduino Framework. There are two ways to setup the Development Environment and then flash the Software to the ESP8266
- First and recommended is platform.io installed in the Atom Editor (you could use any platformio compatible editor, even pure cli)
- Second is Arduino IDE with ESP8266 Core.
Also before you can upload any sketch to the wemos you will need to install the correct driver for the USB to serial converter chip on the wemos module.
This can be found here:
https://wiki.wemos.cc/downloads
-
Download/Clone this Repository and unpack it on your favourite folder
-
Download and install Atom Editor and the platformio IDE Package.. http://docs.platformio.org/en/latest/ide/atom.html#installation
-
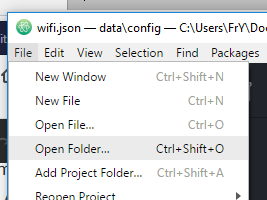
when platformio is up an running, open the Project with File -> Open Folder (browse the unpacked repository then click select folder)
-
Click PlatformIO: Build
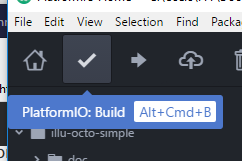
Now platformio will download the needed dependencies (you need to be connected to the Internet)

-
After PIO Build is finished you can now change the User settings in the /src/config.h file according {TBD} link to config description
-
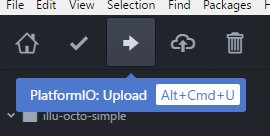
Click PlatformIO: Upload to upload the sketch to the ESP you may need to try the upload a couple times, those modules can be hard to program via bootloader. You could also check the connection using the serial monitor
-
enjoy {TBD} add pic of the almighty Illumination Cat in all its glory
-
Download/Clone this Repository and unpack it on your favourite folder
-
Download and install the latest version of the Arduino IDE for your system https://www.arduino.cc/en/Main/Software
-
Add ESP Board Manager to your IDE : Therefore open File>Preferences After "Additional Boards Manager URLs" insert: http://arduino.esp8266.com/stable/package_esp8266com_index.json

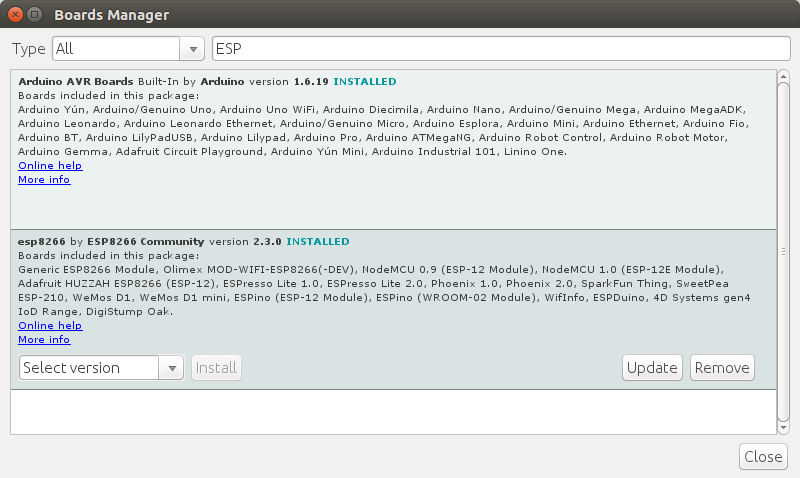
Then open Tools>Board>Boards Manager
Search for ESP
Install latest ESP8266 Board Manager
- Add Additional Libraries
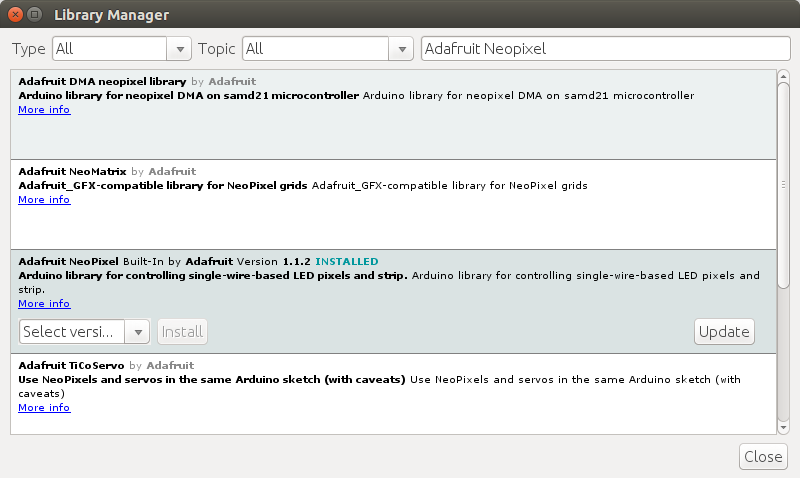
Therefore open Sketch>Include Library>Manage Libraries...
Search for Adafruit Neopixel
Install latest Adafruit Neopixel library
Search ArduinoJson Install latest ArduinoJson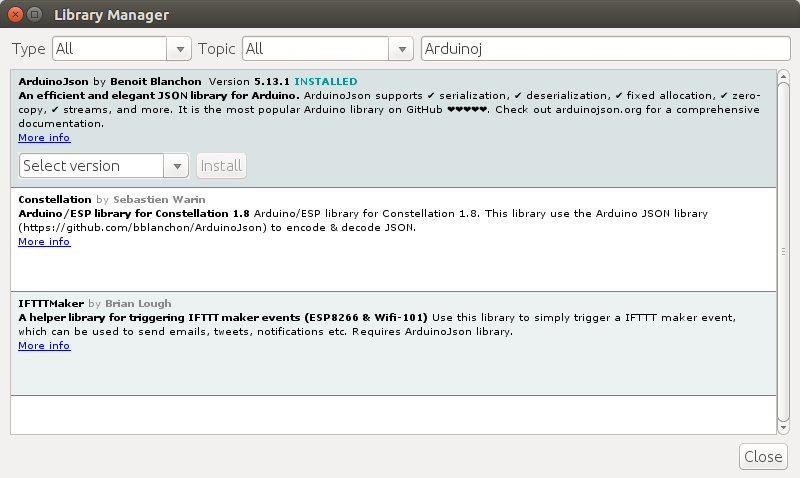
- Restart Arduino IDE
- Open config.h and add your configuration
- Choose your board and com port
- Upload
There are 4 main configurations in the config.h file, which must be made by user...
-
Wifi SSID
const char* SSID = "myWifi";the name of your Wireless Network -
Wifi Password
const char* SSID = "myWifi";the password to your Wireless Network -
Octoprint API key
const char* APIKEY = "FA9131811AF94AB48C6A9ED45AEF60FC";like a password to the Octoprint REST Api {TBD} /doc/img/sc-octocprint-api-key.PNG You can obtain your API key in the Octoprint Webinterface in the settings under API. More info about the Octoprint API key in the API Documentation: link -
Octoprint Ip Address the Network address to your Octoprint. Same as you need to gain acces to your web interface of octoprint.
#define LEDPIN D2 // where you Led is connected
const char* SSID = "myWifi";
const char* WPWD = "wifipassword";
const char* APIKEY = "FA9131811AF94AB48C6A9ED45AEF60FC";
String OCTOIP = "192.168.1.3";
uint16_t pollInterval = 500;
const uint8_t lenght = 1;