The solution of the assignments can be found in labs, divided in their
corresponding parts. Files guides.ipynb are the notebooks with the exercises
to solve. They may be split in several notebooks exerciseN.ipynb or kept in
just one exercises.ipynb (it'll depend if it was considered necessary). They
also have a .py version so they can be recognized by git.
Directories notebooks and slides, have the material given by the class.
This documentation describe two different ways to start working remotely.
This method doesn't require any other package or program installed in your computer than just you're favourite browser.
-
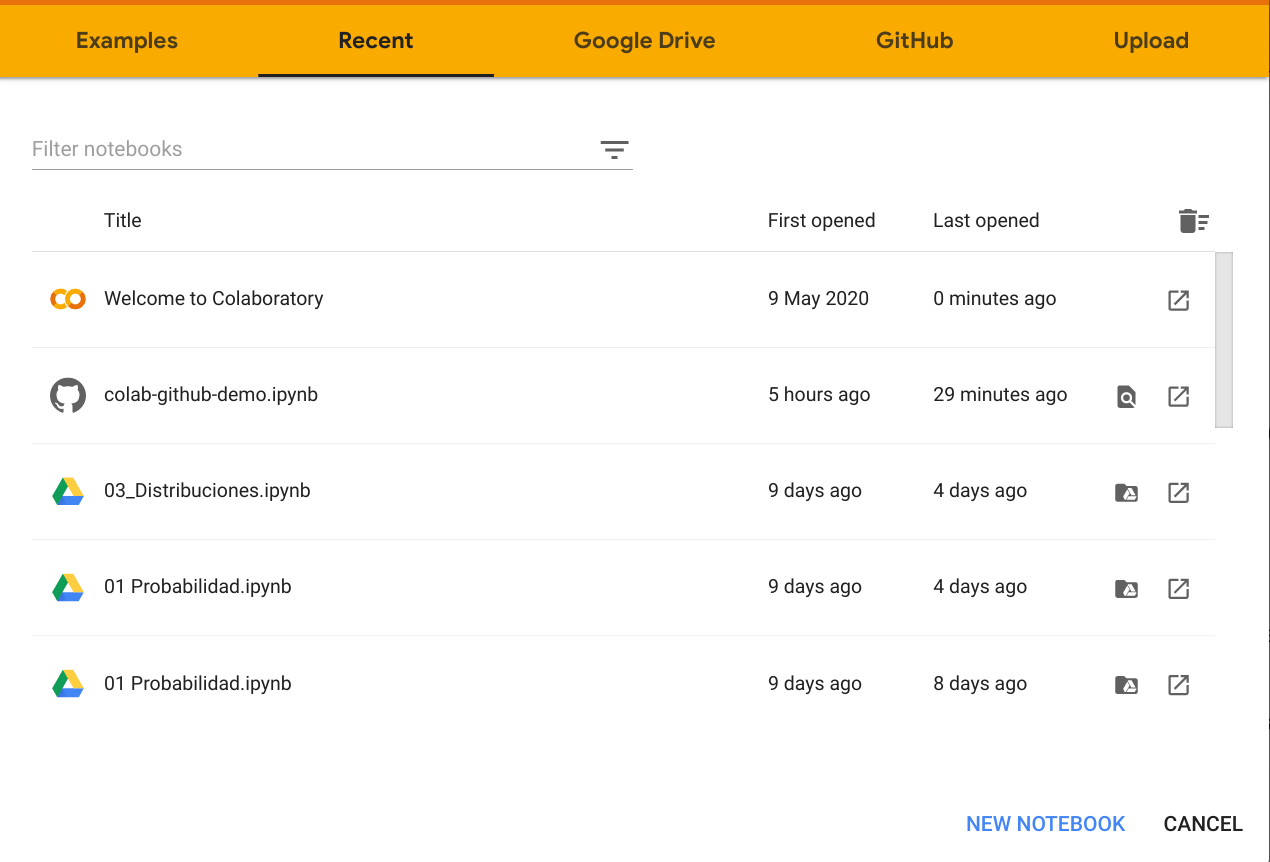
First open Google Colaboratory through this link https://colab.research.google.com/ . You'll see that it opens the following window.
-
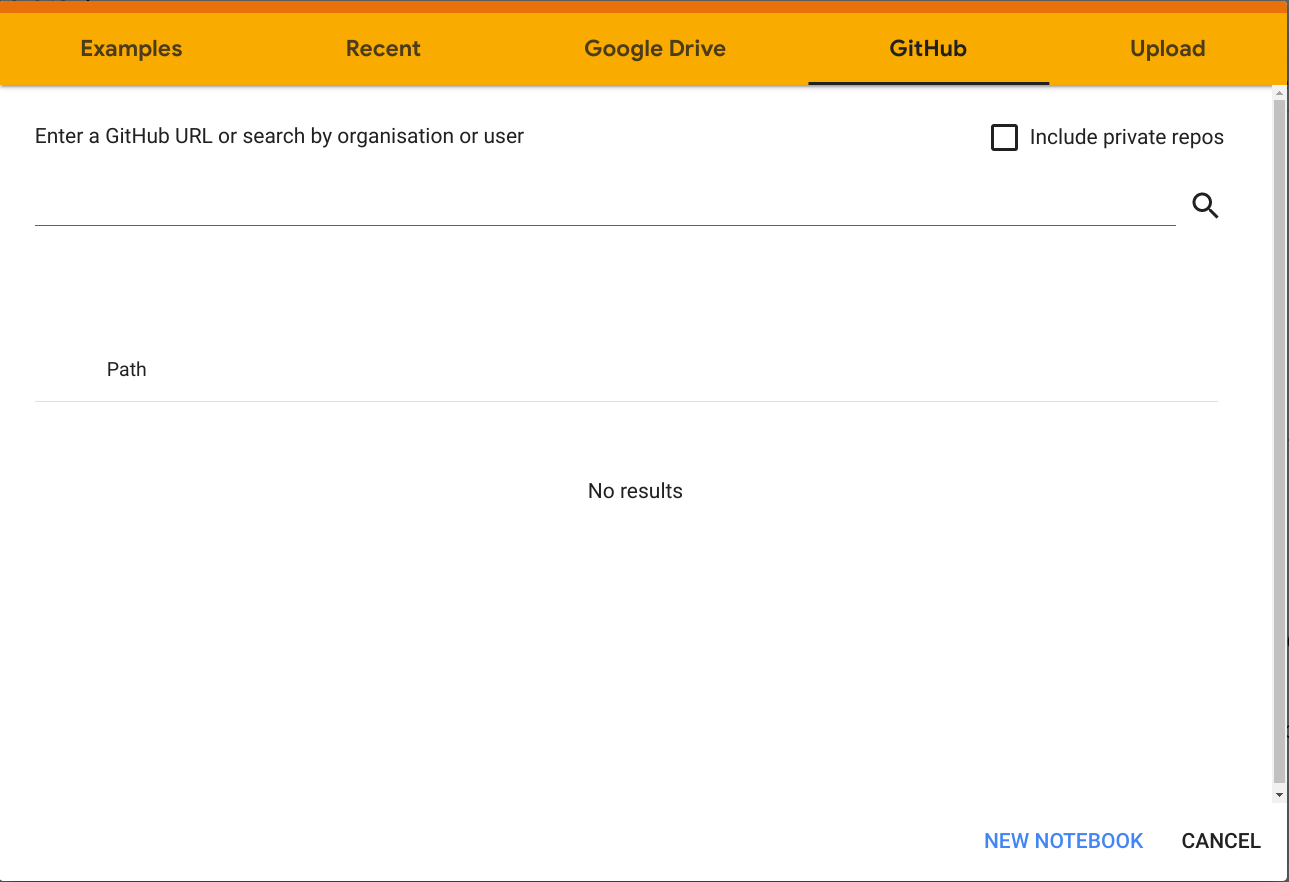
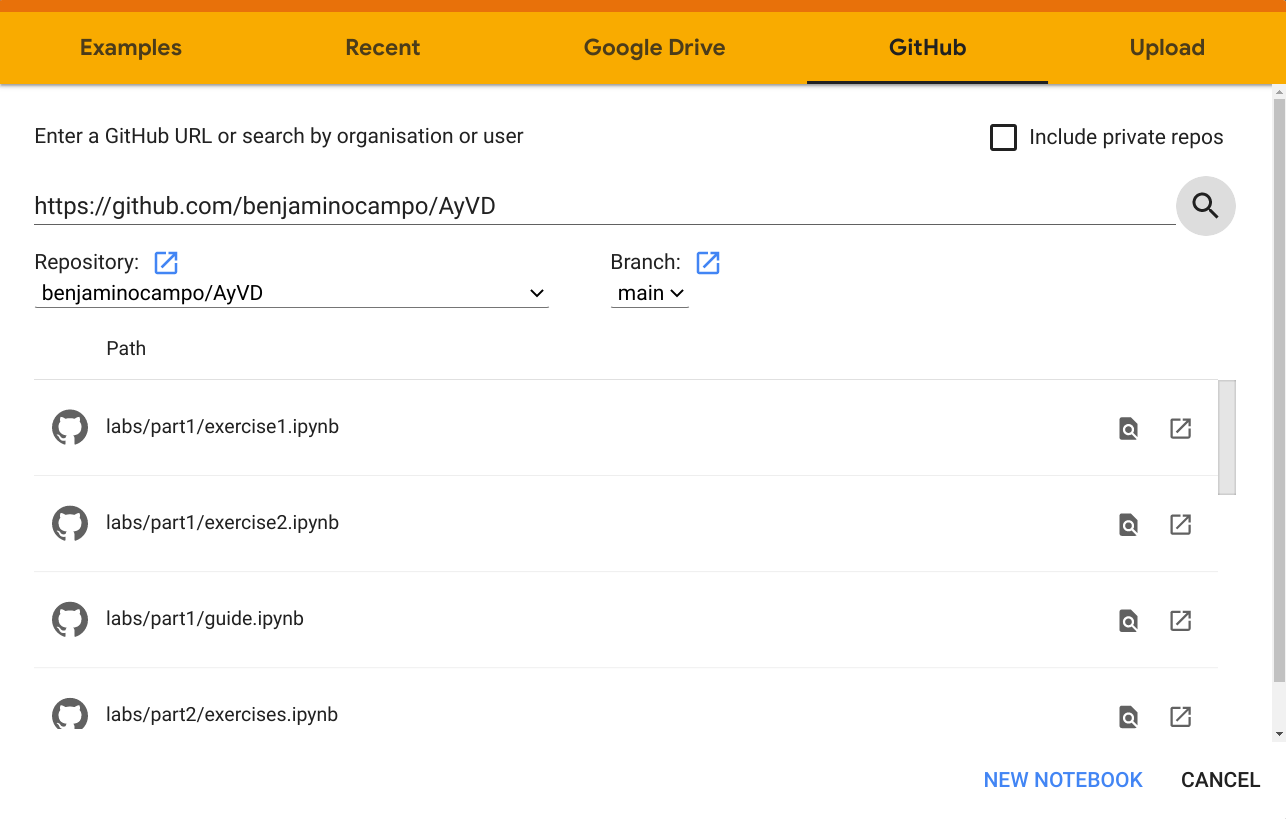
Click on the GitHub tab and paste the url of this repository https://github.com/benjaminocampo/AyVD on the text blank it shows. Then click on the search button to check which notebooks are saved in this repository.
-
You'll see a list of all the notebooks that are in the repository. Click on the one you want to update.
-
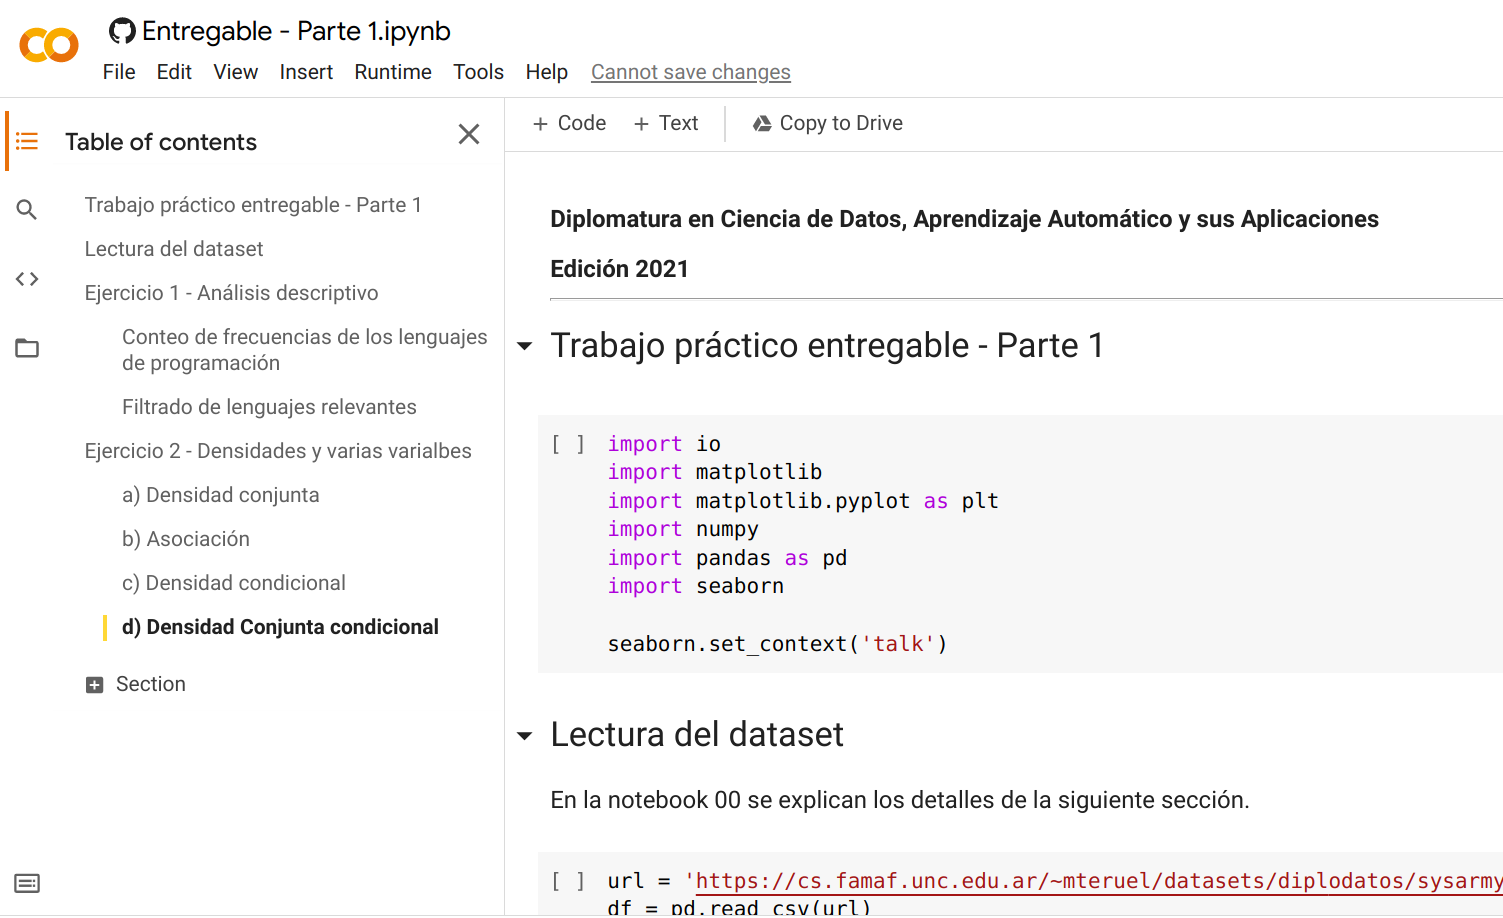
Then you can start running the notebook!


First you need to get installed conda which is a python package manager. We
recommend its minimal version miniconda. You can check out its installation
guide here:
-
Installing on Linux: https://conda.io/projects/conda/en/latest/user-guide/install/linux.html
-
Installing on Windows: https://conda.io/projects/conda/en/latest/user-guide/install/windows.html
Once you've installed conda, it can be used to install jupyterlab. Open a
terminal window or Anaconda Prompt and run:
conda install -c conda-forge jupyterlabYou can also start with the classic jupyter notebook with:
conda install -c conda-forge notebook(Note: If you're using Windows you can use the Windows Powersheell or Anaconda Prompt. Since command line usage varies in Windows and Linux, here's a list of the most important ones if you're unfamiliar with them: https://www.thomas-krenn.com/en/wiki/Cmd_commands_under_Windows).
Installing git will depend on your operative system:
-
Installing on Linux (on Debian-based distributions):
sudo apt install git-all
-
Installing on Windows: Download the .exe from its main page on https://git-scm.com/download/win . Execute it, and follow the steps.
In order to check out that the installation proceded correctly open a terminal or Anaconda Prompt and run:
git --versionIf it shows your current git version, you can move on with next step!
After installing git, you can clone this repository to have a local version of it. Open a terminal in the directory you want to save it and run:
git clone https://github.com/benjaminocampo/AyVD.gitIn order to install the packages that are necessary to run the notebooks we recommend to create a virtual environment so they won't be installed in your global system.
Each directory has an environment.yml file that lists the dependencies needed
to run correctly the notebooks inside it. In the case of the AyVD directory,
the content of this file is:
name: diplodatos-ayvd
dependencies:
  - numpy
  - pandas
  - matplotlib
  - statsmodels
  - seaborn=0.11
That means that the environment to create has the name diplodatos-ayvd and the
dependencies are seaborn=0.11 and the newest versions of numpy, pandas,
matplotlib, and statsmodels
The steps to create a virtual environment with these dependencies are the following:
-
Open your terminal or Anaconda Prompt in the directory you have cloned the repository.
-
Create the environment from the
environment.ymlfile with:conda env create -f environment.yml
(Note: This step might take some time).
-
Activate the environment in order to have available the dependencies with:
conda activate diplodatos-ayvd
The active environment is also displayed in front of your prompt in (parentheses) or [brackets] like this:
(diplodatos-ayvd)$
-
If you don't have installed ipykernel on your system, run:
conda install -c anaconda ipykernel
Then, add the active environment to jupyter so its recognized as a new kernel:
ipython kernel install --user --name=diplodatos-ayvd
-
Run jupyter lab or jupyter notebook with:
jupyter lab
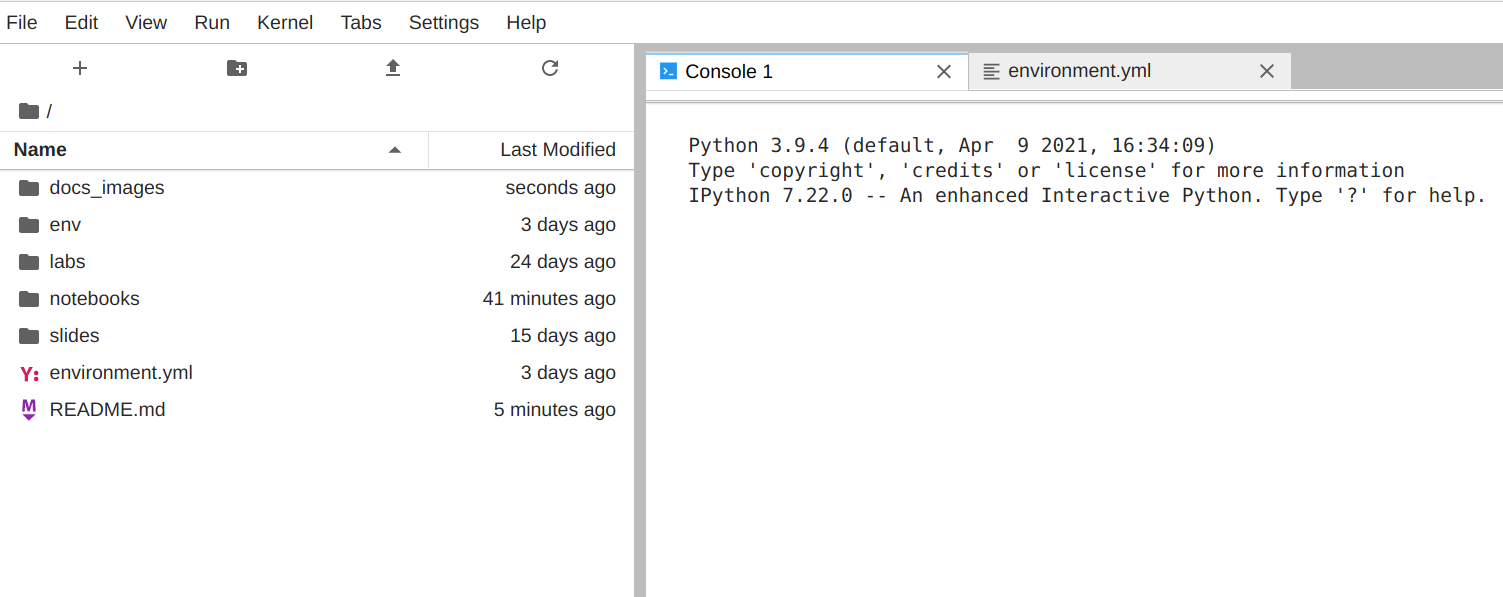
or
jupyter notebook
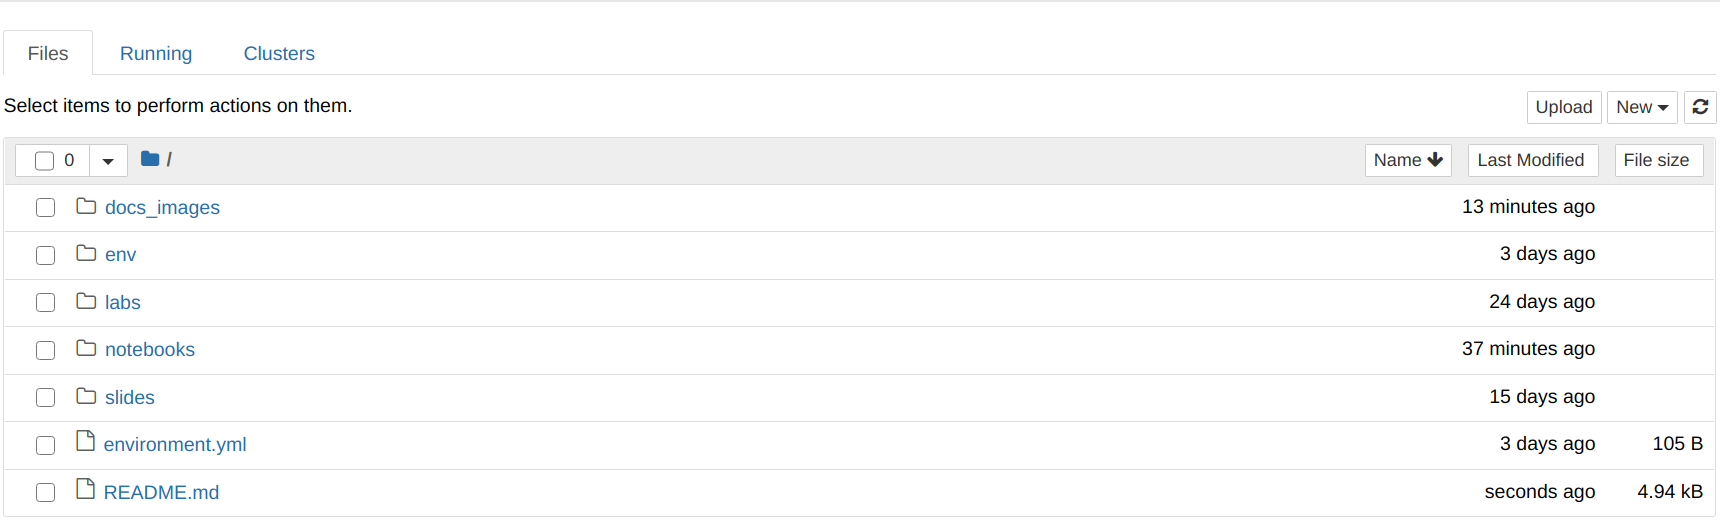
-
The previous step should have opened a tab on your browser with the application. Open the jupyter notebook you're working on.
-
Be sure that jupyter is using the kernel you have just set by choosing Kernel -> Change Kernel:
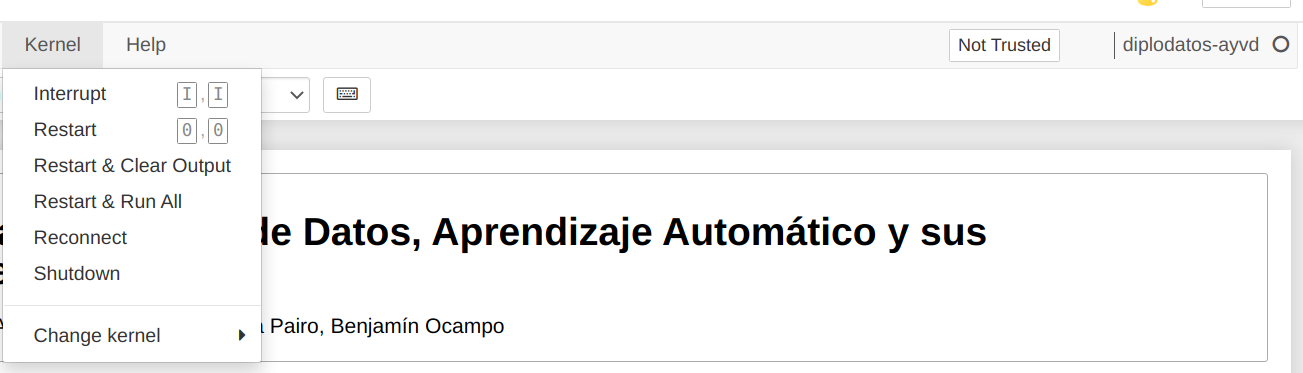
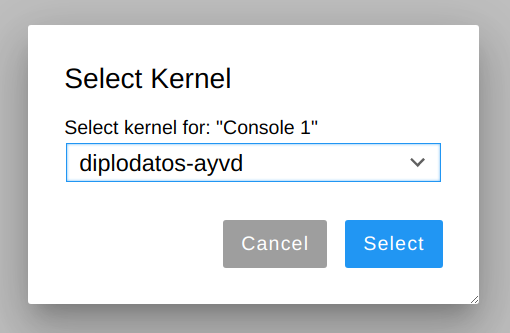
-
You're ready to do science!


