This repository contains code to instantiate and deploy a nested named entity recognition model. This model annotates each word or term in a piece of text with a tag representing the entity type, taken from a list of 145 entity tags from the GENIA Term corpus version 3.02. A detailed list of all entites can be found here
The model consists of a seq2seq architecture with a bi-directional LSTM layer as an encoder applied to character-level embedding vectors, which are combined with pre-trained word2vec and pre-trained binary FastText word vector embeddings; The contextualized embeddings (BERT, ELMo, Flair) have been generated using the FlairNLP library. The per-token BERT contextualized word embeddings are created as an average of all token corresponding BERT subwords. Under the hoods Flair uses the pretrained BERT Large Uncased weights. Finally an LSTM decoder layer is applied to this combined vector representation for generating the named entity tags. The input to the model is a string and the output is a list of terms in the input text (after applying simple tokenization), together with a list of predicted entity tags for each term.
The model architecture is based on the Jana Strakova's Neural Architectures for Nested NER through Linearization. The model files are hosted on IBM Cloud Object Storage. The code in this repository deploys the model as a web service in a Docker container. This repository was developed as part of the IBM Developer Model Asset Exchange and the public API is powered by IBM Cloud.
| Domain | Application | Industry | Framework | Training Data | Input Data Format |
|---|---|---|---|---|---|
| Natural Language Processing | Nested Named Entity Recognition | BioTech | Tensorflow | Genia Corpus | Text |
- Jana Strakova´, Milan Straka, Jan Hajic, "Neural Architectures for Nested NER through Linearization", ACL, 2019.
- GitHub repository for Neural Architectures for Nested NER through Linearization
- GitHub repository for XML to Conll
| Component | License | Link |
|---|---|---|
| This repository | Apache 2.0 | LICENSE |
| Model Weights | Apache 2.0 | LICENSE |
| Model Code (3rd party) | Mozilla Public 2.0 | LICENSE |
| Test samples | Apache 2.0 | LICENSE |
docker: The Docker command-line interface. Follow the installation instructions for your system.- The minimum recommended resources for this model is 12 GB Memory and 4 CPUs.
To run the docker image, which automatically starts the model serving API, run:
$ docker run -it -p 5000:5000 quay.io/codait/max-nested-named-entity-taggerThis will pull a pre-built image from the Quay.io container registry (or use an existing image if already cached locally) and run it. If you'd rather checkout and build the model locally you can follow the run locally steps below.
You can deploy the model-serving microservice on Red Hat OpenShift by following the instructions for the OpenShift web console or the OpenShift Container Platform CLI in this tutorial, specifying quay.io/codait/max-nested-named-entity-tagger as the image name.
You can also deploy the model on Kubernetes using the latest docker image on Quay.
On your Kubernetes cluster, run the following commands:
$ kubectl apply -f https://github.com/IBM/MAX-Nested-Named-Entity-Tagger/raw/master/max-nested-named-entity-tagger.yamlThe model will be available internally at port 5000, but can also be accessed externally through the NodePort.
A more elaborate tutorial on how to deploy this MAX model to production on IBM Cloud can be found here.
Clone this repository locally. In a terminal, run the following command:
$ git clone https://github.com/IBM/MAX-Nested-Named-Entity-Tagger.gitChange directory into the repository base folder:
$ cd MAX-Nested-Named-Entity-TaggerTo build the docker image locally, run:
$ docker build -t max-nested-named-entity-tagger .All required model assets will be downloaded during the build process. Note that currently this docker image is CPU only (we will add support for GPU images later).
To run the docker image, which automatically starts the model serving API, run:
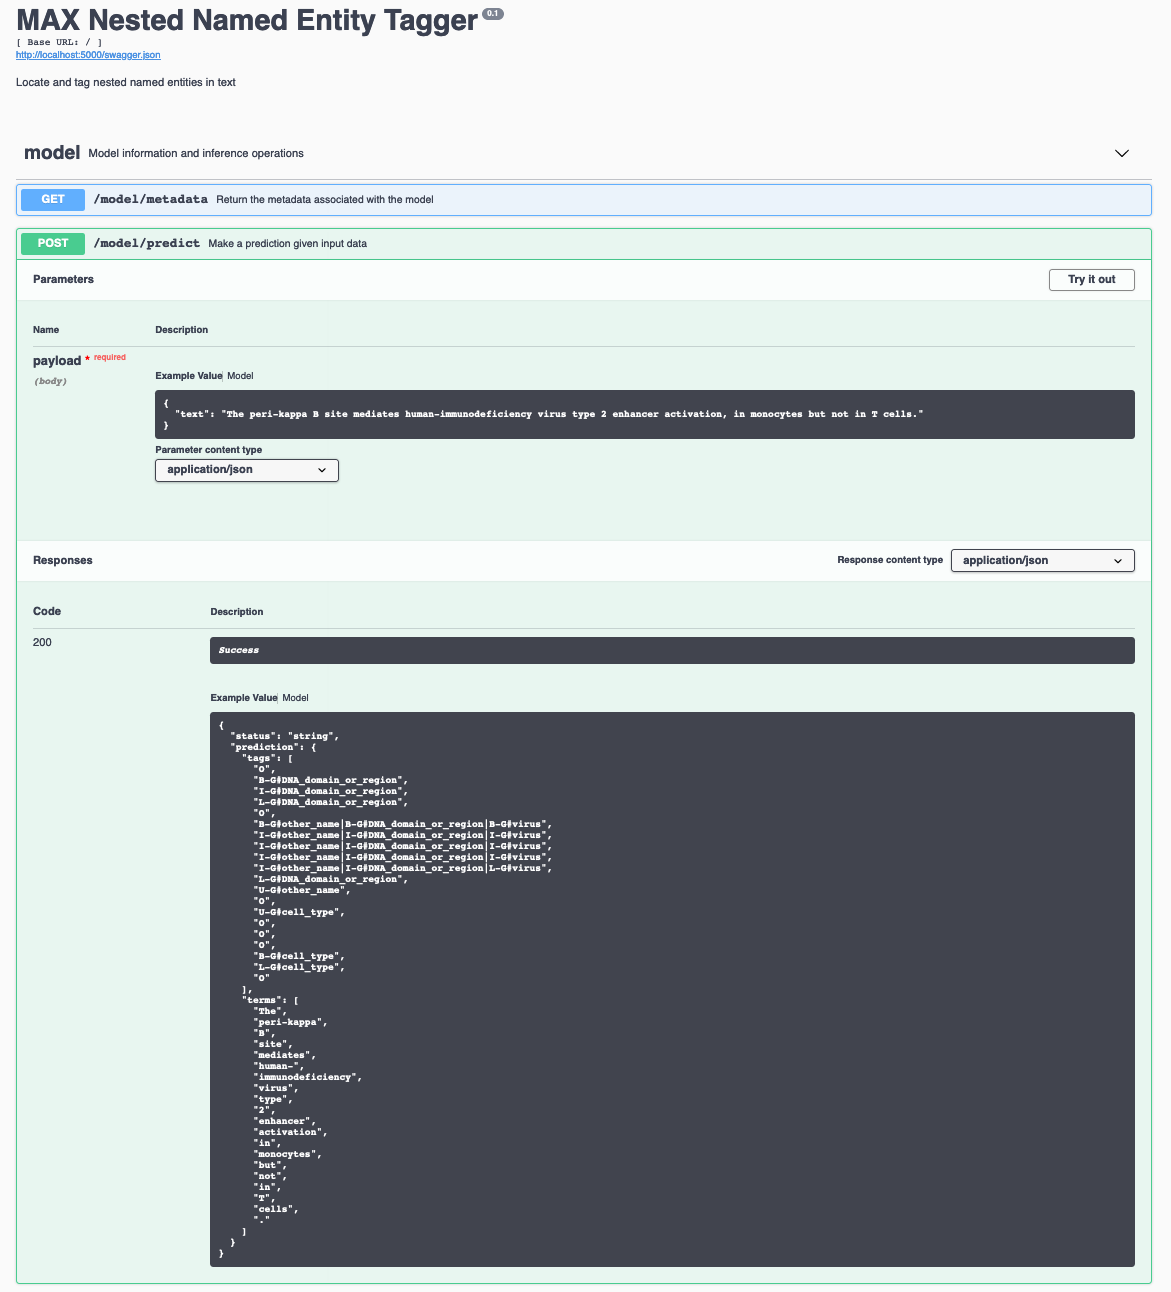
$ docker run -it -p 5000:5000 codait/max-nested-named-entity-taggerThe API server automatically generates an interactive Swagger documentation page. Go to http://localhost:5000 to load it. From there you can explore the API and also create test requests.
[Use the model/predict endpoint to post text and get predicted tags from the API. Below are a few example sentences you can use:]
The peri-kappa B site mediates human-immunodeficiency virus type 2 enhancer activation, in monocytes but not in T cells.

Peroxisome proliferator-activated receptor activators human endothelial cells to inhibit leukocyte-endothelial cell interaction.

In conclusion, these data show that IL-10 induces c-fos  expression in human by activation of tyrosine   and serine/threonine kinases.
You can also test it on the command line, for example:
$ curl -X POST -H 'Content-Type: application/json' -d '{"text":"The peri-kappa B site mediates human-immunodeficiency virus type 2 enhancer activation, in monocytes but not in T cells."}' 'http://localhost:5000/model/predict'
You should see a JSON response like that below:
{
  "status": "ok",
  "predictions": {
      "entities": [
            "O",
            "B-G#DNA_domain_or_region",
            "I-G#DNA_domain_or_region",
            "L-G#DNA_domain_or_region",
            "O",
            "B-G#other_name|B-G#DNA_domain_or_region|B-G#virus",
            "I-G#other_name|I-G#DNA_domain_or_region|I-G#virus",
            "I-G#other_name|I-G#DNA_domain_or_region|I-G#virus",
            "I-G#other_name|I-G#DNA_domain_or_region|I-G#virus",
            "I-G#other_name|I-G#DNA_domain_or_region|L-G#virus",
            "L-G#DNA_domain_or_region",
            "U-G#other_name",
            "O",
            "U-G#cell_type",
            "O",
            "O",
            "O",
            "B-G#cell_type",
            "L-G#cell_type",
            "O"
        ],
        "input_terms": [
            "The",
            "peri-kappa",
            "B",
            "site",
            "mediates",
            "human-",
            "immunodeficiency",
            "virus",
            "type",
            "2",
            "enhancer",
            "activation",
            "in",
            "monocytes",
            "but",
            "not",
            "in",
            "T",
            "cells",
            "."
        ]

  }
}To run the Flask API app in debug mode, edit config.py to set DEBUG = True under the application settings. You will then need to rebuild the docker image (see step 1).
To stop the Docker container, type CTRL + C in your terminal.


