
The VideoContext is an experimental HTML5/WebGL media processing and sequencing library for creating interactive and responsive videos on the web.
It consists of two main components. A graph based, shader accelerated processing pipeline, and a media playback sequencing timeline.
The design is heavily inspired by the Web Audio API, so it should feel familiar for people with experience in the Web Audio world.
Live examples can be found here
- Demo
- Debugging
- Documentation
- Node Types
- Writing Custom Effect Definitions
- Advanced Examples
- Development
View on CodeSandbox.
<!DOCTYPE html>
<html>
<head>
    <title></title>
    <script type="text/javascript" src="../dist/videocontext.js"></script>
</head>
<body>
    <!--
        A canvas needs to define its width and height to know how many pixels you can draw onto it.
        Its CSS width and height will define the space it takes on screen
        If omitted, the canvas dimensions will be 300x150 and your videos will not rendered at their
        optimal definition
        https://webglfundamentals.org/webgl/lessons/webgl-resizing-the-canvas.html
    -->
    <canvas id="canvas" width="1280" height="720" style="width: 852px; height: 480px"></canvas>

    <script type="text/javascript">
        window.onload = function(){
            var canvas = document.getElementById("canvas");

            var videoCtx = new VideoContext(canvas);
            var videoNode1 = videoCtx.video("./video1.mp4");
            videoNode1.start(0);
            videoNode1.stop(4);

            var videoNode2 = videoCtx.video("./video2.mp4");
            videoNode2.start(2);
            videoNode2.stop(6);

            var crossFade = videoCtx.transition(VideoContext.DEFINITIONS.CROSSFADE);
            crossFade.transition(2,4,0.0,1.0, "mix");

            videoNode1.connect(crossFade);
            videoNode2.connect(crossFade);
            crossFade.connect(videoCtx.destination);


            videoCtx.play();
        };
    </script>
</body>
</html>
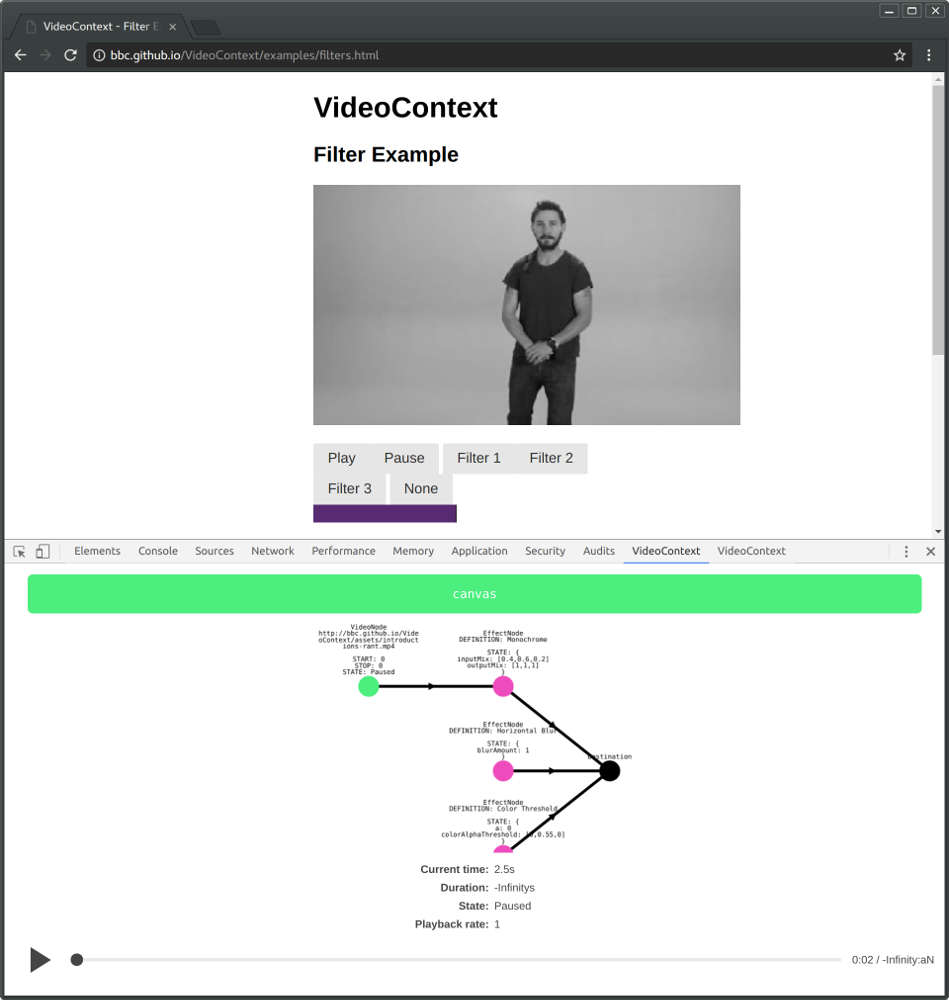
If you need to debug video context graphs or get a better insight into what is happening under the hood, there's a new browser extension for chrome, videocontext-devtools
API Documentation can be built using ESDoc by running the following commands:
yarn install
yarn doc
The documentation will be generated in the "./doc" folder of the repository.
There are a number of different types of nodes which can be used in the VideoContext's processing graph. Here's a quick list of each one. Following that is a more in-depth discussion of each type.
- VideoNode - Plays video.
- AudioNode - Plays audio.
- ImageNode - Displays images for specified time.
- CanvasNode - Displays output of canvas for specified time.
- EffectNode - Applies shader to limited number of inputs.
- TransitionNode - Applies shader to limited number of inputs. Modifies properties at specific times.
- CompositingNode - Applies same shader to unlimited inputs, rendering to same output.
- DestinationNode - Node representing output canvas. Can only be one.
A video source node.
View on CodeSandbox.
var videoNode = videoCtx.video("./video1.mp4");
videoNode.connect(videoCtx.destination);
videoNode.start(0);
videoNode.stop(4);
For best results the video played by a VideoNode should be encoded with a fast decode profile. The following avconv line shows how this can be achieved.
avconv -i input.mp4 -tune fastdecode -strict experimental output.mp4An audio source node.
View on CodeSandbox.
var audioNode = videoCtx.audio("./audio.mp3");
audioNode.connect(videoCtx.destination);
audioNode.start(0);
audioNode.stop(4);An image source node.
View on CodeSandbox.
var imageNode = videoCtx.image("cats.png");
imageNode.connect(videoCtx.destination);
imageNode.start(0);
imageNode.stop(4);A canvas source node.
View on CodeSandbox.
var canvas = document.getElementById("input-canvas");
var canvasNode = videoCtx.canvas(canvas);
canvasNode.connect(videoCtx.destination);
canvasNode.start(0);
canvasNode.stop(4);Sometimes using the pre-built node is just not enough. You can create your own source nodes that host more logic and let you hook into the VideoContext Node API easily.
The following example shows how to create a custom source node that can play a HLS VOD:
View on CodeSandbox
import Hls from "hls.js";

class HLSNode extends VideoContext.NODES.VideoNode {
  constructor(src, gl, renderGraph, currentTime, playbackRate, sourceOffset, preloadTime, hlsOptions = {}) {
    //Create a video element.
    const video = document.createElement("video");

    super(video, gl, renderGraph, currentTime, playbackRate, sourceOffset, preloadTime);

    //Create a HLS object.
    this.hls = new Hls(hlsOptions);

    //Bind the video element.
    this.hls.attachMedia(video);

    //Set the source path.
    this._src = src;

    this._displayName = "HLSNode";
    this._elementType = "hls";
  }

  _load() {
    //Load the video source on first load.
    if (!this._loadTriggered) {
      this.hls.loadSource(this._src);
    }
    super._load();
  }

  destroy() {
    if (this.hls) {
      this.hls.destroy();
    }
    super.destroy();
  }
}

//Setup the video context.
const canvas = document.getElementById("canvas");
const ctx = new VideoContext(canvas);

//Create a custom HLS source node and play it for 60 seconds.
const hlsNode = ctx.customSourceNode(HLSNode, "https://video-dev.github.io/streams/x36xhzz/x36xhzz.m3u8");
hlsNode.start(0);
hlsNode.stop(60);

//Set-up the processing chain.
hlsNode.connect(ctx.destination);

//start playback.
ctx.play();
Another use case for custom node types would be to play GIFs. The custom node would be in charge of decode the GIF frames and paint them on a canvas depending on the _update calls from VideoContext.
An EffectNode is the simplest form of processing node. It's built from a definition object, which is a combination of fragment shader code, vertex shader code, input descriptions, and property descriptions. There are a number of common operations available as node descriptions accessible as static properties on the VideoContext at VideoContext.DEFINITIONS.
The vertex and shader code is GLSL code which gets compiled to produce the shader program. The input description tells the VideoContext how many ports there are to connect to and the name of the image associated with the port within the shader code. Inputs are always render-able textures (i.e images, videos, canvases). The property descriptions tell the VideoContext what controls to attached to the EffectNode and the name, type, and default value of the control within the shader code.
The following is a an example of a simple shader description used to describe a monochrome effect. It has one input (the image to be processed) and two modifiable properties to control the color RGB mix for the processing result.
View on CodeSandbox.
var monochromeDescription = {
    title:"Monochrome",
    description: "Change images to a single chroma (e.g can be used to make a black & white filter). Input color mix and output color mix can be adjusted.",
    vertexShader : `
        attribute vec2 a_position;
        attribute vec2 a_texCoord;
        varying vec2 v_texCoord;
        void main() {
            gl_Position = vec4(vec2(2.0,2.0)*a_position-vec2(1.0, 1.0), 0.0, 1.0);
            v_texCoord = a_texCoord;
        }`,
    fragmentShader : `
        precision mediump float;
        uniform sampler2D u_image;
        uniform vec3 inputMix;
        uniform vec3 outputMix;
        varying vec2 v_texCoord;
        varying float v_mix;
        void main(){
            vec4 color = texture2D(u_image, v_texCoord);
            float mono = color[0]*inputMix[0] + color[1]*inputMix[1] + color[2]*inputMix[2];
            color[0] = mono * outputMix[0];
            color[1] = mono * outputMix[1];
            color[2] = mono * outputMix[2];
            gl_FragColor = color;
        }`,
    properties:{
        "inputMix":{type:"uniform", value:[0.4,0.6,0.2]},
        "outputMix":{type:"uniform", value:[1.0,1.0,1.0]}
    },
    inputs:["u_image"]
};
Here's an example of how the above node description might be used to apply sepia like effect to a video.
//Setup the video context.
var canvas = document.getElementById("canvas");
var ctx = new VideoContext(canvas);

//Create a video node and play it for 60 seconds.
var videoNode = ctx.video("./video.mp4");
videoNode.start(0);
videoNode.stop(60);

//Create the sepia effect node (from the above Monochrome effect description).
var sepiaEffect = ctx.effect(monochromeDescription);

//Give a sepia tint to the monochrome output (note how shader description properties are automatically bound to the JavaScript object).
sepiaEffect.outputMix = [1.25,1.18,0.9];

//Set-up the processing chain.
videoNode.connect(sepiaEffect);
sepiaEffect.connect(ctx.destination);

//start playback.
ctx.play();Transition nodes are a type of effect node which allow the automatic modification/tweening of properties in relation to the VideoContexts notion of time. In every respect they are the same as an effect node except they have a "transition" function which can be used to cue the transitioning of a shader property from one value to another.
You can use them to perform a video transition effect (such as cross-fades, wipes, etc) by creating a definition with two inputs and having a property which controls the mix of the two inputs in the output buffer.
The following is an example of a simple cross-fade shader.
View on CodeSandbox.
var crossfadeDescription = {
    title:"Cross-Fade",
    description: "A cross-fade effect. Typically used as a transistion.",
    vertexShader : `
            attribute vec2 a_position;
            attribute vec2 a_texCoord;
            varying vec2 v_texCoord;
            void main() {
                gl_Position = vec4(vec2(2.0,2.0)*a_position-vec2(1.0, 1.0), 0.0, 1.0);
                v_texCoord = a_texCoord;
            }`,
        fragmentShader : `
            precision mediump float;
            uniform sampler2D u_image_a;
            uniform sampler2D u_image_b;
            uniform float mix;
            varying vec2 v_texCoord;
            varying float v_mix;
            void main(){
                vec4 color_a = texture2D(u_image_a, v_texCoord);
                vec4 color_b = texture2D(u_image_b, v_texCoord);
                color_a[0] *= mix;
                color_a[1] *= mix;
                color_a[2] *= mix;
                color_a[3] *= mix;
                color_b[0] *= (1.0 - mix);
                color_b[1] *= (1.0 - mix);
                color_b[2] *= (1.0 - mix);
                color_b[3] *= (1.0 - mix);
                gl_FragColor = color_a + color_b;
            }`,
        properties:{
            "mix":{type:"uniform", value:0.0}
        },
        inputs:["u_image_a","u_image_b"]
};
The shader has two inputs and a mix property.
//Setup the video context.
var canvas = document.getElementById("canvas");
var ctx = new VideoContext(canvas);

//Create a video node that plays for 10 seconds from time=0.
var videoNode1 = ctx.video("./video1.mp4");
videoNode1.start(0);
videoNode1.stop(10);

//Create a video node that plays for 10 seconds from time=8, overlapping videoNode1 by two seconds.
var videoNode2 = ctx.video("./video2.mp4");
videoNode2.start(8);
videoNode2.stop(18);

//Create the sepia effect node (from the above Monochrome effect description).
var crossfadeEffect = ctx.transition(crossfadeDescription);

//Setup the transition. This will change the "mix" property of the cross-fade node from 0.0 to 1.0.
//Transision mix value from 0.0 to 1.0 at time=8 over a period of 2 seconds to time=10.
crossfadeEffect.transition(8.0, 10.0, 0.0, 1.0, "mix");


//Set-up the processing chain.
videoNode1.connect(crossfadeEffect); //this will connect videoNode1 to the "image_a" input of the processing node
videoNode2.connect(crossfadeEffect); //this will connect videoNode2 to the "image_b" input of the processing node


// NOTE: There's multiple ways to connect a node to specific input of a processing node, the
// following are all equivalent.
//
// By default behavior:
// videoNode1.connect(crossfadeEffect);
// videoNode2.connect(crossfadeEffect);
//
// By named input port:
// videoNode1.connect(crossfadeEffect, "image_a");
// videoNode2.connect(crossfadeEffect, "image_b");
//
// By input port index:
// videoNode1.connect(crossfadeEffect, 0);
// videoNode2.connect(crossfadeEffect, 1);


crossfadeEffect.connect(ctx.destination);

//start playback.
ctx.play();Compositing nodes are different from regular effect nodes as they can have an infinite number of nodes connected to them. They operate by running their effect shader on each connected input in turn and rendering the output to the same texture. This makes them particularly suitable for layering inputs which have alpha channels.
When compositing nodes are run, they map each input in turn to the first input in the definition. This means compositing node definitions typically only have a single input defined. It's also worth noting that an effect node definition with a single input can also be used as a compositing shader with no additional modifications.
A common use for compositing nodes is to collect a series of source nodes which exist at distinct points on a timeline into a single connection for passing onto further processing. This effectively makes the sources into a single video track.
Here's a really simple shader which renders all the inputs to the same output.
View on CodeSandbox.
var combineDecription ={
    title:"Combine",
    description: "A basic effect which renders the input to the output, Typically used as a combine node for layering up media with alpha transparency.",
    vertexShader : `
        attribute vec2 a_position;
        attribute vec2 a_texCoord;
        varying vec2 v_texCoord;
        void main() {
            gl_Position = vec4(vec2(2.0,2.0)*a_position-vec2(1.0, 1.0), 0.0, 1.0);
            v_texCoord = a_texCoord;
        }`,
    fragmentShader : `
        precision mediump float;
        uniform sampler2D u_image;
        varying vec2 v_texCoord;
        varying float v_mix;
        void main(){
            vec4 color = texture2D(u_image, v_texCoord);
            gl_FragColor = color;
        }`,
    properties:{
    },
    inputs:["u_image"]
};
And here's an example of how it can be used.
//Setup the video context.
var canvas = document.getElementById("canvas");
var ctx = new VideoContext(canvas);

//Create a video node that plays for 10 seconds from time=0.
var videoNode1 = ctx.video("./video1.mp4");
videoNode1.start(0);
videoNode1.stop(10);

//Create a video node that plays for 5 seconds from time=10.
var videoNode2 = ctx.video("./video2.mp4");
videoNode2.start(10);
videoNode2.stop(15);

//Create a video node that plays for 12 seconds from time=15.
var videoNode3 = ctx.video("./video3.mp4");
videoNode3.start(15);
videoNode3.stop(27);

//Create the combine compositing node (from the above Combine effect description).
var combineEffect = ctx.compositor(combineDecription);

//Connect all the videos to the combine effect. Collecting them together into a single point which can be connected to further points in the graph. (Making something logically equivalent to a track.)
videoNode1.connect(combineEffect);
videoNode2.connect(combineEffect);
videoNode3.connect(combineEffect);

//Connect all the input sources to the destination.
combineEffect.connect(ctx.destination);

//start playback.
ctx.play();Making custom effect shaders for the VideoContext is fairly simple. The best starting point is to take one of the built in effects and modify it. It's very useful to have an understanding of how shaders work and some experience writing shaders in GLSL.
var effectDefinition ={
    title:"",               //A title for the effect.
    description: "",        //A textual description of what the effect does.
    vertexShader : "",      //The vertex shader
    fragmentShader : "",    //The fragment shader
    properties:{            //An object containing uniforms from the fragment shader for mapping onto the effect node.
    },
    inputs:["u_image"]      //the names of the uniform sampler2D's in the fragment shader which represent the texture inputs to the effect.
};You can view more advanced usage examples here.
VideoContext has a pretty standard package.json
# install build and development dependencies
yarn install

# run a dev server with automatic reload
yarn dev

# watch unit and integration tests
yarn test-watch

# run the end-to-end regression tests in a headless browser
yarn cypress
For more information on writing, running and debugging the end-to-end cypress tests see ./test/cypress#readme.
For an overview of all testing see ./test#readme
VideoContext uses the gitflow branching model.
To contribute raise a pull request against the develop branch.
Releases are prepared in release branches. When the the release is ready run one of
yarn release:major
yarn release:minor
yarn release:patch
these scripts build and commit the docs, the changelog, update the package.json version number
and push to the current branch with tags.
CI will publish to npm when the release branch has been merged into master.
git checkout developgit pullgit checkout -b release-xxx- tag and push using script
yarn release:patch|minor|major
- open pull request against master
- merge when tests have passed
- merge master back in to develop:
git checkout mastergit pullgit checkout developgit merge mastergit push
There is one housekeeping task (this will be automated at some point):
- update the codesandbox examples to use the latest release
VideoContext uses the BBCs public travis account to run all tests and publish to npmjs. All tests must pass before PRs can be merged.
Other options
yarn build     # build dist packages
yarn doc       # create documentation
yarn build_all # do all of the above
The library is written in es6 and cross-compiled using babel.