Run npm install or yarn install (npm or yarn must already be installed).
You'll need to create two new files in the config folder called dev.json and production.json. The gitignore contains these filenames, so there's no chance of accidentally committing them.
These new config files only needs a few lines, because the 'config' library first pulls everything from 'default.json' and then overrides anything that it finds in other config files it uses. The config files should look like this:
{
 "mongodb": {
"address": "<insert address>"
 }
}
Just run
npm run build-dev
and then
npm run dev
This will use the 'dev' configuration, so make sure you've created a dev.json file in the config folder.
The following parts of this guide reference Kubernetes/Kustomize configuration scripts. These scripts are all located in a separate repository.
The LifeScope XR server can be run in a Kubernetes Cluster via containerizing the code with Docker.
Containerized builds of the dev codebase can be found on LifeScope Labs' Docker hub, lifescopelabs/lifescope-xr:vX.Y.Z-dev.
If you want to build your own, you have two options: build into Minikube's local Docker registry, or build locally and push
to a Docker Hub you control.
Because dev environments are run differently than production environments, they need to have a different Docker image than the ones used in production. As a result, dev images are, by custom, appended with '-dev' in the name, as seen above.
By default, Docker uses a distinct local registry when building images.
Minikube has its own local Docker registry, and by default will pull images from Docker Hub into its registry
before spinning up instances of those images.
You can point your Linux/Mac shell to the Minikube registry so that Docker builds directly into Minikube via the following:
eval $(minikube -p minikube docker-env)
If you do this, you can skip the following step and go directly to 'Containerize the API with Docker'.
LifeScope has a Docker Hub account with repositories for images of each of the applications that make up the service. The Kubernetes scripts are coded to pull specific versions from the official repos. If you're just pulling the official images, you don't need to set up your own Hub or repositories therein.
If you followed the previous section and pointed your shell to Minikube's local Docker registry, definitely skip this step, as it's completely unnecessary.
This guide will not cover how to set up a Docker Hub account or a local copy of Docker since the instructions provided
by the makers of those services are more than sufficient.
Once you've created a Docker Hub account, you'll need to make public repositories for each of the lifescope services you
want to run. At the very least, you'll want to run lifescope-api, lifescope-app, and lifescope-xr and the Docker Hubs for those are
most easily named lifescope-apiand lifescope-app, and lifescope-xr.
If you use different names, you'll have to change the image names in the Kubernetes config files in the
lifescope-kubernetes sub-directories for those services.
LifeScope has a Docker Hub account with repositories for images of each of the applications that make up the service. The Kubernetes scripts are coded to pull specific versions from the official repos. If you want to pull from a repo you control, do the following:
After installing Docker on your machine, from the top level of this application run docker build -t <Docker Hub username>/lifescope-xr:vX.Y.Z-dev ..
X,Y, and Z should be the current version of the XR server, though it's not required that you tag the image with a version.
You'll then need to push this image to Docker Hub so that the Kubernetes deployment can get the proper image.
Within lifescope-kubernetes/lifescope-xr/base/lifescope-xr.yaml, you'll see a few instances of an image name that points to an image name, something along
the lines of lifescopelabs/lifescope-xr:v1.1.0. Each instance of this will need to be changed to /:.
For example, if your username is 'cookiemonstar' and you're building v4.5.2 of the XR server, you'd change the 'image' field
wherever it occurs in base/lifescope-xr.yaml to cookiemonstar/lifescope-xr:v4.5.2-dev.
This should match everything following the '-t' in the build command.
Once the image is built, you can push it to Docker Hub by running docker push <imagename>, e.g. docker push cookiemonstar/lifescope-xr:v4.5.2-dev.
If you're using Minikube's Docker registry, skip this push command because Minikube already has the image.
You're now ready to deploy the XR server pod.
Before running this, make sure that you have the dev.json file from the config folder in lifescope-kubernetes/lifescope-xr/base
From the top level of the lifescope-kubernetes repo, run kubectl apply -k lifescope-xr/base.
If this ran properly, you should be able to go to api.dev.lifescope.io/gql-p and see the GraphQL Playground running.
IF you want your server to be secure, you'll need to purchase a domain name and then register the domain or subdomain that you want to use for LifeScope with Amazon Certificate Manager.
When you have the certificate from ACM, make note of its ARN. Look in the production Nginx config for the Service that will be set up. Look for the field metadata -> annotations -> service.beta.kubernetes.io/aws-load-balancer-ssl-cert You will need to replace the value here with the ARN of the certificate you generated.
Run npm install or yarn install (npm or yarn must already be installed).
The LifeScope XR server can be run in a Kubernetes Cluster via containerizing the code with Docker.
Containerized builds of the codebase can be found on LifeScope Labs' Docker hub, lifescopelabs/lifescope-xr:vX.Y.Z.
If you want to build your own, you will need to build an image locally and push to a Docker Hub you control.
LifeScope has a Docker Hub account with repositories for images of each of the applications that make up the service. The Kubernetes scripts are coded to pull specific versions from the official repos. If you're just pulling the official images, you don't need to set up your own Hub or repositories therein.
This guide will not cover how to set up a Docker Hub account or a local copy of Docker since the instructions provided
by the makers of those services are more than sufficient.
Once you've created a Docker Hub account, you'll need to make public repositories for each of the lifescope services you
want to run. At the very least, you'll want to run lifescope-api, lifescope-app, and lifescope-xr and the Docker Hubs for those are
most easily named lifescope-apiand lifescope-app, and lifescope-xr.
If you use different names, you'll have to change the image names in the Kubernetes config files in the
lifescope-kubernetes sub-directories for those services.
LifeScope has a Docker Hub account with repositories for images of each of the applications that make up the service. The Kubernetes scripts are coded to pull specific versions from the official repos. If you want to pull from a repo you control, do the following:
After installing Docker on your machine, from the top level of this application run docker build -t <Docker Hub username>/lifescope-xr:vX.Y.Z ..
X,Y, and Z should be the current version of the XR server, though it's not required that you tag the image with a version.
You'll then need to push this image to Docker Hub so that the Kubernetes deployment can get the proper image.
Within lifescope-kubernetes/lifescope-xr/overlaye/production/lifescope-xr.yaml, you'll see a few instances of an image name that points to an image name, something along
the lines of lifecsopelabs/lifescope-xr:v1.1.0. Each instance of this will need to be changed to /:.
For example, if your username is 'cookiemonstar' and you're building v4.5.2 of the XR server, you'd change the 'image' field
wherever it occurs in lifescope-kubernetes/lifescope-xr/overlays/production/lifescope-xr to cookiemonstar/lifescope-xr:v4.5.2.
This should match everything following the '-t' in the build command.
Once the image is built, you can push it to Docker Hub by running docker push <imagename>, e.g. docker push cookiemonstar/lifescope-xr:v4.5.2.
You're now ready to deploy the Kubernetes cluster.
This guide is copied almost verbatim in lifescope-app and lifescope-api, so if you've already set up either of those, you can skip straight to running the lifescope-xr Kustomize script.
Refer to this guide for how to set up eksctl.
The script to provision the Fargate cluster is located in the lifescope-kubernetes repo.
To provision the Fargate cluster, from the top level of lifescope-kubernetes run eksctl create cluster -f aws-fargate/production/aws-cluster.yaml.
When the cluster has been provisioned,
From the top level of the lifescope-kubernetes repo, run kubectl apply -k lifescope-nginx/overlays/production.
This will install nginx in your K8s cluster. After a minute or so the Load Balancer that is set up will have provisioned
an external IP, which you can get by running kubectl get service -n nginx-ingress and looking in the column 'EXTERNAL-IP'.
This external IP will need to be used in a few places.
First, go to AWS Route53 -> Hosted zones. Create a Hosted Zone for the top-level domain you're using. Within that, create a Record Set. The Name can be left blank, Type should be 'A - IPv4 address', set Alias to 'Yes', and under Alias Target enter 'dualstack.' (if you click on the text box for Alias Target, a prompt scrollable box should pop up with various resources you have in AWS; the Load Balancer for Nginx should be under 'ELB Classic load balancers' and if clicked on it should autocomplete everything properly). Click Create when this is all entered.
Next, you'll need to make a CNAME with your domain registrar from 'xr' and 'nxr' and any other lifescope services you're setting up (api, app, embed) to the external IP.
Before running this, make sure that you have the dev.json file from the config folder in lifescope-kubernetes/lifescope-xr/base and the production.json file from the config folder in lifescope-kubernetes/lifescope-xr/overlays/production. dev.json won't be used, but due to a deficiency in Kustomize as of writing this it's impossible to tell it to ignore the base instruction of secretizing dev.json.
From the top level of the lifescope-kubernetes repo, run kubectl apply -k lifescope-xr/overlays/production.
There's no external way to see if this worked since the server doesn't communicate to the outside world, but you can run
kubectl get pods -A
to see all of the running pods and look for one named 'lifescope-xr--'.
20 seconds or so post-startup its status should be 'Running' and the Ready status should be '1/1'.
You need to put the aws credentials in config/
npm install
npm run build-dev
npm run dev
git clone https://github.com/mohrtw/lifescope-xr.git
npm install
npm run build-prod
npm install --production
NODE_ENV=prod npm run start
zip -r xr .ebextensions/ .npmrc config/ dist/ package.json static/
(development phase, medium priority)
The LifeScope API allows anyone to create a shared virtual space to access their memory and tell their stories.
This repo contains a series of AR/VR Views written to extend lifescope-app codebase as JS/Vue/Nuxt plugins.
LifeScope AR Marker
LifeScope AR Marker Pattern file.
Notice how the pattern encodes the variance of the bitmap
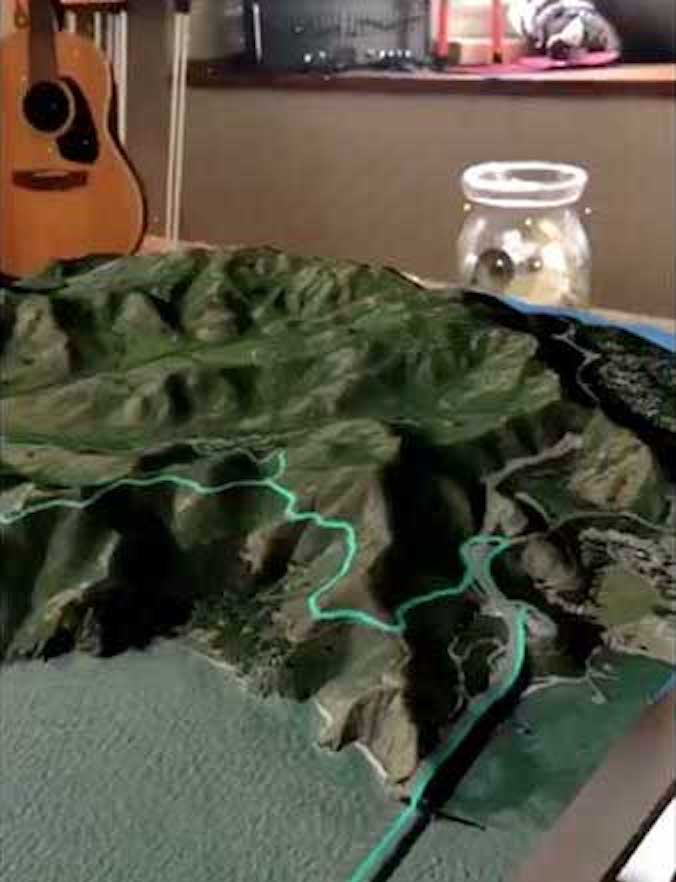
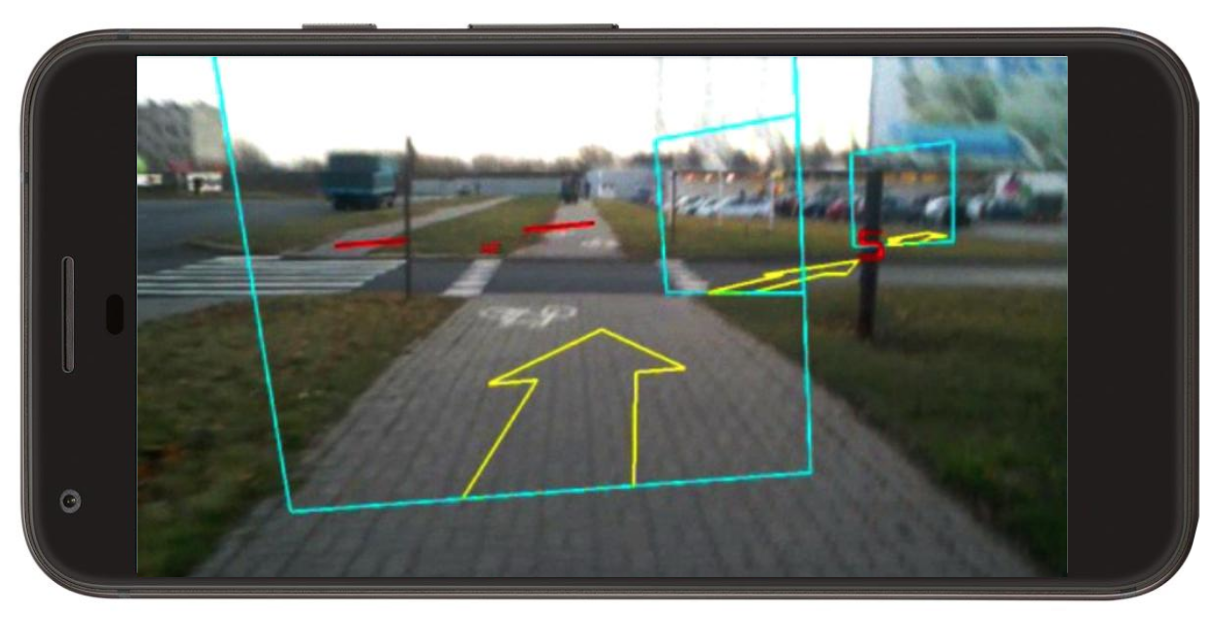
Marker based AR.JS Mapbox trail wireframes.
- MVP: See a trail of gateways left behind from LifeScope location objects.
- Shows the current location (GPS) tile and database LifeScope objects using markers.
- See location of other lifLifeScopeescope objects.
- See geo-polygons drawn from LifeScope places objects.
- Able to select locations, zoom, objects
- Ability to see AR Globe (See VR Globe)
- Able to work without marker. Using compass, accelerometer, gyroscope, camera (slam), etc…
- Able to see other LifeScope users with permissions.
- Vue/Nuxt compatible
- AR.JS
- AFrame (0.8+)
- Mapbox (0.44.1+)
- https://github.com/kig/JSARToolKit/tree/master/demos/markers
- AR.JS Mapbox with marker
- AR.JS markerless
- Web Geo adapter (De-noise web GPS data
- Marker Maker
- BitScoop Marker
- Networked AFrame
- https://ngokevin.github.io/kframe/
- https://github.com/mattrei/aframe-geojson-component
- MVP: Shows AR gateways around the current location (GPS) from the LifeScope database
- Able to select gateways, zoom, objects
- Able to see friends
- Vue/Nuxt compatible
- AR.JS
- AFrame (0.8+)
- Mapbox (0.44.1+)
- AR.JS markerless
- aframe vuejs 3dio
- Web Geo adapter (De-noise web GPS data
- Marker Maker
- BitScoop Marker
- Networked AFrame
- MVP: Able to recognize faces from LifeScope data
- Capture store photo/video/location/speech of “AR encounter” in LifeScope api Dependencies
- Vue/Nuxt compatible Examples
- JS Facial tracking experiment
Aframe Earth wireframe.

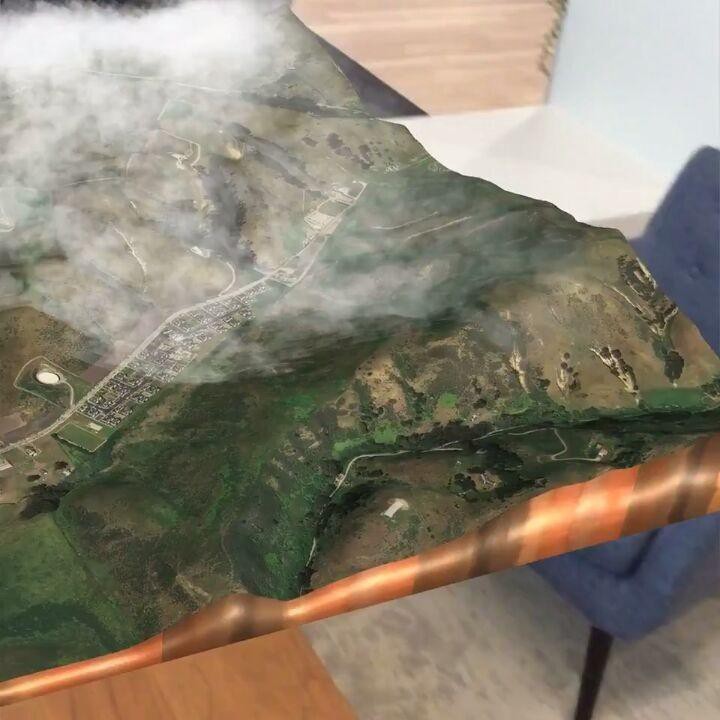
Mapbox trail wireframe.
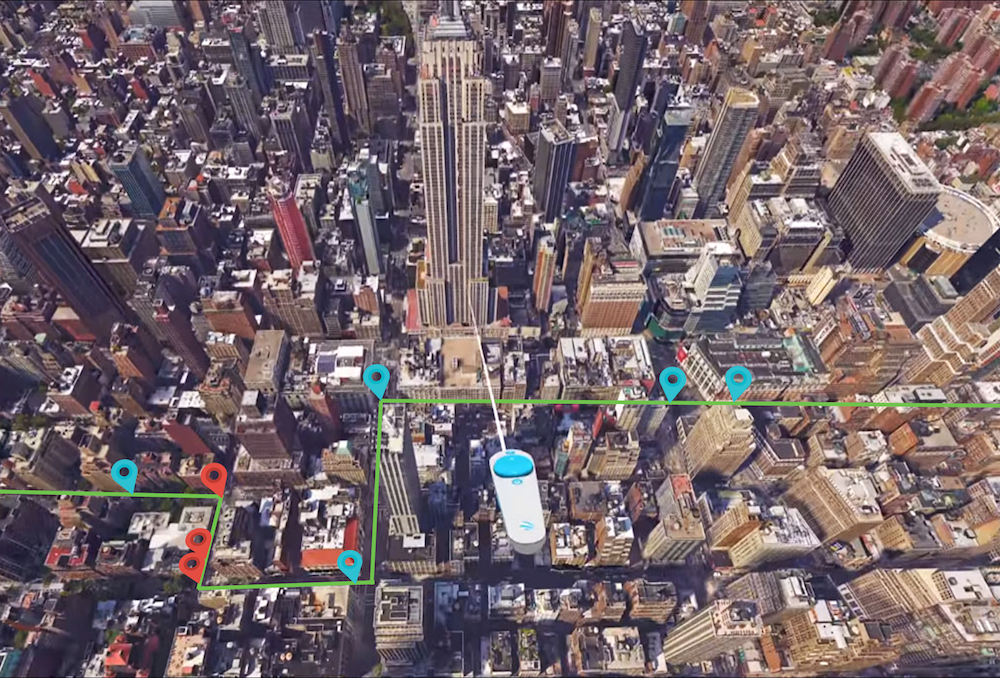
- MVP: Shows the current location (GPS) on globe and database LifeScope objects using marker
- Able to select locations, zoom, objects
- Able to see friends
- Vue/Nuxt compatible
- AR.JS
- AFrame (0.8+)
- Mapbox (0.44.1+)
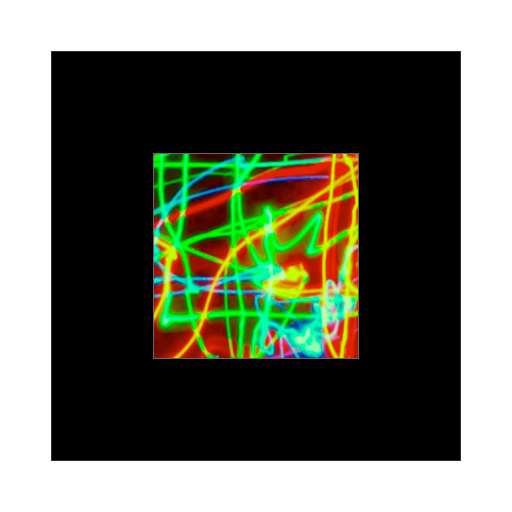
LifeScope Gallery Mockup
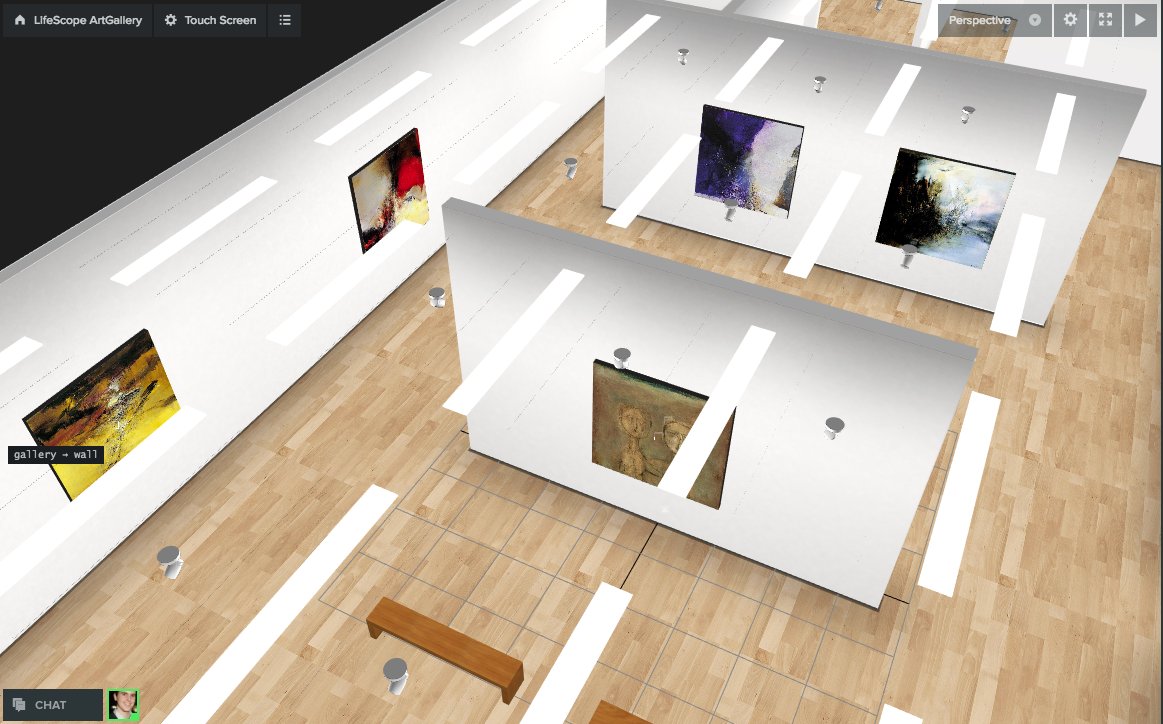
- MVP: Show an infinite "gallery" of content from your lifescope data.
- Able to sort, search, curate, modify content shown.
- Able to draw in the gallery.
- Able to see friends.
- Vue/Nuxt compatible
- AR.JS
- AFrame (0.8+)
- GURI VR
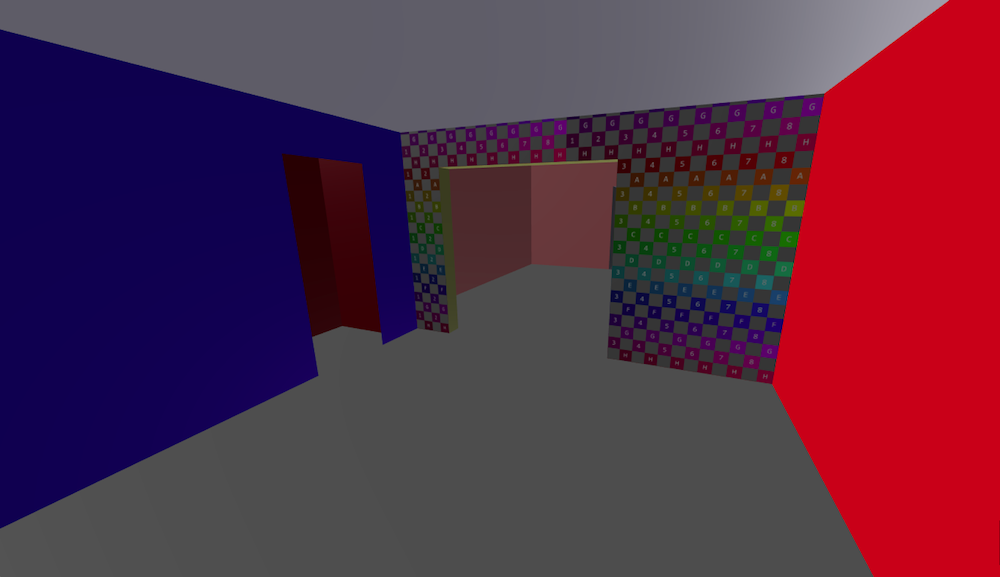
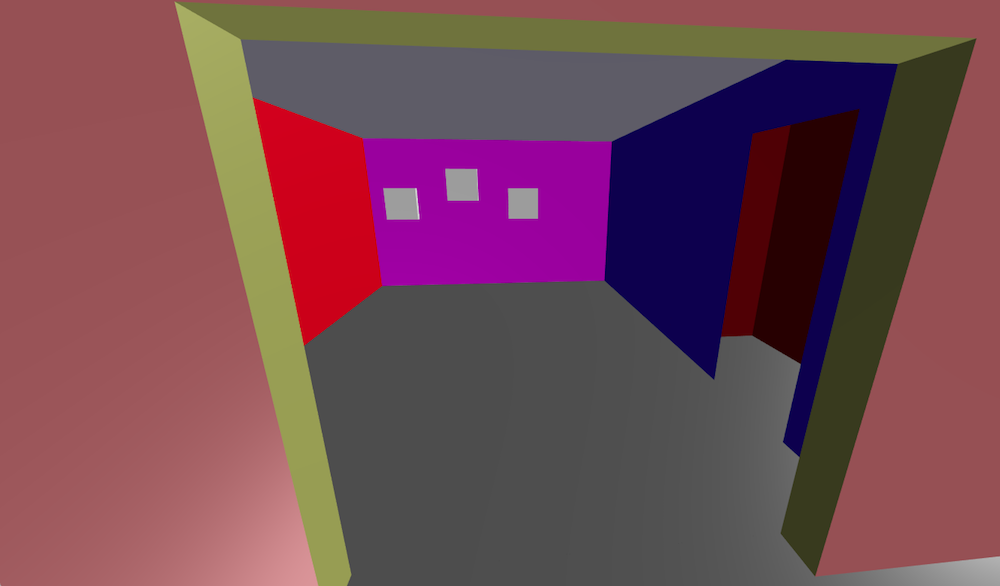
AFrame generated rooms.
AFrame generated media content frames for HTML Shader.
- MVP: Show an infinite "gallery" of content from your lifescope data.
- Able to sort, search, curate, modify content shown.
- Able to draw in the gallery.
- Able to see friends.
- Vue/Nuxt compatible
- AR.JS
- aframe vuejs 3dio
- AFrame (0.8+)
- GURI VR
- AFrame Room Component
- 3d.io Room Objects
- Networked AFrame
- https://www.mapbox.com/mapbox-gl-js/example/3d-buildings/
- https://blog.mapbox.com/global-elevation-data-6689f1d0ba65
Social Wars in React VR. A VR demo using the BitScoop Platform for Social Login. Filled with demo data.
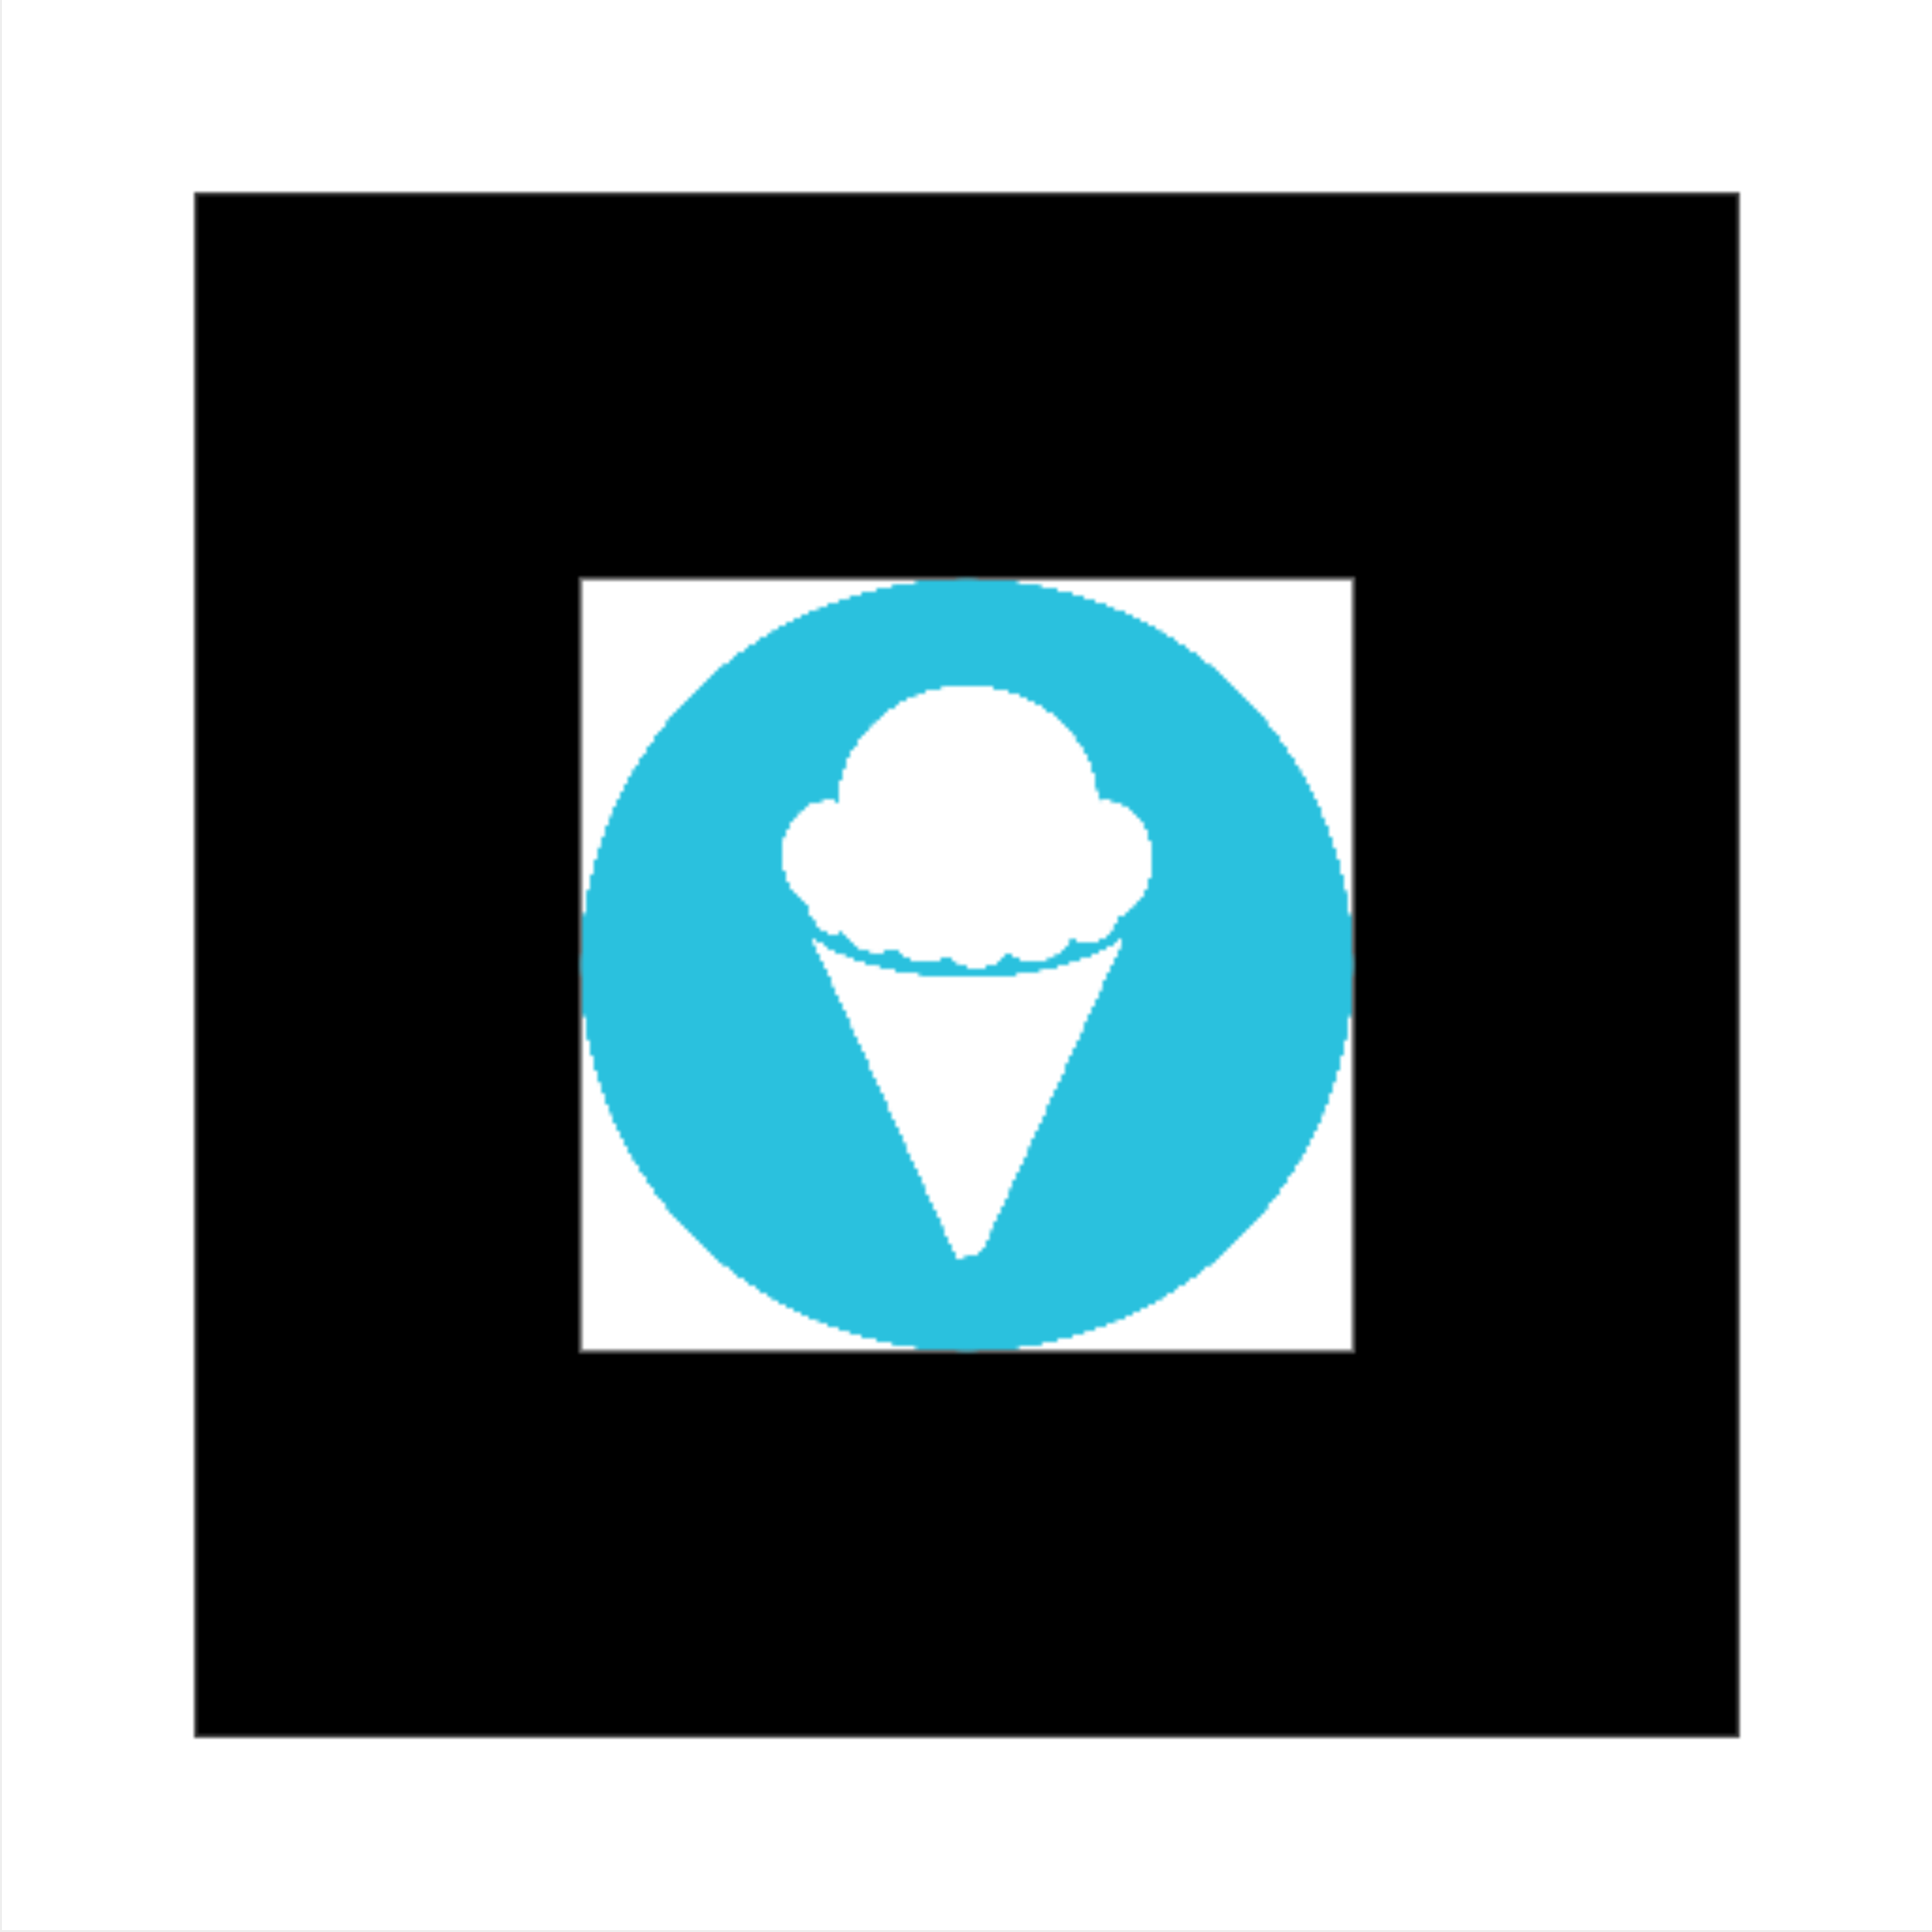
BitScoop Marker Pattern File. Notice how the bitmap matches the file.