A super simple library for doing Auto Layout on iOS.
Many people don't like Interface Builder, but doing Auto Layout programmatically is hard on its own.
Previously people made Auto Layout wrapper/simplifiers like Masonry, Snapkit, Stevia, etc. They are all great. SimpleAutoLayout has the same goal, but comes with a different flavor: it does less magic and stays closer to the original Auto Layout APIs. Yet it still makes Auto Layout super simple.
It's not a DSL or a radical new way to think about layouts. It's just a set of chainable light-weight helper functions that makes using Auto Layout really simple. So it is easy to debug, and it is extremely flexible (e.g. adding any constraint, editing or removing constraints, animating a change).
SimpleAutoLayout also supports RTL (Right to Left language) and SafeAreaLayoutGuide now.
If you use Cocoapod, in your Podfile, add this line:
pod 'SimpleAutoLayout', :git => "git@github.com:ba01ei/SimpleAutoLayout", :tag => "0.4.0"
Then import SimpleAutoLayout and you are ready to go.
To layout viewA (100x100), viewB (100x100), viewC (100x100) horizontally (left margin, gap = 10), and inside viewC have viewD (40x40) and viewE (40x40) aligned vertically (top margin, gap = 10):
SimpleAutoLayout(superview: self.view)
    .place(viewA, from: [.left: 10, .top: 10], size: [.w: 100, .h: 100])
    .goRight(viewB, distance: 10, alignToLast: [.width: 0, .top: 0, .bottom: 0])
    .goRight(viewC, distance: 10, alignToLast: [.width: 0, .top: 0, .bottom: 0])
    .place(viewD, alignToLast: [.top: 10, .centerX: 0], size: [.w: 40, .h: 40])
    .goDown(viewE, distance: 10, alignToLast: [.left: 0, .right: 0, .height: 0])
(No need to call superview.addSubview(viewA) or set translatesAutoresizingMaskIntoConstraints. This is it.)
First create a SimpleAutoLayout object with a superview.
SimpleAutoLayout(on: superview)
Then place all the subviews. One way to place a subview is to use the place function. Meanings of each params:
from: distance from each edge of the superview
size: the size params, e.g. .w, .h, .aspectRatio
keys include .left, .leading, .top, .centerX, etc.
alignToLast: a dictionary. key is an NSAutoLayoutAttribute, like .left, .centerX, value is the difference between this view's this attribute and last view's such attribute (last view is the view we placed before calling this line)
safeAreaEdges: indicating which edges should include safe area margins (i.e. to avoiod the notch)
Another way add a subview is to use goLeft, goRight, goUp, or goDown. For example:
SimpleAutoLayout(on: self)
    .place(label1, from: [.left: 10, .right: 10, .top: 40], size: [.w: 100])
    .goDown(label2, distance: 30, alignToLast: [.left: 0, .right: 0])
means that label2 with be 30 points below label1 (.top of label2 is 30 below .bottom of label1), and the .left and .right will be the same as label1
goDown, goUp, etc also have a boolean param safeArea, which indicates whether the endWithMargin will have the margin from superview's safe area border (as opposed to the superview border).
Also there is a from function that resets the last view. So if viewB and viewC are both right below viewA, you can do
.place(viewA, ...)
.goDown(viewB, distance, ...)
.from(viewA)
.goDown(viewC, distance, ...)
Finally, everything translates to a set of addConstraint calls, which is the most basic function that can add any constraint (with item1, a1 (meaning attribute1), item2, a2, multiplier, constant, relation, priority). For anything more complicated, there is always this fallback.
And keep in mind that everything is chainable. All the functions return the same SimpleAutoLayout object.
Just replace .left with .leading, .right with .trailing.
Above examples use left and right so it's simpler to visualize. In real code you should use leading and trailing.
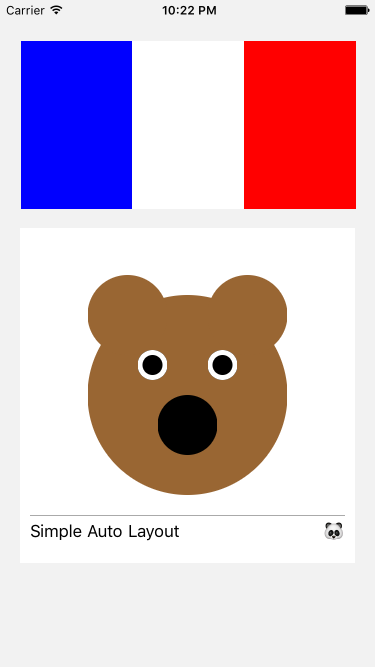
Checkout SimpleAutoLayoutExample. Go to SimpleAutoLayoutExample folder, run pod install and open SimpleAutoLayoutExample.xcworkspace, choose an iPhone simulator and run.
The layout result:
SimpleAutoLayout is very lightweight and close to the original AutoLayout API, so it is highly unlikely to go out of maintenance. I have updated the library to support safe area layout guide easily, for example.
I've tried to quickly build a simple app in a few days, to make sure it really handles a lot of real world design examples that are rather complex. And with SimpleAutoLayout it can be done really fast.
Some other Auto Layout wrapper libraries are also cool, but this one allows you to handle most of the views with 1 line/subview (even the addSubview call is handled by that 1 call). (For example, if you are placing a number of views horizontally, when you call goRight on each view you can also set the vertical alignment, width, height, etc in the same function call.) There's something nice about having all the layout attributes of one view in one place (or one line), e.g. you can easily comment out a view, or move it to a different file.