Files I produced during the Keycloak / OAuth2 / OpenID Connect classes of my Microservices Full Cycle 3.0 course.
docker run -p 8080:8080 -e KEYCLOAK_USER=admin -e KEYCLOAK_PASSWORD=admin quay.io/keycloak/keycloakRealm is a concept in Keycloak that refers to an object managing a set of users along with their credentials, roles and groups. A Realm works like a tenant. Multiple clients can be interested in accessing users data from a Realm.
Access http://localhost:8080/auth/admin/ on your browser and login with admin/admin.
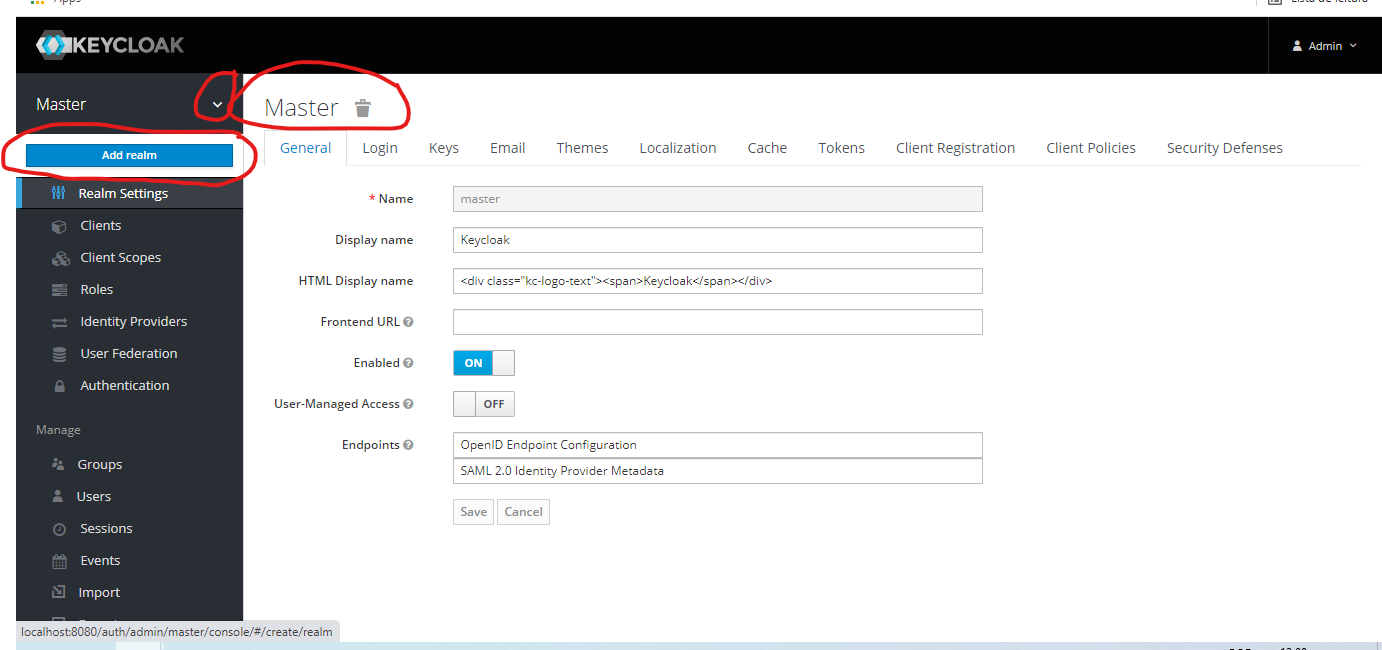
The Master Realm is used to manage Keycloak itself. We will create a new Realm from it.
Use myrealm as the name and create.
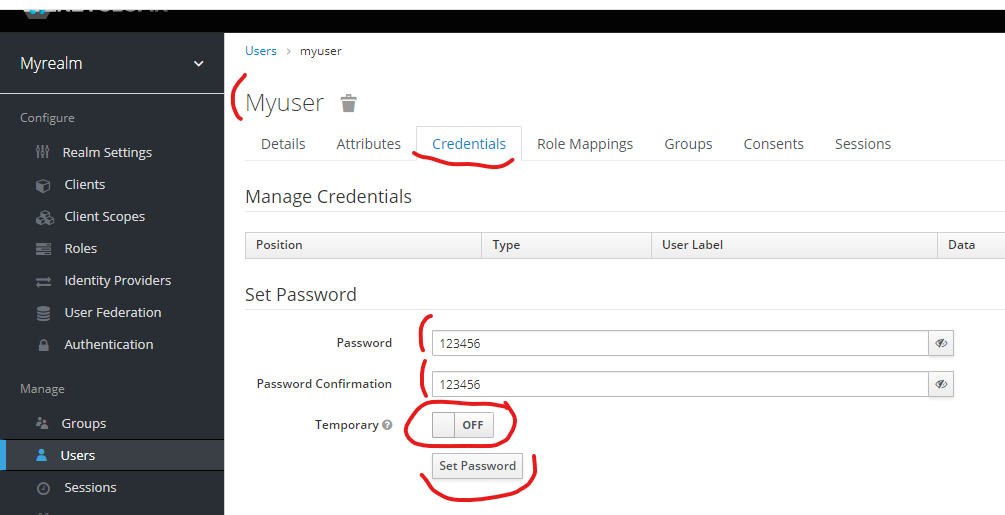
Now, create an user inside myrealm.
And set its credentials.
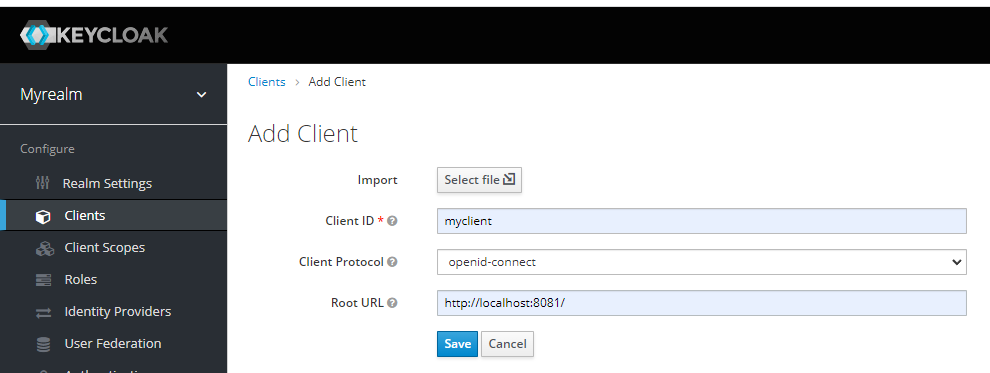
Create a client for our Go application.
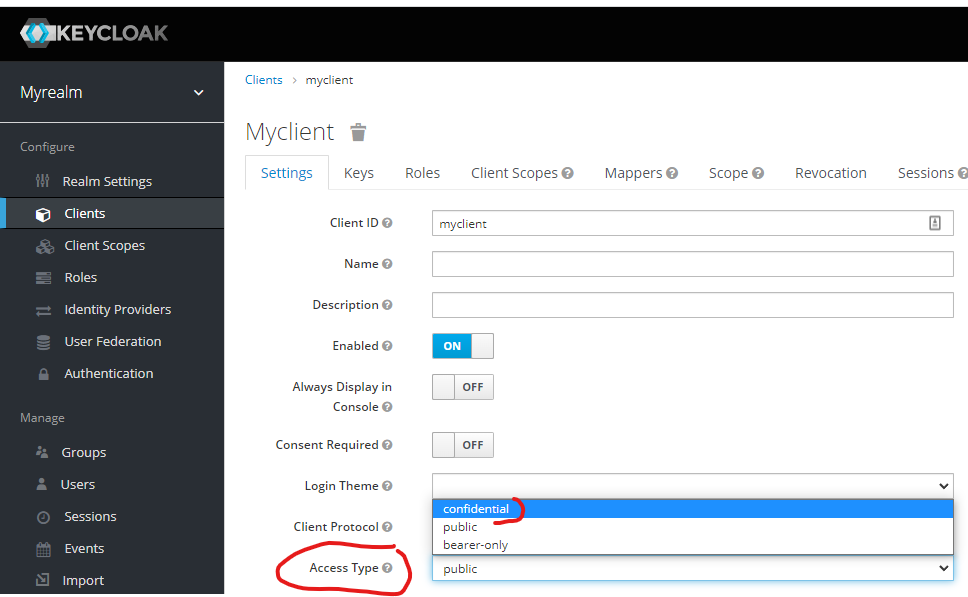
After creating, change the client access type to confidential and save.
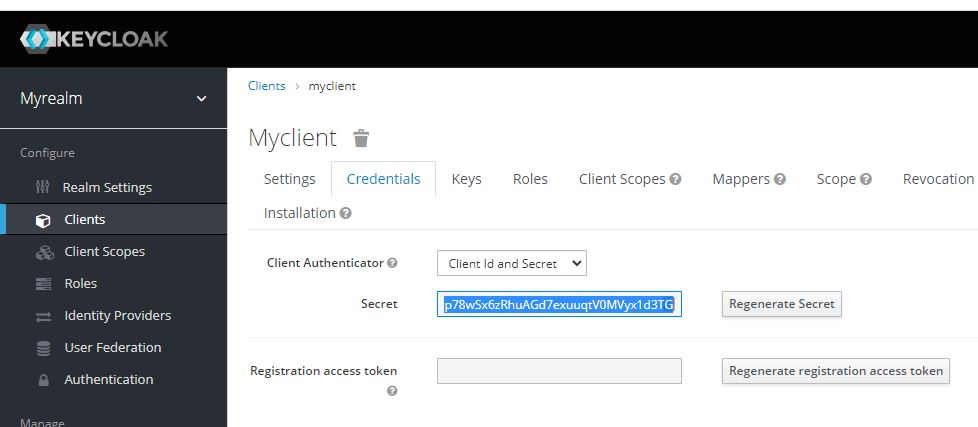
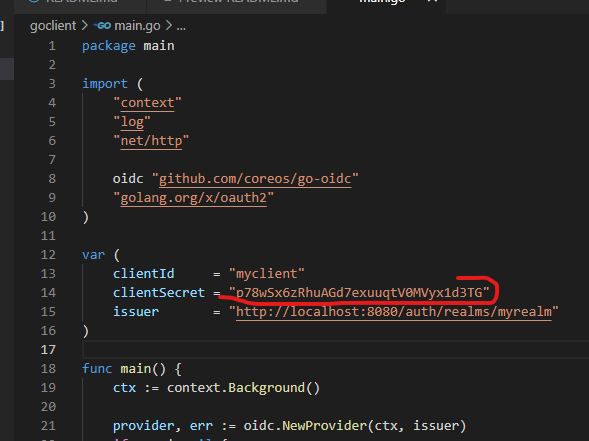
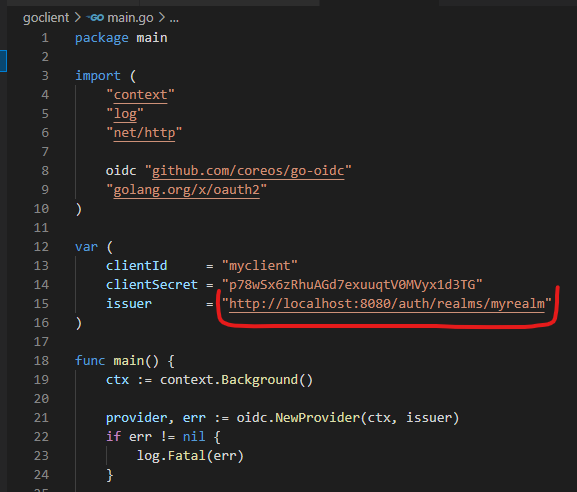
Get the client secret and replace in goclient/main.go.
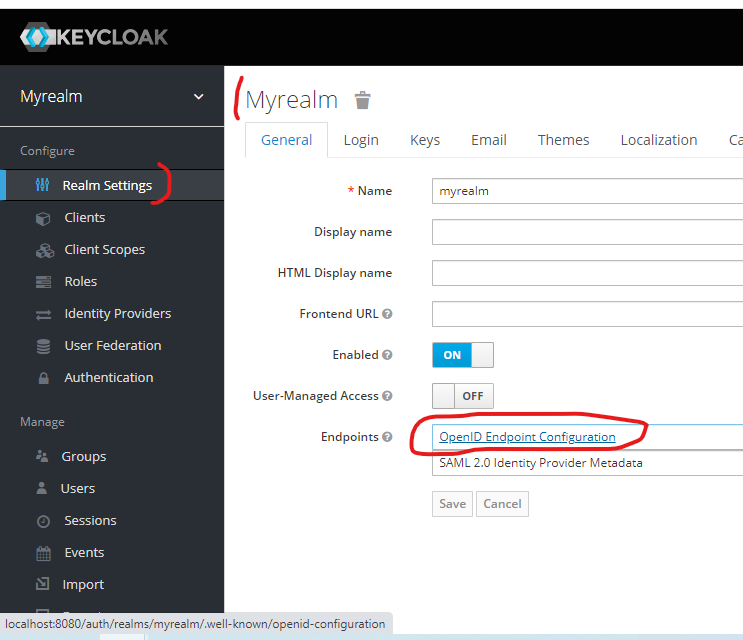
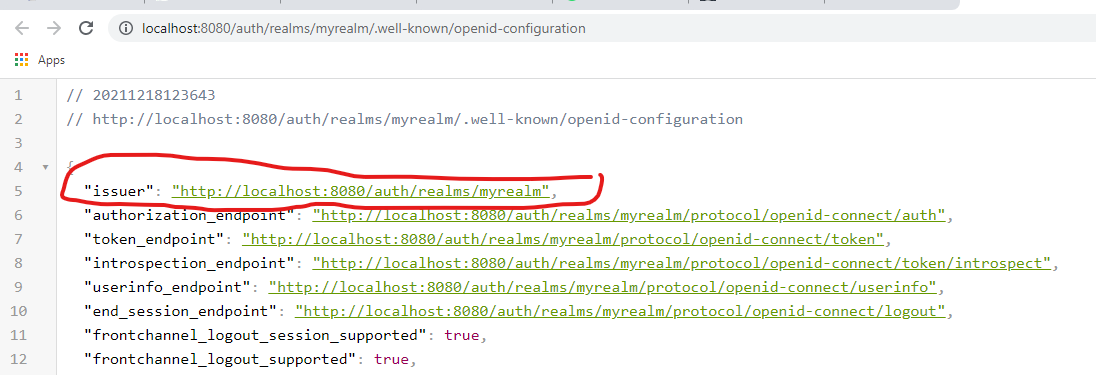
You also need to get the issuer URL from the Realm Settings and replace in goclient/main.go.
go mod tidy
go run goclient/main.go
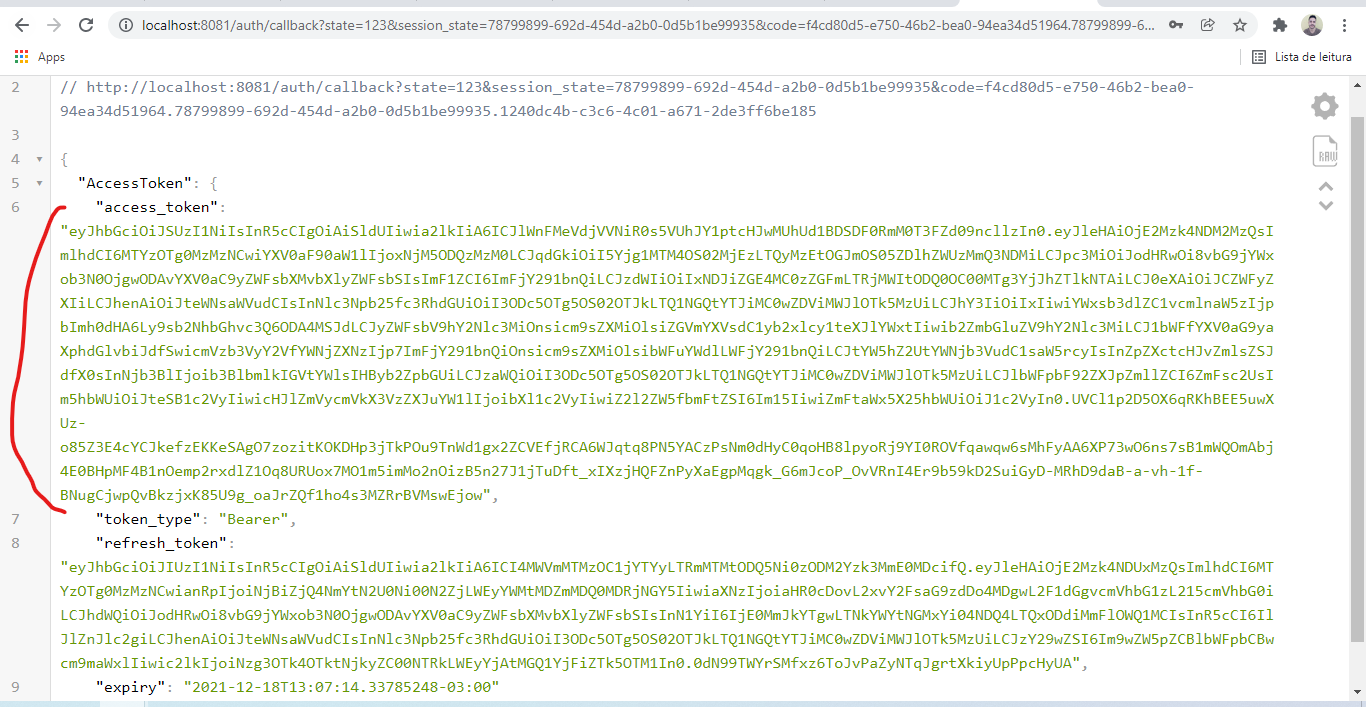
Access http://localhost:8081/ on your browser and login in with the same user you created in the realm.
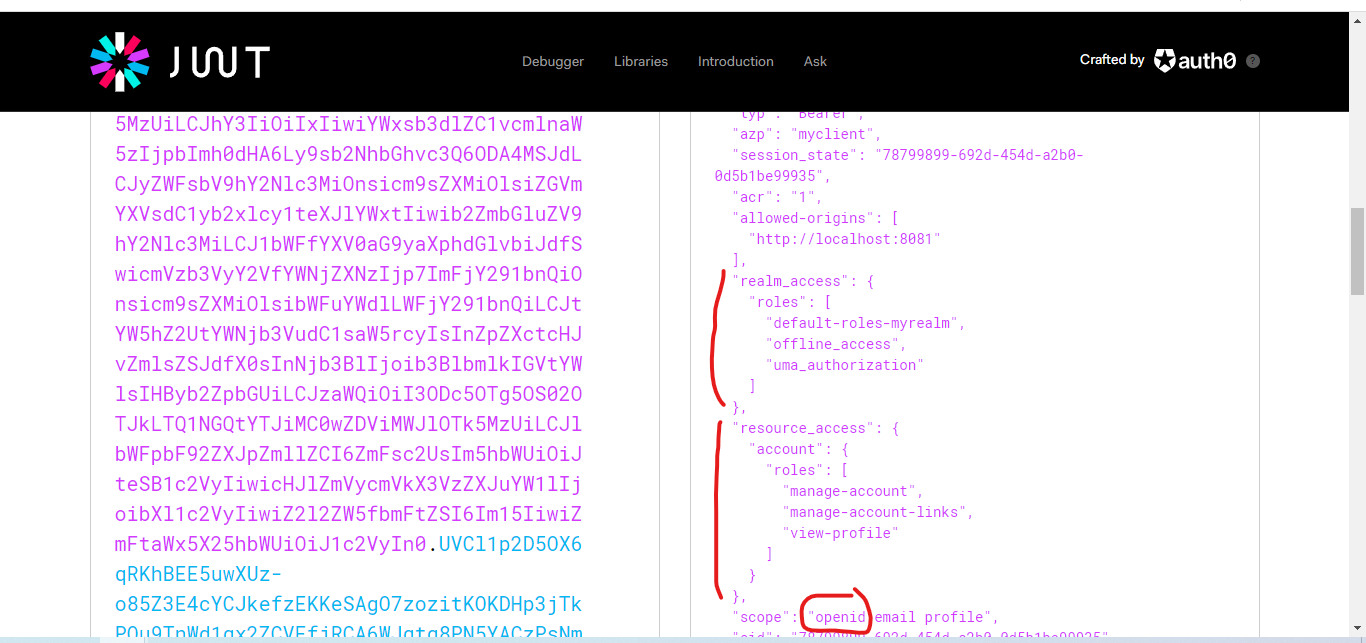
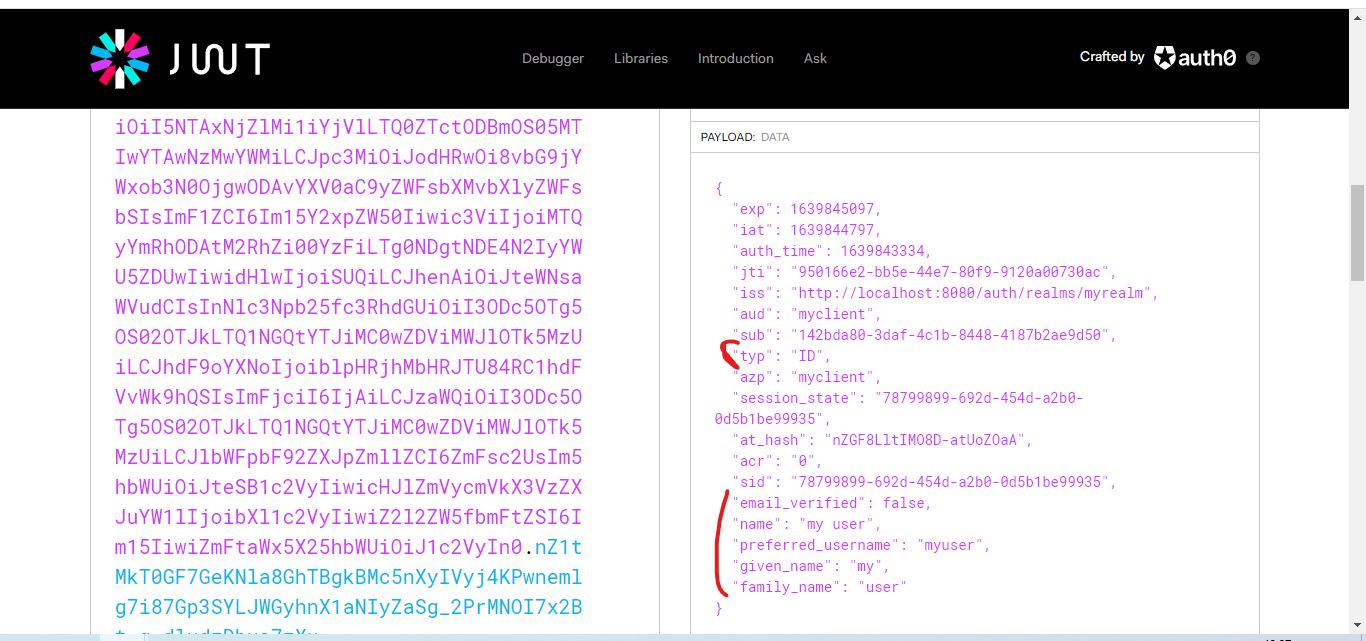
You can go to https://jwt.io to see the access token payload.
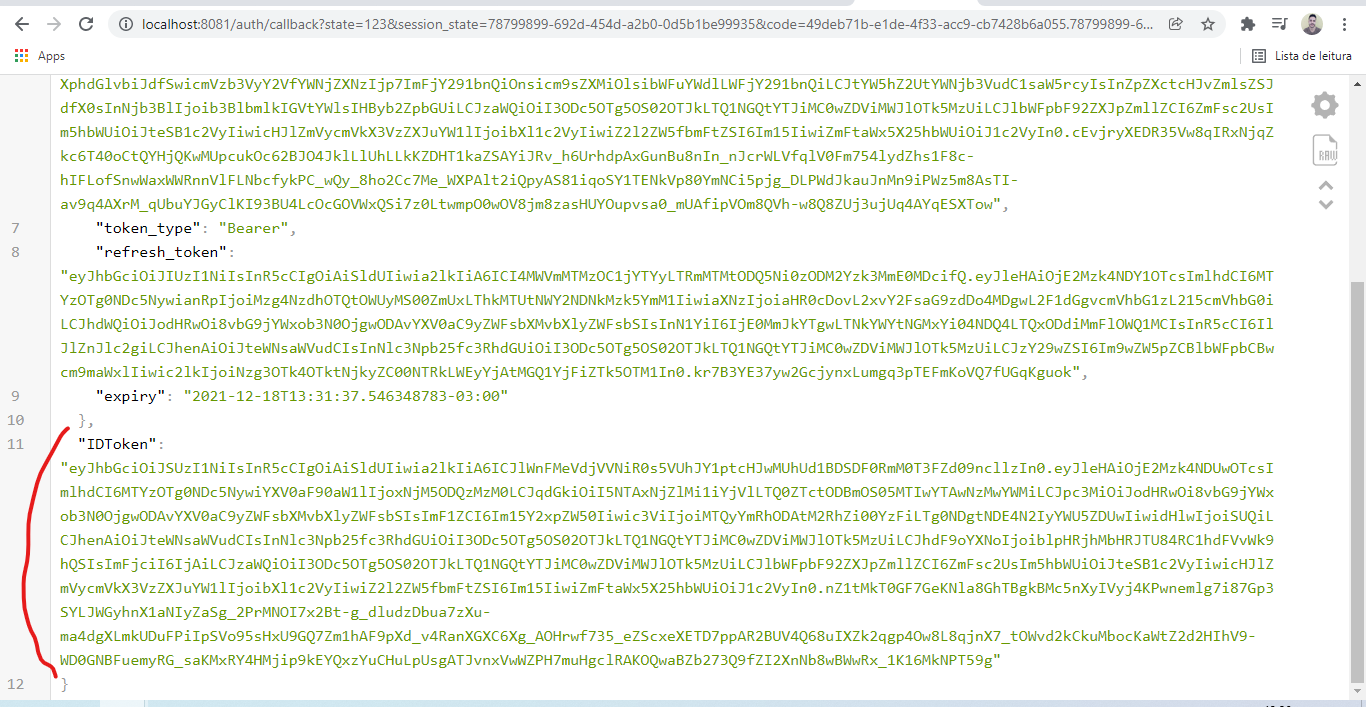
As you can see, this step is the authorization step. We can now request the id token as we have access to the openid scope. With the id token, we are authenticated.
