This repository demonstrates how to build and deploy an IoT solution based on AWS IoT Greengrass by using AWS SDK for Python (Boto3).
Please note that the following guidelines assume that readers have previous experience with AWS IoT Greengrass.
- If you interested in getting started using AWS IoT Greengrass, please consider this hands-on tutorial
- If you are looking for a way to automate the AWS IoT Greengrass setup with AWS CloudFormation, please consider this blog.
- If you are looking for a way to implement a CI/CD pipeline for AWS IoT Greengrass projects, please consider this blog
- If you want to automate AWS IoT Greengrass setup with AWS SDK for Python (Boto3), please read on
When using this code sample, please also consider viewing a recording of a webinar "Create and Manage AWS IoT Greengrass Deployments with AWS SDK for Python (Boto3)" that introduces the related concepts. To request a webinar recording, please use this link.
The sample is intended for users who already have experience with AWS IoT Greengrass and want to deepen their knowledge in the management of AWS IoT Greengrass groups and deployments. Typical roles targeted by this workshop are Solution Architects and Software Developers.
Please consider this sample if you are interested in programmatically executing one or more of the following tasks:
- Create and configure an AWS IoT Greengrass Group
- Create an AWS IoT Greengrass Group Core Thing with an attached certificate and a policy
- Create and assign a Greengrass Group role
- Set logging preferences for the AWS IoT Greengrass Group
- Define and configure AWS Lambda functions to be executed on the AWS IoT Greengrass Core
- Define and configure two common messaging patterns:
- Messaging between an edge and a cloud : set up subscriptions for communication between an AWS Lambda function and AWS IoT Core
- Messaging on the edge : set up subscriptions for communication between two AWS Lambda functions and AWS IoT Core
- Configure an AWS Lambda function on the edge device to invoke another AWS Lambda function
- Configure the AWS IoT Greengrass Core on the edge device
- Deploy an AWS IoT Greengrass group to the AWS IoT Greengrass Core
- Associate the AWS IoT Greengrass Service role to an AWS account
By executing steps in a Jupyter notebook notebooks/build_and_deploy_coffee_monitoring_solution.ipynb, you will set up following resources in your AWS account:

The following figure provides an additional level of detail regarding the resources related to authentication (i.e. X.509 certificates and keys). Please consider the webinar recording for an explanation:

* Please use secure storage for private keys in any non-prototyping environment, considering the following documentation:
- Hardware security integration
- AWS IoT Greengrass core configuration file, specifically “crypto” section
Above mentioned solution architecture will result in a solution with the following functions:

- Coffee machines publish telemetry data on coffee consumption via MQTT to an AWS IoT Greengrass device
- The Greengrass device performs visualization of telemetry data from the coffee machines and publishes aggregated telemetry to an AWS cloud
- Users can view the telemetry data visualization in a web browser.
This sample consists of the following parts:
-
A Jupyter notebook in
notebooks/build_and_deploy_coffee_monitoring_solution.ipynballows a step-wise execution of the AWS SDK API calls to set up the architecture illustrated above. Please note: the explanations below assume the usage of Amazon SageMaker notebook instance as a runtime environment for the Jupyter notebook. However, you can also use your own Jupyter runtime for the execution of a code in the Jupyter notebook. -
An AWS Lambda function to be deployed on a Greengrass device. You will find a source code of that AWS Lambda function in a
coffeemachine_telemetryprocessordirectory. The code for deployment of that AWS Lambda function is included in the Jupyter notebook mentioned above. -
A script
coffeemachine_devicesimulator/coffemachine_simulator.pyto simulate data ingestion from the coffee machines.
Please follow the steps listed below
Please follow the AWS IoT Greengrass developer guide to install an AWS IoT Greengrass Core software on a supported environment, e.g.:
- Amazon EC2 instance
- AWS Cloud9 development environment
- Raspberri Pi desktop computer
Please ensure that your environment fulfills the following preconditions:
- Python 3.7 is installed
- Your workstation can access a TCP port 8081 on the environment as a web server will be deployed onto the Greengrass device as a part of this sample
Note: you can change the port number by adjusting a parameter HTTP_PORT in a file coffeemachine_telemetryprocessor/src/lambda.py
A configuration file, certificate, and private key necessary to start the AWS IoT Greengrass Core will be generated in Step 2 and installed in step 3.
Please note: storing private keys on a local file system is generally an insecure practice and is done in this code sample only for demonstrational purposes assuming prototypic usage. It should be only used in prototyping environments after a detailed risk analysis. The usage of that approach in any production environment is discouraged. Please use a secure storage for private keys in any non-prototyping environment, considering the following documentation:
- Hardware security integration
- AWS IoT Greengrass core configuration file, specifically “crypto” section
- Please follow the Amazon SageMaker developer guide and create a new Amazon SageMaker notebook instance.
- Clone this repository into the local directory on a newly created notebook instance.
- Please ensure that the IAM Role of the newly created notebook instance has the permissions for creating resources for the following services:
- AWS Lambda
- AWS IoT Core
- AWS IoT Greengrass
- Amazon SageMaker
- Amazon CloudWatch
- AWS IAM
A sample policy with is available under ARN arn:aws:iam::aws:policy/AmazonSageMakerFullAccessin AWS IAM. It provides full access to Amazon SageMaker via the AWS Management Console and SDK. It also provides select access to related services (e.g., S3, ECR, CloudWatch Logs). Please review and adjust your policy as necessary.
You may find further information on execution roles for Amazon SageMaker notebooks here
- Open the Jupyter notebook
notebooks/build_and_deploy_coffee_monitoring_solution.ipynb - If asked to select a kernel, please choose "conda_python3"
- Please execute commands in the Jupyter notebook
After completion of Parts 1-12 of Jupyter notebook notebooks/build_and_deploy_coffee_monitoring_solution.ipynb please verify your deployment by
- Open AWS Management Console
- Select "AWS IoT Core" service
- Choose "Greengrass" and "Groups"
- Click on a name of a Greengrass Group (you can see the Group name by executing Part 13 of the Jupyter notebook)
- Navigate to individual components of the Greengrass Group and compare the configuration to the following sample visuals:


- Clone this repository on an environment that has a network connectivity to a Greengrass device. You can also use the same runtime environment in which AWS IoT Greengrass Core software was deployed in Step 1.
git clone https://github.com/aws-samples/aws-iot-greengrass-boto3
- Change to the directory
coffeemachine_devicesimulator
cd coffeemachine_devicesimulator
- Install necessary libraries and dependencies
The following example assumes Ubuntu/Debian Linux, you may need to adjust it for other Linux distributions:
python3 -m pip install AWSIoTPythonSDK
sudo apt-get install jq
- Download Amazon root CA certificate
mkdir -p certs
wget -O certs/AmazonRootCA1.pem https://www.amazontrust.com/repository/AmazonRootCA1.pem
- Extract the file -devices_config.tgz which was created in step 10 of a Jupyter notebook into the
coffeemachine_devicesimulatordirectory.
tar xzvf <Number>-devices_config.tgz
As a result of this command the following files should be places in the certsdirectory :
certs/CoffeeMachine_1.key
certs/CoffeeMachine_2.public.key
certs/CoffeeMachine_1.public.key
certs/CoffeeMachine_2.key
certs/CoffeeMachine_1.pem
certs/CoffeeMachine_2.pem
Please note: storing private keys on a local file system is generally an insecure practice and is done in this code sample only for demonstrational purposes assuming prototypic usage. It should be only used in prototyping environments after a detailed risk analysis. The usage of that approach in production environments is urgently discouraged. Please use a secure storage for private keys in any non-prototyping environment, considering the following documentation:
- Hardware security integration
- AWS IoT Greengrass core configuration file, specifically “crypto” section
- Start the ingestion using the commands you prepared in Step 5
./coffemachine_simulator.sh CoffeeMachine1 certs/CoffeeMachine_1.pem certs/CoffeeMachine_1.key 1
./coffemachine_simulator.sh CoffeeMachine2 certs/CoffeeMachine_2.pem certs/CoffeeMachine_2.key 2
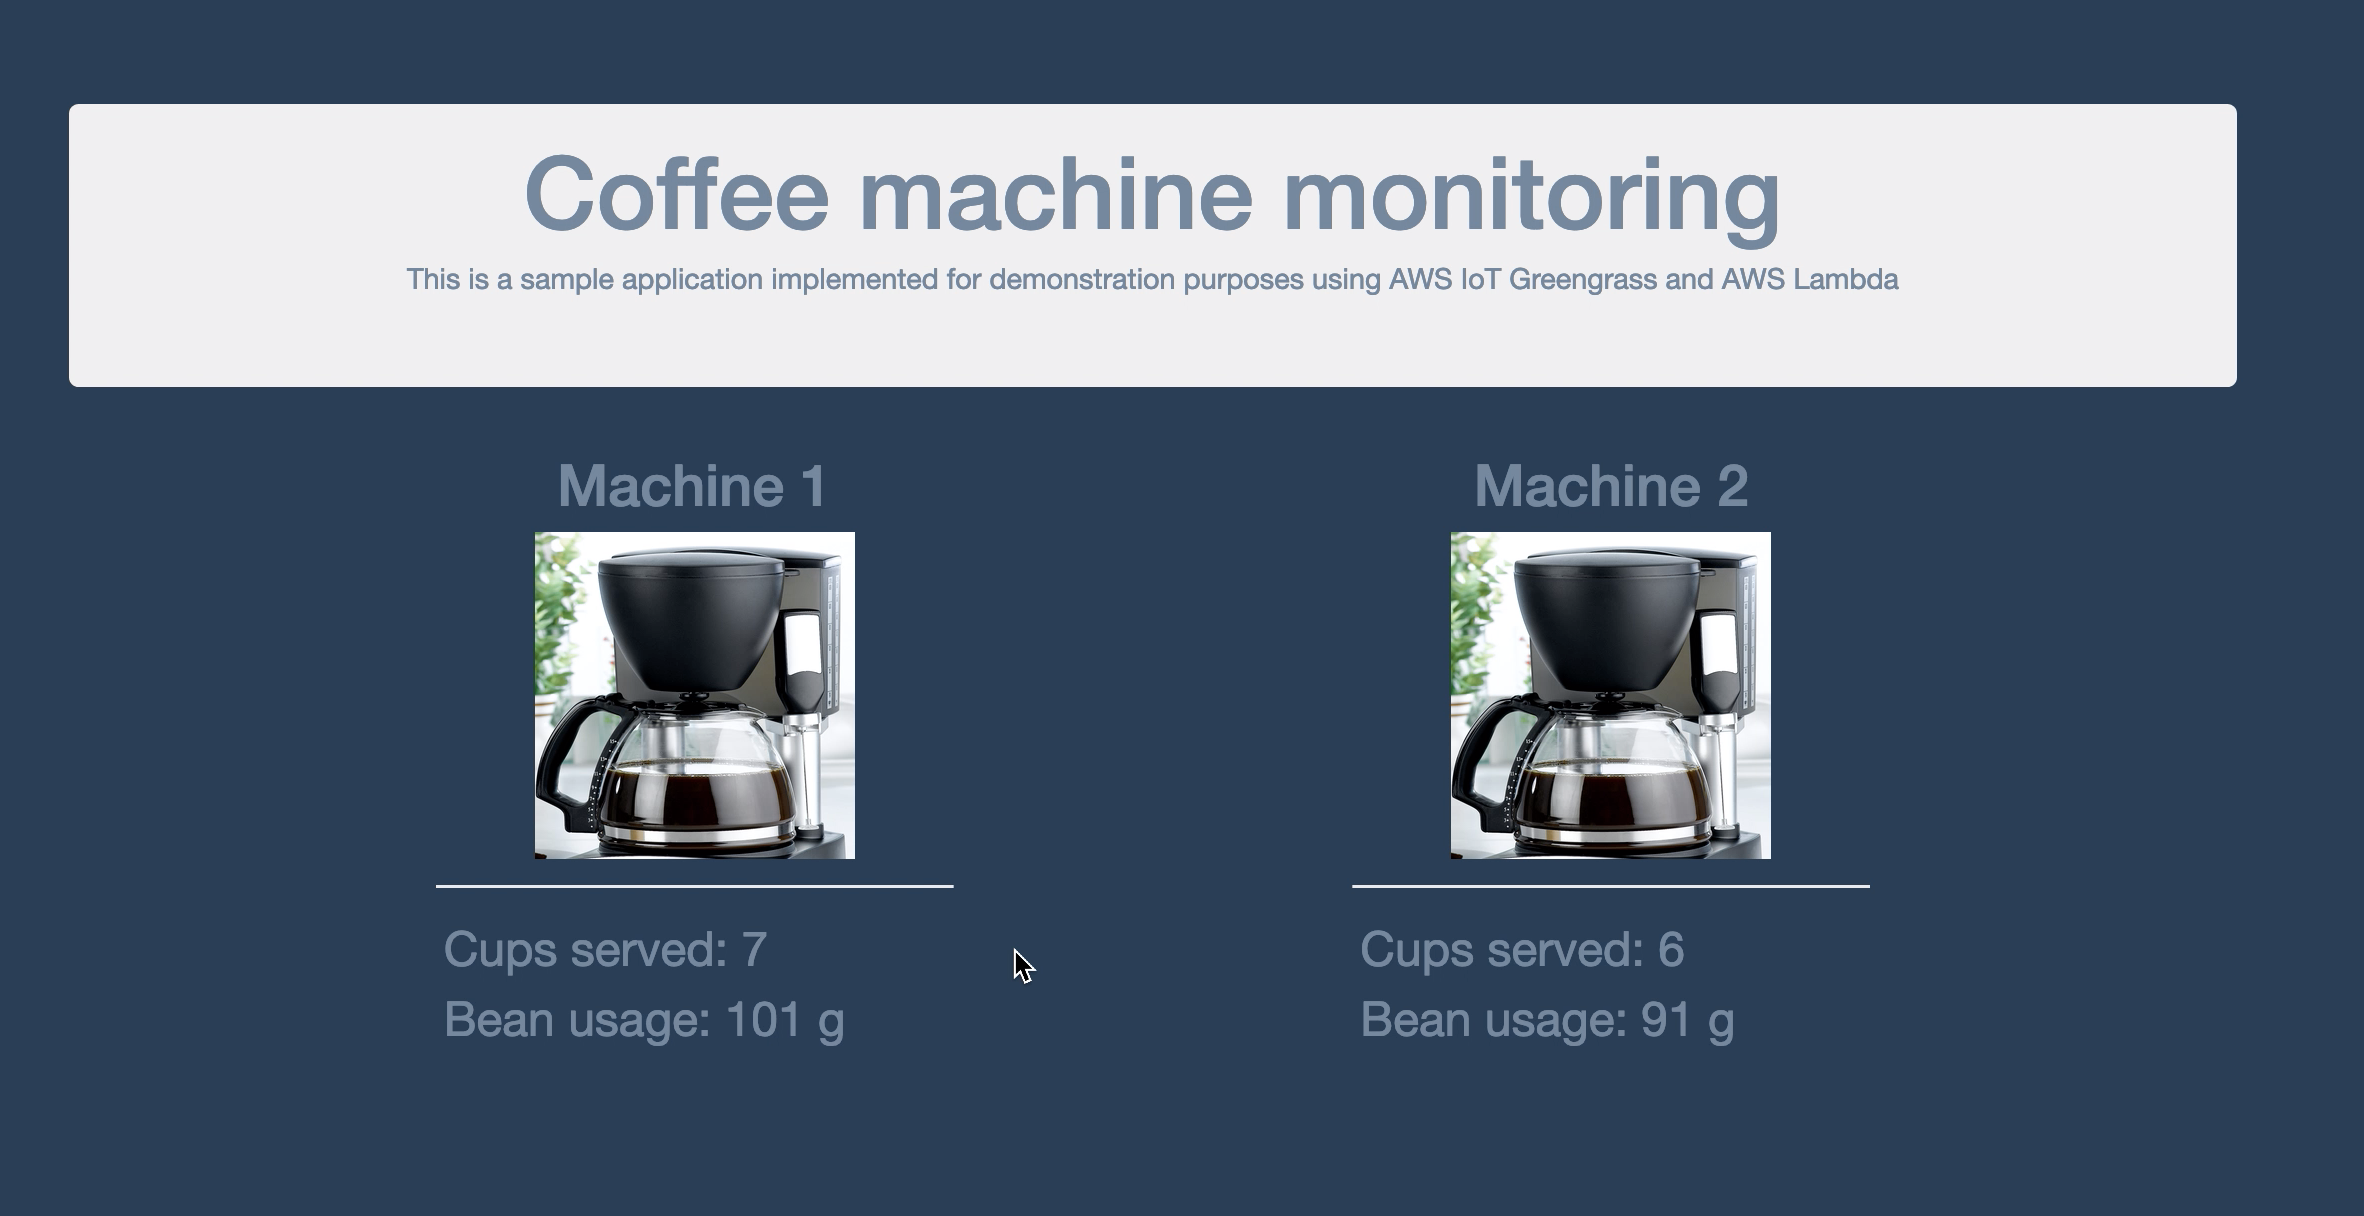
- Ensure that your network allows you TCP connection to the port 8081 of your Greengrass device
- Point your browser to the port 8081 of your Greengrass device
- Observe the data ingested by the Greengrass aware devices:

This library is licensed under the MIT-0 License. See the LICENSE file.