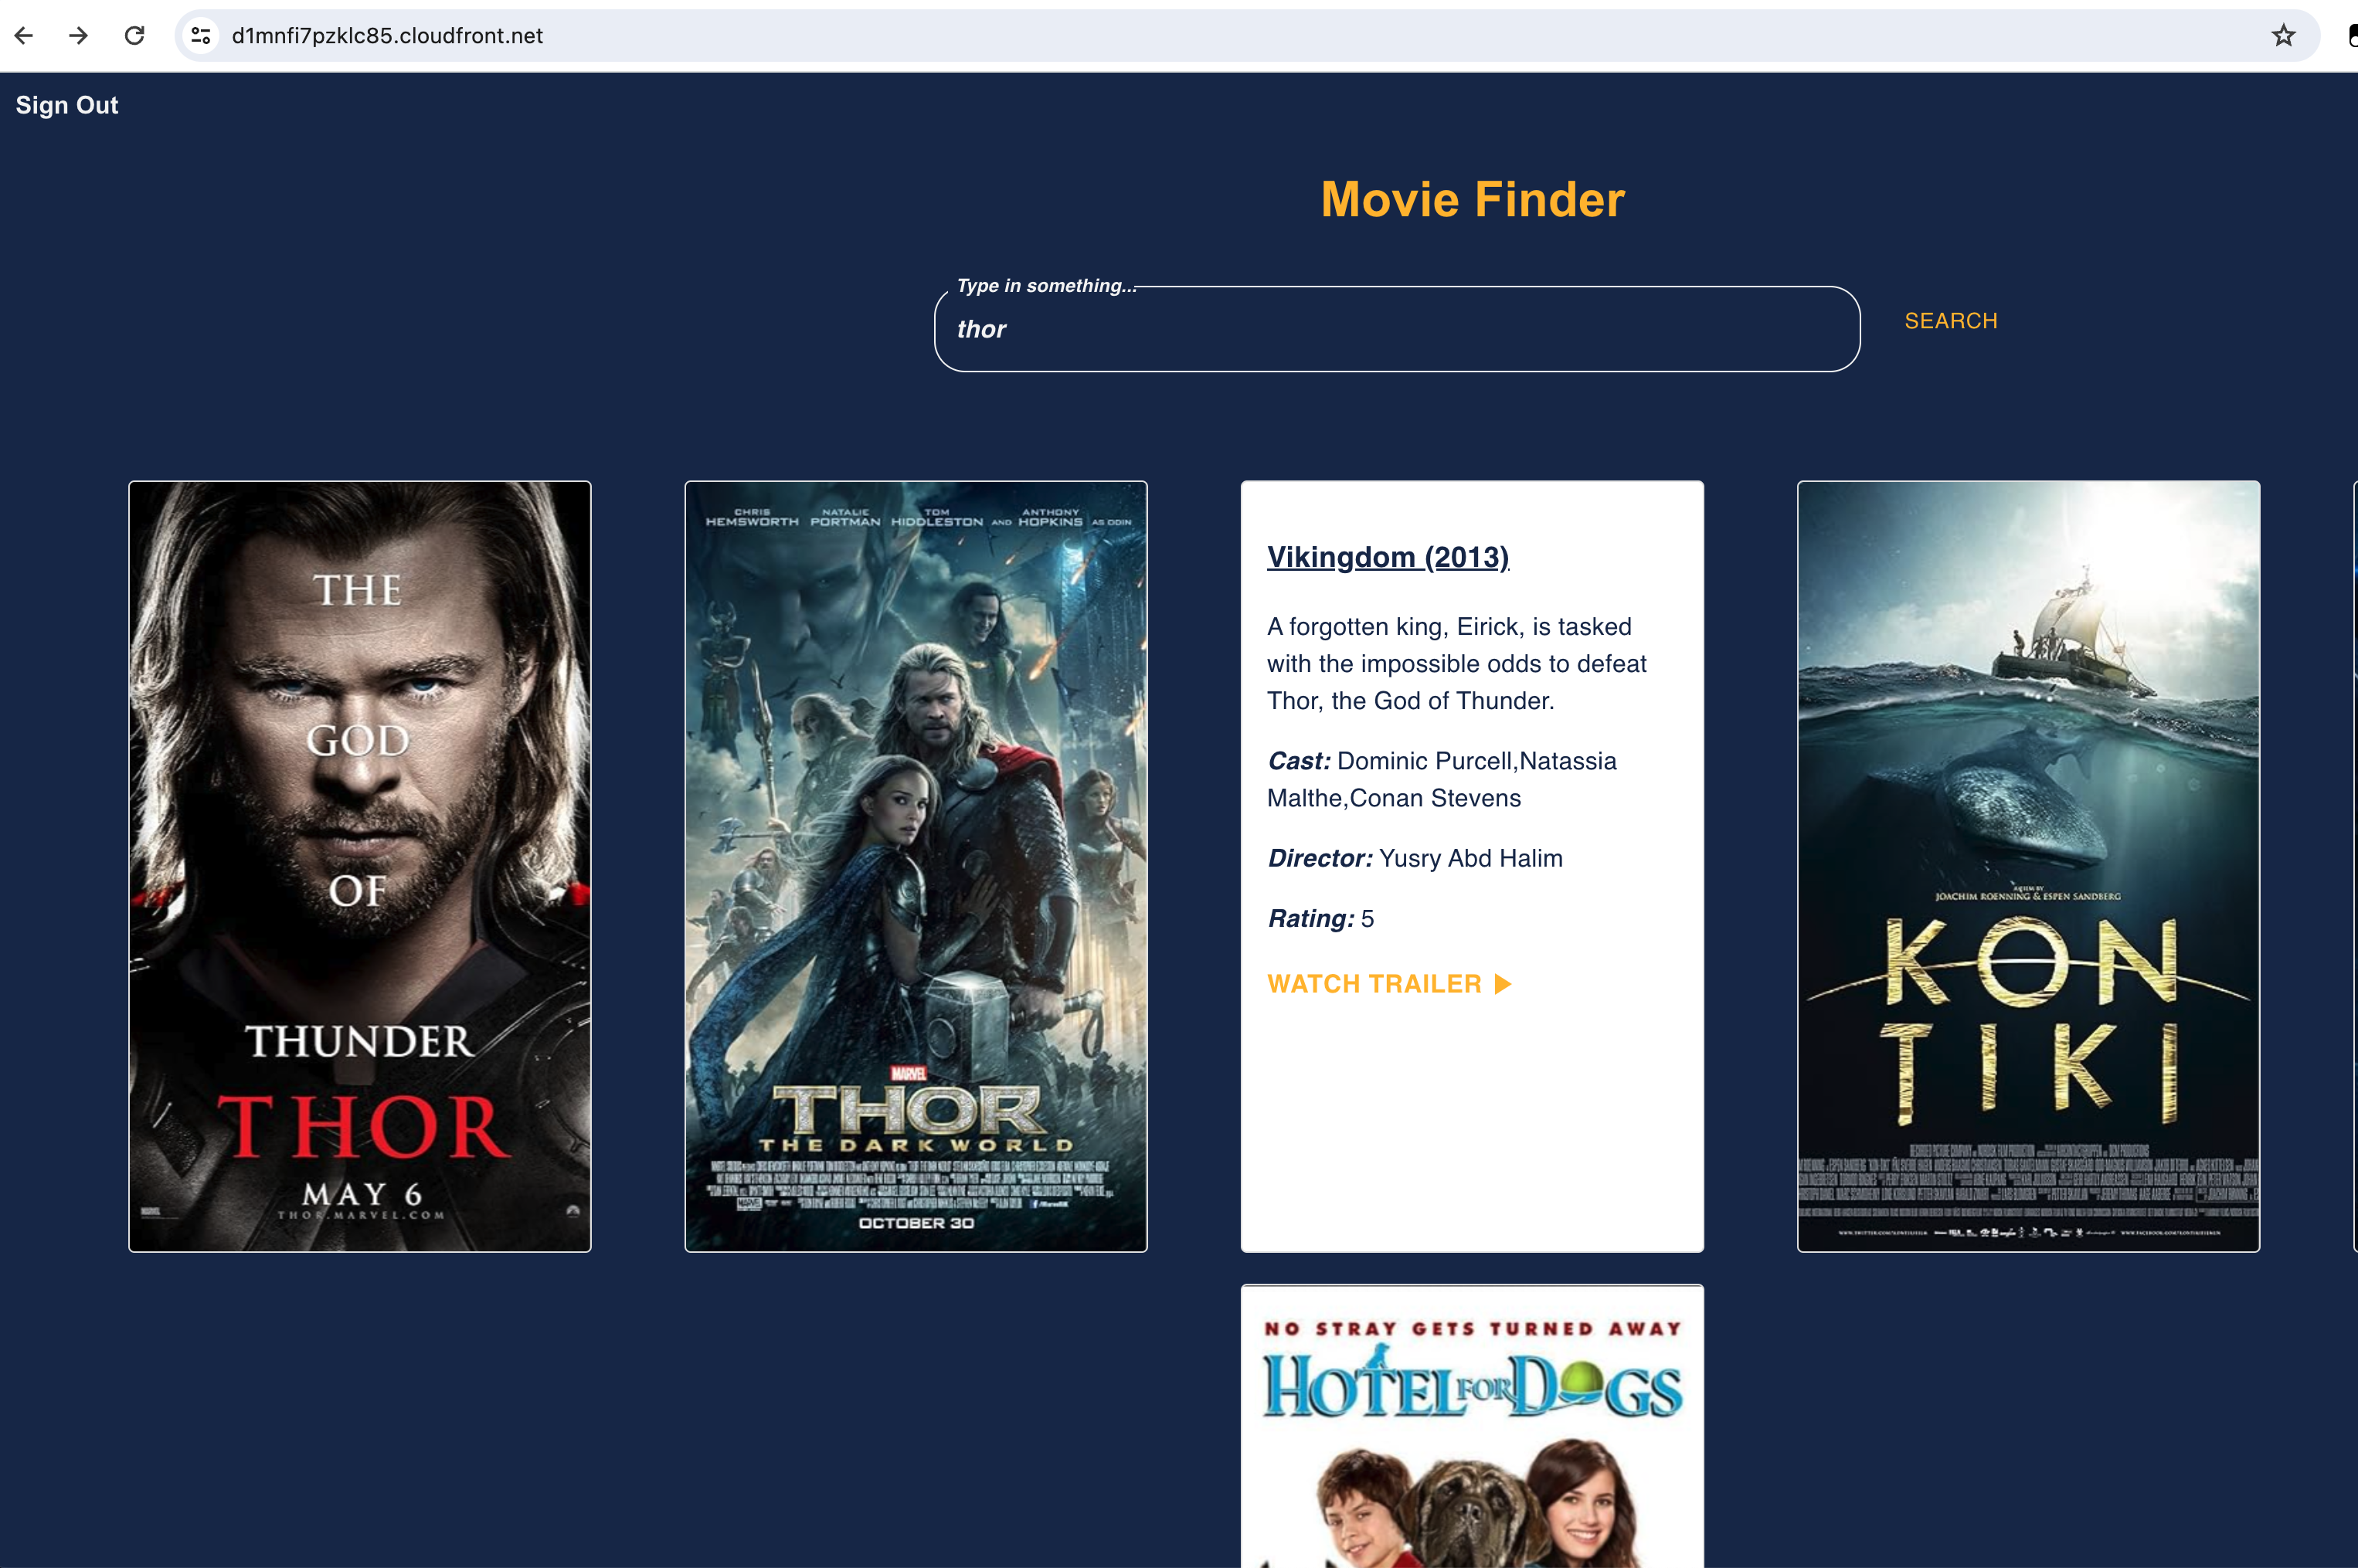
This prototype project is intended to show a way to implement multi dimensional search capability using Amazon OpenSearch Serverless and AWS Amplify services. This application provides the logged in user with the ability to search for movies based on text matching the title, description, actor and directors from the movies collection. The search result provides the movie title, description, image, imdb movie link, actors and a link to open up the movie trailer. It also allows sorting and pagination of the search results.
-
Install Nodejs Latest LTS Version. (Project uses Nodejs 20.11.0 and npm 10.2.4)
-
Install Amplify CLI and configure. At the end of configuration you should successfully set up the new User -
amplify-dev's accessKeyId and secretAccessKey into your local machine's AWS profile. -
Amplify user requires additional permissions in order to deploy the AWS resources. Follow the steps below to create a new inline IAM policy and attach it to the user.
-
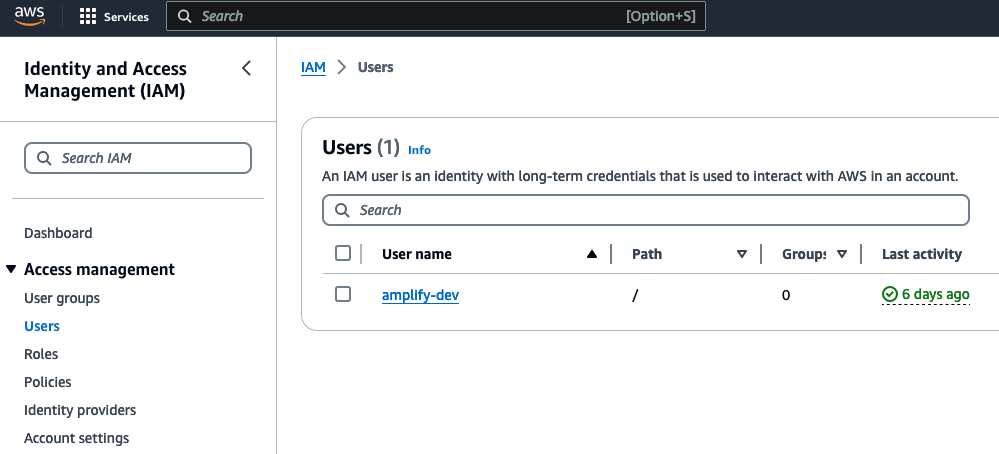
Open AWS Console , select Identity and Access Management (IAM) service and click on Users link on the left tab.
-
Click on
amplify-devuser link to view the IAM Permissions policies.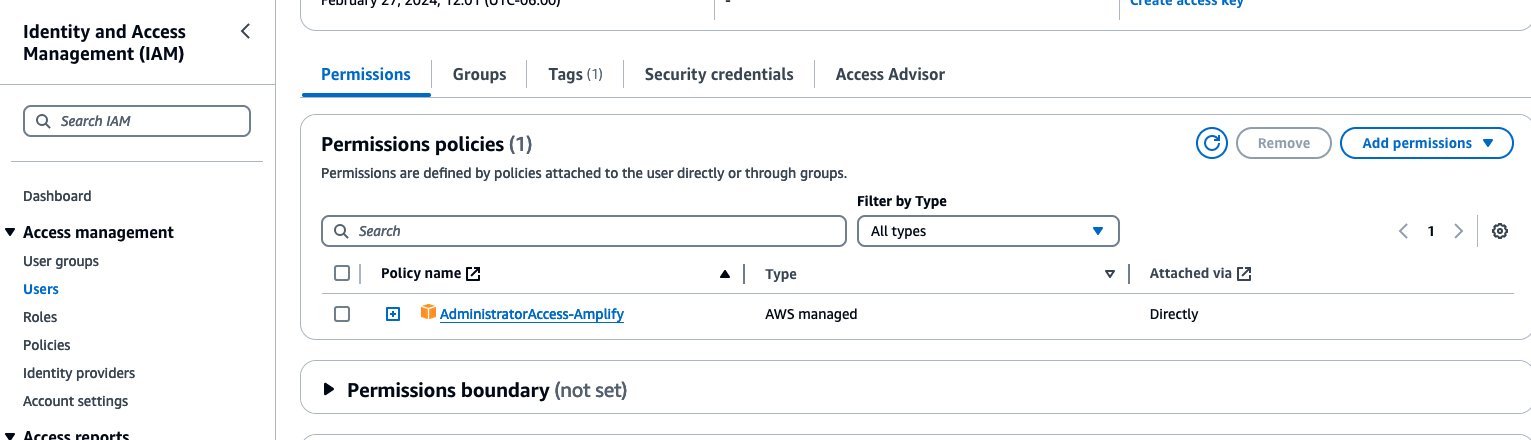
-
Click on
Add permissionsdropdown and chooseCreate Inline policyoption.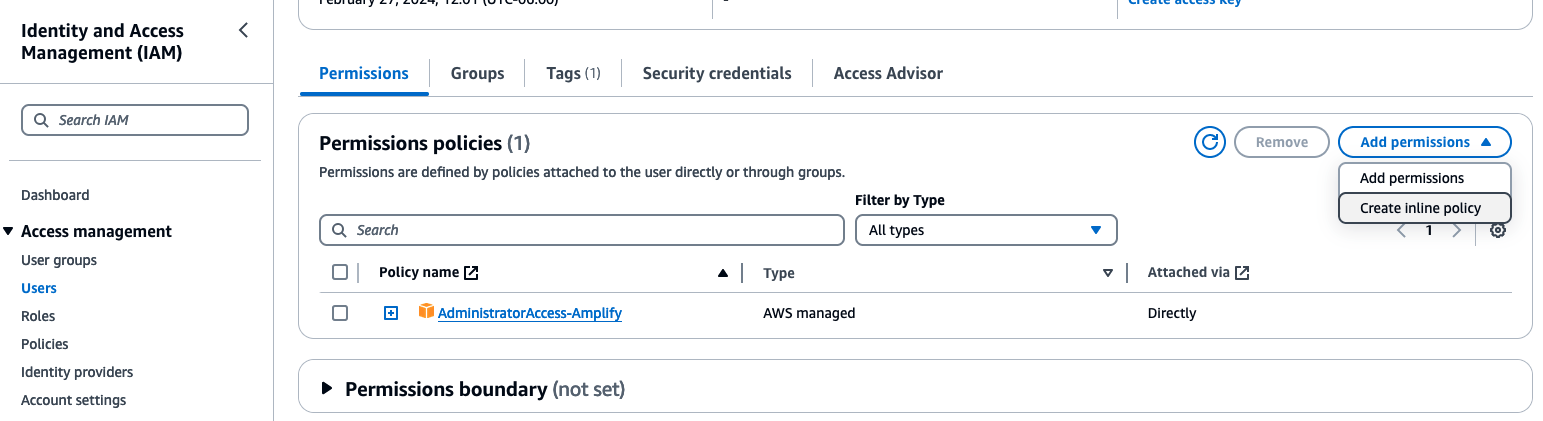
-
It opens up the policy editor, click on
JSON, you should see default IAM statement in JSON format.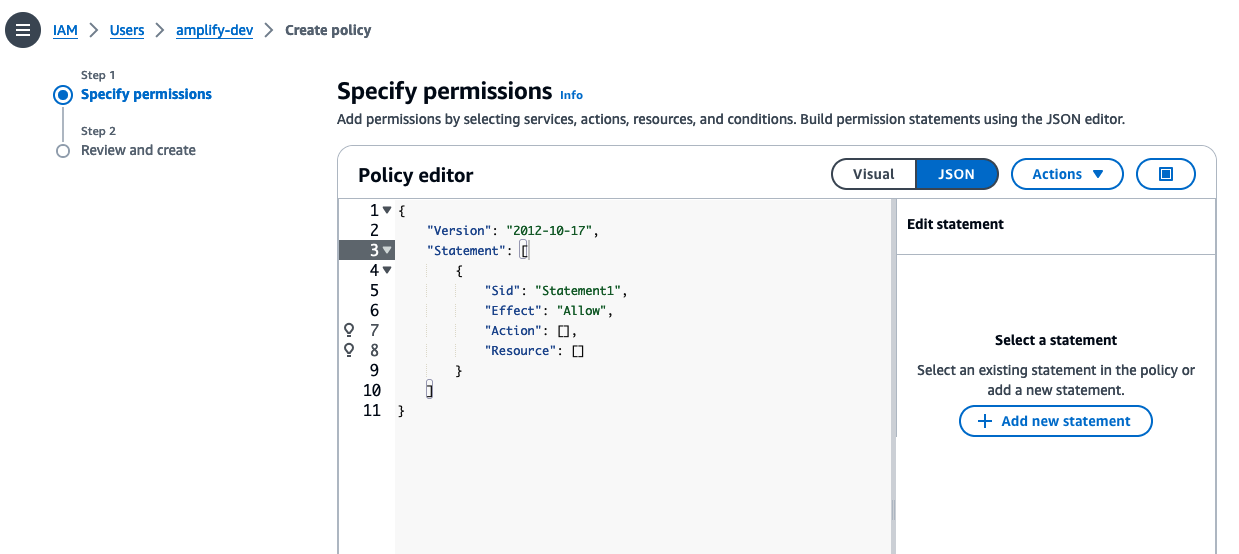
-
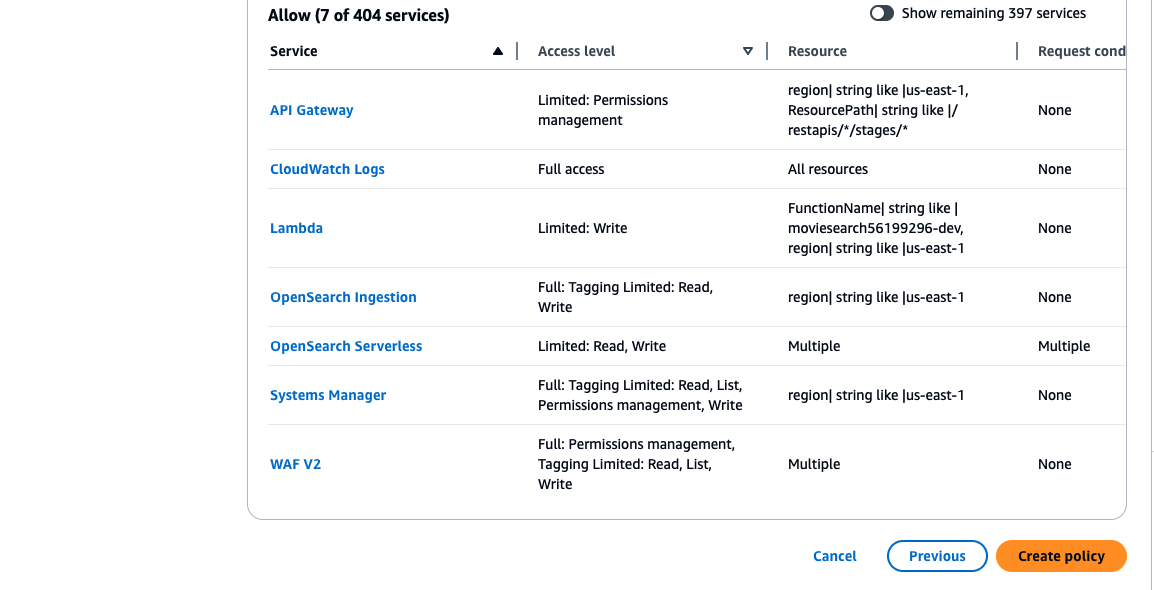
Copy the file contents in AddionalPermissions-Amplify, replacing the tags with your target region, account and env (Note: This is the env name needs to be use when performing amplify init when bringing up the backend). Note that the actions in the IAM statement are largely open (
*) but restricted/limited by the target resources, this is done to satisfy the the maximum inline-policy length(2048 characters). Paste the updated JSON into the policy editor and clickNext.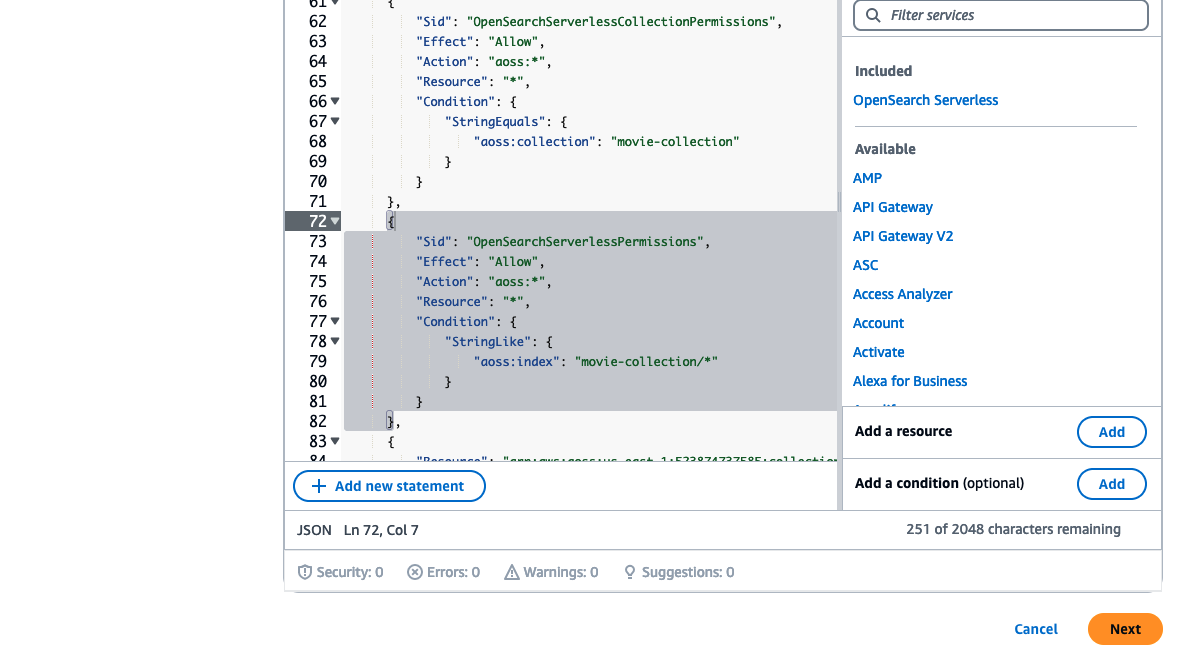
-
Provide the policy name -
AddionalPermissions-Amplifyand clickCreate Policybutton.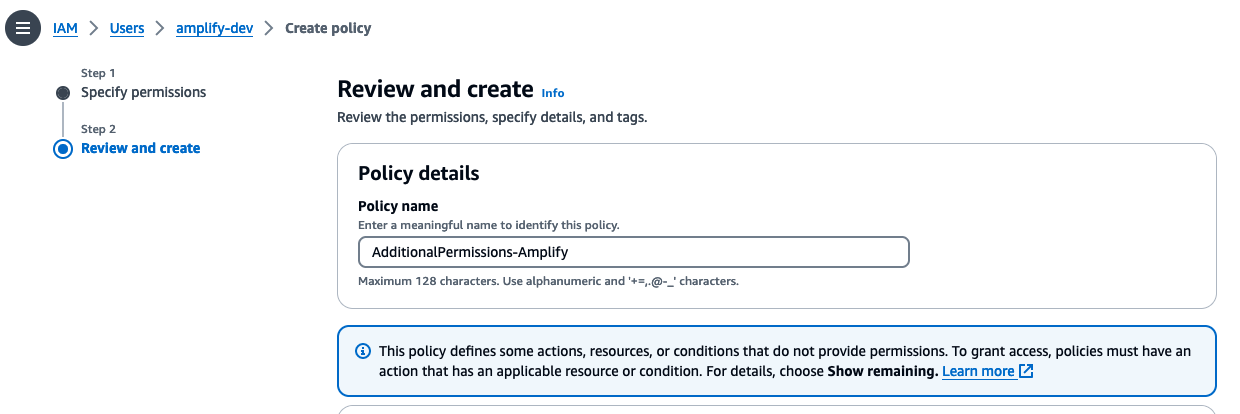
-
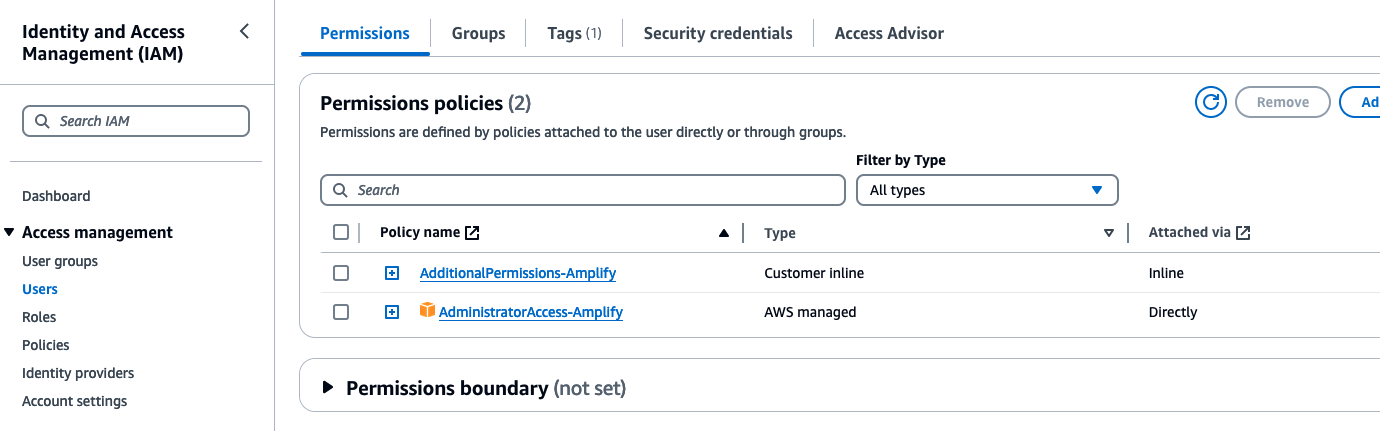
You should now see the new inline-policy attached to the user.
-
-
Install awscurl for data ingestion.


-
Clone this repository to your local computer.
-
In the terminal, from the amplify/backend folder execute
npm installto install all dependencies. -
Repeat the dependency installation using
npm installin these folders - amplify/backend/custom/opensearchserverless, amplify/backend/custom/waf01222014 and amplify/backend/function/moviesearch56199296 -
From the project's root folder, Run
amplify initcommand to initialize the amplify project based on the contents of the directory. -
Replace the "xx.xx.xx.xx/32" from waf ip set(line 41) with the ip-address of your machine, this whitelists the source ip-address to allow traffic into API-Gateway.
-
Run
amplify pushto build and deploy the backend resources, resource list would be as below.
After successful deployment, the resource metadata will be saved in amplify-meta.json

- From the project's root folder, run
npm installto install the frontend dependencies. - To publish the frontend react application on to cloudfront, run
amplify publish.
Add a WAF to mitigate common web threats and protect cloudfront distribution by manual one-click configuration in the amazon cloudfront distribution.

- Front End Application is a react application which is hosted on a cloudfront distributed S3 bucket. The application uses Amplify UI which is a collection of react components that can connect directly to the cloud. We use the Authenticator component of amplify UI to enable authentication flows like sign-up, sign-in, sign-out and works seamlessly with amplify CLI to connect with AWS Cognito. Cloud distribution is protected from common web threats by adding a WAF
- Authentication: Application access is controlled using Amazon Cognito, it provides a robust set of APIs to build a self-registration solution. We use the Cognito User pools to securely store user profile data recieved from the sign-up page. Multi-factor authentication (MFA) is configured in the user pool and application users can verify their identities.
- Backend Application: AWS APIgateway service is used to create an endpoint to fetch search result, it is integrated with a lambda and uses cognito authorizer to authenticate the incoming requests. It is also protected by WAF with rule configured to allow traffic from a set of ip-address. The lambda takes in the search text, converts into
domain-specific language (DSL)query and invokes the open search collection endpoint. The result from opensearch query is returned back to the application. Open search serverless service automatically provisions and continually adjusts to get fast data ingestion rates and millisecond response times for searches. The movie trailers are saved in the S3 and accessed from the application using presigned urls. (This prototype project uses S3 for trailers, its a pattern to demo the file download capability based on search result details).
-
The sample movie data is ingested into Open Search Serverless Collection. The custom CDK resouce - opensearchserverless creates the collection, dataaccess policy, network policy and the pipeline for data ingestion into
Moviesindex. The output from the cdk resource creation includes endpoints for ingestion, collection and dashboard.To get Ingestion URL, Login to aws console, open [Amazon OpenSearch Service -> Ingestion: Pipelines -> movie-ingestion] as below
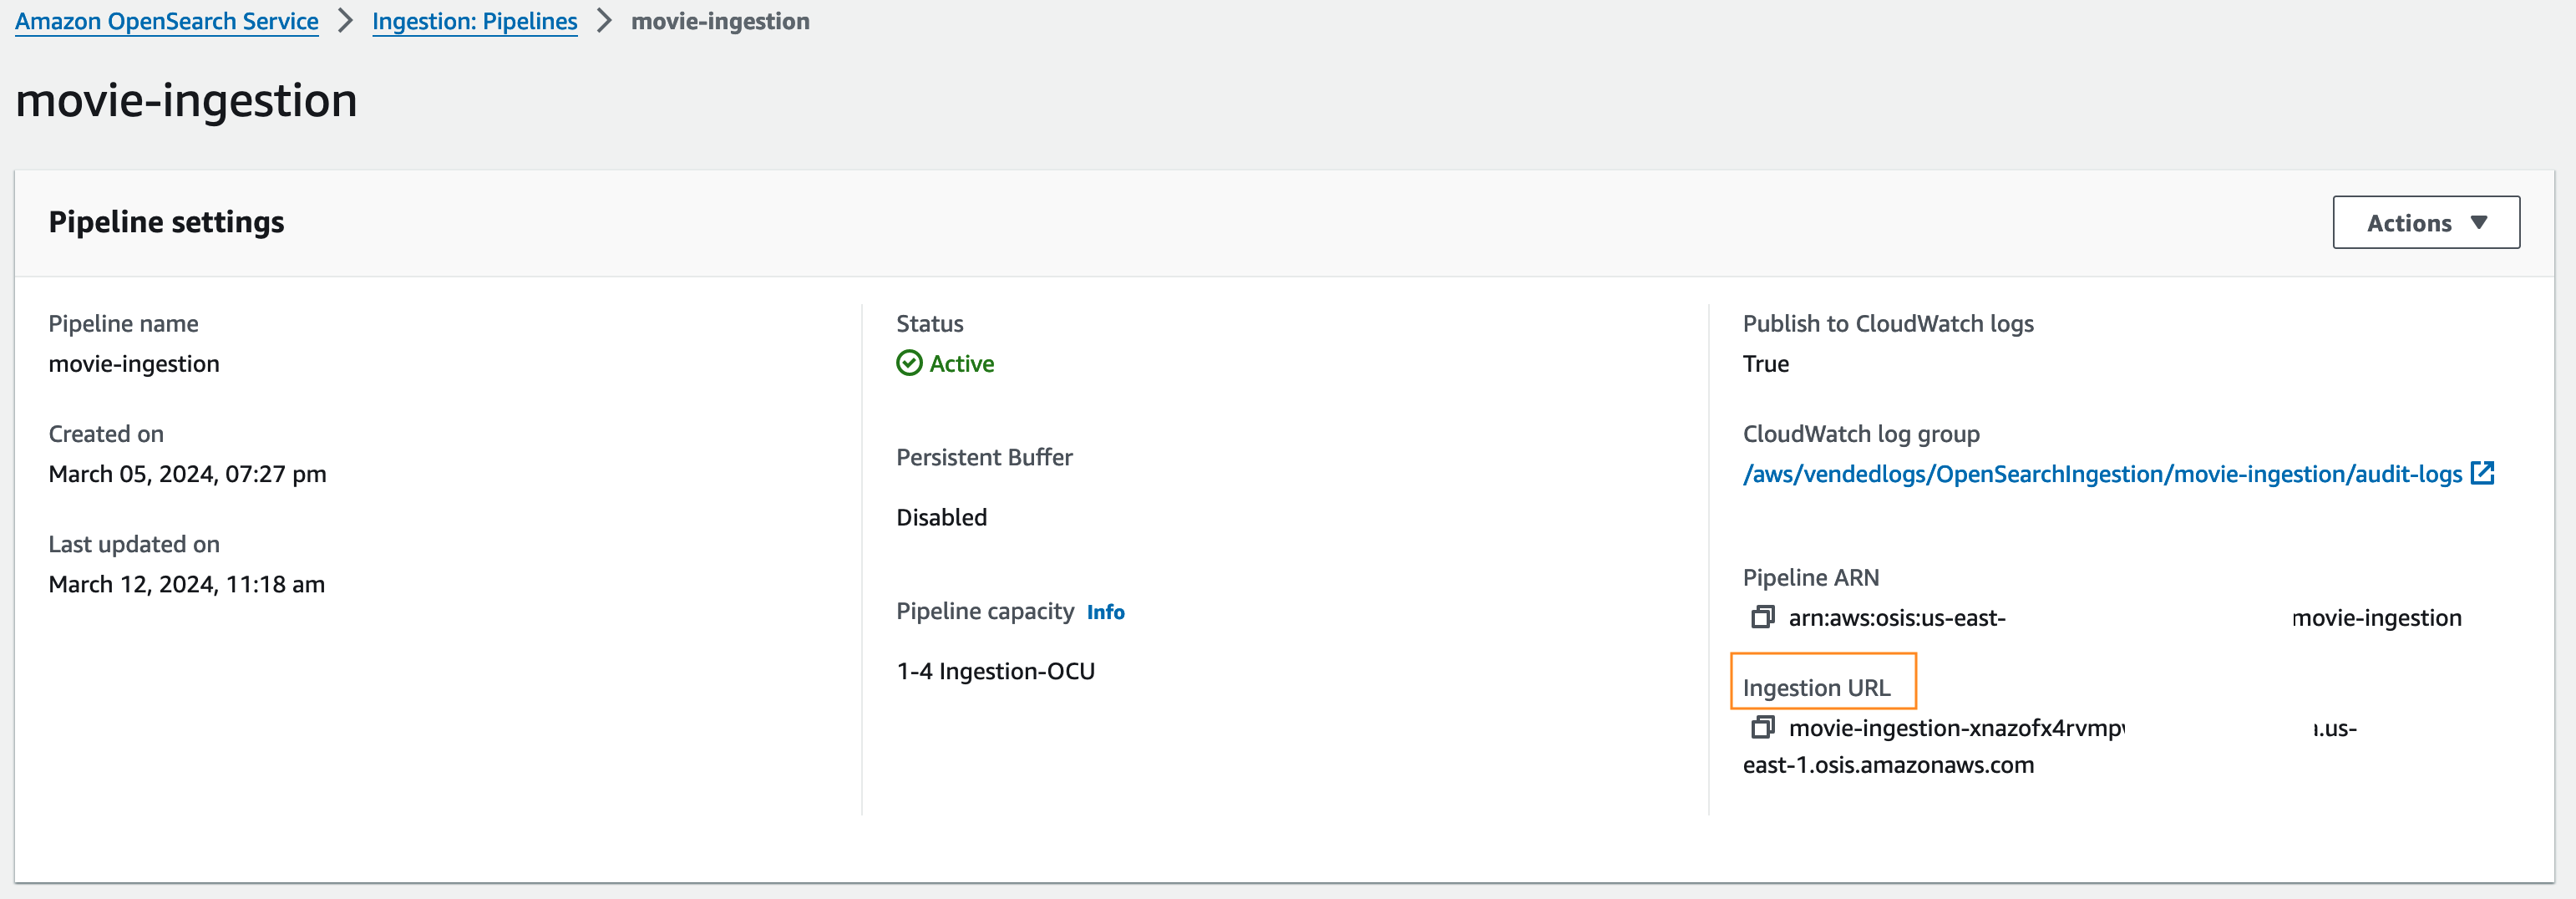
Replace the ingestion endpoint and region in the below snippet and execute the awscurl command to save data into collection.
awscurl --service osis --region <region> \
  -X POST \
  -H "Content-Type: application/json" \
  -d "@project_assets/movies-data.json" \
  https://<ingest_url>/movie-ingestion/data
You should see a
200 OKresponse. -
Log into AWS console and select S3 service, open the trailer S3 bucket(created as part of backend deployment), create the folder called public in the bucket and upload some movie trailers. Ensure that the file name matches the id field in sample movie data (ex:"tt1981115.mp4", "tt0800369.mp4", "tt0172495.mp4"). Uploading a trailer with id "Default.mp4" will be the default trailer for all movies, without having to upload one for each movie. If this step is ommited , the
movie trailerfunctionality will not work. -
Access the application using Cloudfront URL by using the hosting endpoint generated during after
amplify publish.

-
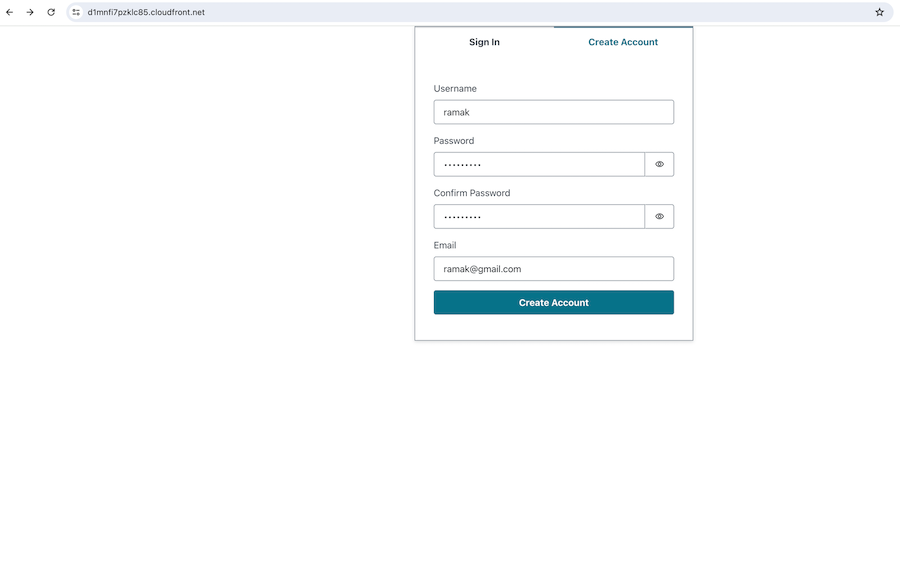
User signs-up for application access by entering Username, password (rule - should be atleast 8 character length, should include atleast one uppercase character and symbol) and email address.

-
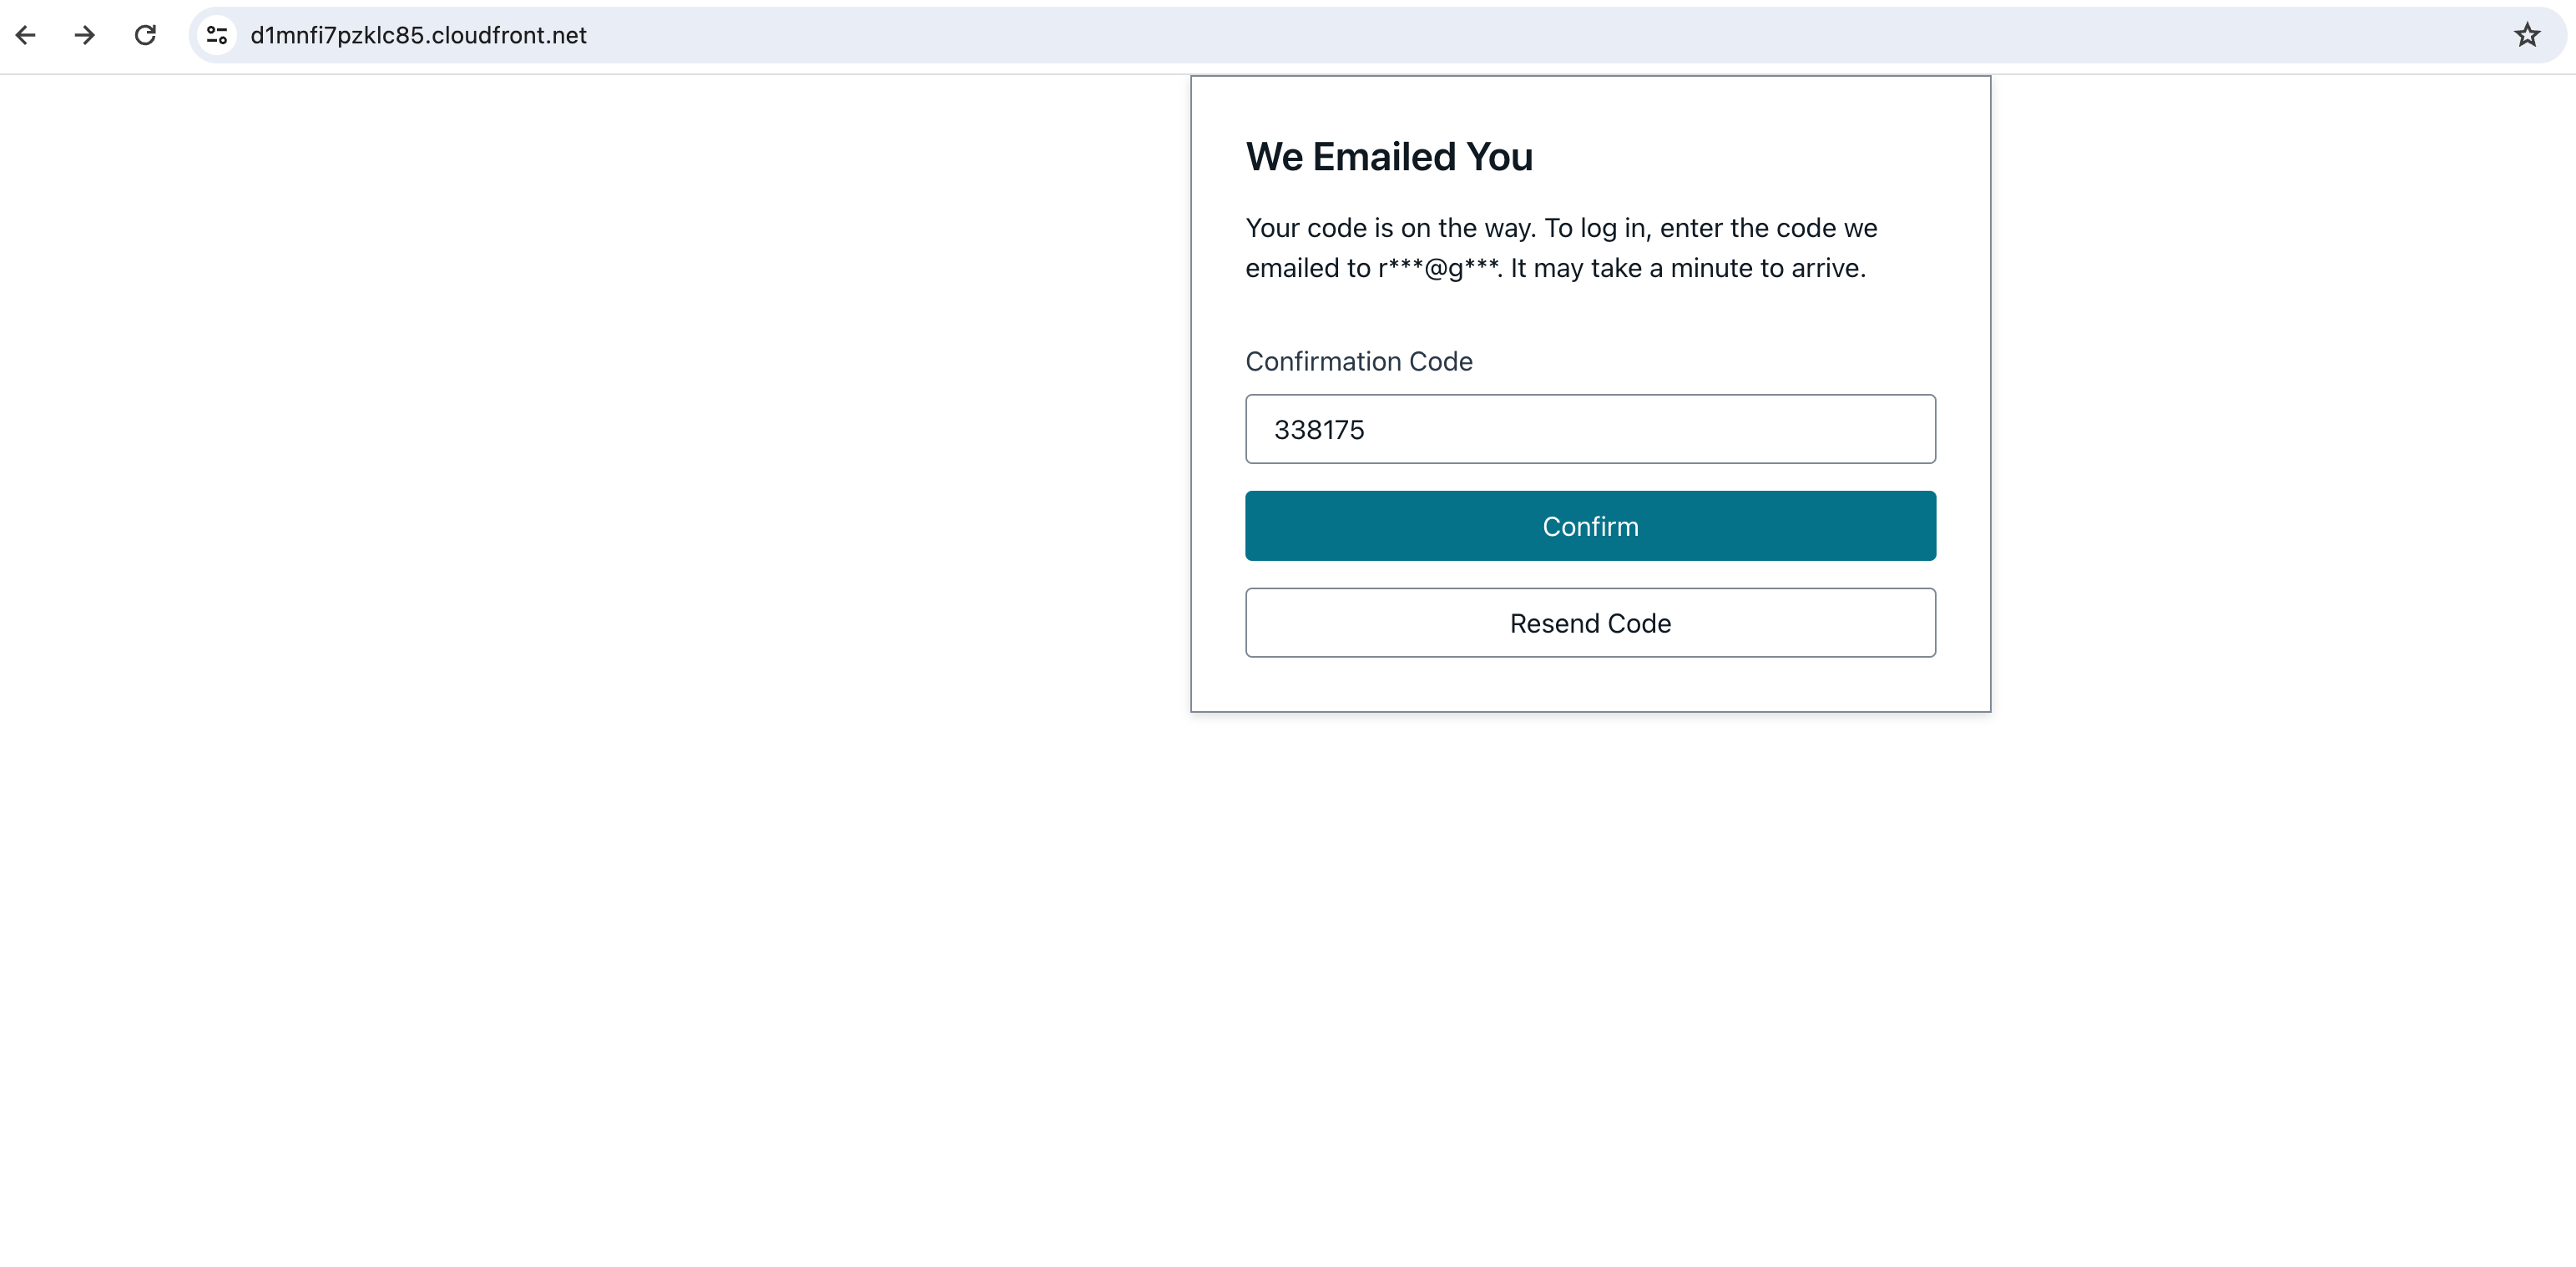
Verify your account by entering the confirmation code recieved in your email.

-
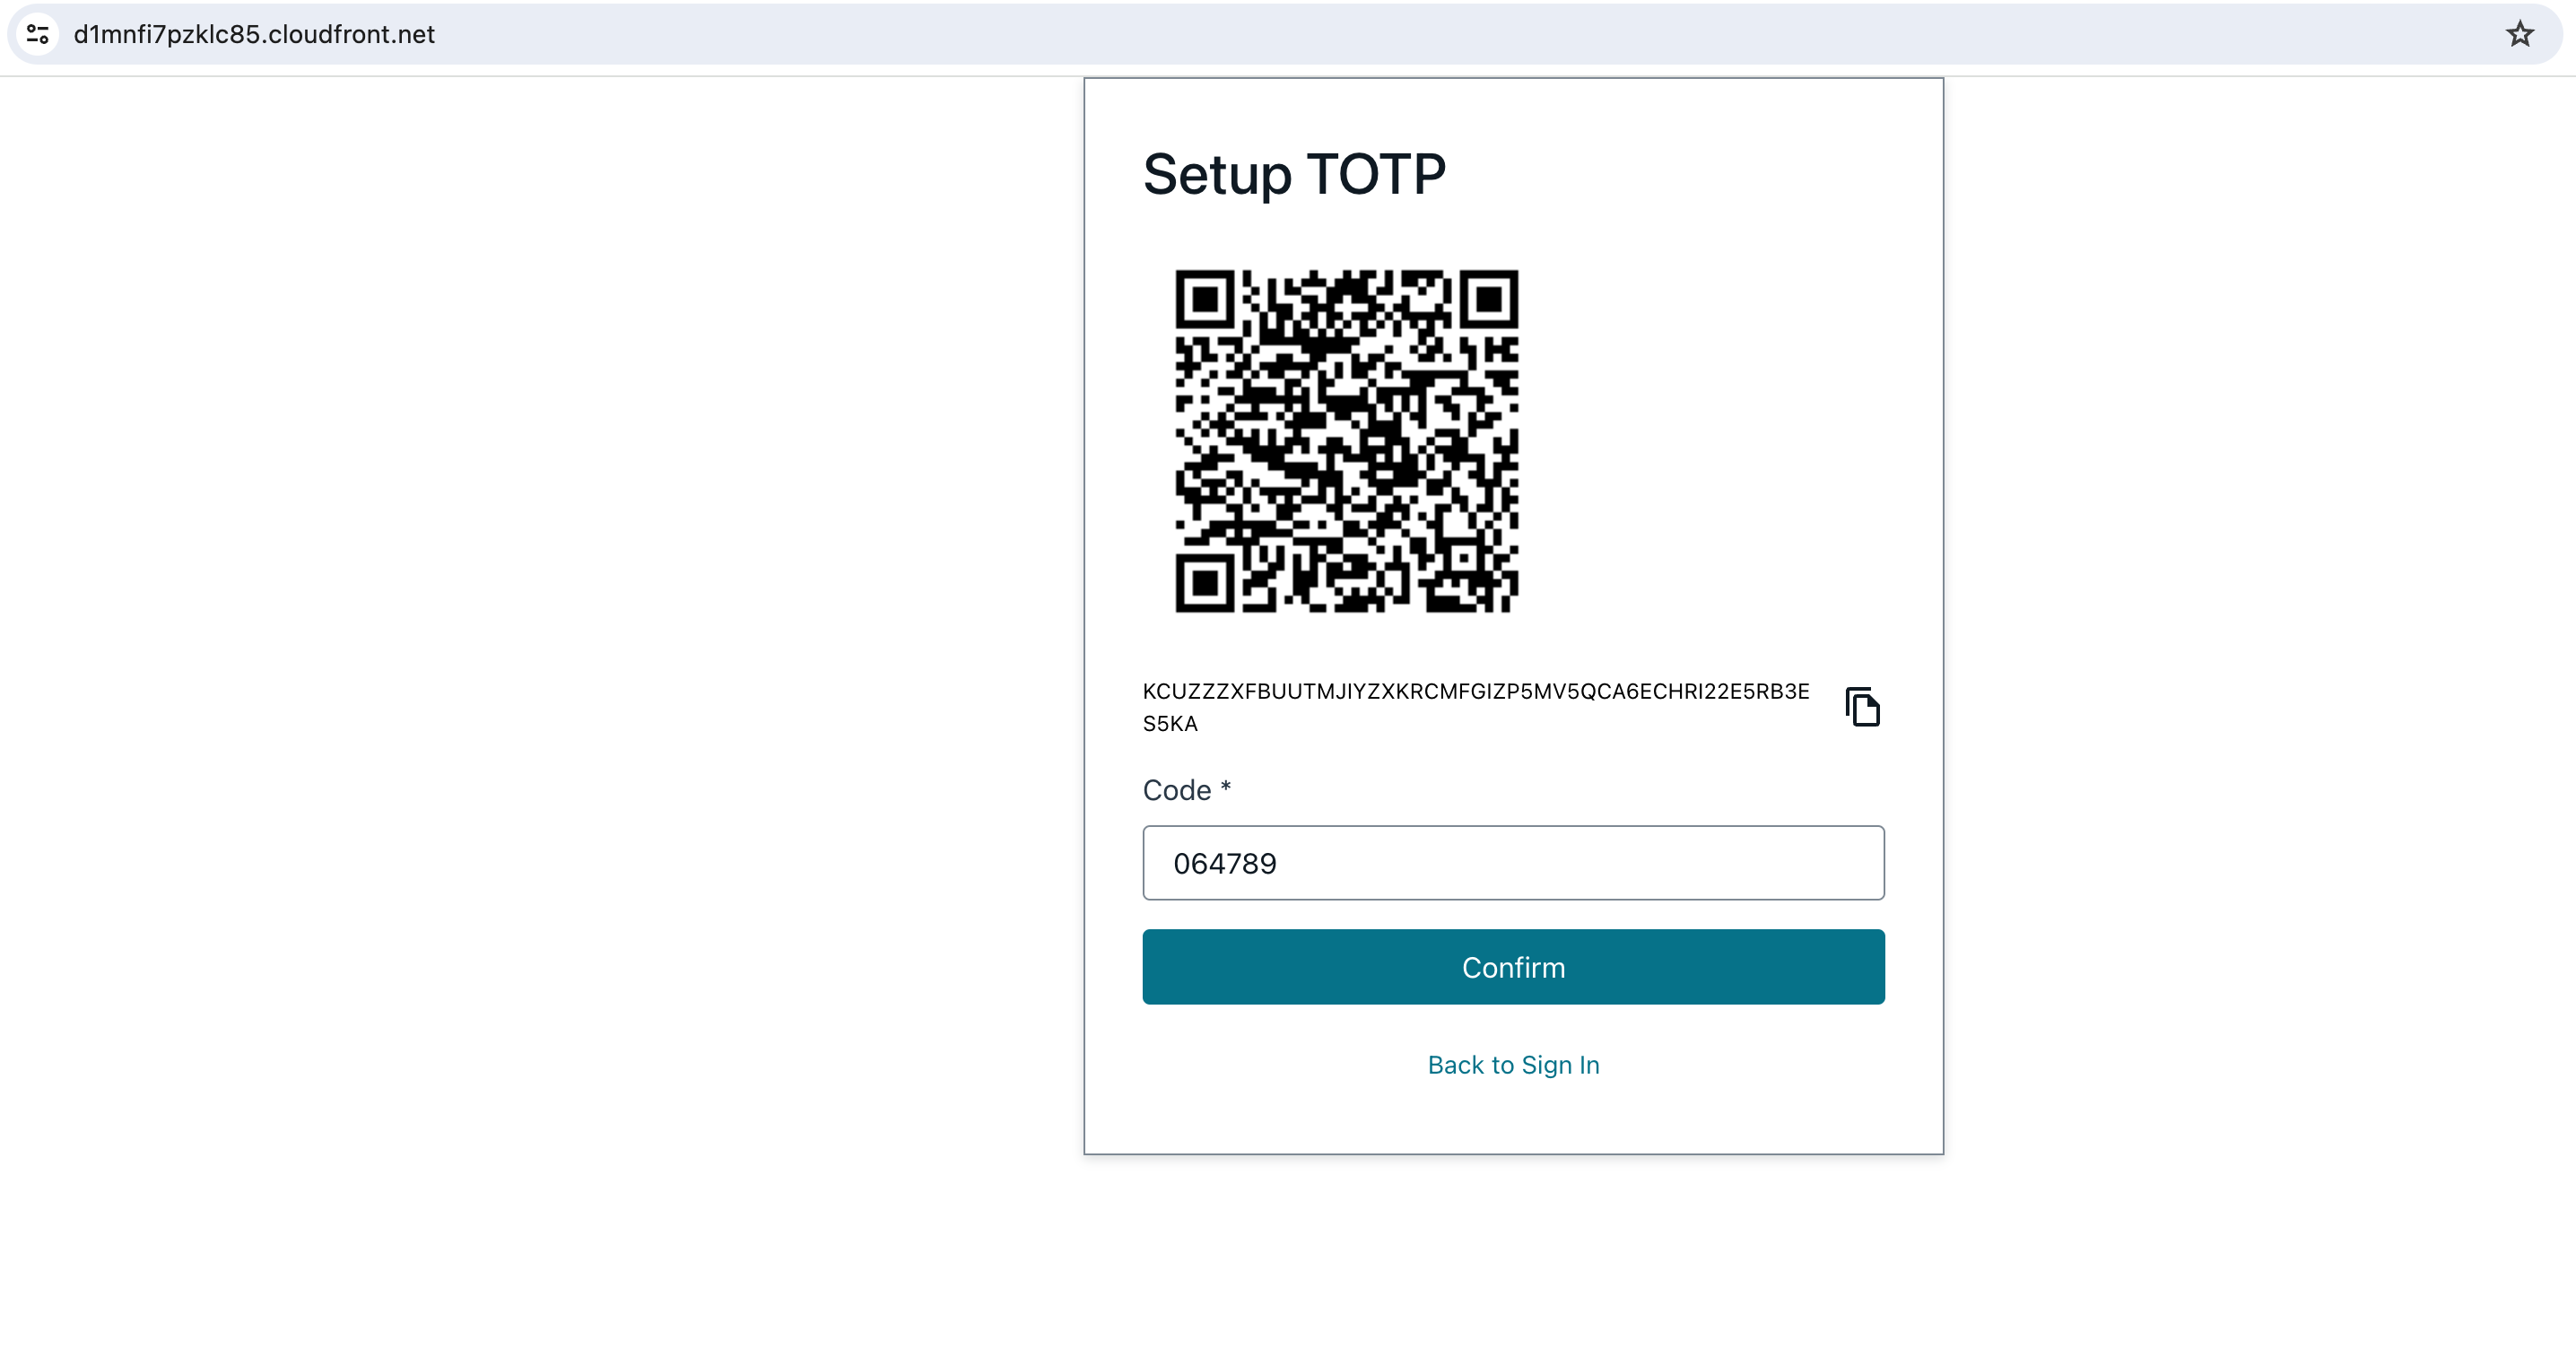
Setup Time-based One-time Password (TOTP) by scanning the image using authenticator app like Google Authenticator. Enter the code generated in the app and confirm.

-
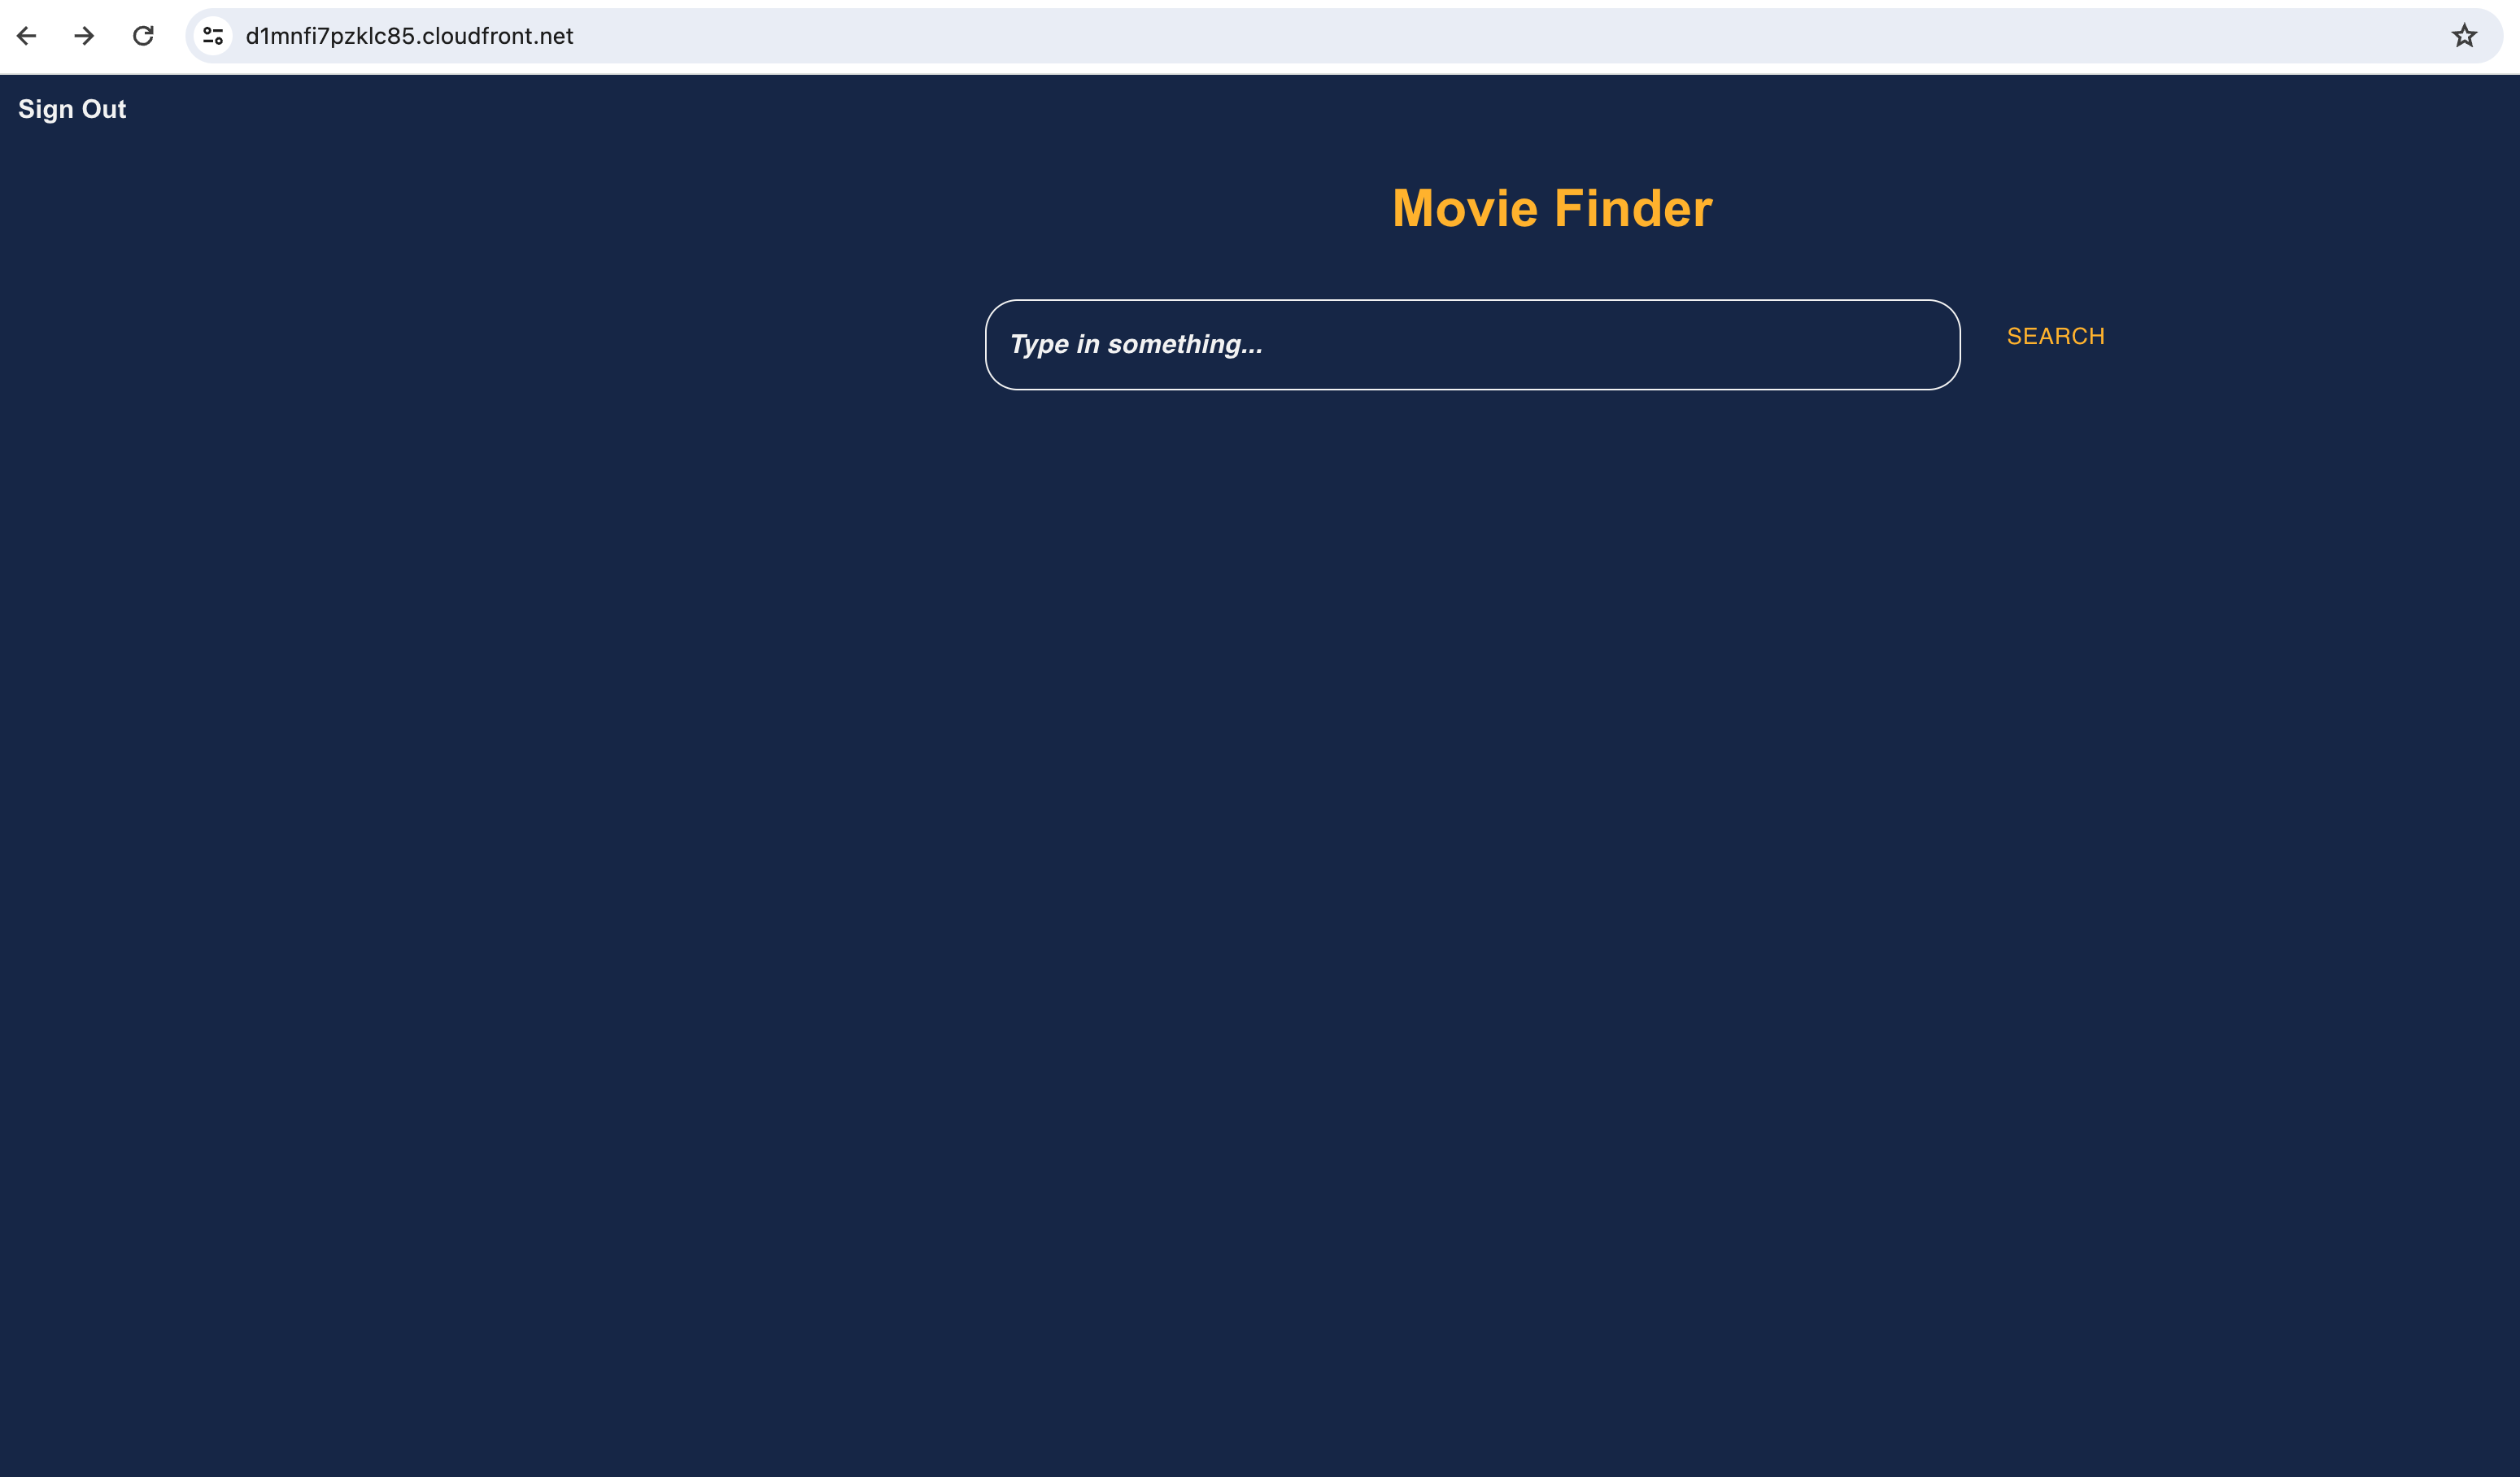
Once the account is verified, user will be seeing the Movie Finder page.

-
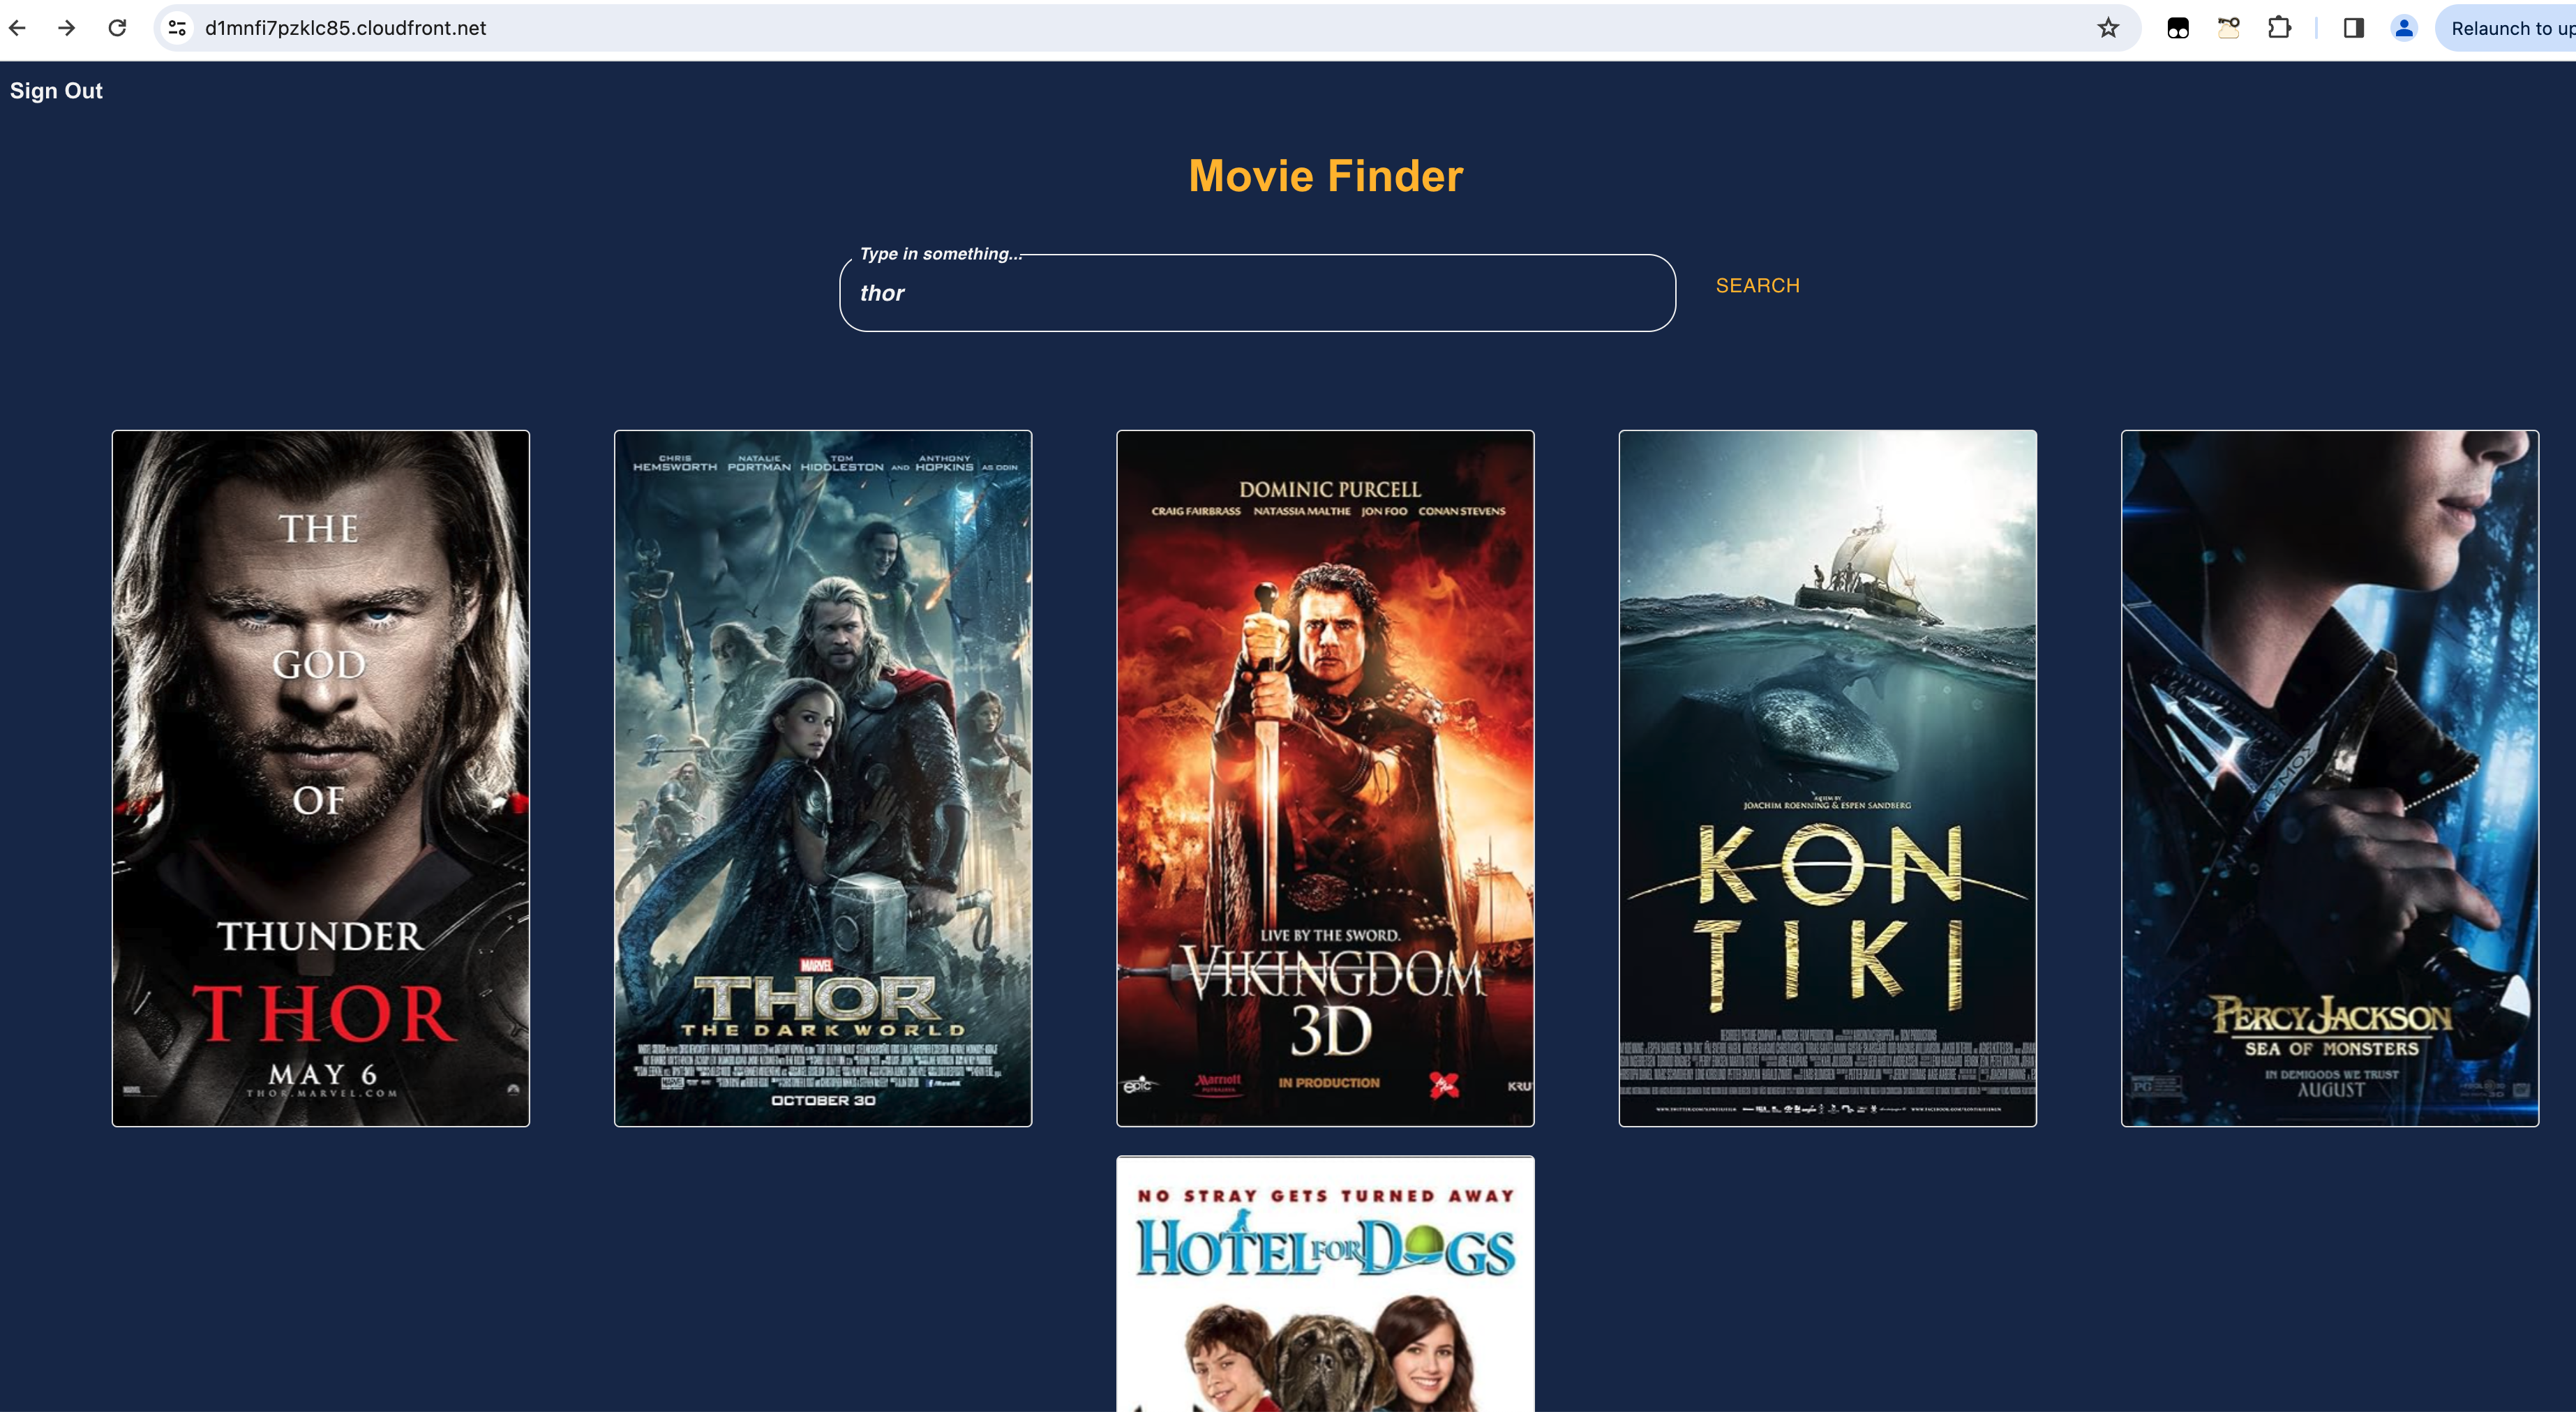
User can search for movie-name/actor/director and view the search results.

-
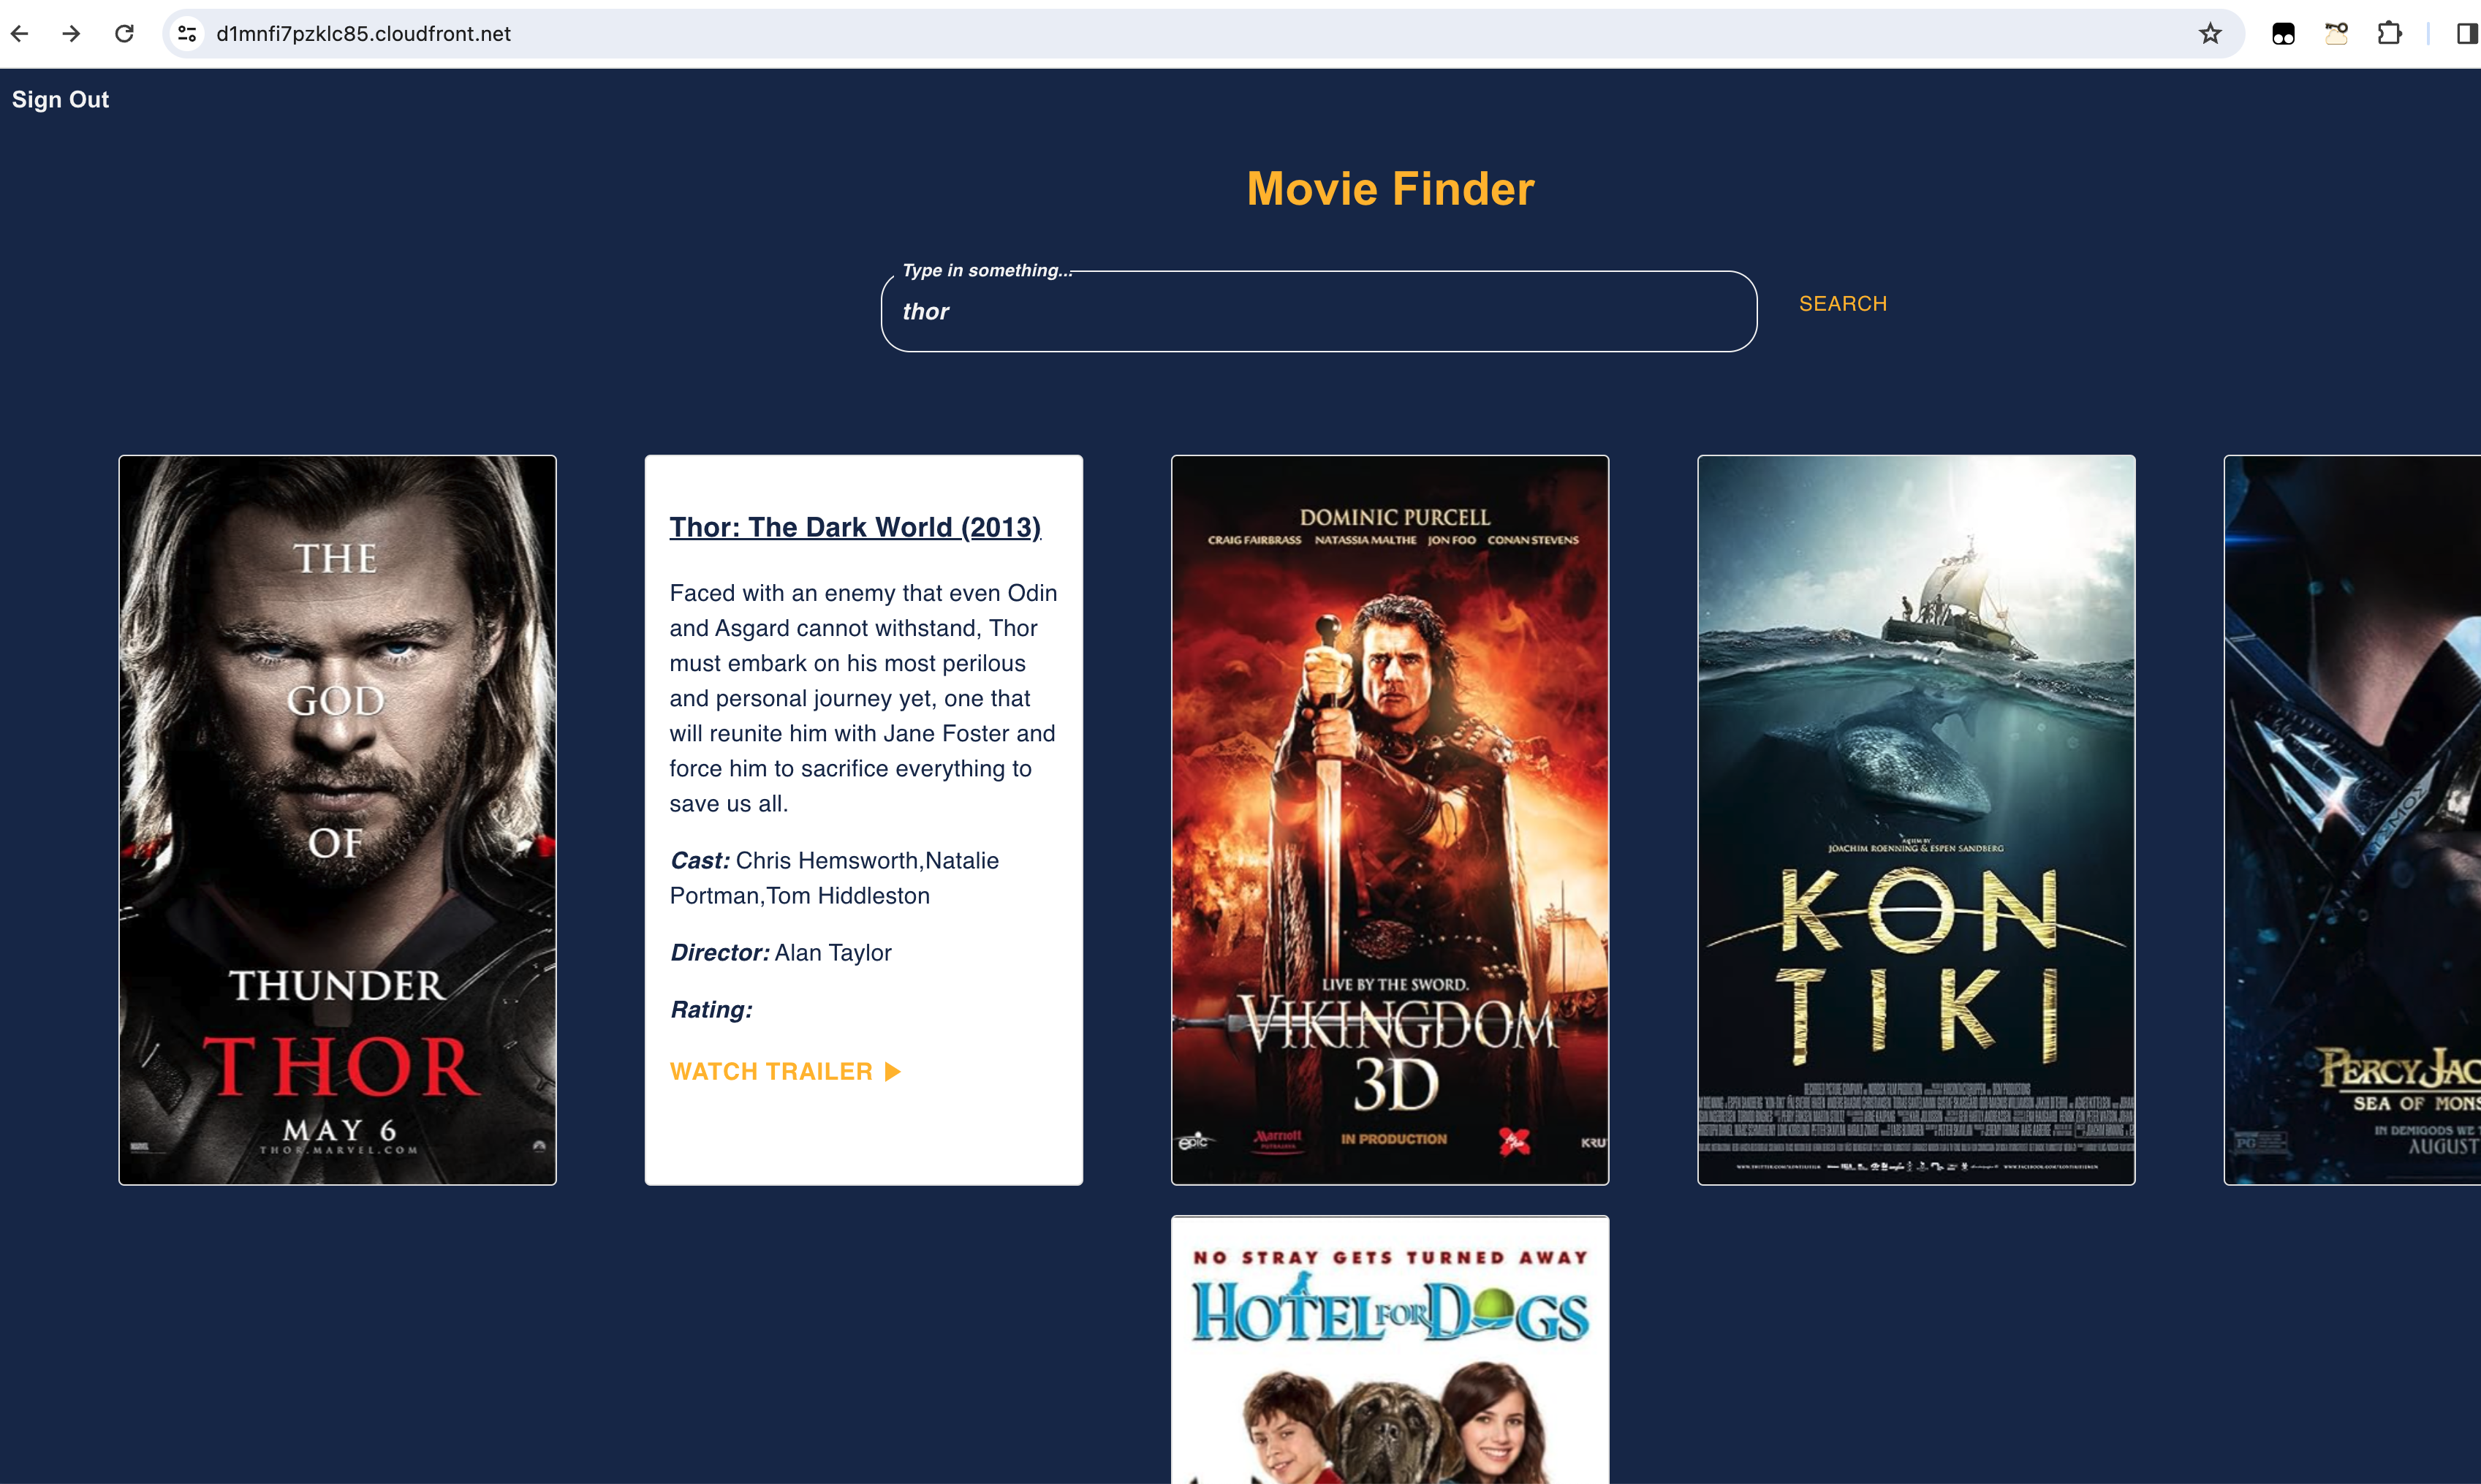
User can click on the movie tiles to view the movie details.

-
User can click on the
WATCH TRAILERlink to view the movie trailer. Click out the trailer window to return back to search results page.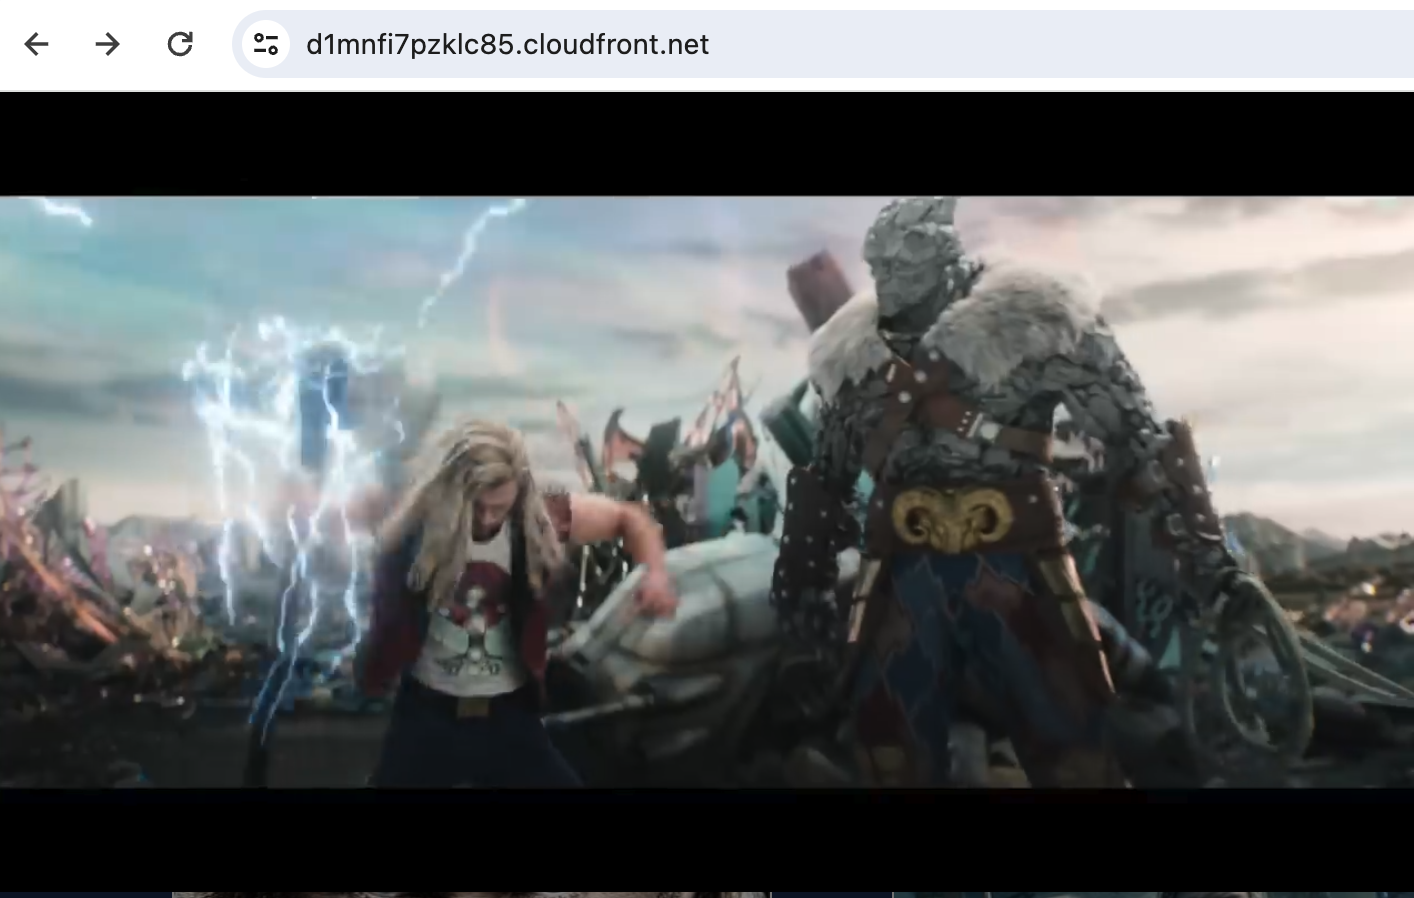

-
User can click other movie tiles to get respective movie details and trailers.

-
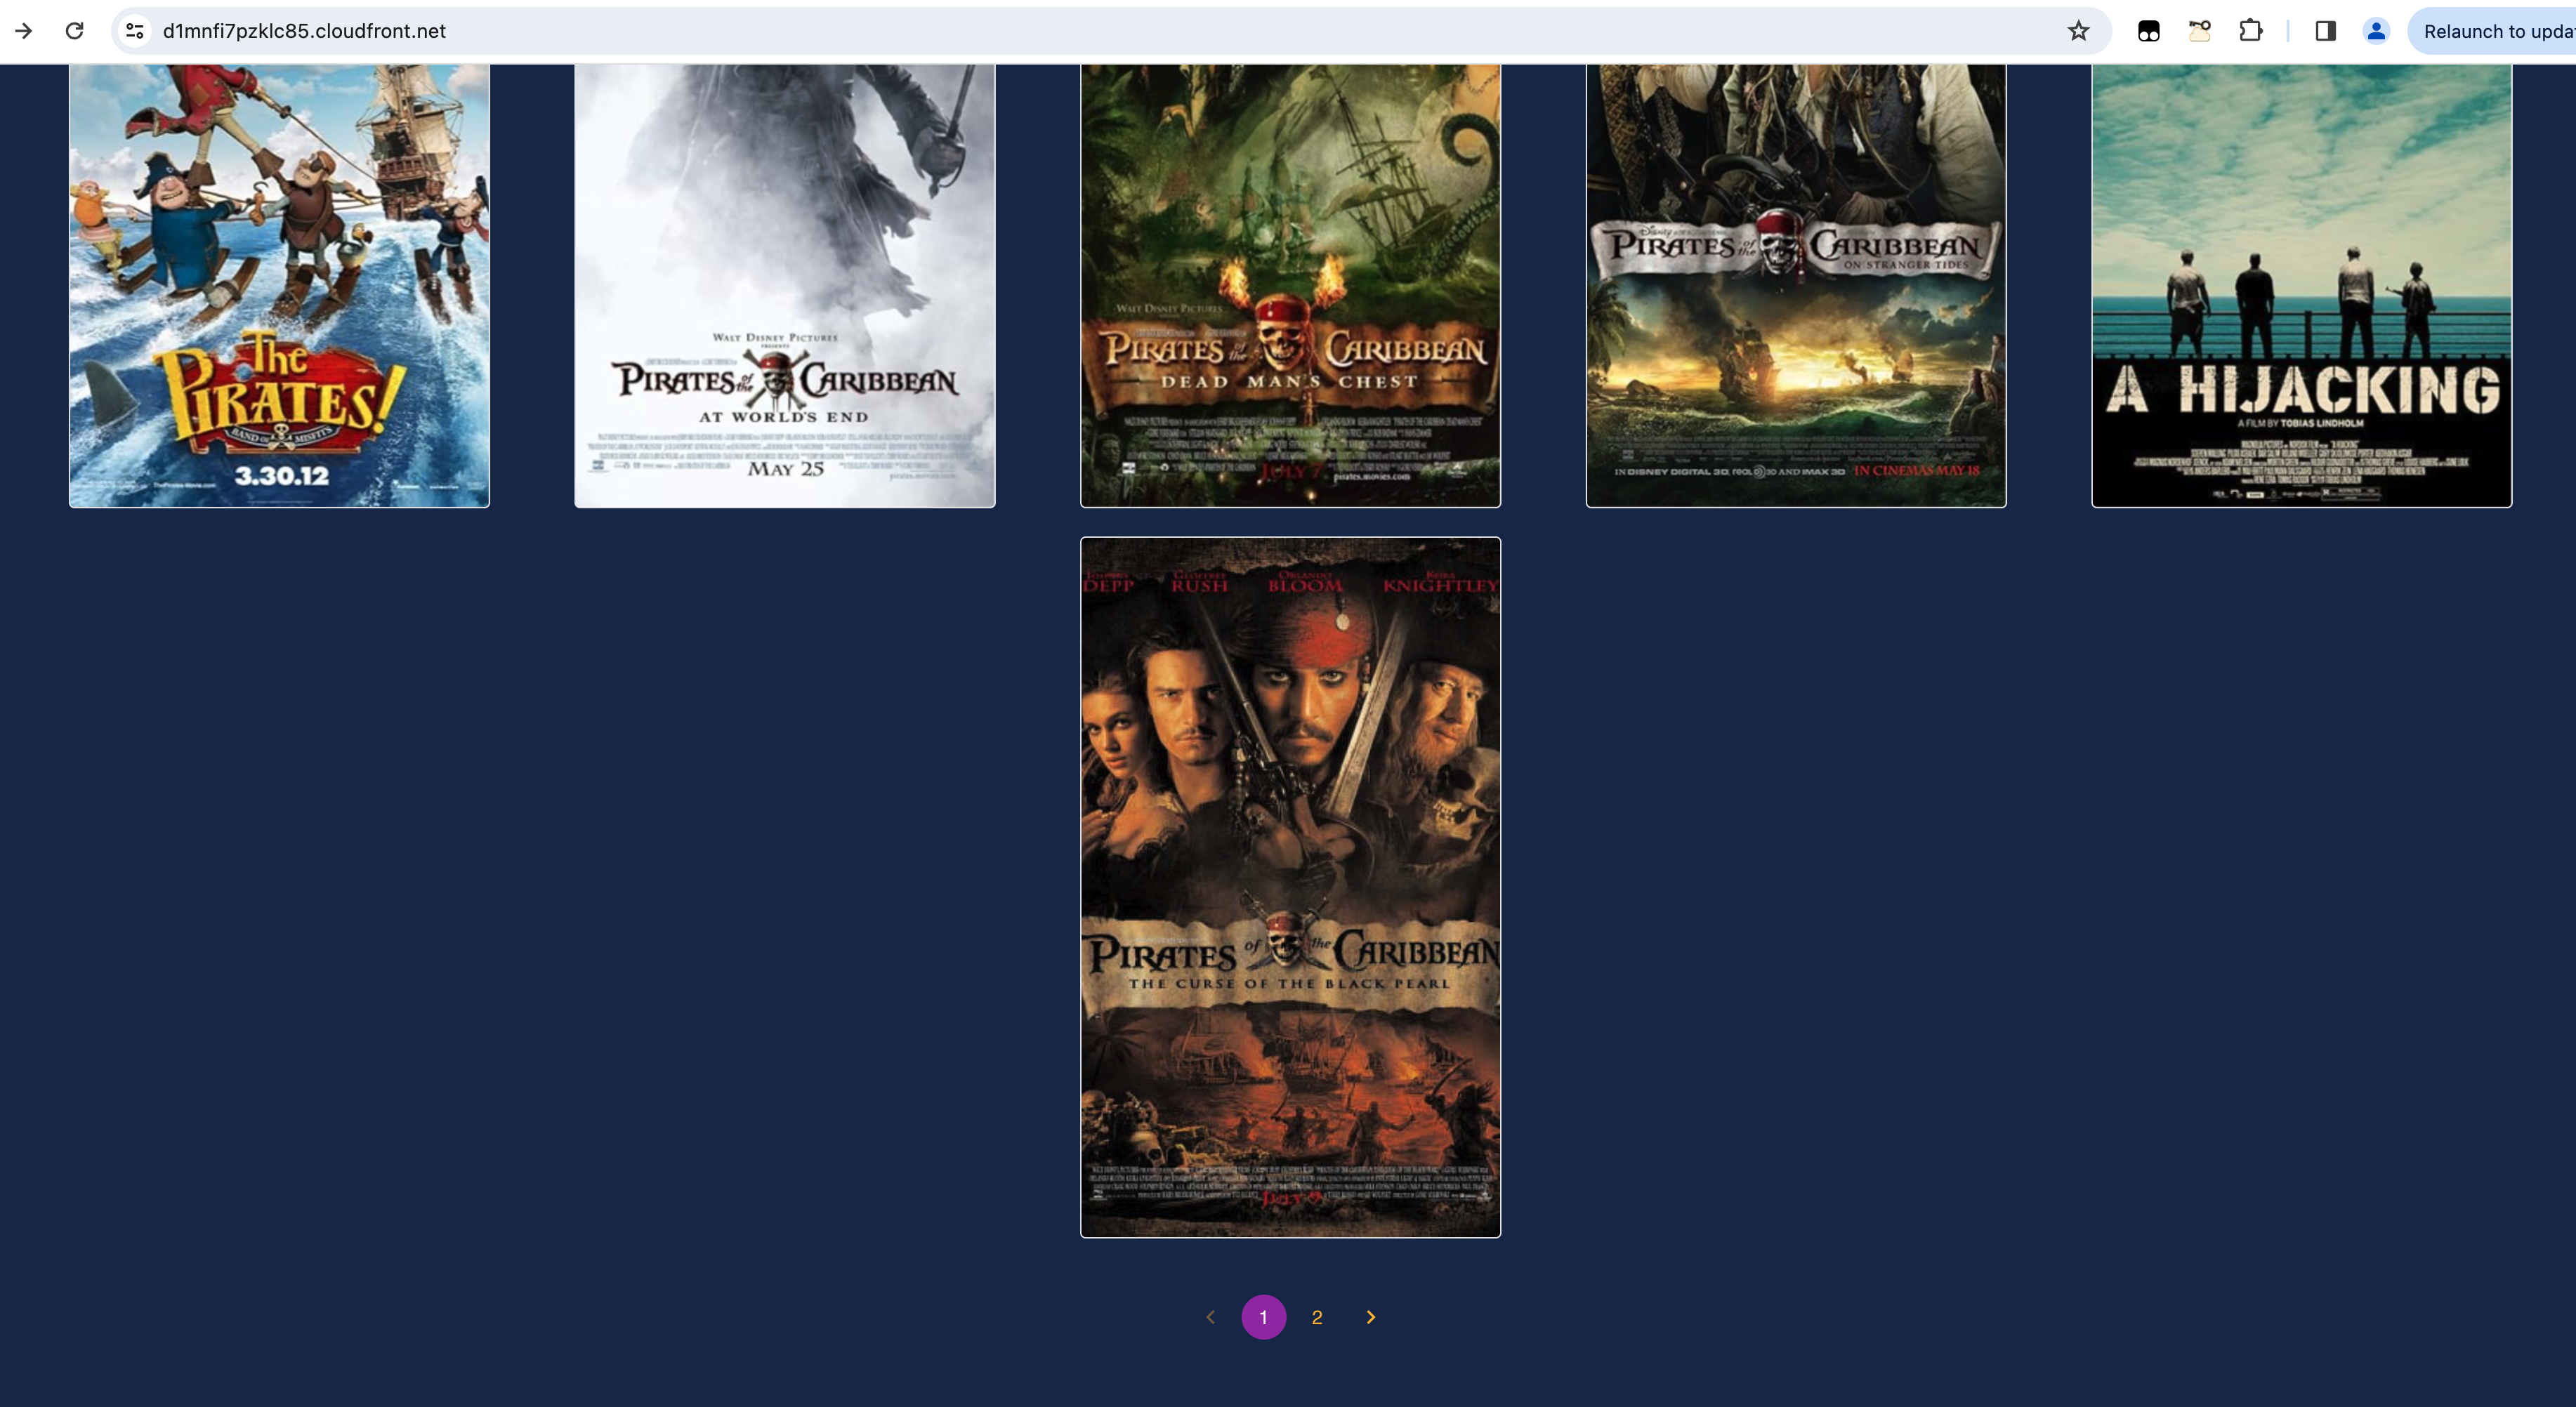
In case of large search results, the pagination links at the bottom can be clicked to view more movie results.

- Within the project directory, run the
amplify deletecommand.