OAuth 2.0 implementation for various providers in one place.
![]()
![]()
![]()
![]()
![]()
![]()
![]()
![]()
![]()
![]()
![]()
![]()
![]()
![]()
![]()
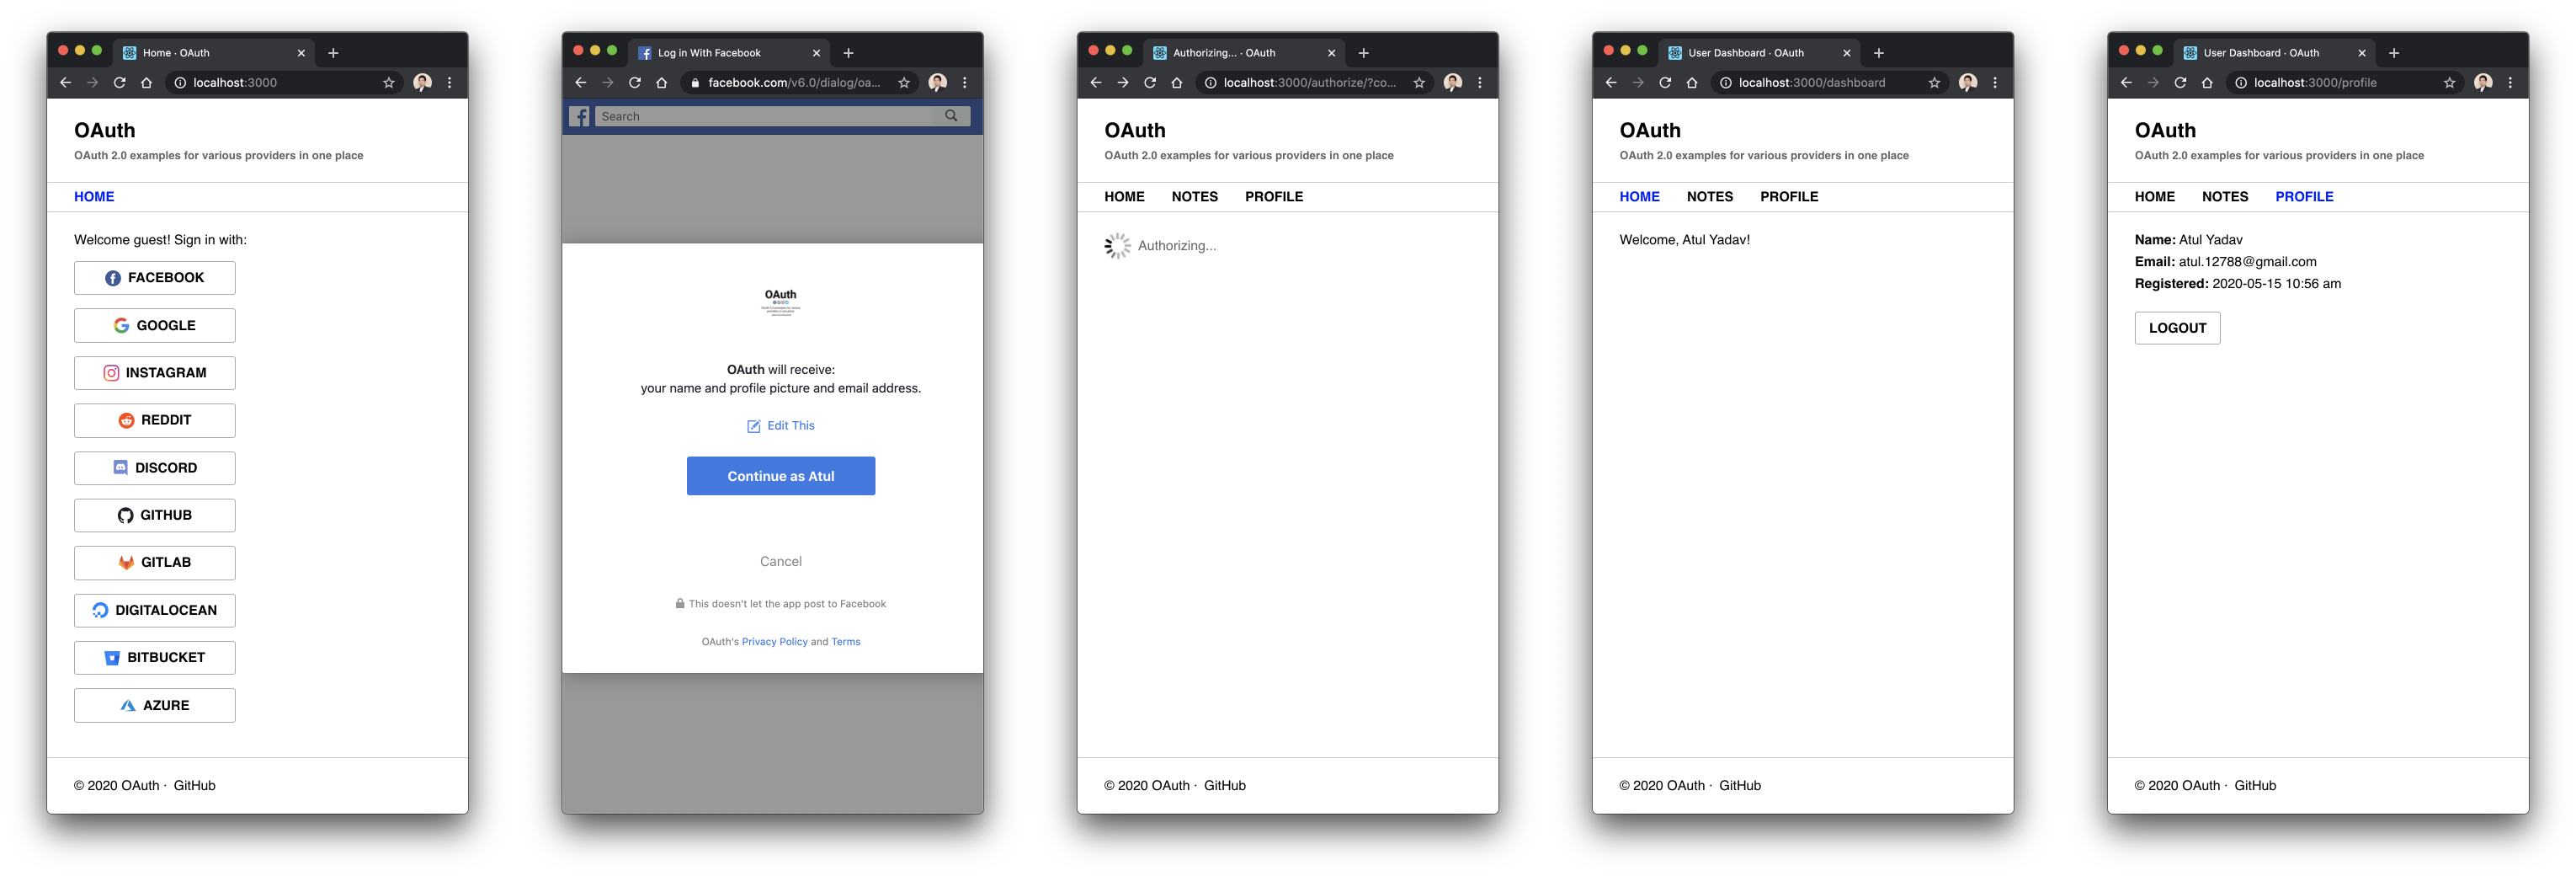
This project contains OAuth 2.0 implementation for various providers and help you understand following OAuth 2.0 flow:
- Show platform dialog
- Get Access Token
- Use token to fetch user details
Actual steps implemented in this sample code repository:
- Create redirect URL for respective platform
- Redirect the user to respective platform
- User decides to grant the permissions to the application
- Receive temporary code on the server
- Exchange the temporary code for access token
- Get user details using the access token
- Save user details into the database and authenticate the user
Although this project is built using React on the front-end and NodeJS on the back-end, the flow and implementation largely remains same for any other language or framework.
- Read official flow: https://developers.facebook.com/docs/facebook-login/manually-build-a-login-flow
- Create a new application: https://developers.facebook.com/apps/
- Goto App → Add Product and choose Facebook Login
- Goto App → Products → Facebook Login → Settings and add a
Valid OAuth Redirect URIashttps://example.com/authorize/(replace your actual domain for live) - Goto App → Settings and copy
App IDandApp Secret - Update
web/.env.localREACT_APP_OAUTH_FACEBOOK_IDwithApp ID - Update
api/.env.localOAUTH_FACEBOOK_IDwithApp ID - Update
api/.env.localOAUTH_FACEBOOK_SECRETwithApp Secret
- Read official flow: https://developers.google.com/identity/protocols/oauth2/web-server
- Create a new application: https://console.cloud.google.com/projectcreate
- Setup consent screen https://console.cloud.google.com/apis/credentials/consent
- Choose
External(Available to any user with a Google Account.) - In
Authorized domainsinput enterexample.com - Fill in
Application Nameand clickSavebutton
- Choose
- Create Credentials https://console.cloud.google.com/apis/credentials
- Click on
+ CREATE CREDENTIALSbutton - Choose
OAuth client ID - Select
Web application - For
Authorized redirect URIs, fill in following two entries:https://example.com/authorize/http://localhost:3000/authorize/
- Click on
- Copy
Your Client IDandYour Client Secret - Update
web/.env.localREACT_APP_OAUTH_GOOGLE_IDwithYour Client ID - Update
api/.env.localOAUTH_GOOGLE_IDwithYour Client ID - Update
api/.env.localOAUTH_GOOGLE_SECRETwithYour Client Secret
-
Read official flow: https://developers.facebook.com/docs/instagram-basic-display-api/getting-started
-
Create a new application: https://developers.facebook.com/apps/
-
Goto App → Settings → Basic and fill in all the required fields
-
Goto App → Add Product and choose Instagram Basic Display
-
Click on
Create New Appbutton -
Goto App → Products → Basic Display and fill in following
Valid OAuth Redirect URIsashttps://example.com/authorize/Deauthorize Callback URLashttps://example.com/authorize/instagram-deauthorizeData Deletion Request URLashttps://example.com/authorize/instagram-delete
-
Goto App → Products → Basic Display → Roles → Roles and click on
Add Instagram Testers, search for your account and click onSubmit -
Accept the tester invite https://www.instagram.com/accounts/manage_access/
-
Goto App → Products → Basic Display and copy
Instagram App IDandInstagram App Secret -
Update
web/.env.localREACT_APP_OAUTH_INSTAGRAM_IDwithInstagram App ID -
Update
api/.env.localOAUTH_INSTAGRAM_IDwithInstagram App ID -
Update
api/.env.localOAUTH_INSTAGRAM_SECRETwithInstagram App Secret -
Note:
- As of writing this Readme, Instagram does not accept
localhost:3000as valid callback URI. So while testing, you may need to manually change the callback URL. - For production, you need to complete
App Review for Instagram Basic Displayby submittinginstagram_graph_user_profileandinstagram_graph_user_mediafor review.
- As of writing this Readme, Instagram does not accept
- Read official flow: https://docs.microsoft.com/en-us/linkedin/shared/authentication/authorization-code-flow
- Create a new application: https://www.linkedin.com/developers/apps/new and fill in following:
App nameenter your application name, eg:ExampleCompanyselect an existing or create new company pageApp logoupload a logo
- Click on
Create appbutton - Goto App → Auth
- Under
Redirect URLs, fill in following two entries:http://localhost:3000/authorize/https://example.com/authorize/
- Copy
Client IDandClient Secret
- Under
- Update
web/.env.localREACT_APP_OAUTH_LINKEDIN_IDwithClient ID - Update
api/.env.localOAUTH_LINKEDIN_IDwithClient ID - Update
api/.env.localOAUTH_LINKEDIN_SECRETwithClient Secret
- Read official flow: https://developer.twitter.com/en/docs/authentication/oauth-2-0
- Create a new project: https://developer.twitter.com/en/portal/projects-and-apps and fill in following:
Project nameenter your project name, eg:ExampleProject useselect appropriate use-case
- Create a new app inside project: https://developer.twitter.com/en/portal/projects/<PROJECT_ID>/apps/create-or-connect and fill in following:
App environmentselectDevelopmentApp nameenter your application name, eg:Example- Click on
App Settingbutton - Under User authentication settings on
Setupbutton - Enable
OAuth 2.0 - Under
Callback URI / Redirect URL, fill in following two entries:http://localhost:3000/authorize/https://example.com/authorize/
- Enter
Website URL - Click
Savebutton
- Head to
Keys and tokenhttps://developer.twitter.com/en/portal/projects/<PROJECT_ID>/apps/<APP_ID>/keys OAuth 2.0 Client ID and Client Secret section- Update
web/.env.localREACT_APP_OAUTH_TWITTER_IDwithClient ID - Update
api/.env.localOAUTH_TWITTER_IDwithClient ID - Update
api/.env.localOAUTH_TWITTER_SECRETwithClient Secret
- Update
- Read official flow: https://github.com/reddit-archive/reddit/wiki/OAuth2
- Create a new OAuth application: https://www.reddit.com/prefs/apps and fill in following:
nameenter your application name, eg:Exampledescriptionenter info about your app, eg:OAuth example applicationabout urlenter your website url, eg:https://example.comredirect uri:- For development, enter
http://localhost:3000/authorize/ - For production, enter
https://example.com/authorize/
- For development, enter
- Click on
create appbutton - Copy
id(below the entered app name) andsecret - Update
web/.env.localREACT_APP_OAUTH_REDDIT_IDwithid - Update
api/.env.localOAUTH_REDDIT_IDwithid - Update
api/.env.localOAUTH_REDDIT_SECRETwithsecret
- Read official flow: https://discord.com/developers/docs/topics/oauth2
- Create a new OAuth application: https://discord.com/developers/applications and click on
New Application - Fill in
name, eg:Exampleand click onCreatebutton - Go to application's OAuth section https://discord.com/developers/applications/CLIENT_ID/oauth2 and for
Redirects, create following two entries:http://localhost:3000/authorize/for developmenthttps://example.com/authorize/for production
- Copy
CLIENT ID(below the entered app name) andCLIENT SECRET - Update
web/.env.localREACT_APP_OAUTH_DISCORD_IDwithCLIENT ID - Update
api/.env.localOAUTH_DISCORD_IDwithCLIENT ID - Update
api/.env.localOAUTH_DISCORD_SECRETwithCLIENT SECRET
- Read official flow: https://marketplace.zoom.us/docs/guides/build/oauth-app
- Create a new OAuth application: https://marketplace.zoom.us/develop/create under OAuth click
Createbutton and fill in following:Nameenter your application name, eg:Example- Select
User-managed app
- Under
Redirect URL for OAuth, enter following:- For development, enter
http://localhost:3000/authorize/ - For production, enter
https://example.com/authorize/
- For development, enter
- Under
Whitelist URL, enter following:- For development, enter
http://localhost:3000 - For production, enter
https://example.com
- For development, enter
- Goto Your App → Scopes and click on
+ Add scopes- Select
User - Check
user:readanduser_profile
- Select
- Fill in required fields under
InformationlikeShort Description,Developer Contact Information, etc. - Copy
Client IDandClient Secret - Update
web/.env.localREACT_APP_OAUTH_ZOOM_IDwithClient ID - Update
api/.env.localOAUTH_ZOOM_IDwithClient ID - Update
api/.env.localOAUTH_ZOOM_SECRETwithClient Secret
- Read official flow: https://developer.github.com/apps/building-oauth-apps/authorizing-oauth-apps
- Create a new OAuth application: https://github.com/settings/applications/new and fill in following:
Application nameenter your application name, eg:ExampleHomepage URLenter your website url, eg:https://example.comAuthorization callback URL:- For development, enter
http://localhost:3000/authorize/ - For production, enter
https://example.com/authorize/
- For development, enter
- Copy
Client IDandClient Secret - Update
web/.env.localREACT_APP_OAUTH_GITHUB_IDwithClient ID - Update
api/.env.localOAUTH_GITHUB_IDwithClient ID - Update
api/.env.localOAUTH_GITHUB_SECRETwithClient Secret
- Read official flow: https://docs.gitlab.com/ee/api/oauth2.html#web-application-flow
- Create a new OAuth application: https://gitlab.com/profile/applications and fill in following:
Nameenter your application name, eg:ExampleHomepage URLenter your website url, eg:https://example.comAuthorization callback URLenterhttp://localhost:3000/authorize/and on new linehttps://example.com/authorize/
- For
Scopescheckread_user,profileandemail - Click on
Save applicationbutton and copyApplication IDandSecret - Update
web/.env.localREACT_APP_OAUTH_GITLAB_IDwithApplication ID - Update
api/.env.localOAUTH_GITLAB_IDwithApplication ID - Update
api/.env.localOAUTH_GITLAB_SECRETwithSecret
- Read official flow: https://docs.gitlab.com/ee/api/oauth2.html#web-application-flow
- Create a new OAuth application: https://cloud.digitalocean.com/account/api/applications/new and fill in following:
Nameenter your application name, eg:ExampleHomepage URLenter your website url, eg:https://example.comDescriptionenter info about your app, eg:OAuth example applicationAuthorization callback URL:- For development, enter
http://localhost:3000/authorize/ - For production, enter
https://example.com/authorize/
- For development, enter
- Click on
Savebutton - Click on More → View and copy
Client IDandClient Secret - Update
web/.env.localREACT_APP_OAUTH_DIGITALOCEAN_IDwithClient ID - Update
api/.env.localOAUTH_DIGITALOCEAN_IDwithClient ID - Update
api/.env.localOAUTH_DIGITALOCEAN_SECRETwithClient Secret
- Read official flow: https://confluence.atlassian.com/bitbucket/oauth-on-bitbucket-cloud-238027431.html
- Create a new OAuth application: https://bitbucket.org/USERNAME/workspace/settings/oauth-consumers/new and fill in following:
Nameenter your application name, eg:ExampleHomepage URLenter your website url, eg:https://example.comDescriptionenter info about your app, eg:OAuth example applicationCallback URL:- For development, enter
http://localhost:3000/authorize/ - For production, enter
https://example.com/authorize/
- For development, enter
- Under
Permissions → AccountcheckEmailandRead - Click on
Savebutton - Click on Name of your application and copy
KeyandSecret - Update
web/.env.localREACT_APP_OAUTH_BITBUCKET_IDwithKey - Update
api/.env.localOAUTH_BITBUCKET_IDwithKey - Update
api/.env.localOAUTH_BITBUCKET_SECRETwithSecret
- Read official flow: https://docs.microsoft.com/en-us/azure/active-directory/develop/v2-oauth2-auth-code-flow
- Create a new OAuth application: https://portal.azure.com/#blade/Microsoft_AAD_RegisteredApps/ApplicationsListBlade and fill in following:
Nameenter your application name, eg:ExampleSupported account typeschooseAccounts in any organizational directory (Any Azure AD directory - Multitenant) and personal Microsoft accounts (e.g. Skype, Xbox)Redirect URI:- For development, enter
http://localhost:3000/authorize/ - For production, enter
https://example.com/authorize/
- For development, enter
- Goto Dashboard → App → Certificates & secrets and under
Client secretsclick on+ New client secret- Enter
Description, eg:Example Secret Key - For
ExpireschooseNever
- Enter
- Click on
Addbutton and copy theSecretvalue - Click on Name of your application and copy
Application (client) IDandSecret - Update
web/.env.localREACT_APP_OAUTH_AZURE_IDwithApplication (client) ID - Update
api/.env.localOAUTH_AZURE_IDwithApplication (client) ID - Update
api/.env.localOAUTH_AZURE_SECRETwithSecret - Optionally, change
OAUTH_AZURE_TENANTas per your requirement.
- Read official flow: https://developer.spotify.com/documentation/general/guides/authorization-guide
- Create a new OAuth application: https://developer.spotify.com/dashboard/applications and fill in following:
App or Hardware Nameenter your application name, eg:ExampleApp or Hardware Descriptionenter your application name, eg:Example OAuth app
- Goto Dashboard → App and click on
Edit settings - For
Redirect URIsmake following entries:- For development, enter
http://localhost:3000/authorize/ - For production, enter
https://example.com/authorize/
- For development, enter
- Copy
Client IDandClient Secret - Update
web/.env.localREACT_APP_OAUTH_SPOTIFY_IDwithClient ID - Update
api/.env.localOAUTH_SPOTIFY_IDwithClient ID - Update
api/.env.localOAUTH_SPOTIFY_SECRETwithClient Secret
- Read official flow: https://shopify.dev/tutorials/authenticate-with-oauth
- Create a new OAuth application: https://partners.shopify.com/PARTNER_ID/apps/new/applications and fill in following:
App nameenter your application name, eg:ExampleApp URLenter your application URL, eg:https://example.com- For
Whitelisted redirection URL(s)make following entries:- For development, enter
http://localhost:3000/authorize/ - For production, enter
https://example.com/authorize/
- For development, enter
- Create a store https://partners.shopify.com/PARTNER_ID/stores for testing
- Copy
API keyandAPI secret key - Update
web/.env.localREACT_APP_OAUTH_SHOPIFY_IDwithAPI key - Update
web/.env.localREACT_APP_OAUTH_SHOPIFY_STOREwith your test store ID - Update
api/.env.localOAUTH_SHOPIFY_IDwithAPI key - Update
api/.env.localOAUTH_SHOPIFY_SECRETwithAPI secret key - Update
api/.env.localOAUTH_SHOPIFY_STOREwith your test store ID
oauth
  ├── api
  │   > PORT 4000
  │   > localhost:4000
  │   > api.example.com
  │
  ├── web
  │   > PORT 3000
  │   > localhost:3000
  │   > example.com
  │
  └── README.md (you are here)
-
Prerequisites
- Node (
v12.x) - MongoDB (
v4.x) - IDE (Webstorm / Visual Studio Code)
- Node (
-
Clone repository
git clone git@github.com:atulmy/oauth.git oauth -
API
- Switch to
apidirectorycd oauth/api - Configuration
- Create local environment file
cp .env.dev .env.local - Edit
.env.localforSECURITY_SECRET,DATABASE_URLandOAUTH_..values
- Create local environment file
- Setup
- Install packages
npm install
- Install packages
- Run
- Start API server:
npm start(http://localhost:4000)
- Start API server:
- Switch to
-
Web
- Switch to
webdirectorycd oauth/web - Configuration
- Create local environment file
cp .env.dev .env.local - Edit
.env.localforREACT_APP_OAUTH_..values
- Create local environment file
- Setup
- Install packages
npm install
- Install packages
- Run
- Start web server:
npm start(http://localhost:3000)
- Start web server:
- Switch to
Found an integration not working? Open an issue / Send a Pull Request with fixes.
Looking for a particular OAuth integration not yet added? Open an issue / Send a Pull Request with additional integrations.
- Atul Yadav - GitHub · Twitter
- [YOUR NAME HERE] - Feel free to contribute to the codebase by resolving any open issues, refactoring, adding new features, writing test cases or any other way to make the project better and helpful to the community. Feel free to fork and send pull requests.
Looking for a developer to build your next idea or need a developer to work remotely? Get in touch: atul.12788@gmail.com
If you liked this project, consider donating to support it ❤️

Copyright (c) 2020 Atul Yadav http://github.com/atulmy
The MIT License (http://www.opensource.org/licenses/mit-license.php)