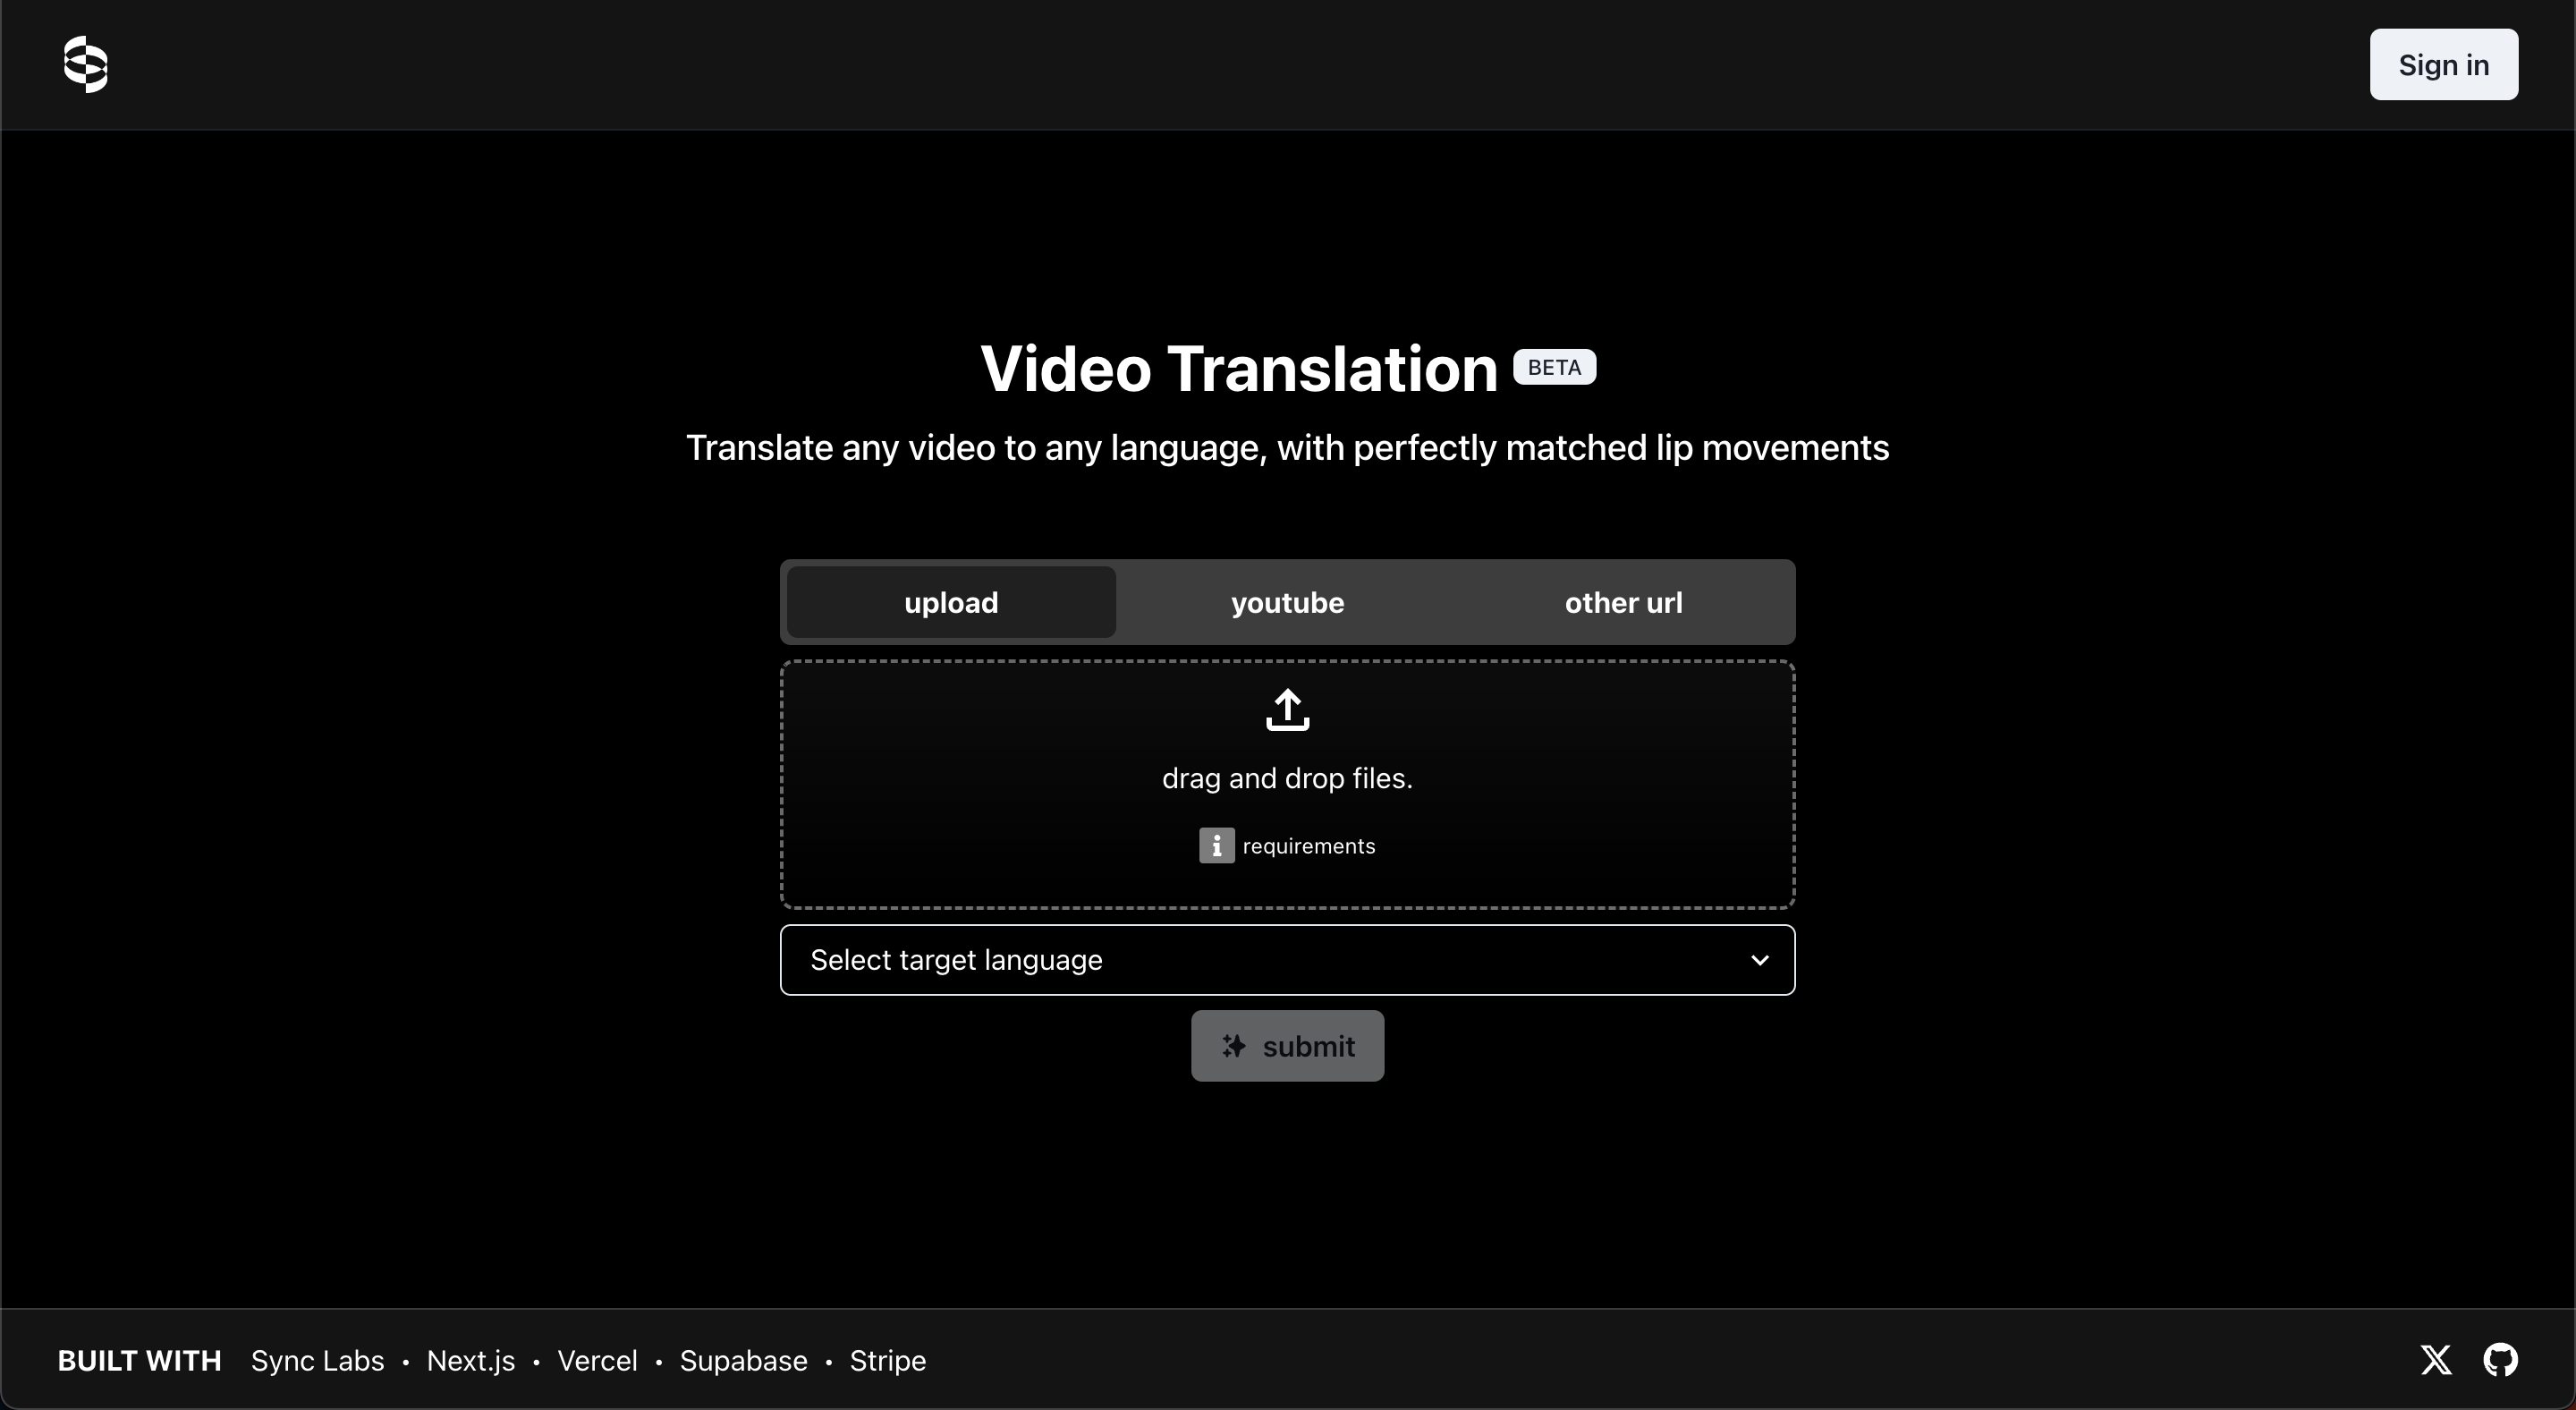
Translation AI by Sync Labs
Translation AI is an open-source tool for translating spoken language in video content with accurate lip synchronization. The purpose of this repo is to help developers quickly integrate multilingual support into video-based apps. This project provides essential APIs and documentation to facilitate the development of applications requiring video translation with lip-sync capabilities.
- Sync Labs for perfectly synchronized lip movements
- Gladia for transcribing and translating
- Eleven Labs for voice cloning and speech synthesis
- Next.js for web app
- Vercel for deployment
- Supabase for db, auth and storage
- Stripe for billing
To successfully deploy the template, execute the following steps in order:
Clicking the Deploy button will open up a browser tab with instructions on generating a new GitHub repository from this template and deploying it to Vercel.
-
Create Git Repository
- Under
Git Scopeselect the account you'd like to deploy the repo to. - Under
Repository Namegive your new repo a name.
- Under
-
Configure Project
Next we need to enter the environment variables we'll need for the app to function. In order to do this, we'll need to create a new Supabase project, and accounts for all the third party tools we'll be using:
-
Head over to Supabase and either create an account or sign in
-
Once you are in your Supabase account, click the
New projectbutton and choose the organization you want this project to live under. -
Enter details for your project and click
Create new project. -
Once your project is done initializing, find the environment variables we'll need to set and fill them in the
Configure Projectsection of the Vercel Deployment:
- NEXT_PUBLIC_SUPABASE_URL
- NEXT_PUBLIC_SUPABASE_ANON_KEY
- SUPABASE_SERVICE_ROLE_KEY
-
Create accounts with all third party tools, and aquire API keys.
Below are guides on how to get API keys for all the third party tools we'll be using. Once you get your API keys, come back to the
Vercel Deploymentand enter them in the remaining fields within theConfigure Projectsection. -
Click
Deployand wait for your project to deploy to Vercel
-
You'll need to configure your Supabase project's site URL and Vercel's NEXT_PUBLIC_SITE_URL environment variable to secure and streamline authentication.
-
In your Supabase project, navigate to
Authentication> URL configuration and enter your production URL (for example, https://your-deployment-url.vercel.app) as the site URL. -
In Vercel, under your project's deployment settings, create a new Production environment variable called
NEXT_PUBLIC_SITE_URLand set it to your production URL. Make sure you uncheck the options for preview and development environments to maintain the correct operation for preview branches and local development.
After that, you'll need to create a new storage bucket within your Supabase project to store video and audio files.
-
In your Supabase project, navigate to
Storageand click theNew bucketbutton. -
Enter
translationas the name for your new bucket and togglePublic bucketto on. -
Click
Save -
Still in the
Storagesection of your Supabase project, clickPoliciesand add the below policy:
-
Within the section called
translation(the name of your bucket) clickNew policythenFor full costumizationand fill it in as shown below: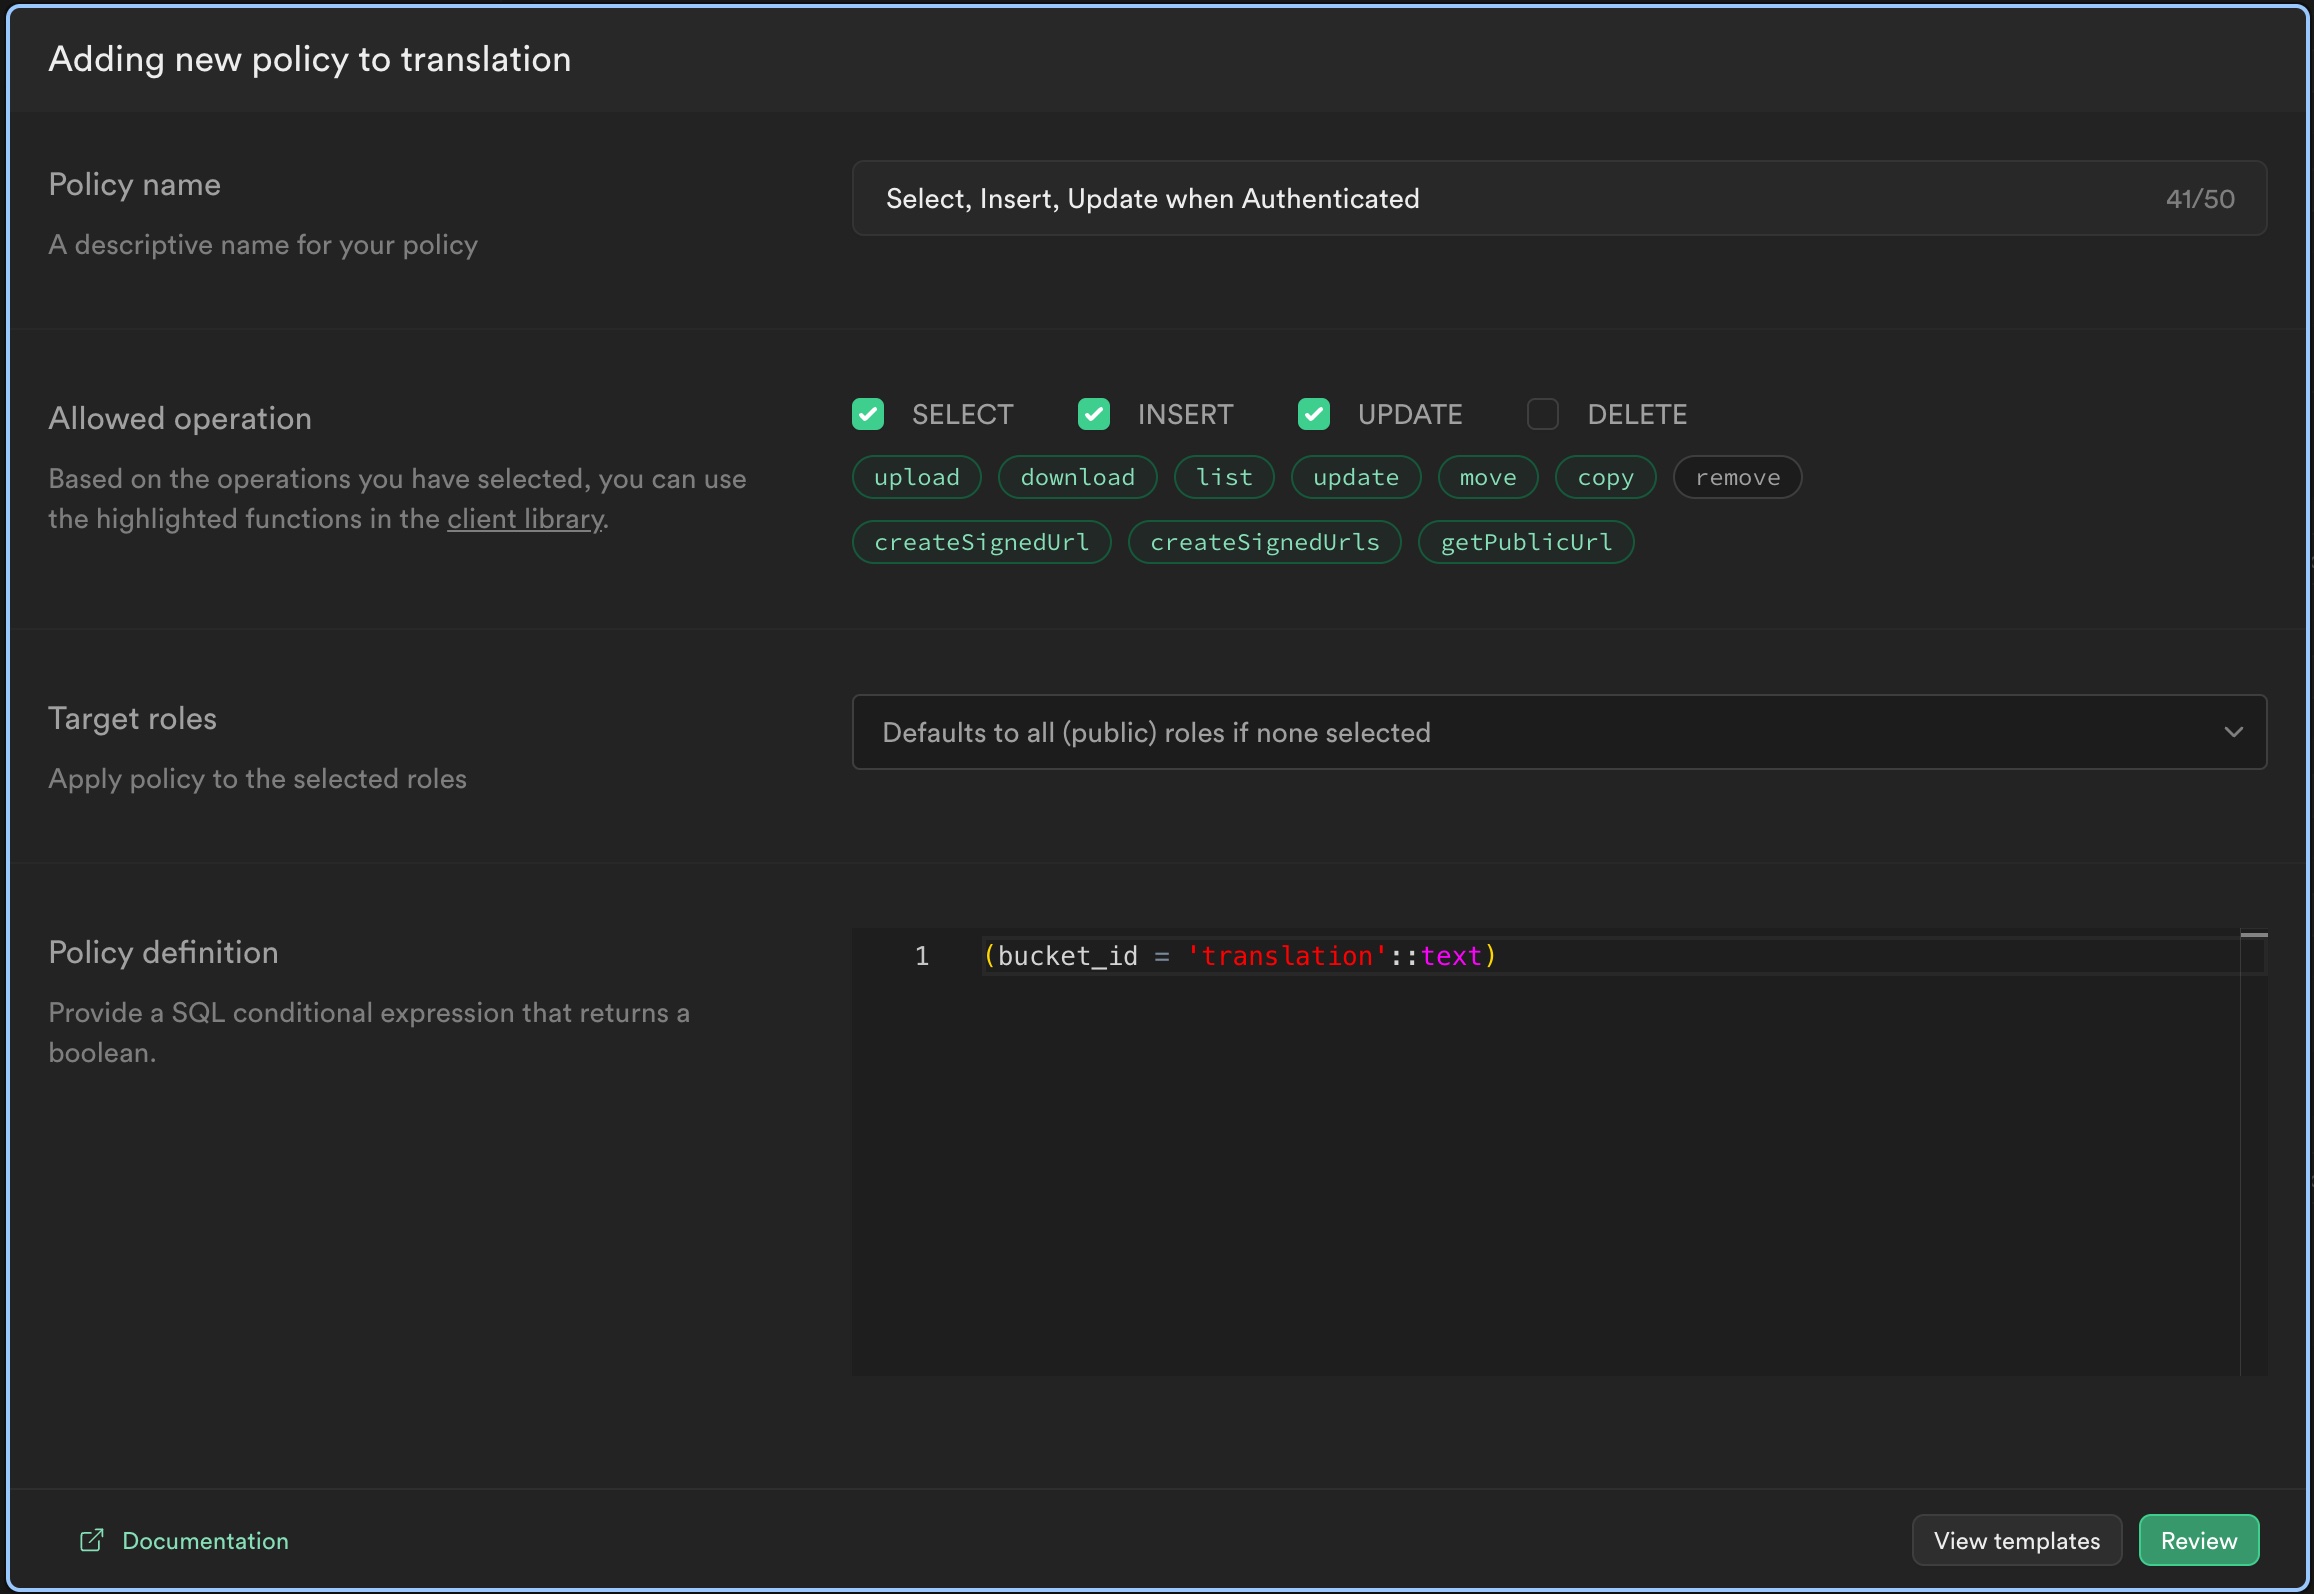
-
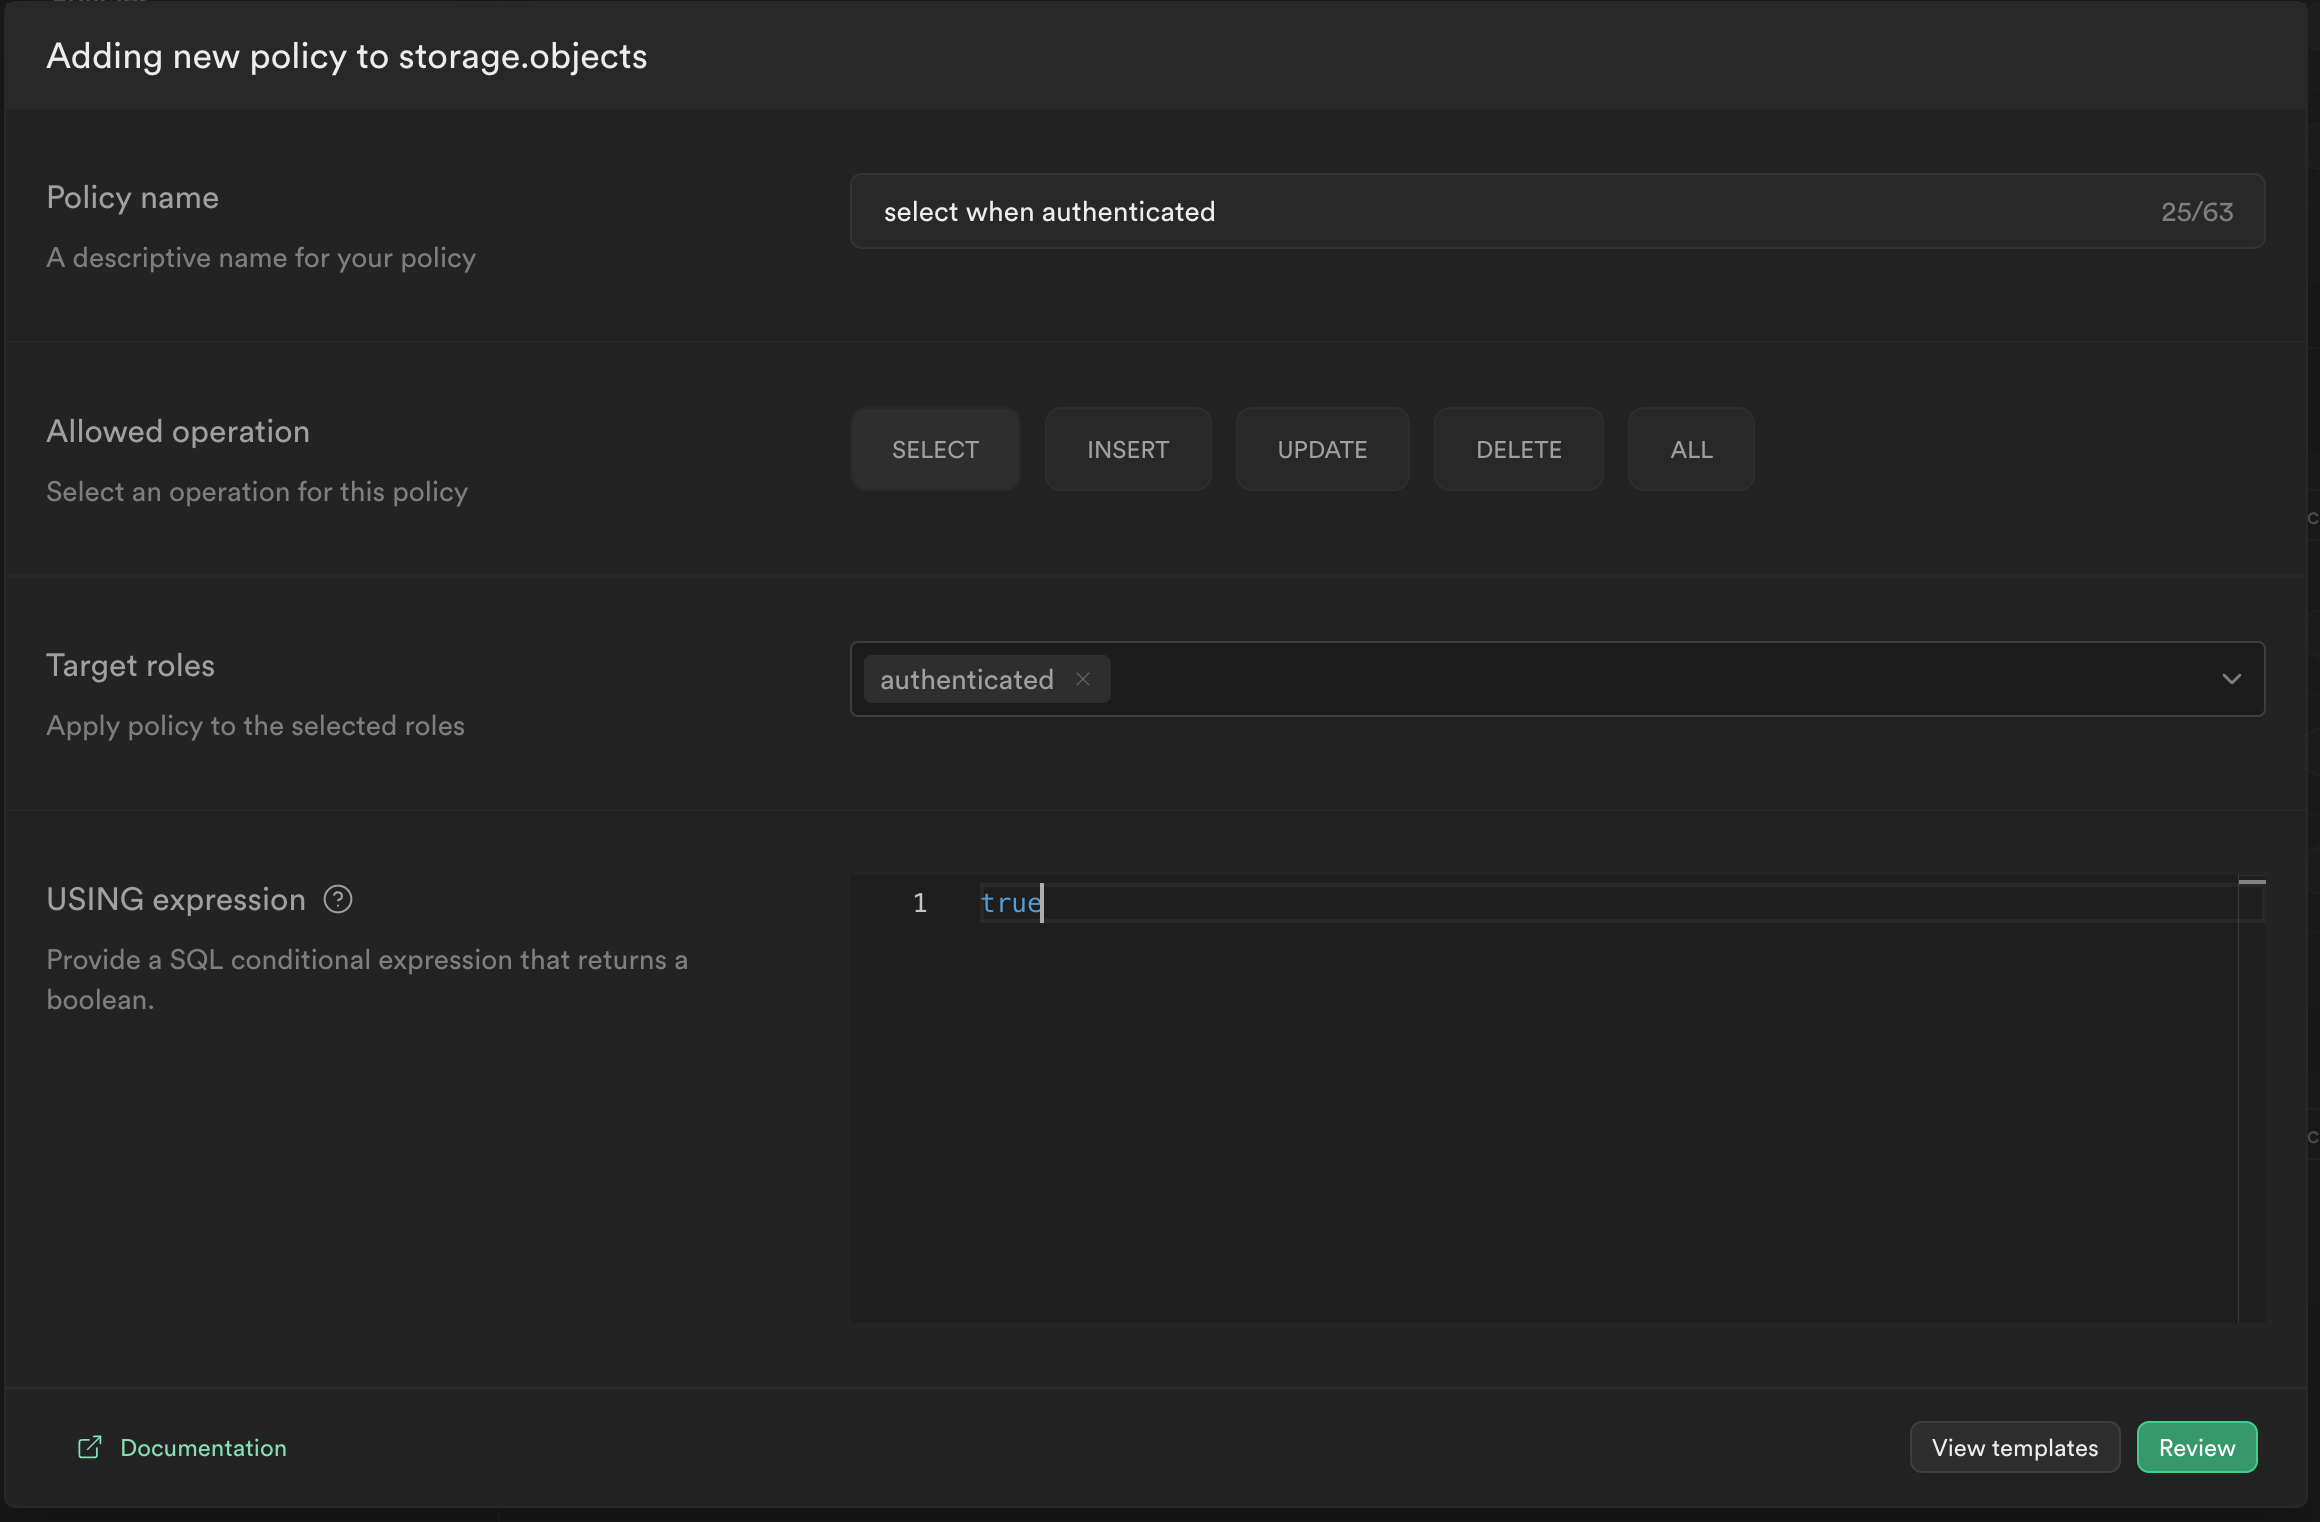
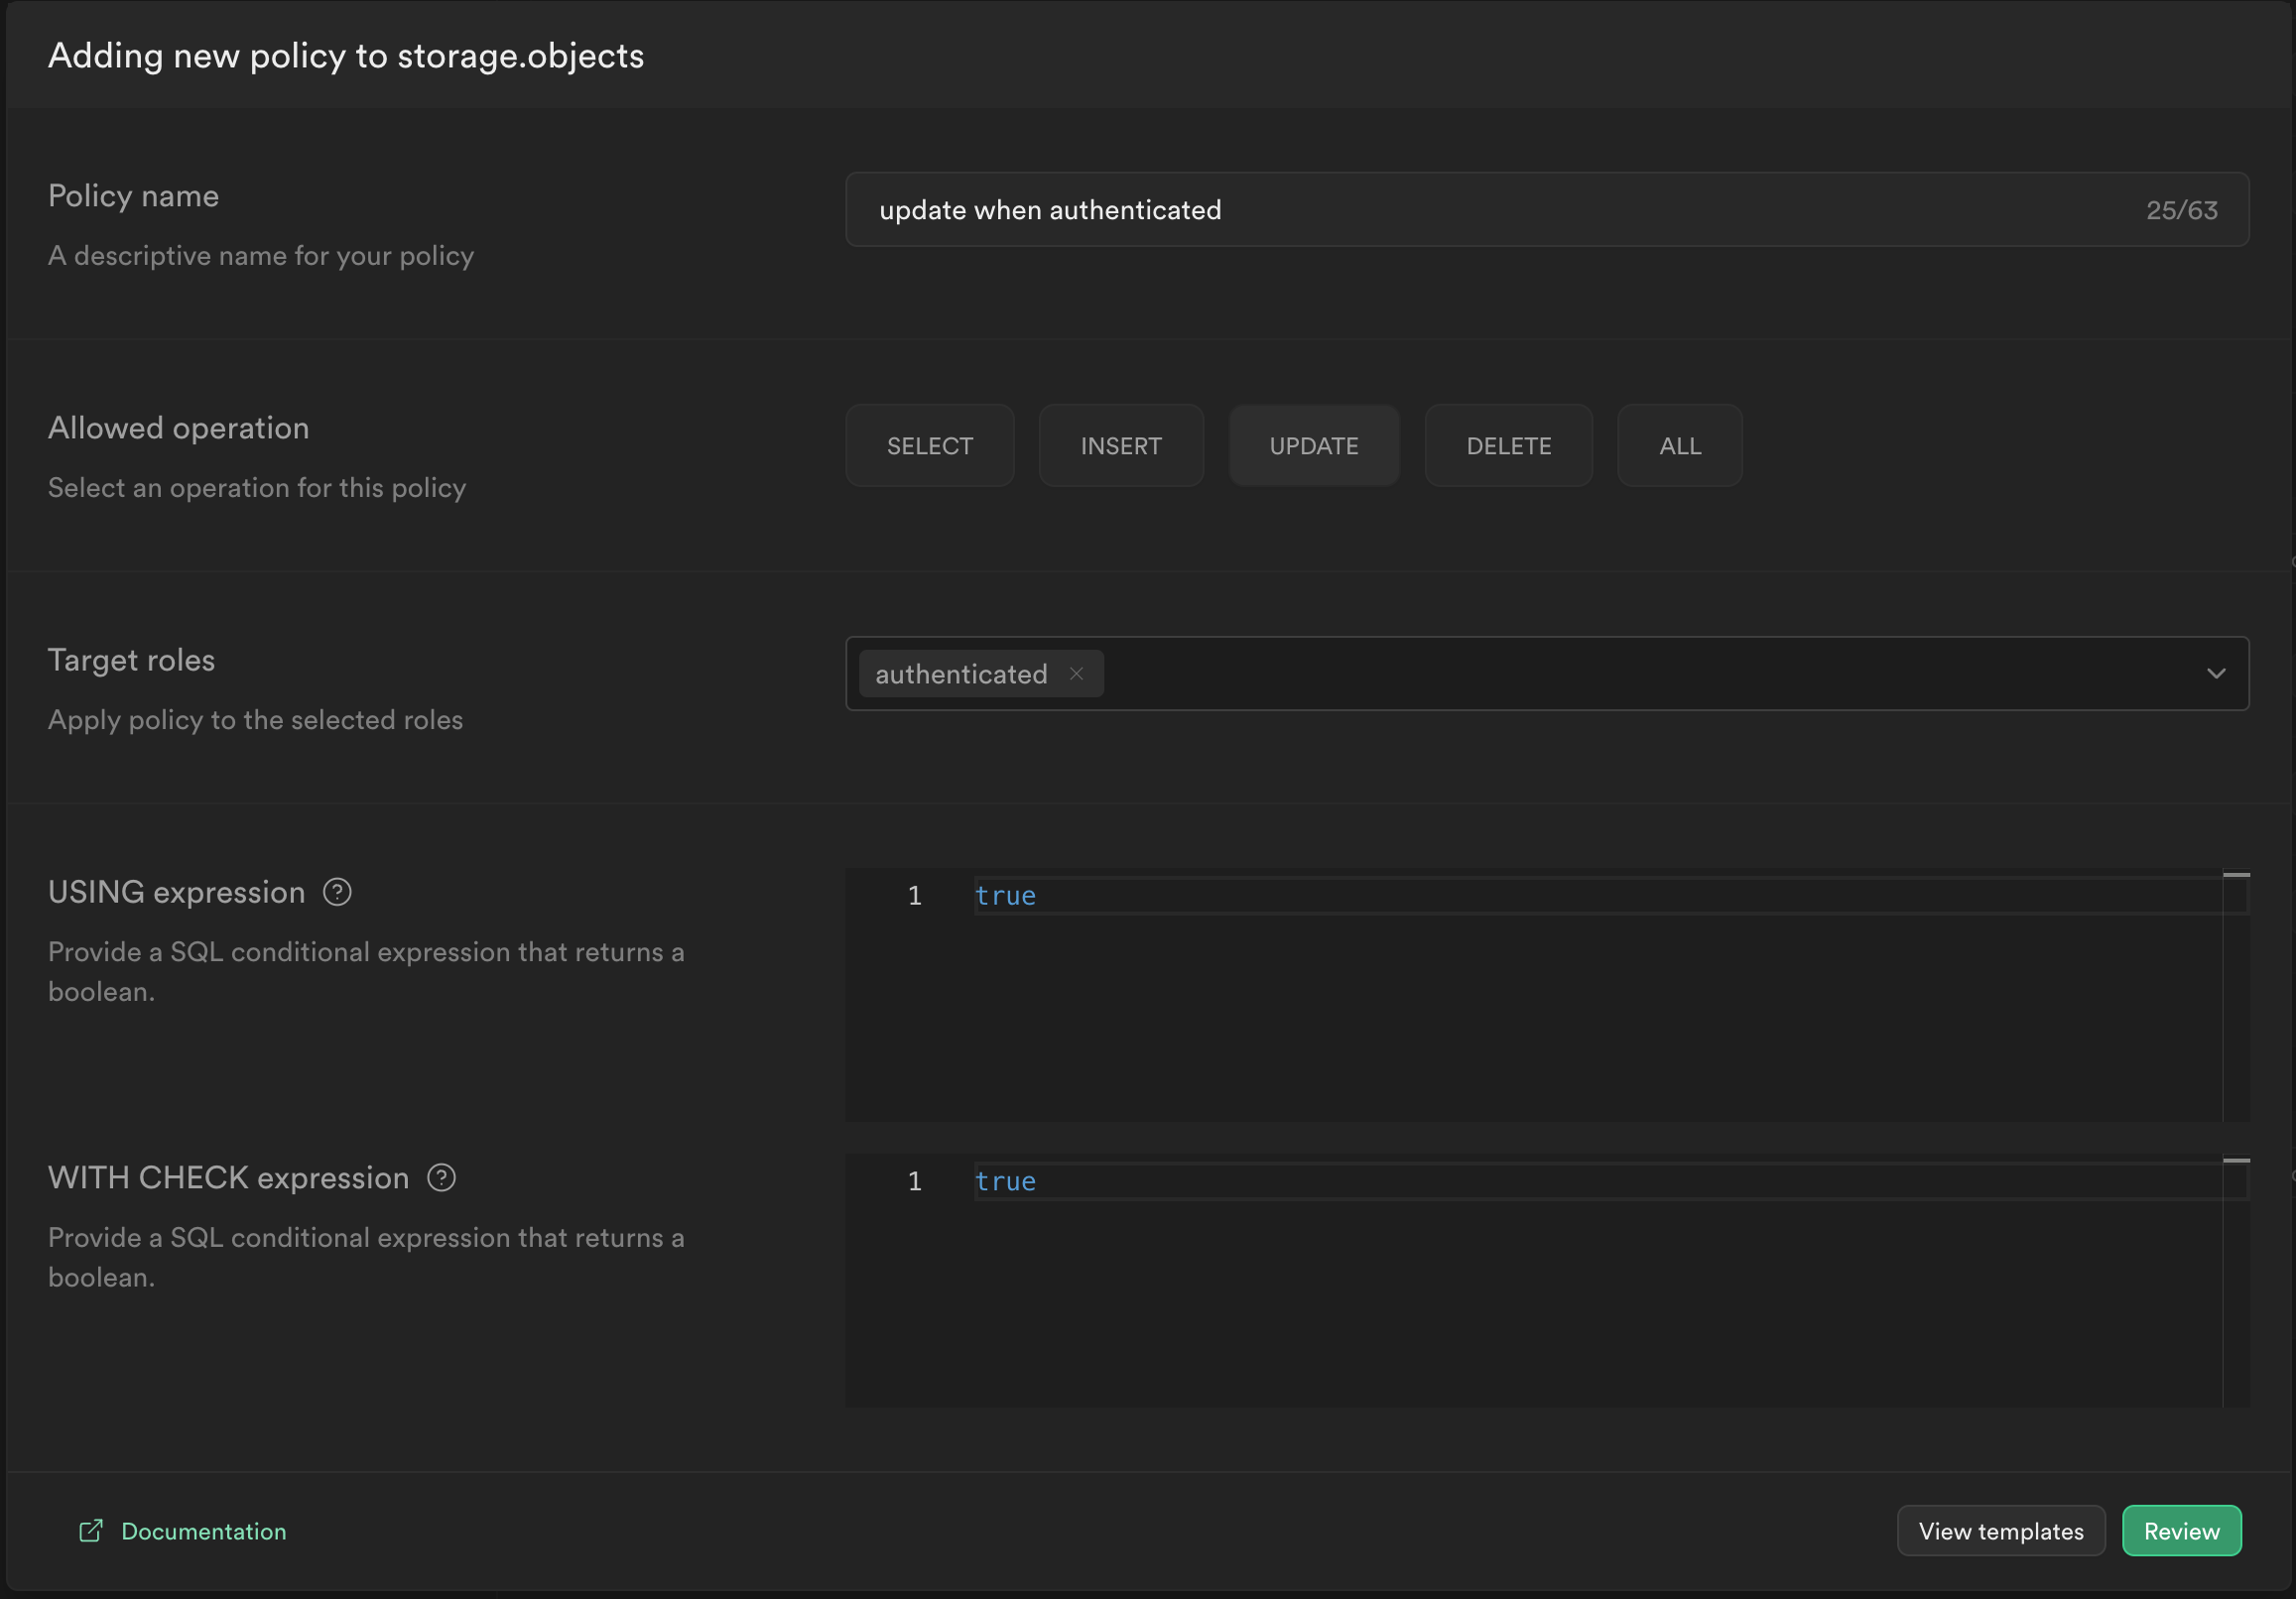
Within the section called
Other policies under storage.objectsadd the following three policies: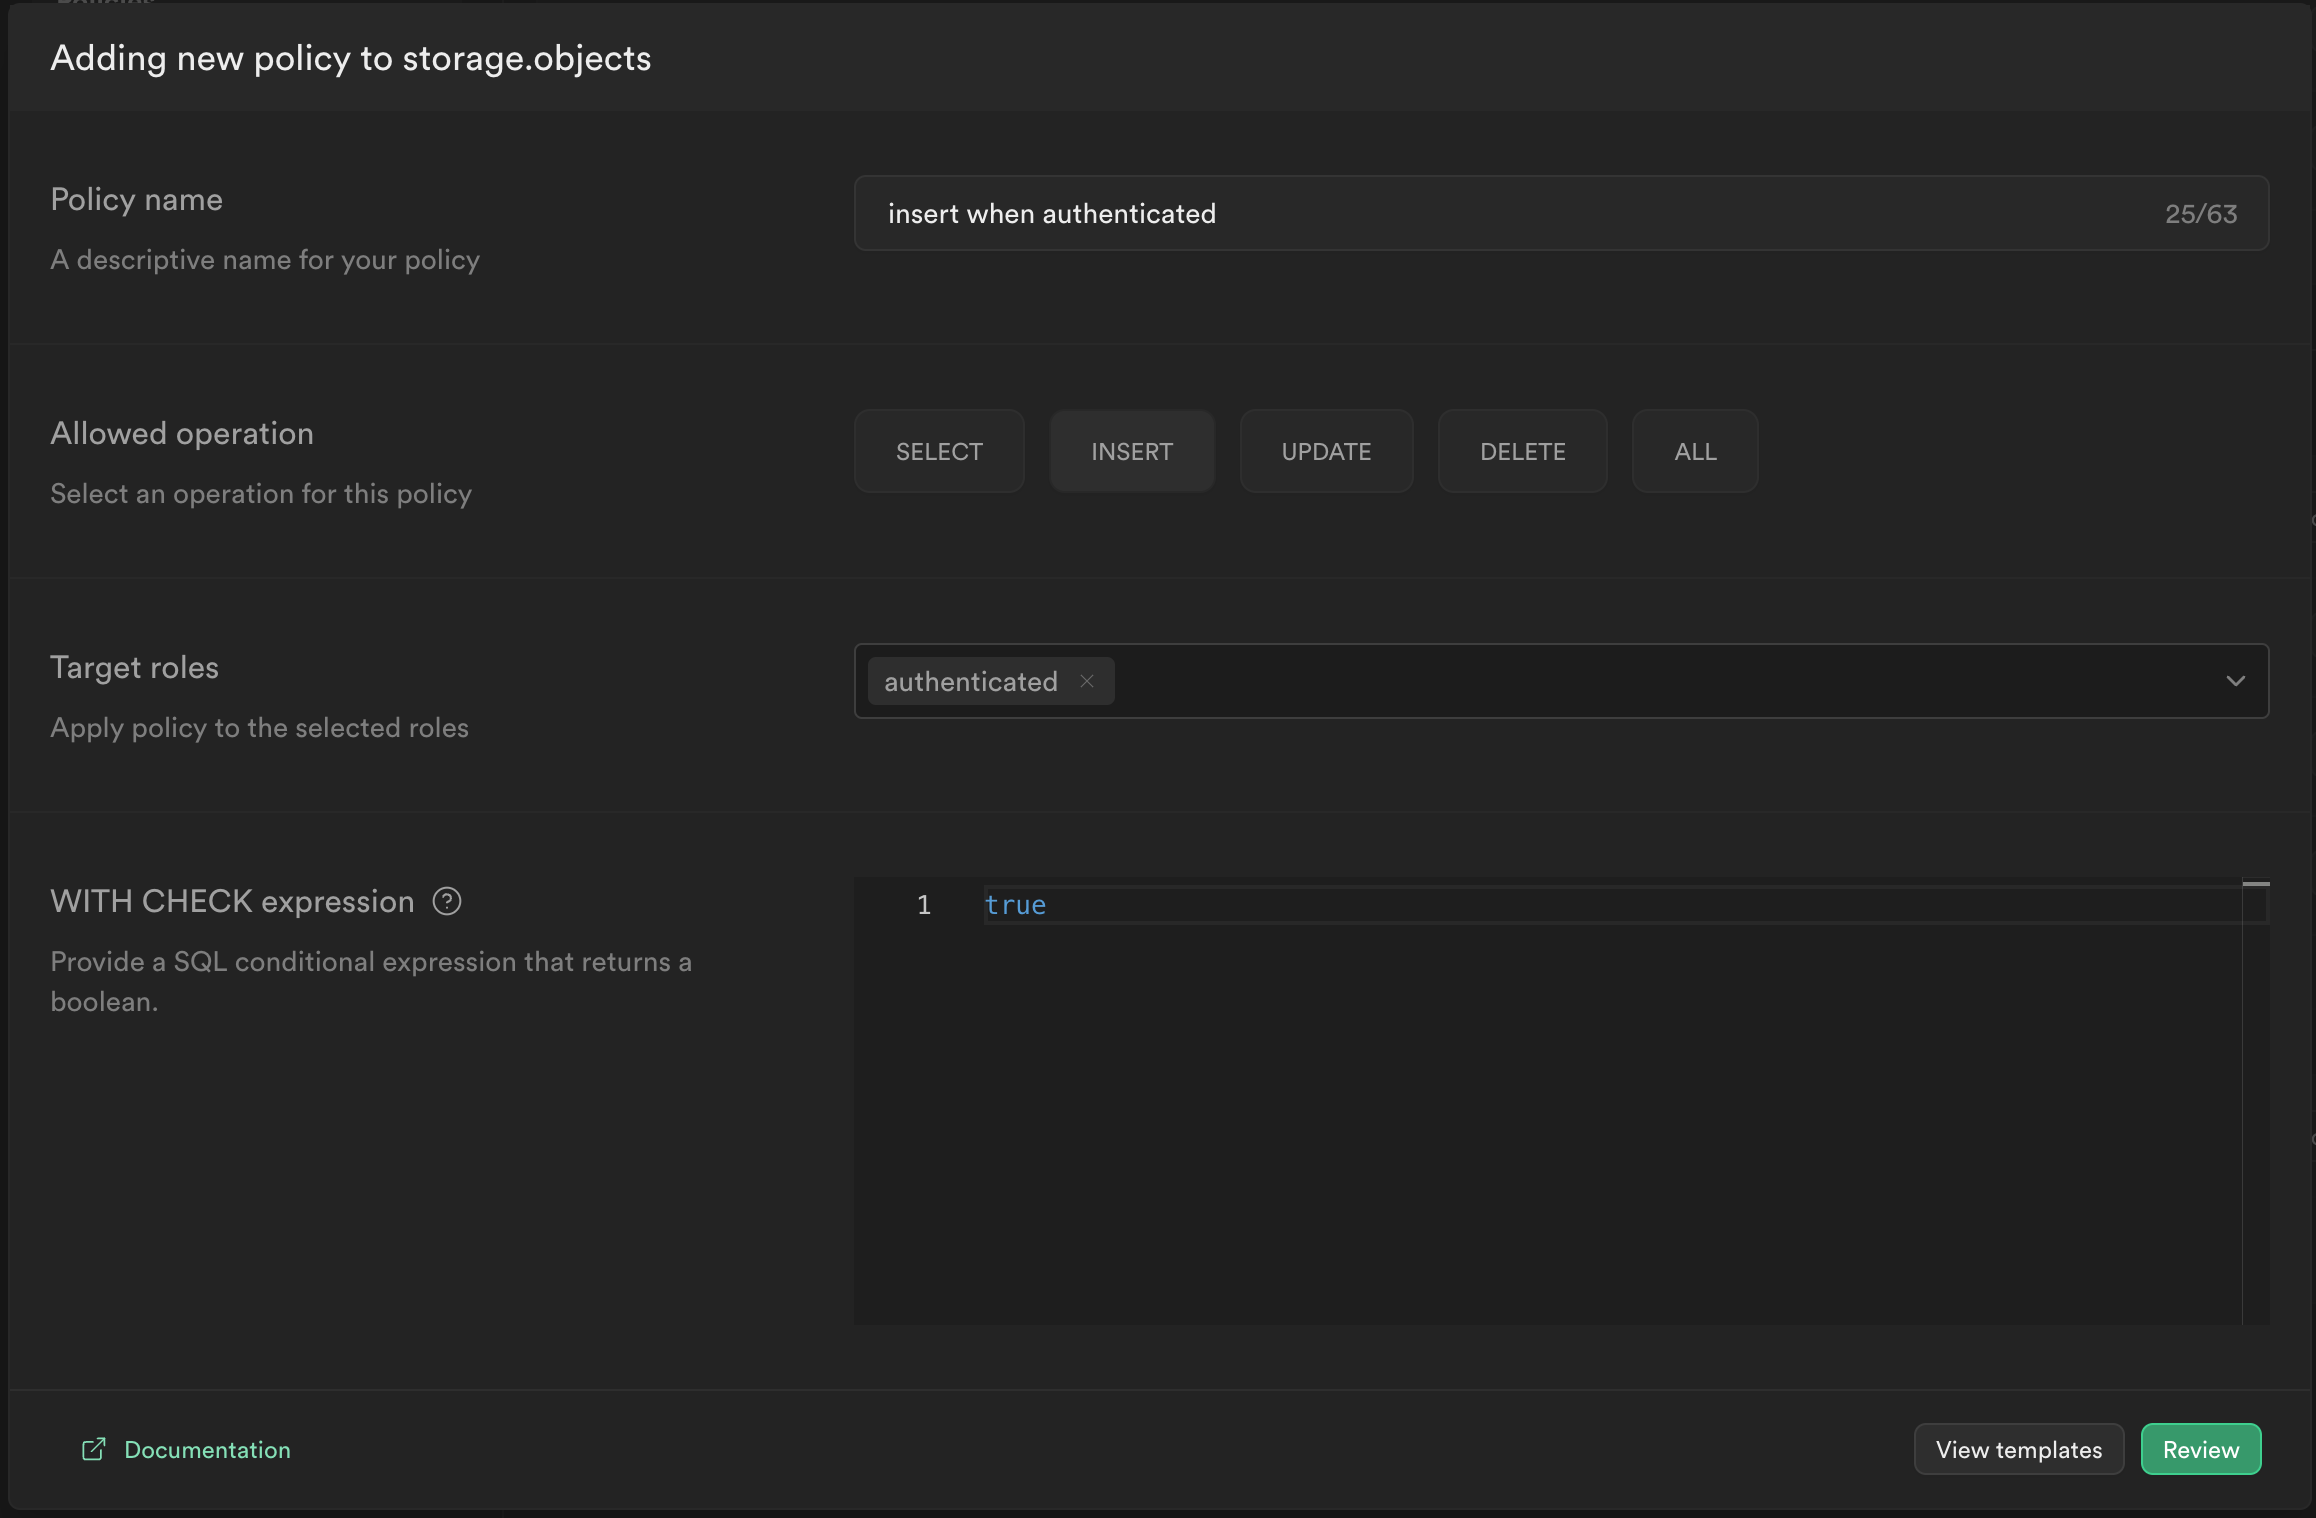
-
Head to your new Github repo and find the migrations file (supabase > migrations > 20230530034630_init.sql)
-
Copy the contents of the migrations file and head back to Supabase.
-
From your projects home page, navigate to the
SQL Editorand paste in the contents of the migrations file.
Next, you'll need to configure Stripe in order to handle test payments.
- Create a Stripe account if you don't have one yet
- Ensure you are in "Test Mode" by toggling the
Test Modeswitch at the top of the dashboard to theONposition.
- In Stripe's
Developerssection, navigate to the Webhooks tab and clickAdd endpoint - Under
Endpoint URLenter your deployment URL with/api/webhooksappended to the end (e.g.,https://your-deployment-url.vercel.app/api/webhooks). - Under
Select events to listen tochooseSelect events, toggle onSelect all eventsand then clickAdd events - Scroll to the bottom of the form and select
Add endpoint - In the page that appears, under
Signing secretclickrevealand copy the secret. - Add this
Signing secretas theSTRIPE_WEBHOOK_SECRETenvironment variable in your Vercel settings.
Redeploy your application in Vercel for the new environment variables to activate. Go to your Vercel Dashboard, find the Deployments section, and choose Redeploy from the overflow menu. Ensure "Use existing Build Cache" is not selected.
With the Stripe webhook setup, you can start creating your products in the Stripe Dashboard. Stripe Checkout supports billing a set amount at regular intervals. It does not support complex pricing structures like tiered pricing or per-seat billing.
Note - When creating products in Stripe, make sure you add a key/value pair with a key of credits and a value equal to the credit allowance for this product.
- Set up branding in the Branding settings
- Set up the customer portal in the Customer Portal settings
In a terminal navigate to your project's root directory and enter the following command.
vercel login
vercel linkIn a terminal navigate to your project's root directory and enter the following command.
vercel env pull .env.localThis command will create a new .env.local file in your project folder.
- Install the Stripe CLI
- Link your Stripe account.
In a seperate terminal, run the below command to initiate local webhook forwarding
stripe listen --forward-to=localhost:3000/api/webhooksRunning this Stripe command will print a webhook secret (whsec_***), to the console. Set STRIPE_WEBHOOK_SECRET to this value in your .env.local file.
In a separate terminal, navigate to your project's root directory and run the following commands to install dependencies and start the dev server
yarn
yarn devOpen your web browser and visit http://localhost:3000 to view your application.
We embrace the collaborative spirit of the open-source community.
To suggest enhancements or submit changes:
- Fork the repository.
- Create a new branch from
devfor your changes. - Commit your updates and push to your fork.
- Submit a pull request back to the
devbranch of the original repository.
Your contributions are highly appreciated!
- Sync Labs Slack Community
- Sync Labs Docs
Translation AI is released under the MIT License.