A demonstration of NServiceBus and the Particular Service Platform showing several capabilities all at once:
- NServiceBus running cross-platform on .NET Core 2.0
- Ease of local development without dependencies using the Learning Transport
- Running on an AWS-hosted Ubuntu server with the RabbitMQ Transport hosted and managed by CloudAMQP
- Load simulation
- Real-time monitoring of queue length, throughput, scheduled retry rate, processing time, and critical time for each NServiceBus endpoint
- To view the monitoring component of the sample, ServiceControl and ServicePulse must be installed. However, they are not required to demonstrate other messaging aspects of the code.
By default, the solution uses the learning transport, which is useful for demonstration and experimentation purposes. It is not meant to be used in production scenarios.
- Open the solution in Visual Studio
- Set the following projects as Startup projects
- EShop.UI
- Billing.Api
- Marketing.Api
- Sales.Api
- Shipping.Api
- Start the application
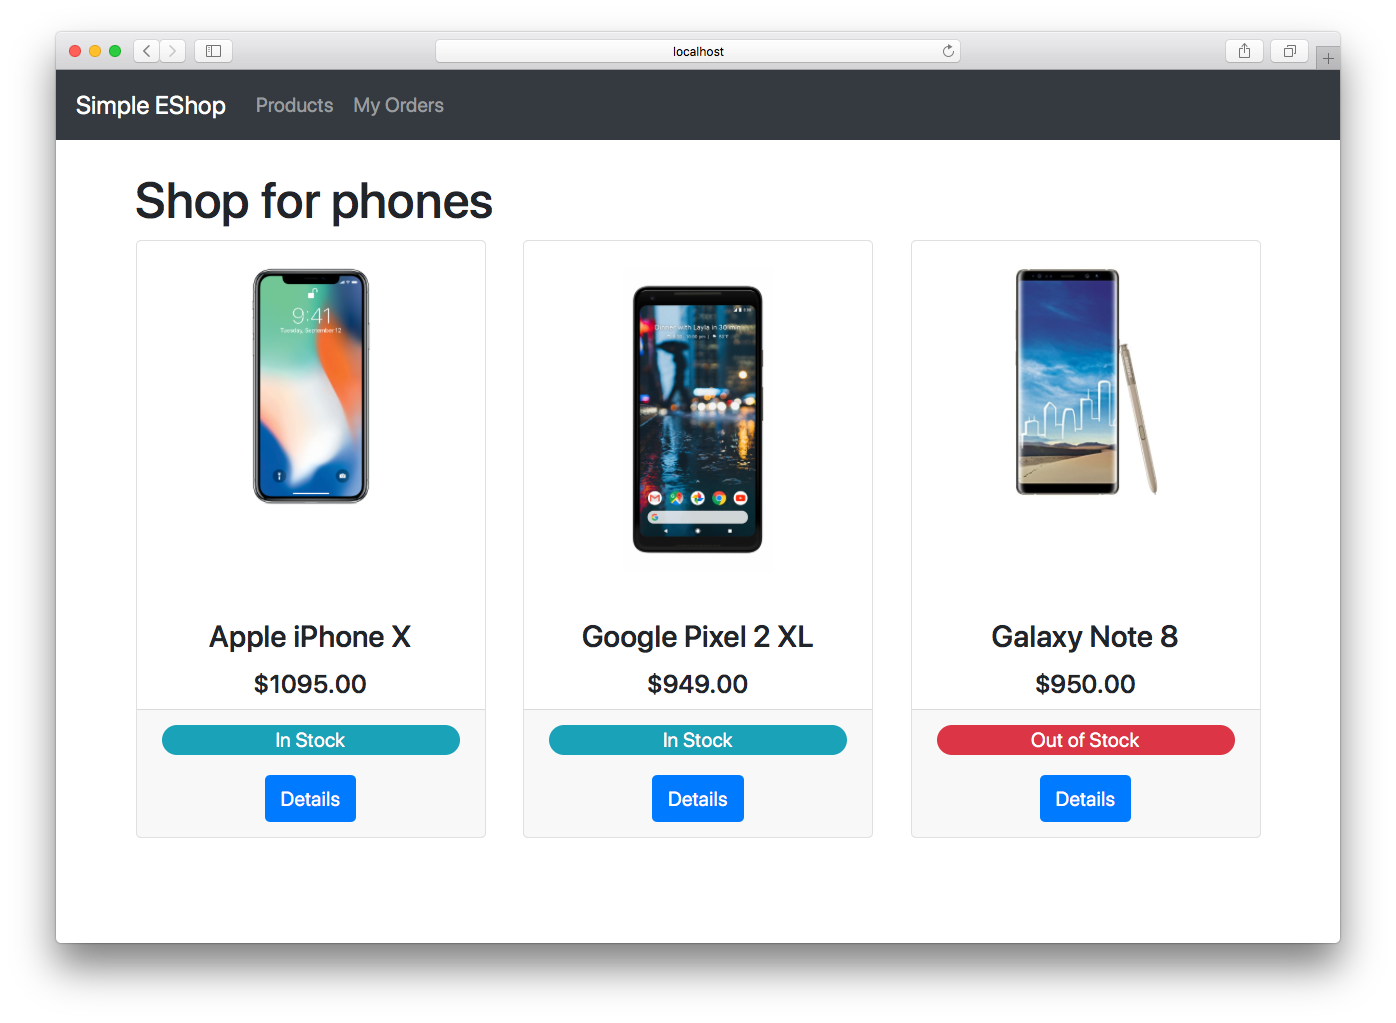
Four console windows will open, one for each endpoint. (If running on Mac, the console windows will be docked within Visual Studio itself.) The EShop.UI web application will also appear in the default browser:
Purchase one of the products and note the log messages that appear in the various endpoint consoles.
In order to use the monitoring capabilities, the application must be configured to use RabbitMQ as the transport rather than the learning transport. RabbitMQ can be installed locally or as a Docker container. You can also sign up for a free account at CloudAMQP which should suffice for demonstration purposes.
The following commands will start a RabbitMQ container and enable the management console so you can connect to it at http://localhost:15672 (username: guest, password: guest):
docker run -d -p 5672:5672 -p 15672:15672 --name rabbit -e RABBITMQ_DEFAULT_USER=guest -e RABBITMQ_DEFAULT_PASS=guest rabbitmq
docker exec rabbit rabbitmq-plugins enable rabbitmq_management
Once RabbitMQ is available, set an environment variable, NetCoreDemoRabbitMQTransport, to the connection string of your RabbitMQ instance. For local/Docker installations, this is simply: host=localhost. For CloudAMQP, the connection string will have the format:
host={HOSTNAME};UserName={USERNAME};Password={PASSWORD};virtualhost={VIRTUALHOST}
The values for each parameter will be provided by CloudAMQP.
Once the environment variable is set, the application will automatically use RabbitMQ as the transport. To verify, check for the following log message for any of the endpoints:
2018-04-06 16:10:11.041 INFO ITOps.Shared.CommonNServiceBusConfiguration Using RabbitMQ Transport
If the Learning Transport still appears, you may need to re-install Visual Studio to ensure the environment variable is used.
Install ServiceControl using the Platform Installer and the default options.
Start the ServiceControl Management utility, then click + NEW -> Add ServiceControl Instance.... The defaults can be used for all sections except TRANSPORT CONFIGURATION and QUEUES CONFIGURATION. Configure the transport as follows:
| Setting | Value |
|---|---|
| TRANSPORT | RabbitMQ |
| TRANSPORT CONNECTION STRING | host=localhost |
Be sure to use the connection string that matches your environment.
In the QUEUES CONFIGURATION section, set both error forwarding and audit forwarding to On.
In the ServiceControl Management utility, click + NEW -> Add monitoring instance.... Configure the transport in the same way as the ServiceControl instance and leave the rest with default values.
Install ServicePulse using the Platform Installer and the default options. It will automatically connect to the ServiceControl instance installed previously.
- In Visual Studio, run the solution. The endpoint console windows will appear as well as the web interface.
- With the endpoints running, launch the LoadGenerator project from Visual Studio. This will launch a console application that continuously sends a PlaceOrder message once per second.
- In a browser, navigate to ServicePulse at http://localhost:9090
- Select Monitoring in the menu bar to see statistics for the four endpoints
At this point, you can increase or decrease the load in the LoadGenerator console application with the ↑ and ↓ keys. You can also press S to send a spike of 25 messages or press P to pause/unpause the load generator. It's useful to have this running side-by-side with ServicePulse to see the effects this has on the graphs.
The script deploy.sh will build and deploy the application to a Linux machine using the scp command. Update the DEPLOY_SERVER variable at the top of the script to match your environment. Other changes may be required to this script to ensure the scp command has the proper permissions for your environment.
NOTE: This section is optional
Warehouse.Azure is a separate MVC application that will add or remove stock. It is used to demonstrate how to integrate with an application developed by another team in your organization. In this scenario, the external team uses Azure Storage Queue as the underlying queuing transport and publishes ItemStockUpdated events for products. Even though the Warehouse.Azure team maintains its own database and infrastructure, we want to be notified about changes in stock so we can update our EShop application accordingly. This is done by "bridging" the Warehouse.Azure team's Azure Storage queue to our RabbitMQ queue using NServiceBus.Bridge.
To set up the Warehouse.Azure project:
- Set up a queue in Azure Storage and make a note of the connection string for it
- Deploy Warehouse.Azure to an Azure website
- Set an environment variable called
NetCoreDemoAzureStorageQueueTransportwith the connection string for your Azure Storage queue
At this point, you can navigate to the Warehouse.Azure website and add or remove stock. This will fire the relevant events in the queue on Azure Storage. To consume the events in EShop:
- Ensure your EShop deployment environment also has a
NetCoreDemoAzureStorageQueueTransportenvironment variable, similar to theNetCoreDemoRabbitMQTransportvariable - Add the ITOps.WarehouseBridge project to the list of startup projects
- Launch the solution
Now when stock is added or removed in the Warehouse.Azure UI, the Azure Storage Queue events will be bridged to RabbitMQ and we can consume them as we would any other event.
